Those dark, stubborn stains on your hardwood floors can make your whole home look dirty, no matter how much you clean.
Pet accidents, water damage, and mystery spots seem to mock your best efforts. But don’t rush to cover them with rugs or replace your floors yet!
You’ve likely asked yourself, “Can you bleach hardwood floors to make them look clean again?” The answer is yes, but only with the right method. When done properly, bleaching hardwood floors can change their look, helping you avoid costly replacements.
In this guide, you’ll learn which bleach to use, step-by-step application techniques, and the crucial safety measures. So that you know how to handle those stubborn stains without harming your floors.
Can You Really Bleach Hardwood Floors?
Yes, you can bleach hardwood floors, but not all wood types react the same way. Light-colored hardwoods like oak tend to work best.
Skip this process on engineered wood floors; the thin veneer can’t handle the chemicals. The same goes for pre-finished floors, as their factory coatings block the bleach.
Test on a small hidden area first, maybe in a closet. Your specific floors might respond differently than expected. Oak tends to lighten well, while cherry might turn pinkish before getting lighter. That’s just how different woods behave.
Remember that bleaching only fixes color problems, not structural issues. For scratches or warping, you’ll need other repair methods.
What Bleaching Works Best For?
Bleaching is helpful for specific floor problems; It shouldn’t always be your go-to solution.
|
Floor Issue |
Is Bleaching a Good Solution? |
Why or Why Not |
|
Dark stains from pet urine or water damage |
Yes |
Bleach penetrates deep to remove tough, embedded stains. |
|
Lightening wood for style |
Yes |
Two-part bleach lightens the wood’s natural color for a refreshed, modern look. |
|
Uneven tone after stripping old finish |
Yes |
Bleaching helps even out patchy or mismatched areas after sanding or refinishing. |
|
Deep ink or food stains |
Sometimes |
Works well for deep, set-in organic stains, but test first on a small area. |
|
Minor surface stains or light marks |
Not always necessary |
Try cleaning or buffing first. Bleaching is a bigger step that alters the wood. |
Safety First: What You Need to Know
Bleaching floors involves strong chemicals that need careful handling:
Safety gear – Always use:
- Rubber gloves to protect your skin
- Safety goggles to shield your eyes
- A face mask to avoid breathing fumes
- Open windows for fresh air flow
Before full application:
- Test on a small, hidden spot (like in a closet)
- Wait 24 hours to see the final color result
- Check for any bad reactions with the wood
Just a heads-up about the chemicals you’ll be working with.
Bleach naturally reacts with wood since wood is an organic material. That’s how it lightens the color. Don’t worry about your baseboards or trim if they’re plastic or painted. The bleach won’t affect them.
Keep your pets and kids away from the area while you work. The fumes aren’t great for anyone to breathe in, especially little ones.
Always store your chemicals in their original containers when you’re done. It’s safer and you’ll remember what’s what next time you need them.
Materials You’ll Need
Here is a list of all the materials you will need.
|
Category |
Item |
|
Bleaching Agents |
Two-part wood bleach (Sodium Hydroxide & Hydrogen Peroxide) |
|
Containers & Tools |
Plastic containers or buckets |
|
Plastic measuring cups |
|
|
Application Tools |
Absorbent cotton rags (flannel preferred) |
|
Safety Gear |
Rubber gloves |
|
Safety goggles |
|
|
Ventilation (open windows or fans) |
|
|
Prep & Finish |
Sandpaper or floor sander |
|
Clean water or vinegar solution |
|
|
Finishing materials (stain, sealer, polyurethane) |
Step-by-Step Process
Follow these seven steps carefully for the best results. While this isn’t a quick fix, taking your time with each step will ensure your floors come out looking clean and even without damage to the wood.
1. Prepare the Work Area
Make sure the floor is sanded down to bare wood and clean all dust thoroughly. Open windows for ventilation and cover any non-wood surfaces you want to protect, though the bleach won’t react with plastic or paint.
2. Prepare the Bleaching Solution
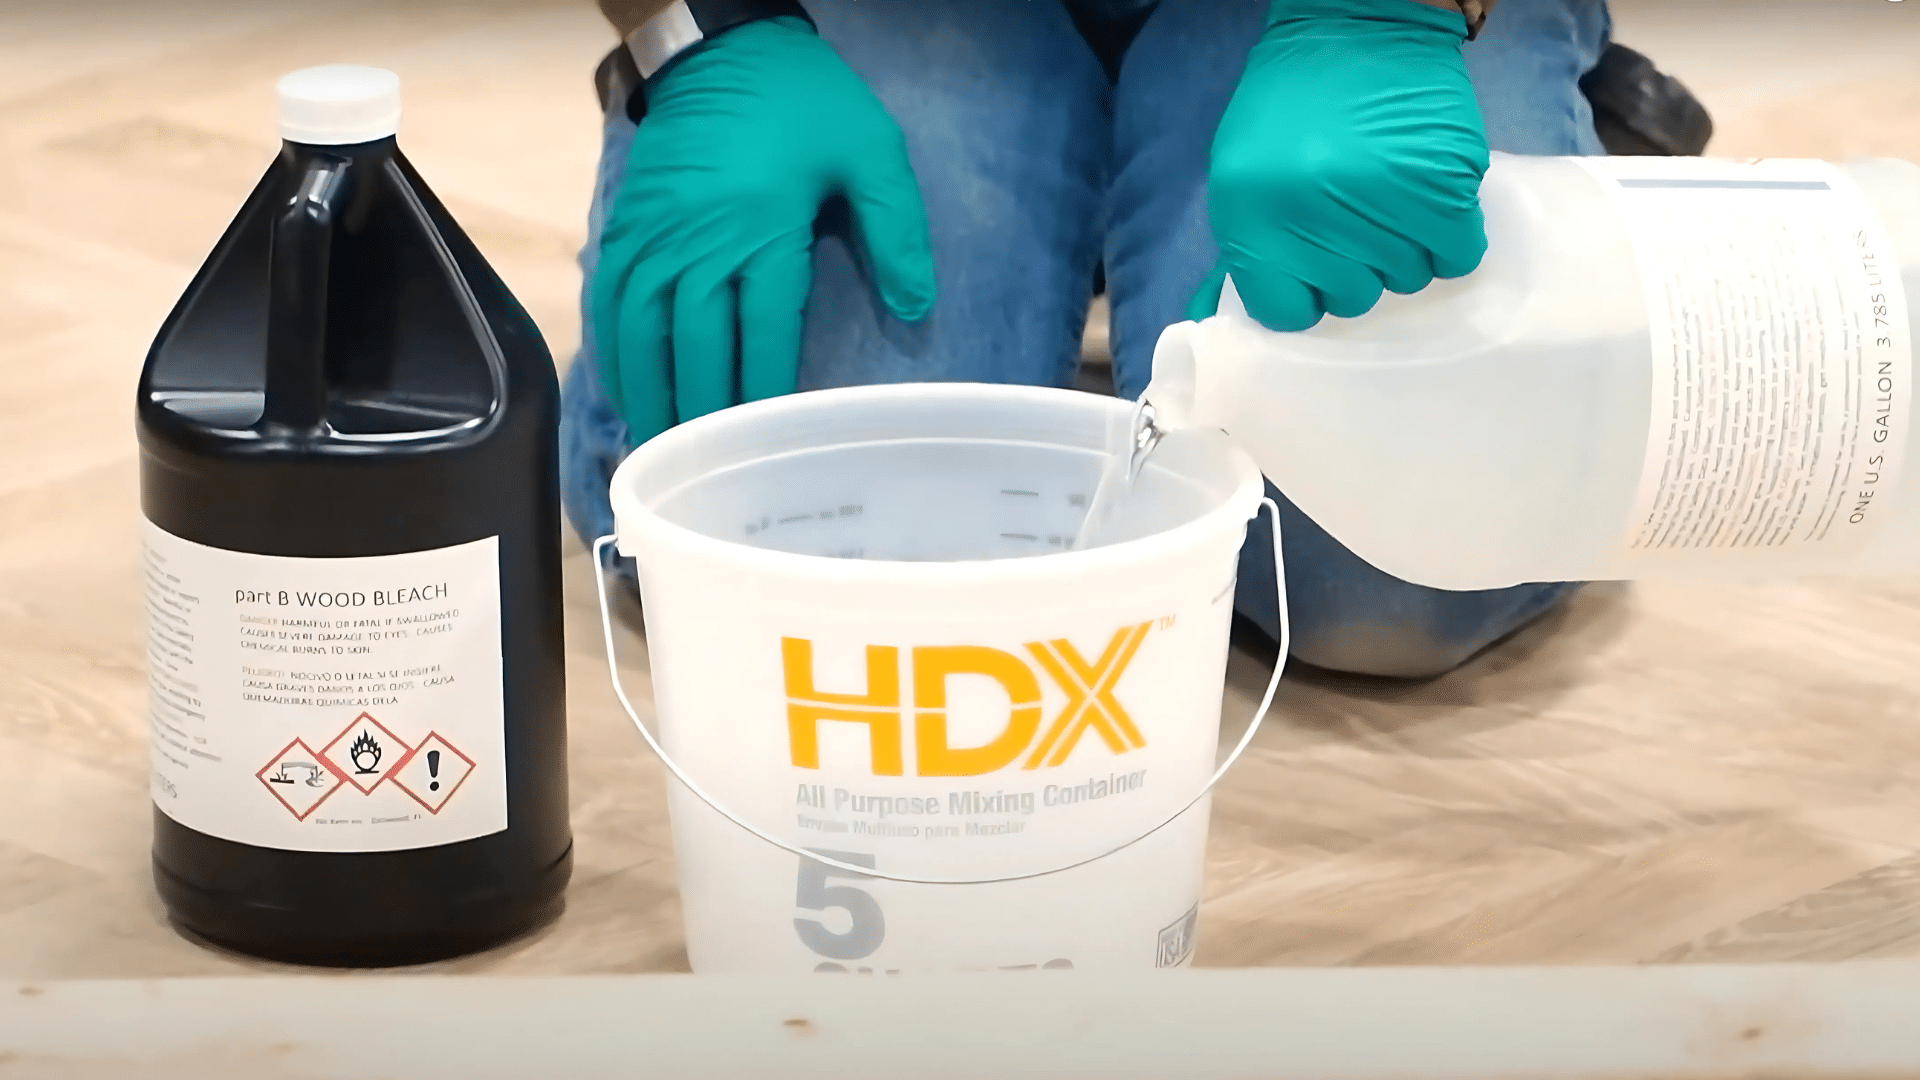
Pour equal amounts of the two solutions (hydrogen peroxide and sodium hydroxide) into separate containers. Please do not mix them directly together in storage. Keep small batches ready for application to prevent contamination.
3. Apply the Bleach
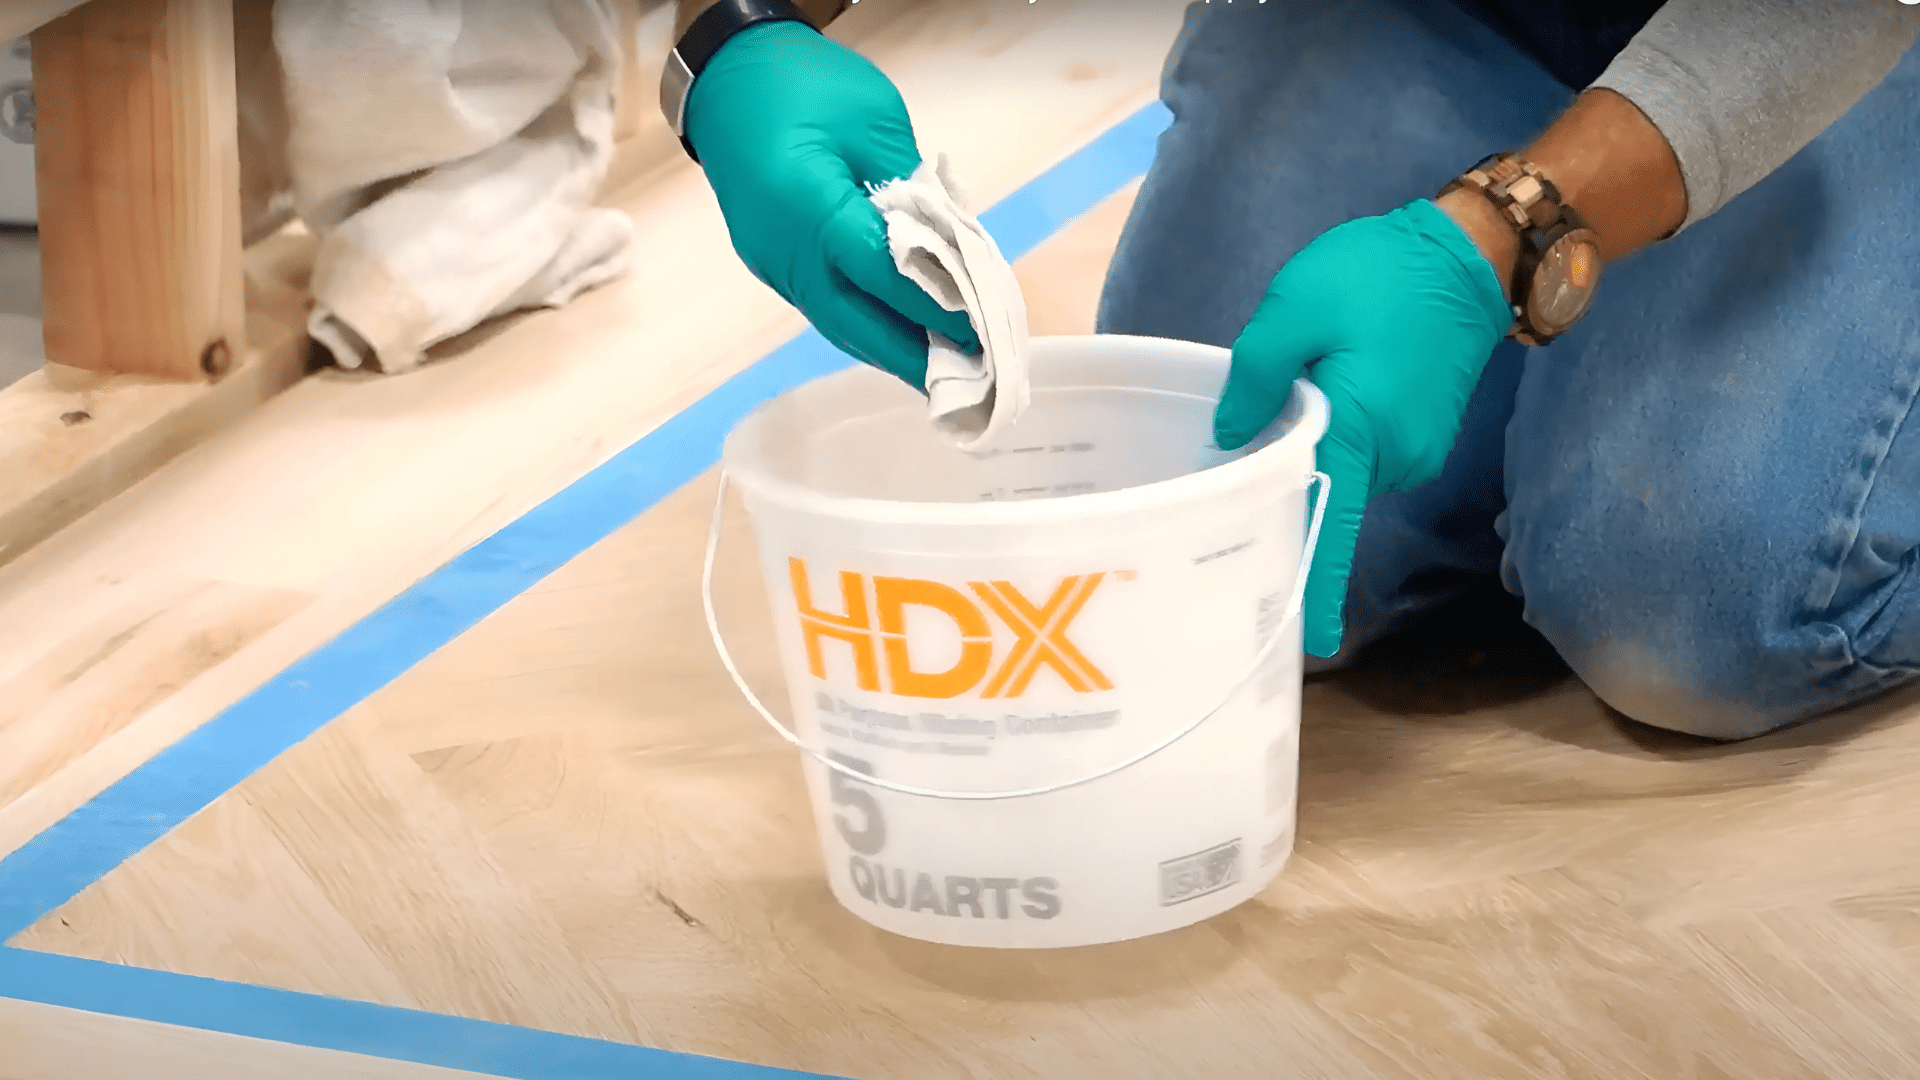
Position your container where you’ll be working and dip a clean rag into the solution. Wring it slightly so it’s not dripping, then apply the solution with the grain of the wood. Work in sections of 2-3 feet at a time. You’ll feel the rag getting warm – this is the normal chemical reaction.
4. Manage Your Rags
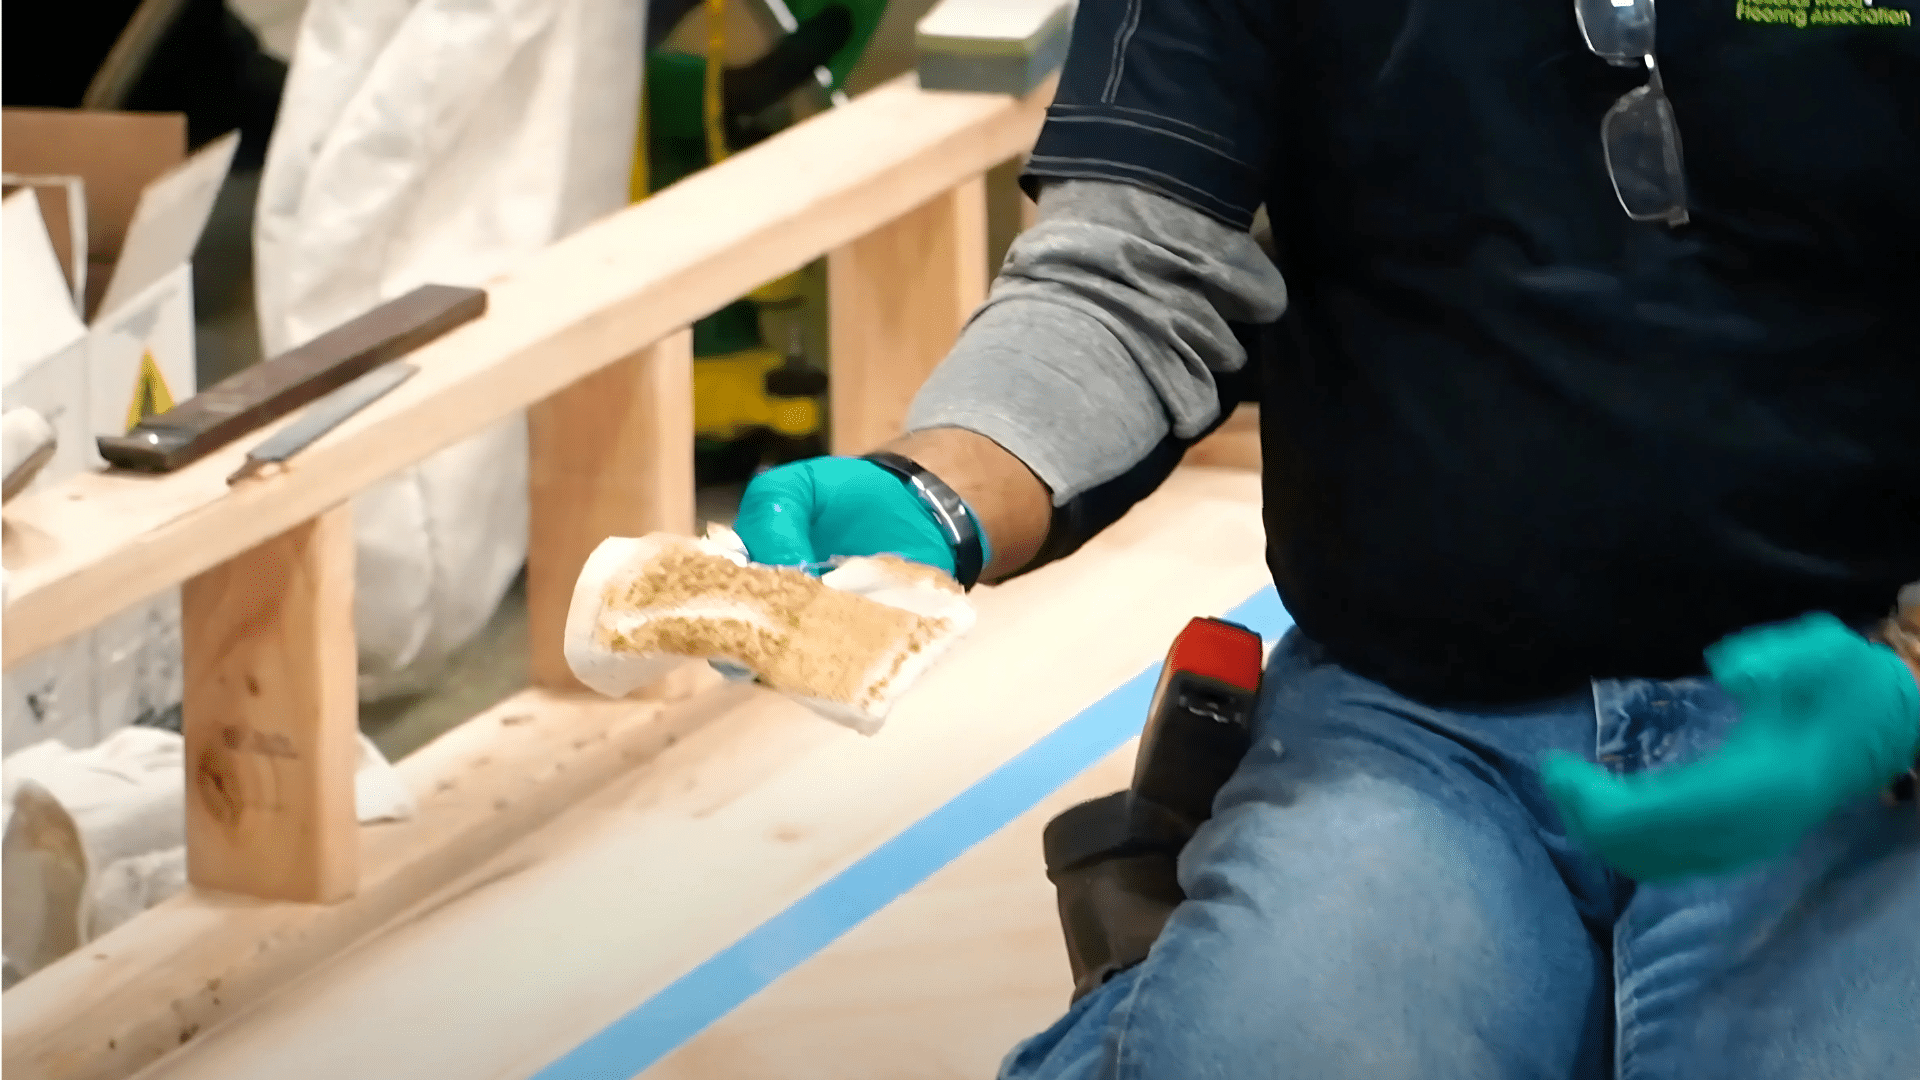
Change rags frequently as they collect dust and turn brown. Using dirty rags will smear dust back onto the floor. For darker woods like Brazilian cherry, change rags very frequently, as these woods will produce more color transfer (Brazilian cherry will turn “blood red”).
5. Work Methodically and Monitor the Reaction
Work in rows across the room, applying the bleach evenly. You’ll notice color changes as the solution reacts with the wood and feels warm on contact. Keep your container close to avoid drips. Having multiple people work in sequence helps complete larger areas more efficiently.
6. Neutralize and Rinse
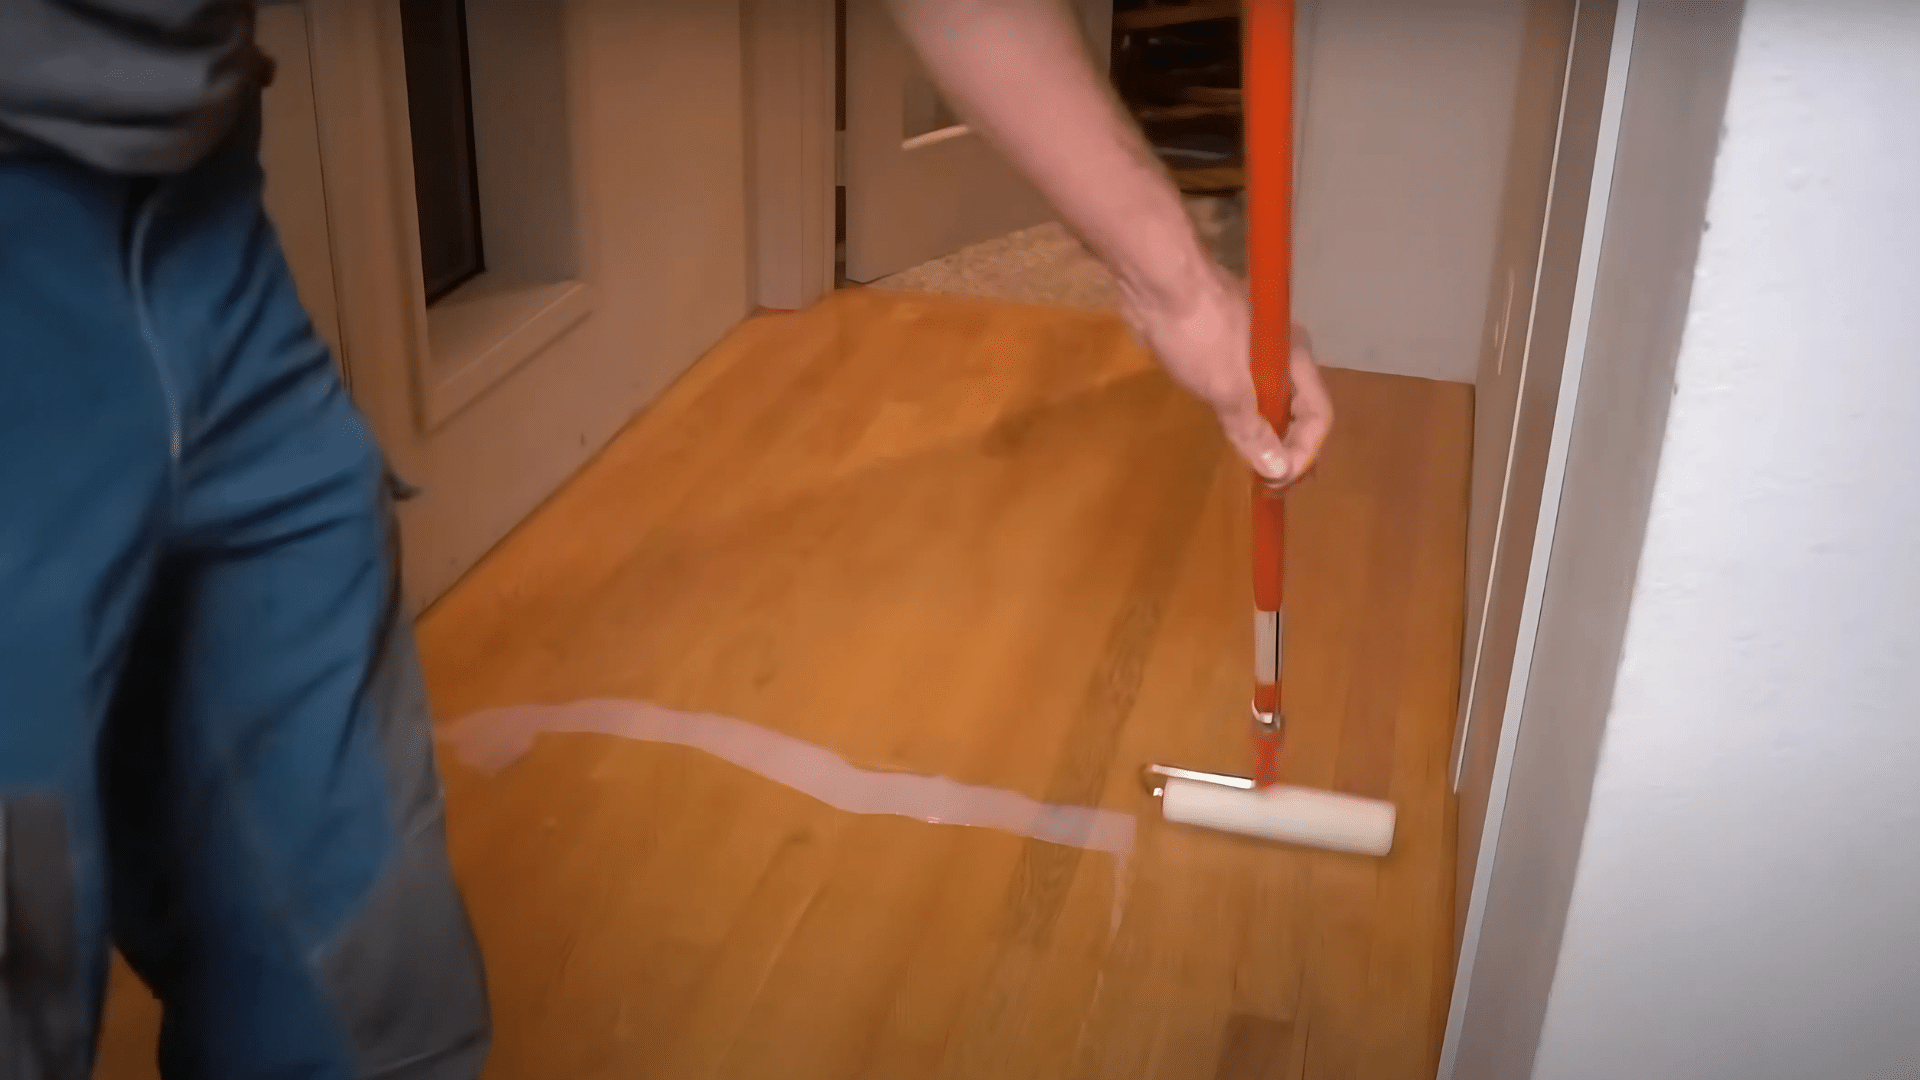
After the recommended time (Follow product instructions), neutralize the bleach with clean water or a vinegar solution and allow it to dry completely.
7. Sand Lightly and Finish
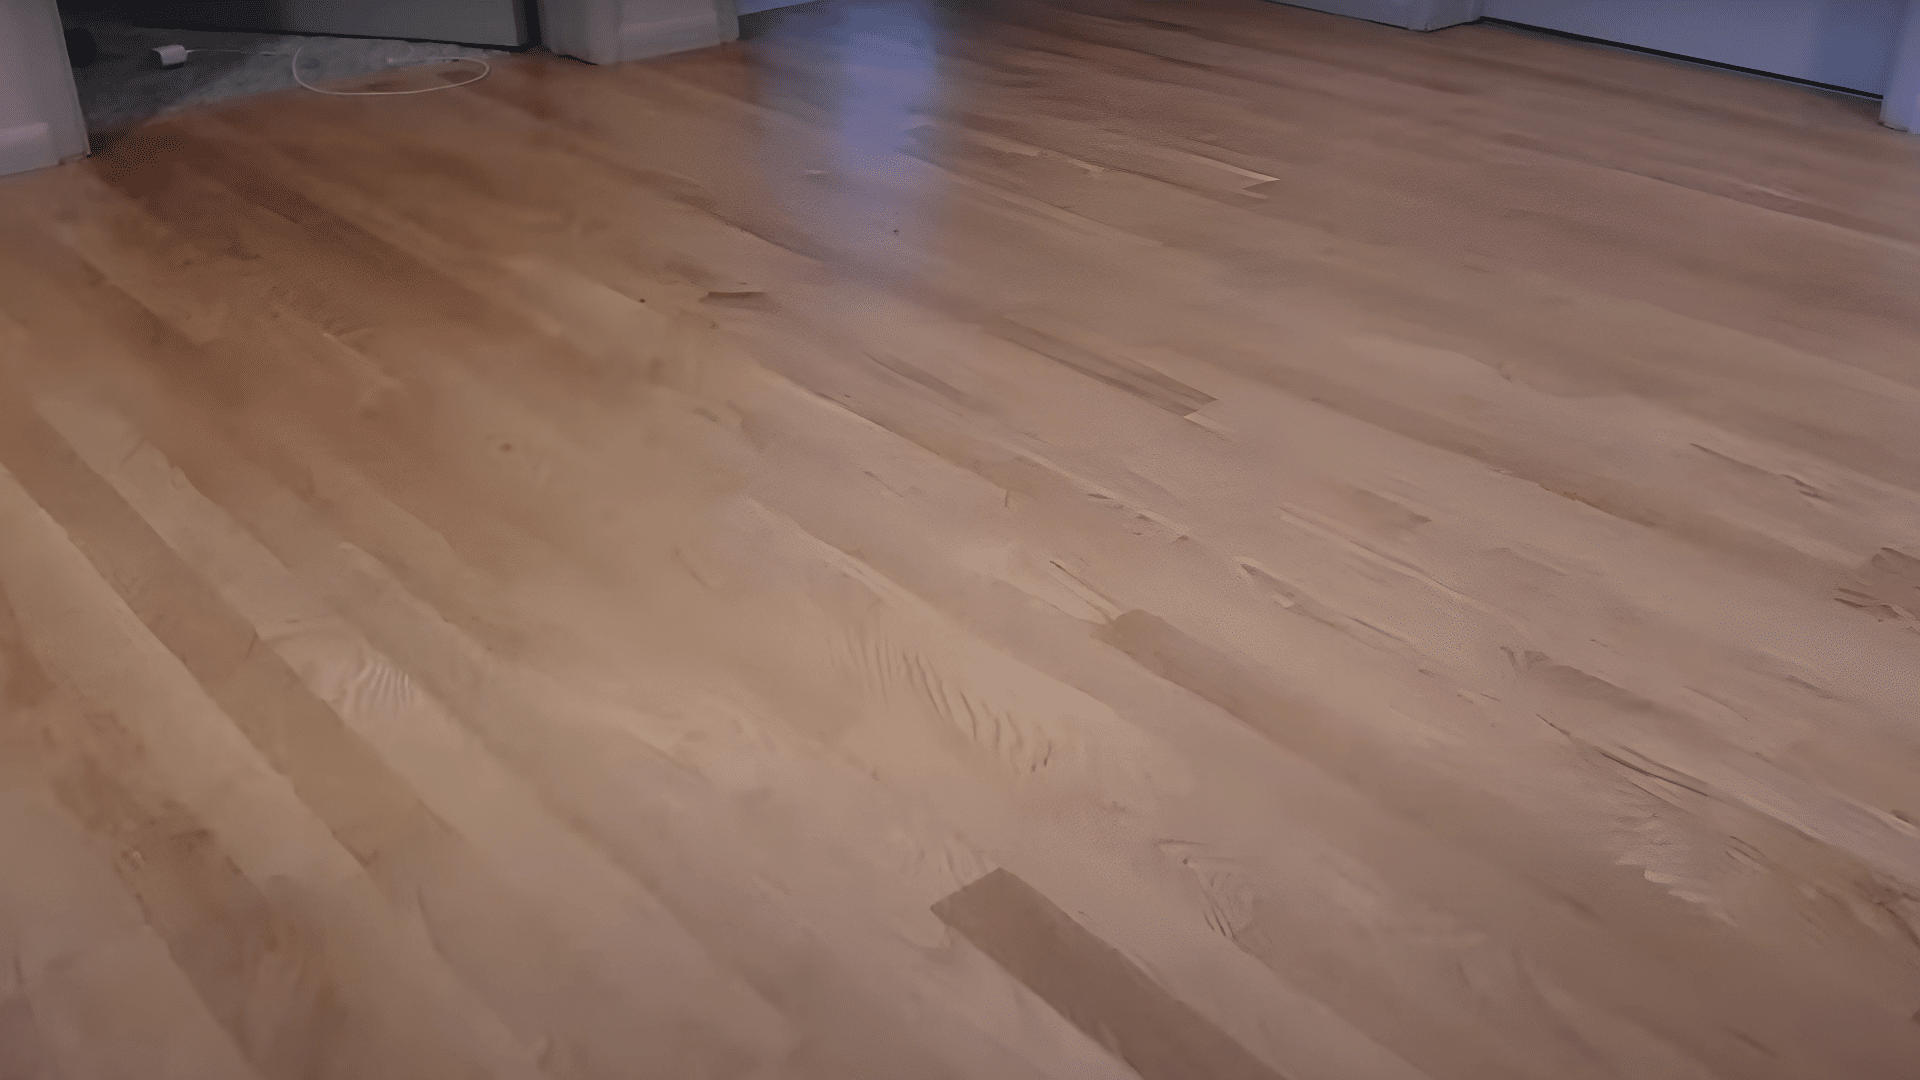
Once dry, sand lightly to remove any raised grain, then apply your chosen finish (stain, sealer, or polyurethane).
Important Tips
When bleaching your hardwood floors, always use absorbent rags without loose strings that could be left behind on the surface.
Keep your bleaching solution clean by making a master batch and then using smaller portions as you work. This prevents contamination with wood dust that can affect results.
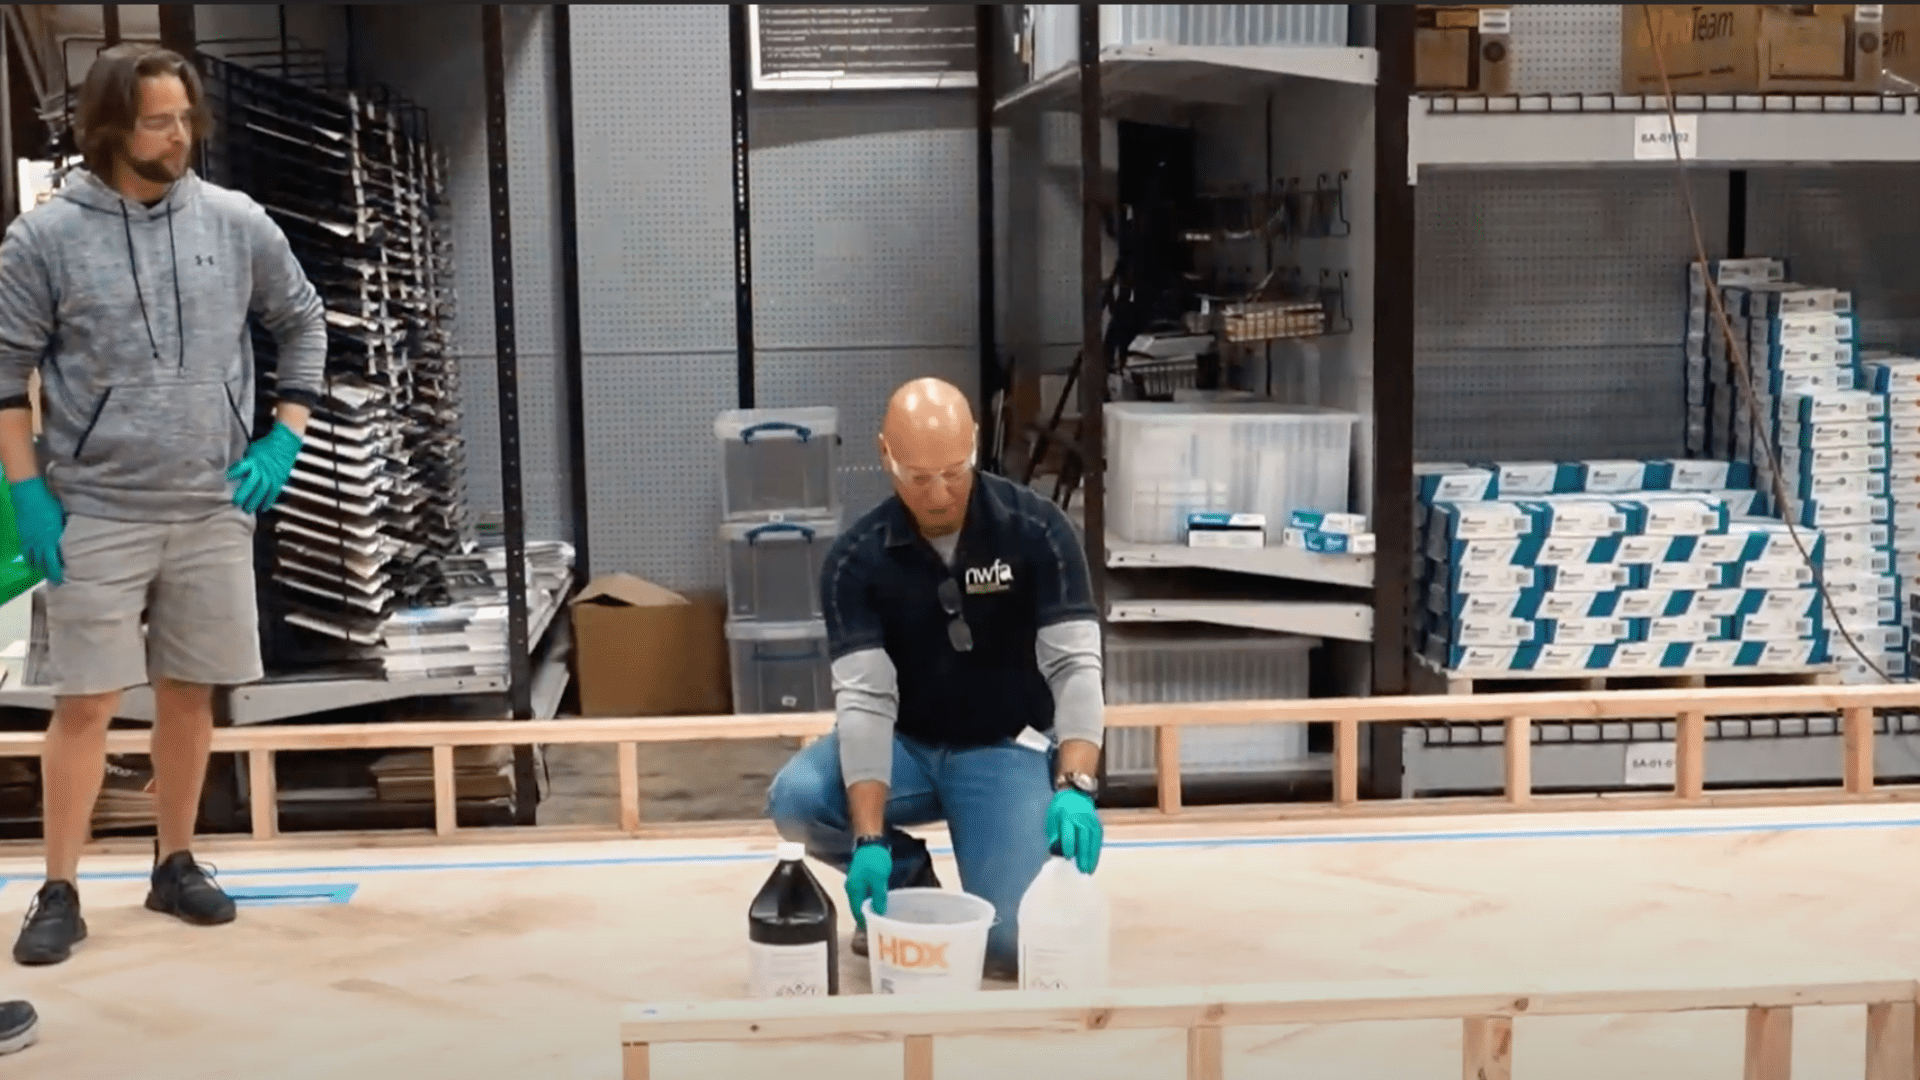
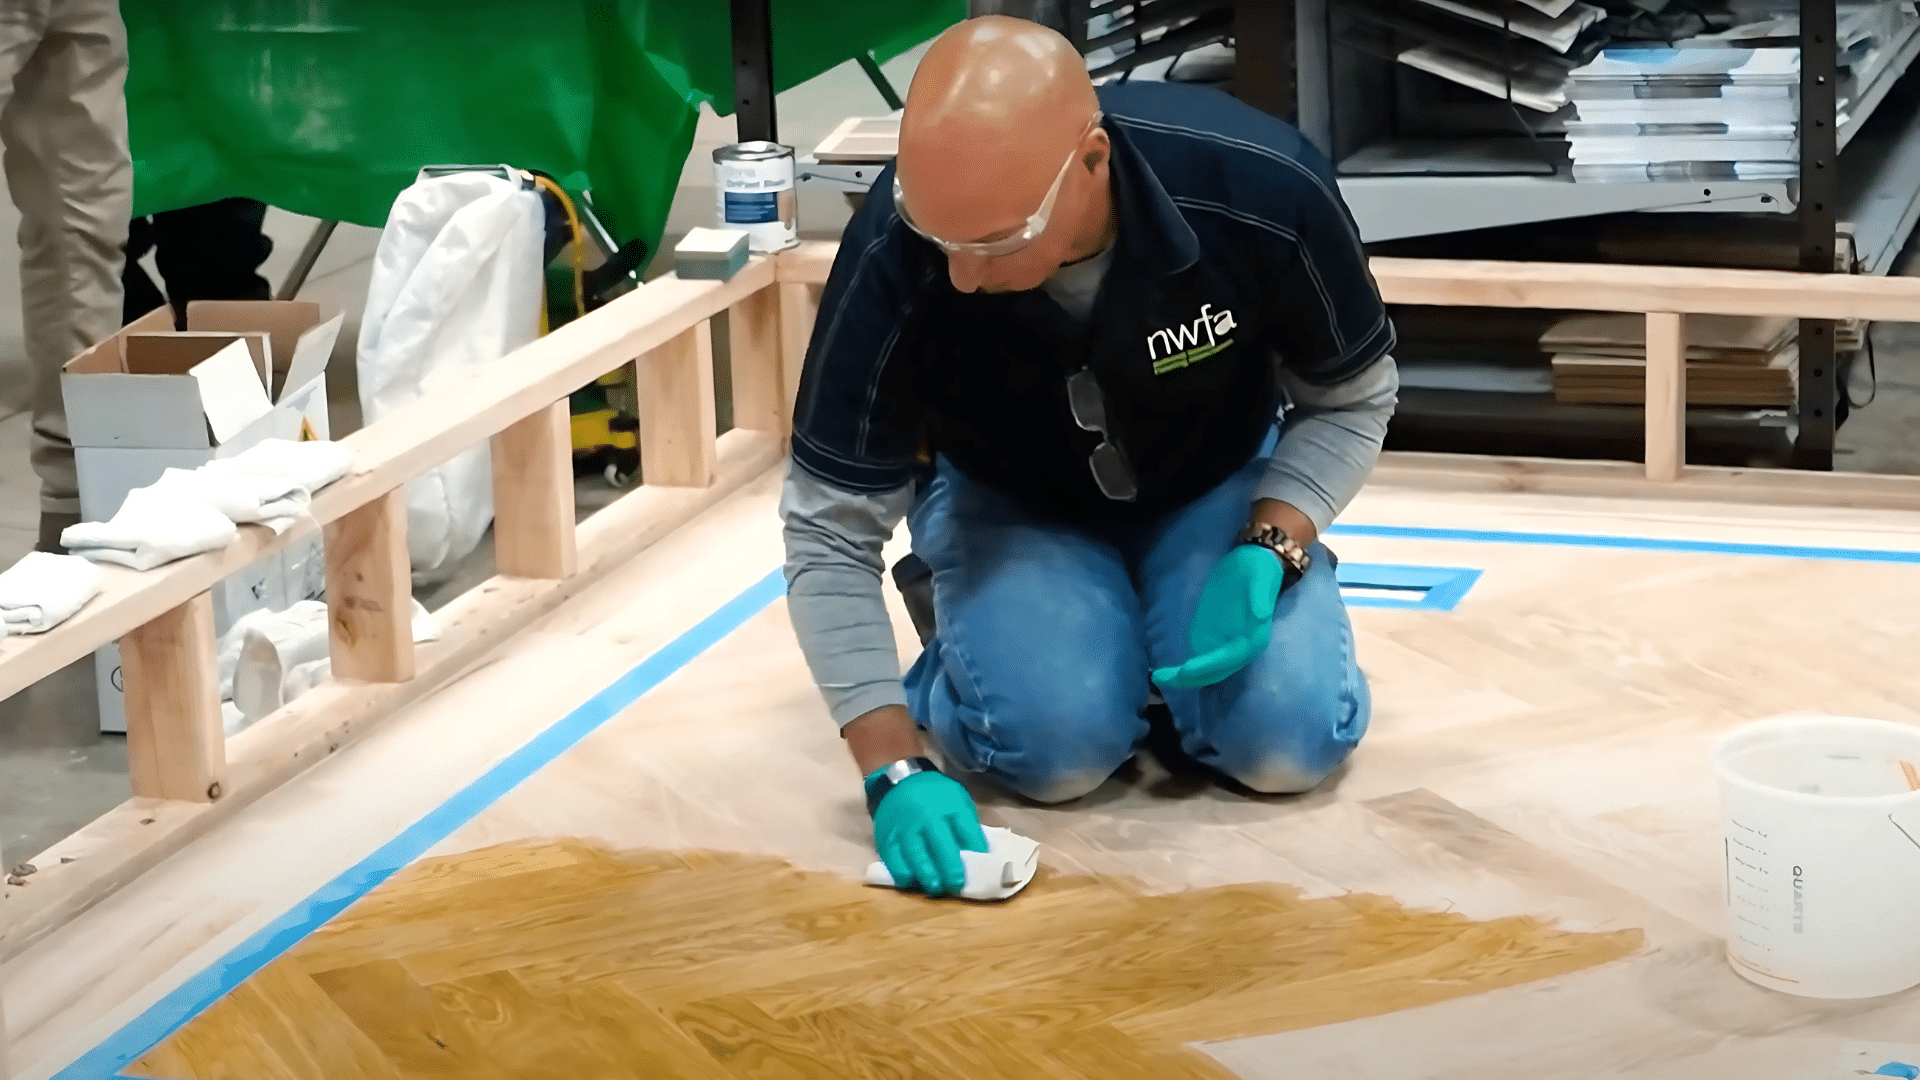
Video Tutorial
For a quick and easy visual guide of these steps, check out the video “How To Bleach White Oak Hardwood Floors with Lenny Hall | City Floor Supply | NWFA” by City Floor Supply
Seeing the process in action makes it even easier to follow along!
Common Mistakes to Avoid While Bleaching
Many DIYers make these errors when bleaching floors:
- Skipping the test patch: Always test on a hidden area first
- Using bleach on the wrong wood: Not all floors can be bleached safely
- Forgetting to neutralize: Bleach keeps working if not stopped
- Not removing old finish fully: Bleach needs bare wood to work
- Going too fast: Rush jobs lead to uneven results
- Reusing dirty rags: This causes streaking and odd patterns
- Not wearing safety gear: Chemical burns are painful and avoidable
- Letting bleach dry out: Apply more if needed to keep the wood damp
Avoiding these mistakes will help you get better results with less frustration.
Tips for Tough Woods
Some wood types need special care when bleaching:
Cherry and mahogany: Use smaller batches of bleach to control the process better. Change your rags more often, about every 2-3 minutes, to avoid streaking. You’ll likely see red tones come out during bleaching; this is normal and part of how these woods react.
Walnut and other dark woods: These stubborn woods might need two bleaching sessions to get the results you want. Allow 24 hours between sessions for the wood to rest and dry. Keep in mind that even with multiple treatments, these will likely never get as light as oak.
Pine and softer woods: When working with these sensitive woods, mix your bleach solutions a bit weaker. They react more quickly than hardwoods, so watch them closely. Softwoods may get blotchy if you’re not extra careful with even application.
Conclusion: Should You Do It Yourself?
Bleaching hardwood floors can fix many color issues when done right. The process isn’t complex. Just prep, bleach, neutralize, and finish, but it takes patience.
If you’ve handled a sander before and don’t mind some careful work with chemicals, you can tackle this job. It’s perfect for home DIYers who follow instructions well and have a weekend to spare.
For costly floors or rare wood types, a pro might be worth the peace of mind. Mistakes can add up quickly.
Have you tried bleaching your hardwood floors? Share your results in the comments below! And if you have questions about your specific situation, ask away, we’re happy to help
Frequently Asked Questions
Does Bleach Damage Hardwood Floors?
Wood bleach, when applied properly, doesn’t damage floors, but household bleach or incorrect application can cause permanent harm.
How Do I Remove Bleach Stains from Hardwood Floors?
Sand the uneven areas lightly and apply a matching stain. For severe cases, sand the entire section and reapply bleach evenly.
How Long Does the Bleaching Process Take?
The complete process takes 2-3 days, including application, reaction time, neutralizing, drying, and finishing.
Will Bleaching Remove Pet Stains and Water Marks?
Oxalic acid works best for water stains. For pet urine stains, two-part wood bleach is often effective. Deep or old stains might still show after bleaching, especially if they’ve penetrated deep into the wood fibers.