Do you often find your paint job looking patchy or uneven? The culprit might be how you stir your paint. Most people skip this step or rush through it, not knowing it affects the final look.
Good paint stirring ensures all the color bits mix evenly with the liquid base.
Without proper mixing, you’ll get uneven color, poor wall coverage, and a finish that doesn’t last. This guide will show you exactly how to stir different types of paint for the best results.
You’ll learn the right tools to use, how long to stir each type, and simple tests to check if your paint is ready to use. With these tips, you’ll save time, use less paint, and get a smooth, lasting finish on your next project.
Why Stirring Paint Matters?
Stirring paint is not just a step you can skip. It plays a crucial role in determining the effectiveness of your paint. When paint sits unused, the pigment particles settle to the bottom. Good stirring mixes these bits back into the liquid, resulting in a smooth, true color.
Paint often separates into two distinct layers when left alone – the heavier items sink, while the lighter ones float. This makes stirring a must-do task to get the right mix before you start painting. Without good stirring, your paint may look patchy or thin in spots.
A well-mixed paint provides a full, even color on your walls or other items. You won’t see any spots where the paint appears different or thinner than the rest. This means you might need fewer coats to finish your project.
The final reason to stir paint well is that it helps your paint job last longer. All the items in the paint need to be mixed just right. When they are, the paint adheres better to walls and stays in place for years. Proper stirring brings all these items together to work as one team.
How to Stir Different Types of Paint for the Best Results
Discover the optimal stirring techniques for various paint types to achieve a smooth application, consistent color, and lasting results.
1. Water-based (latex) paints
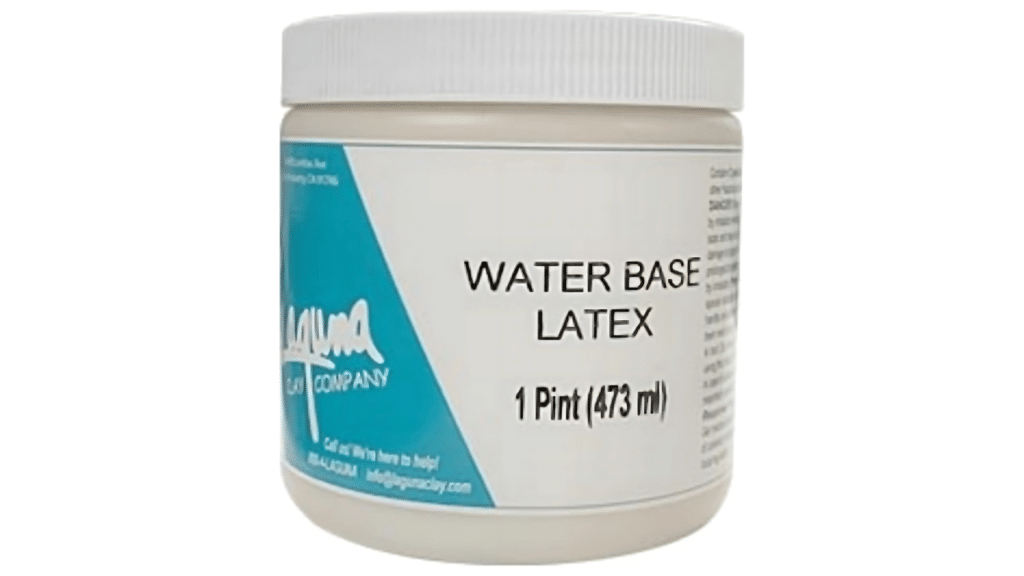
Water-based paints need less mixing time but still require good attention. These paints mix well with just 5-10 minutes of steady stirring. The water in these paints makes them easier to blend and mix. Still, don’t rush this step.
Even water-based paints can have color bits that sink to the bottom. Mix from the bottom up to catch any settled materials.
2. Oil-based paints
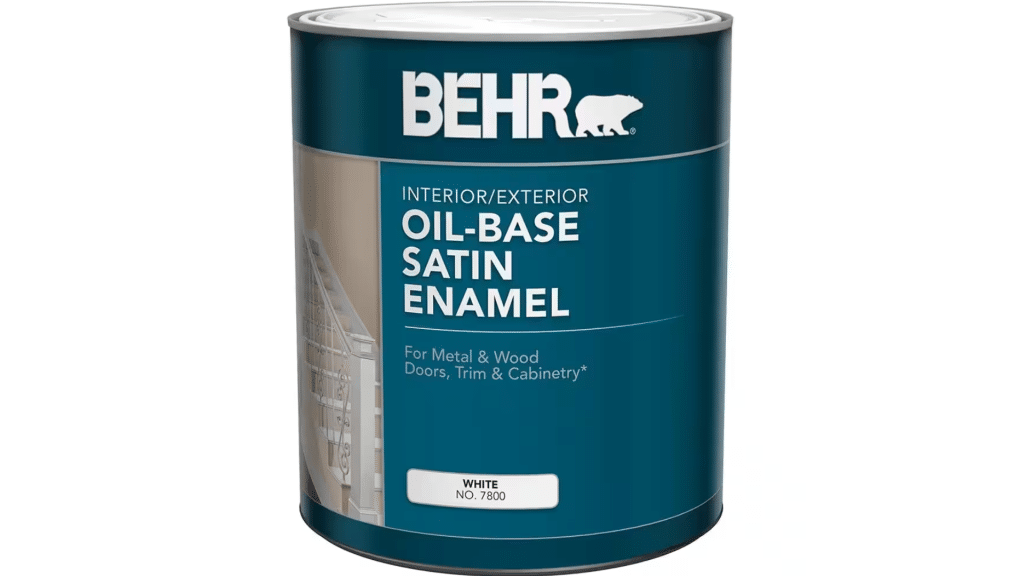
Oil-based paints are thicker and need more work to mix properly. You should plan to stir these for at least 10-15 minutes. The dense nature of oil paints means the color parts sink and stick at the bottom. Take your time with these paints.
Start slow, then speed up as the mix gets smoother. This helps avoid air bubbles that can ruin your finish.
3. Spray Paints

Spray paints work differently from brush-on types. With spray paints, you must shake the can well for 1-2 minutes. The small ball inside helps mix the paint as you shake. Listen for the ball to move freely in the can. If you don’t shake enough, the spray may come out spotty or clog the nozzle.
4. Specialty Paints
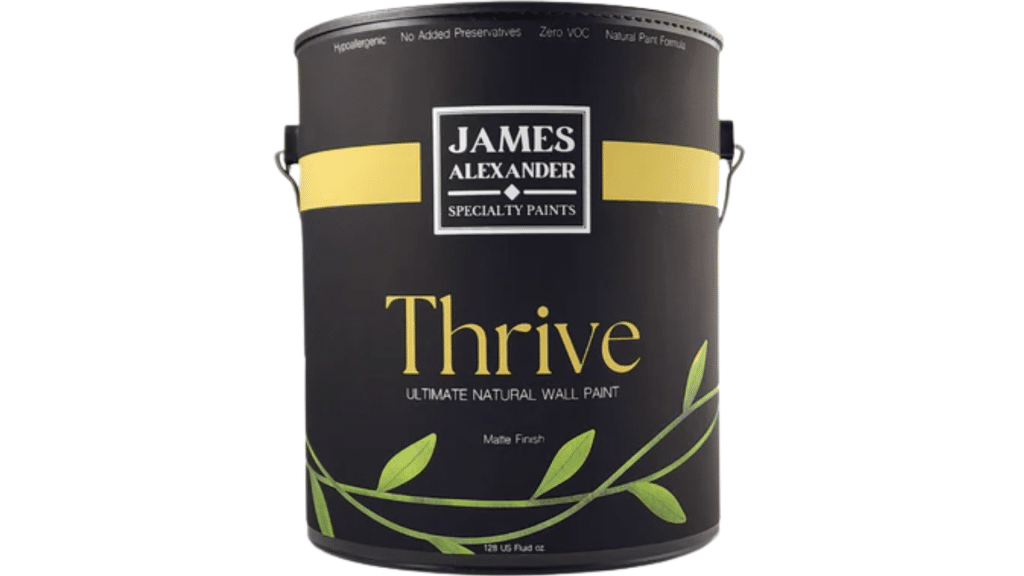
Chalk, enamel, and epoxy paints all have special mixing needs. Chalk paint is thick and may require additional stirring to achieve a smooth consistency. Enamel paints need a gentle touch to avoid bubbles.
Epoxy paints often come as thick gels that need firm, steady mixing. Read the can for exact times, as each brand may vary slightly.
5. Two-Part Paint Systems
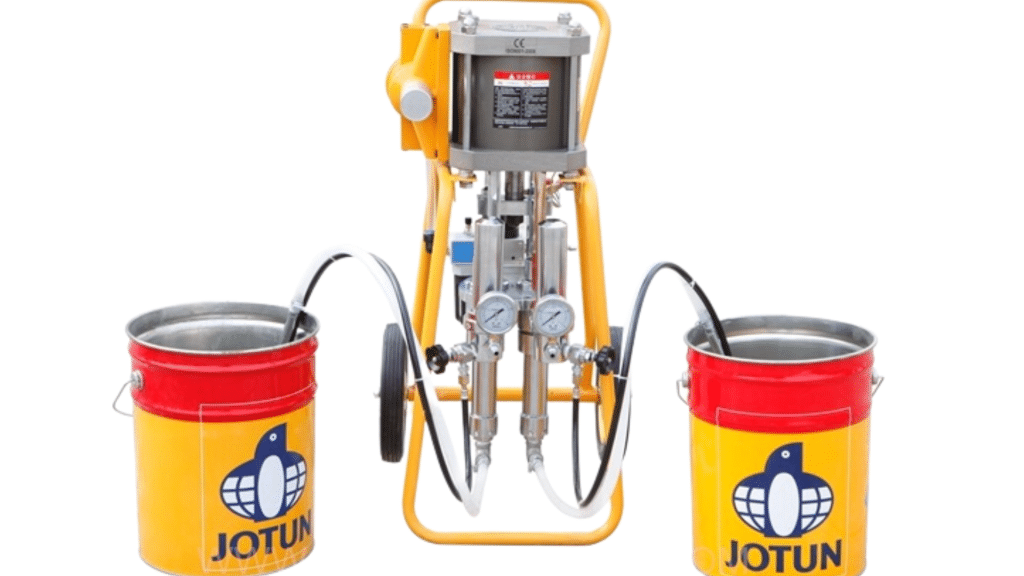
Two-part systems, such as some epoxies, require very careful mixing. Both parts must be mixed in the right amounts. Then, you mix them thoroughly to initiate a chemical reaction. If not mixed thoroughly, these paints may not dry properly or fail prematurely.
How to Stir Paint Properly?
Picking the right tool makes a big difference when stirring paint. The basic wooden stick that comes free at the paint store works for small jobs. For larger buckets, a paint mixer attachment for your drill saves time and effort.
Metal stir sticks work well, too, but plastic ones may bend too easily with thick paints. Your method matters as much as your tool. Move the stirrer in a steady, circular motion rather than shaking or jabbing. Gentle, even strokes work best.
Quick, rough stirring can trap air bubbles in the paint, which may show up later as tiny holes in your dried paint job. Keep your movements smooth and steady. Always start at the bottom of the can. Paint parts often sink and form a thick layer at the base.
Push your stick all the way down, then drag it up along the sides. This brings the settled stuff back into the mix. Continue until you no longer see any thick spots or streaks of color. The paint should appear uniform throughout the can, with no swirls or blobs of darker color.
How Long Should You Stir Paint?
Most water-based paints require approximately 5-10 minutes of stirring to achieve the best mix, whereas oil-based paints typically need 10-15 minutes due to their thicker consistency.
The time required can vary depending on the age of your paint, with older cans needing extra care to break up any hard bits at the bottom. Hot weather can make paint thinner and easier to mix, while cold weather makes it thicker and slower to mix.
You’ll know your paint is ready when it has a smooth, even look with no streaks or blobs, and it drips off the stir stick in a steady stream rather than clumps. Test a small amount on a piece of cardboard to check if the color and flow seem right before you start your main job.
Extra Tips for Optimal Paint Results
- Mixing Paint During Large Projects: Take time to stir your paint every 30 minutes during big jobs to keep the mix fresh and even.
- Using Paint Additives: Add thinners or conditioners in small amounts, mixing thoroughly between each addition until you achieve the desired flow.
- How to Test Paint Before Application: Brush a small test patch on a hidden spot or piece of cardboard to check color and texture before tackling the main area.
- Storage After Use: Clean the rim of the can, tap the lid firmly closed, and store upside down in a cool spot away from direct sun or freezing temperatures
Conclusion
Stirring paint is much more than a basic step – it’s the foundation for a successful paint job. Taking the time to mix your paint properly pays off in many ways. Well-stirred paint provides even color, smooth flow, and better staying power on your walls and items.
Remember that each paint type needs its stirring approach. Water-based paints require 5-10 minutes, oil-based paints require 10-15 minutes, and specialty paints have their own specific needs. The tools you use matter too – from simple wood sticks to drill attachments.
What’s next? Put these tips to work on your next paint project. Please pay attention to how the paint looks as you stir, test it before you start, and notice the difference in your results. Your walls will thank you with smooth, even color that lasts longer.
Have you discovered any special techniques that help you achieve better results when stirring paint? Share your tips in the comments below!
Frequently Asked Questions
Can I Use an Electric Mixer for All Types of Paint?
No, use hand stirring for small amounts and sensitive paints, such as specialty finishes.
How Can I Determine if Old Paint Is Still Suitable for Use?
If it mixes well without lumps and smells normal (not sour or like rotten eggs), it’s likely usable.
Will Stirring the Paint Too Much Harm It?
Yes, over-mixing can add air bubbles that cause small holes and bumps in your finish.
Do I Need to Stir Paint that Was Mixed at the Store the Same Day?
Yes, give it a quick 2-3 minute stir, as settling can occur during the trip home.