
Are you tired of looking at dull, gray concrete walls in your basement? I’m here to share my expertise on painting concrete basement walls – one of the most cost-effective ways to brighten your space and create a more inviting environment.
As a professional painter who recently completed a basement makeover, I’ve seen firsthand how a simple paint job can deliver remarkable results.
Painting your basement walls not only improves the appearance of your space but also provides practical benefits like moisture protection and dust reduction. With the right tools, materials, and techniques, you can turn that forgotten underground space into a functional living area your family will love.
Let me guide you through the process of achieving professional-quality results.
Why Paint Your Concrete Basement Walls?
Basement walls often suffer from multiple issues that painting can help address:
- Brightens dark spaces – White or light-colored paint reflects more light
- Seals against moisture – Proper paint creates a vapor barrier
- Prevents concrete dusting – Eliminates that chalky residue
- Increases home value – Finished basements offer better ROI
- Creates usable living space – Converts storage areas into functional rooms
A fresh coat of paint can turn your basement from a neglected storage area into a comfortable living space your family will actually use!
Benefits of Professional Basement Painting
While DIY painting is possible, hiring professionals for basement wall painting offers significant advantages:
- Expertise in proper surface preparation and application techniques
- Access to commercial-grade equipment for superior results
- Time savings – professionals complete the job faster and more efficiently
- Knowledge of basement-specific challenges like moisture and ventilation
- Long-lasting results that resist peeling, cracking, and mold growth
Professional painters have the experience to address unique basement conditions that might compromise a DIY paint job, ensuring your investment stands the test of time.
Materials Checklist for Professional Results
Choosing the right materials makes all the difference when painting concrete basement walls:
- Concrete cleaner or degreaser
- Concrete patching compound (for cracks or holes)
- Concrete primer (specifically designed for masonry)
- Quality paint designed for basement/concrete use
- Porch and floor paint (if painting the floor too)
Remember: never skimp on primer! It’s the foundation that ensures proper adhesion and longevity.
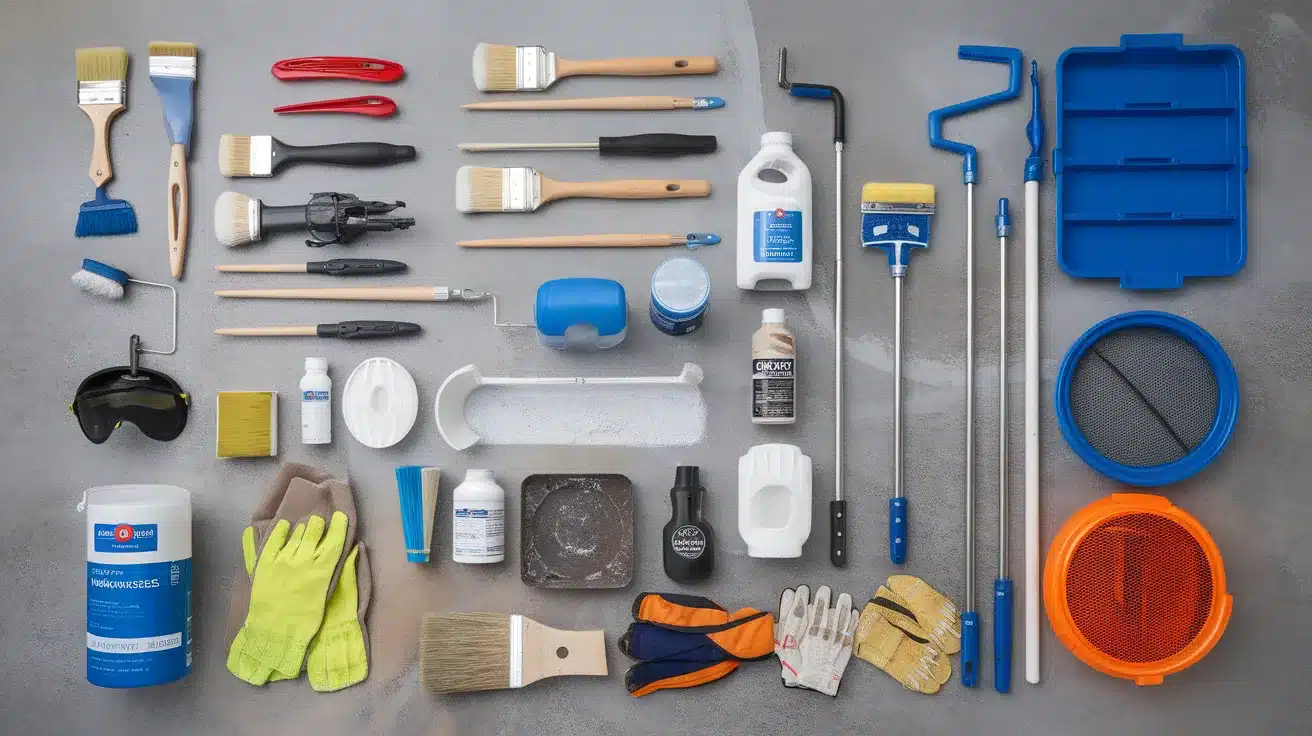
Essential Tools for Painting Concrete Basement Walls
Before starting your basement painting project, gather these necessary tools:
| Basic Tools | Advanced Options | Safety Equipment |
|---|---|---|
| Paint brushes | Paint sprayer | Safety goggles |
| Paint rollers | Extension poles | Respirator mask |
| Paint trays | Texture sprayers | Work gloves |
| Scrapers | Power sanders | Knee pads |
| Drop cloths | Shop vacuum | Good ventilation |
While you can complete the project with just the basic tools, professionals often use sprayers for larger basements to save time and achieve a more even finish.
Choosing the Right Paint for Basement Durability
Basement environments present unique challenges that require specific paint properties:
Moisture Resistance: Select paints with waterproofing or dampproofing properties specifically formulated for basements and concrete surfaces.
Mildew Resistance: Look for paints containing mildewcides to prevent fungal growth in the naturally humid basement environment.
Breathability: Choose paints that allow walls to “breathe” while still providing adequate moisture protection.
Durability: For basement floors, porch, and floor paints offer the hardness and wear resistance needed for foot traffic.
Low VOC Options: Since basements often have limited ventilation, low VOC (Volatile Organic Compound) paints reduce harmful fumes during and after application.
The right paint not only looks better but significantly extends the life of your project and protects your basement from common issues.
Step-by-Step Process to Paint Concrete Basement Walls
Convert your basement with these professional techniques, ensuring proper adhesion, durability, and a beautiful finish that brightens your space.
Step 1: Prepare the Surface
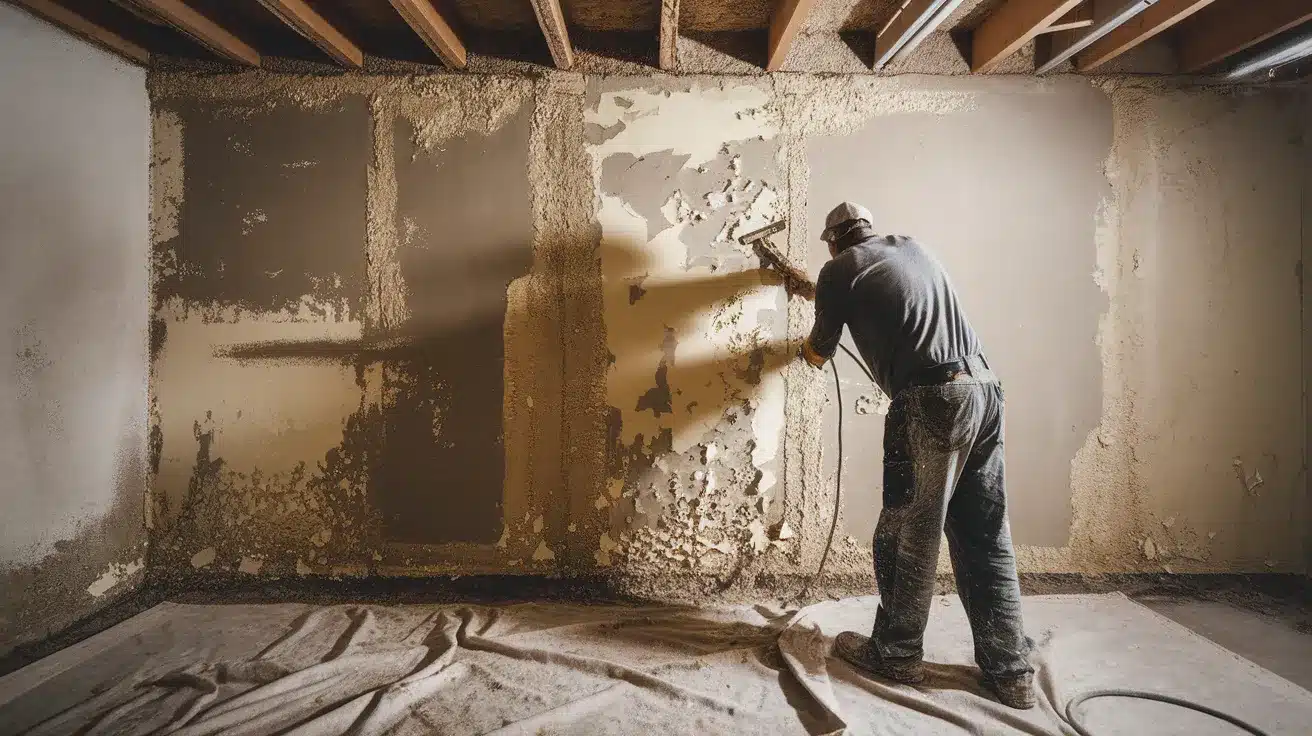
Start by thoroughly preparing your concrete walls. Our Ann Arbor project began with removing all loose paint by scraping the walls. This critical first step ensures the new paint will adhere properly.
- Remove any peeling or flaking paint
- Clean the walls to remove dirt and dust
- Repair cracks or holes with patching compound
- Allow repairs to cure completely
Surface preparation may not be exciting, but it represents about 80% of what makes a paint job last!
Step 2: Apply Primer
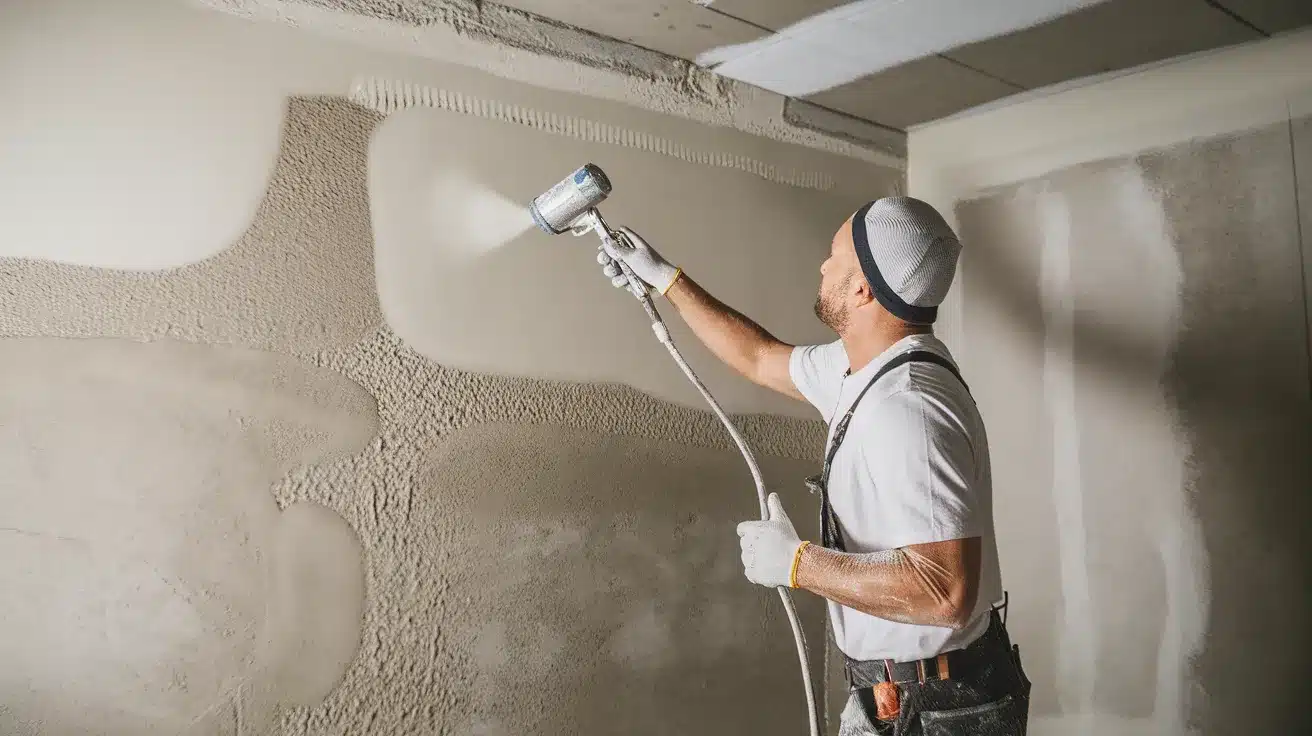
As shown, a quality primer creates the perfect foundation for your paint. Primers designed specifically for concrete:
- Seal porous concrete surfaces
- Block stains from bleeding through
- Provide better adhesion for topcoats
- Create a uniform base color
Apply primer using a sprayer for larger areas and a brush for detail work around edges and corners. Allow the primer to dry completely according to the manufacturer’s instructions before proceeding.
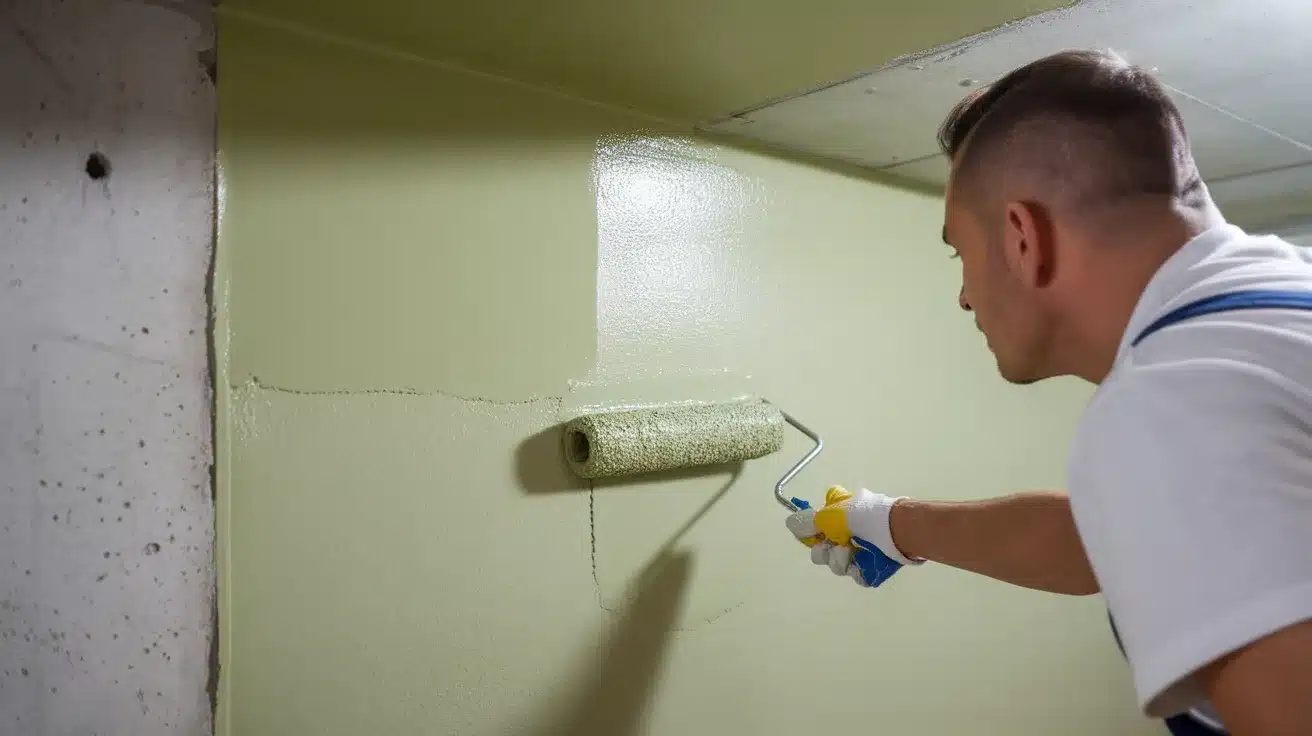
Step 3: Apply the First Coat of Paint
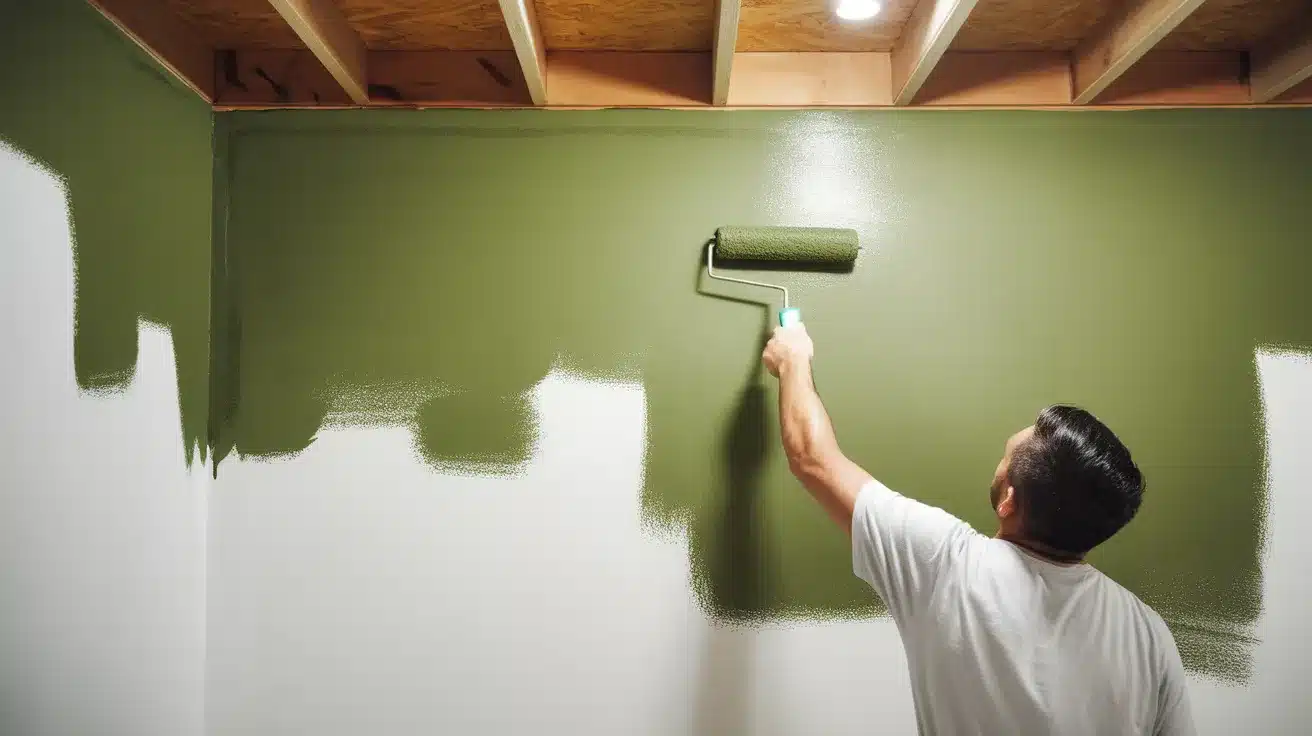
Once your primer is dry, it’s time for the first coat of paint. For efficiency, you can use a sprayer, but rollers also work well.
For best results:
- Start at the top and work down
- Apply paint in sections 3-4 feet wide
- Maintain a wet edge to prevent lap marks
- Pay attention to corners and edges
Let the first coat dry completely. This typically takes 2-4 hours, but can vary based on humidity levels in your basement.
Step 4: Apply the Second Coat
A second coat is essential for concrete basement walls. It provides:
- Better coverage and color uniformity
- Improved durability
- Improved moisture resistance
- More professional-looking results
Apply the second coat just like the first, ensuring even coverage. As demonstrated, sometimes you’ll need to follow up with hand work to reach areas the sprayer missed or to ensure consistent coverage in tricky spots.
Don’t Forget the Floor!
While focusing on “painting concrete basement walls,” consider treating the floor too for a complete modification.
- Clean and prepare the floor thoroughly
- Cut in around edges and obstacles first
- Roll the main floor areas with porch and floor paint
- Allow plenty of curing time – at least three days before foot traffic
Pro Tip: Painting both walls and floor creates a cleaner, more cohesive look and makes the entire space feel larger and brighter.
The Critical Curing Period
As emphasized, patience during the curing period is essential for lasting results. Even though the paint may look and feel dry:
“Make sure to give it at least three days before putting any kind of foot traffic on it. The paint really needs that time to bond to the surface of the floor. It may appear dry, it may feel dry, but underneath it could still be bonding.”
This advice applies to both floor and wall paint, though walls typically need less curing time since they don’t endure direct traffic.
Video Tutorial
I’d like to acknowledge Tribble Painting Company for the insightful video, which was a key reference in putting this guide together.
Maintenance Tips for Painted Basement Surfaces
Proper maintenance extends the life of your painted basement walls and floors
- Regular Cleaning: Dust walls quarterly and clean with a mild detergent solution annually. For floors, sweep weekly and mop monthly with non-abrasive cleaners.
- Humidity Control: Maintain 30-50% humidity in your basement using dehumidifiers to prevent paint deterioration from excessive moisture.
- Prompt Repairs: Address any paint chips, cracks, or peeling immediately before moisture can penetrate and cause larger problems.
- Touch-Up Kit: Keep leftover paint properly sealed for touch-ups. Label containers with the room, surface, and date.
- Avoid Harsh Cleaners: Never use abrasive cleaners or scrub brushes on painted surfaces, which can damage the finish.
With proper maintenance, your painted basement walls can maintain their appearance and protective qualities for 5-7 years before needing a refresh.
Conclusion
Converting concrete basement walls with paint breathes new life into previously overlooked spaces. This simple yet effective approach not only sweetens aesthetics but also provides practical benefits like moisture protection and increased property value.
Throughout this project, I’ve emphasized the importance of proper preparation, quality materials, and patience during the curing process.
Remember that the success of your basement painting project lies in the details thorough surface preparation, using appropriate primer, applying multiple coats, and allowing adequate curing time. The effort invested in following these professional techniques will reward you with a beautiful, durable finish that can last for years.
Your basement holds untapped potential as valuable living space. With paint as your ally, you can change that cold concrete environment into a warm, inviting area that becomes an integral part of your home.
