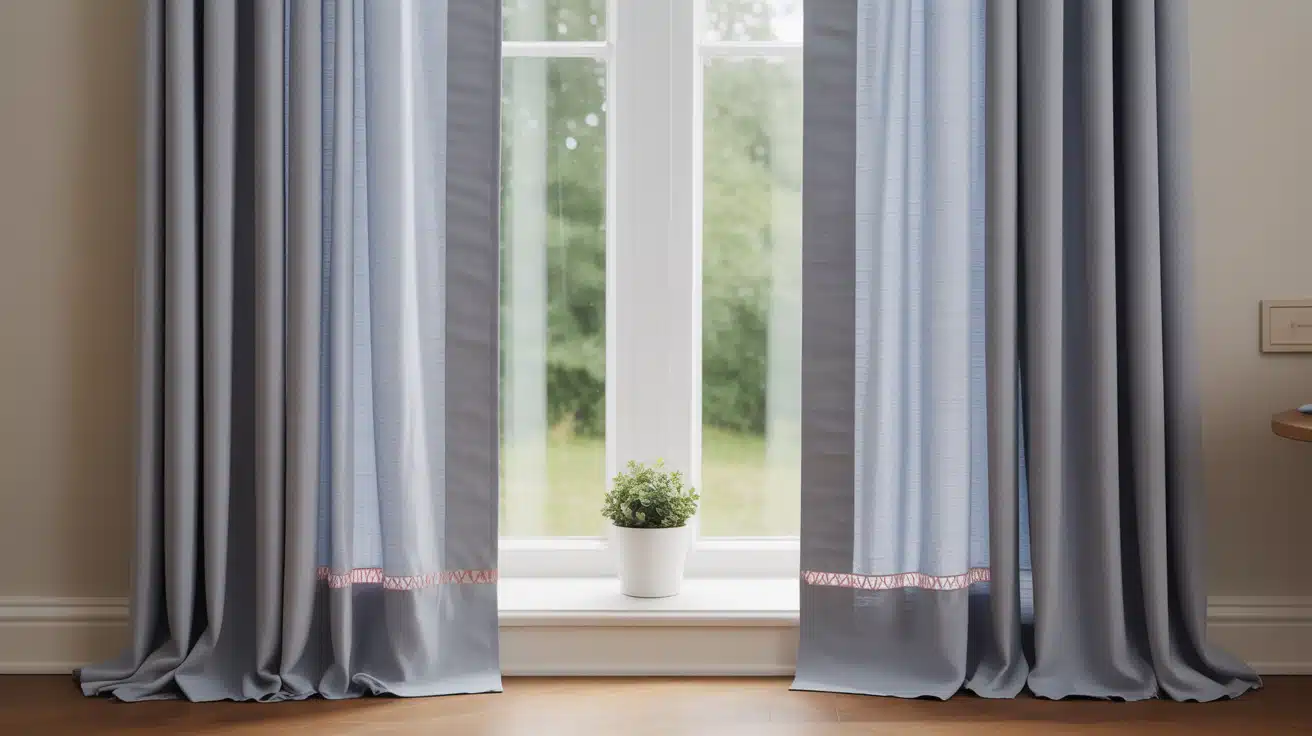
Long curtains touching the floor can make your room look messy and unkempt. You want your windows to look perfect, but taking curtains to a tailor costs money and time. Many people avoid buying beautiful curtains simply because they’re too long for their windows.
Here’s the good news: you can shorten any curtain in under 30 minutes without touching a sewing machine.
This method utilizes heat-activated webbing to create a permanent hem, which is compatible with most fabric types. You’ll save money, time, and get professional-looking results.
This guide will show you exactly how to measure, mark, and hem your curtains using simple household tools.
You’ll learn the precise technique that ensures straight, even hems that last for years.
Why Choose the No-Sew Method Over Traditional Hemming
Traditional sewing requires skill, specialized equipment, and considerable patience. Many people struggle with keeping hem straight or end up with puckered fabric. The no-sew method effectively addresses these problems.
Heat-activated webbing creates bonds that are stronger than many hand-sewn hems. The process is forgiving – if you make a mistake, you can usually fix it before the adhesive sets permanently.
This technique works especially well for lightweight to medium-weight fabrics commonly used in home curtains.
Professional tailors typically charge $15-$ 30 per panel for hemming. With this method, you’ll spend less than $5 on materials and complete the job in your own home.
Step-by-Step Guide to Shortening Curtains
Follow these simple, no-sew steps to change your curtains from floor-dragging to perfectly tailored, no-sew, machine-required.
Tools and Materials Needed to Shorten Curtains:
| Item | Purpose | Where to Find |
|---|---|---|
| Measuring tape | Measure the exact length to remove | Hardware store, online |
|
Iron |
Activate the webbing adhesive | Most households have one |
| An ironing board or a flat surface | Provide a stable work area | Most households have one |
| Heat-activated webbing | Bond fabric layers together | Craft store, fabric store |
| Scissors | Trim excess fabric | Most households have one |
| Curtain rod (temporary removal) | Access curtain panels easily | Already installed |
Step 1: Measure and Mark Your Curtains
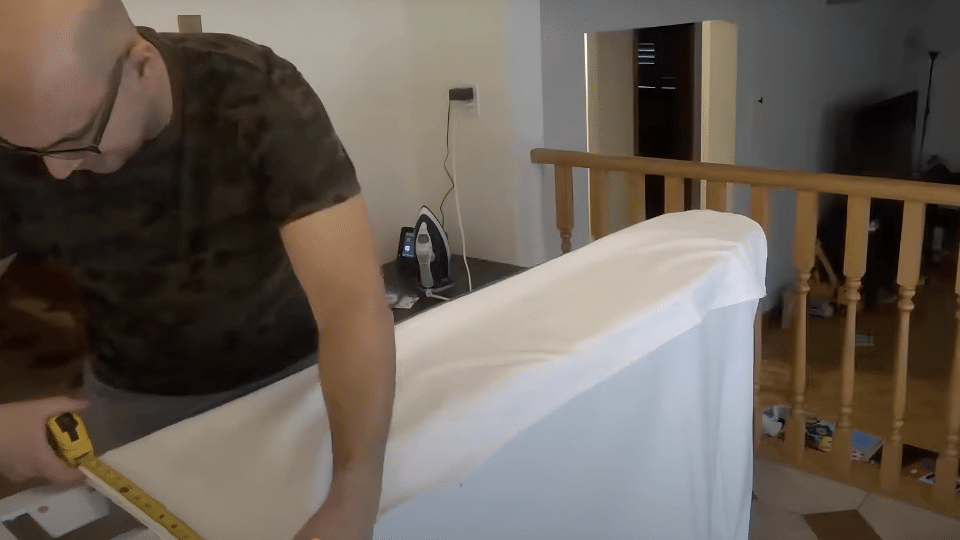
Start by hanging your curtains as you usually would and determine how much length you need to remove. Stand back and fold the bottom of one curtain panel up to where you want the new hem to sit. This gives you a visual reference for the finished length.
Use your measuring tape to measure the folded section precisely. In most cases, you’ll need to remove between 12 and 20 inches, but every situation is different. Write down this measurement – you’ll use it for both panels to ensure they match perfectly.
Materials Needed in This Step
- Measuring tape
- Pen and paper for notes
Instructions: Remove curtains from the rod by unscrewing the end pieces or loosening the mounting screws. This makes the measuring and ironing process much easier and more accurate.
Step 2: Create Your Folding Line
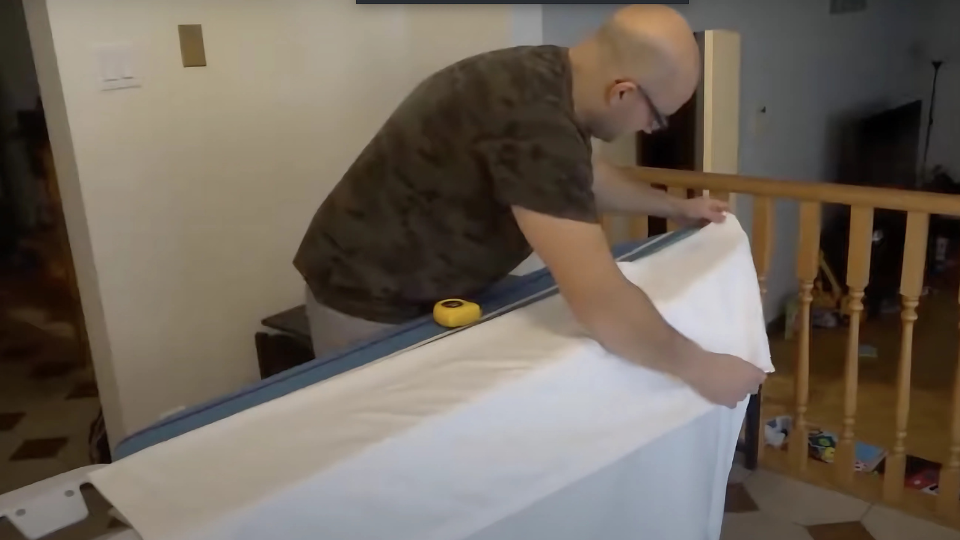
Lay the curtain on your ironing board with the back side facing up. Most curtains have care labels that help you identify the back side. You want to fold the fabric onto the back so the fold won’t be visible from the front.
Measure your determined length from the bottom edge and mark this line across the entire width of the curtain. Fold the fabric along this line, making sure both edges align perfectly. Take time to get this right – a crooked line will result in an uneven hem.
Materials Needed in This Step
- The iron is set to medium heat
- Measuring tape
- Flat ironing surface
Instructions: Press the fold line lightly with your iron to create a temporary crease. Check both ends to ensure your measurement is consistent across the entire width before proceeding.
Step 3: Apply Heat-Activated Webbing
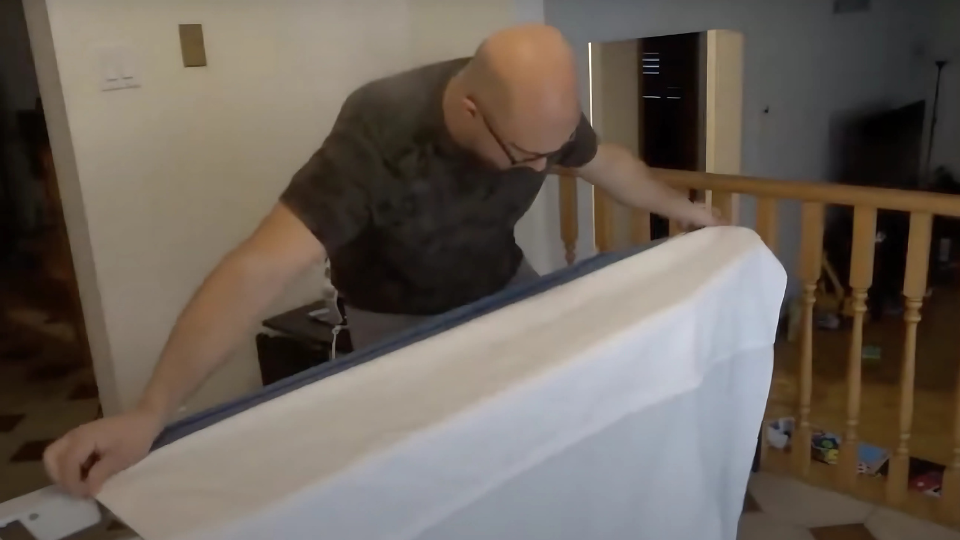
Open the folded curtain and place strips of heat-activated webbing about one inch above your pressed fold line. The webbing should run the entire width of the curtain panel. You can tear this material by hand – no cutting required.
Position the webbing strips so they’ll be completely covered when you fold the fabric back down. Make sure the webbing lies flat without any wrinkles or overlapping sections that could create bumps in your finished hem.
Materials Needed in This Step
- Heat-activated webbing strips
- Iron at medium heat setting
Instructions: Fold the curtain back along your pressed line, sandwiching the webbing between the two fabric layers. The webbing should now be completely hidden inside the fold.
Step 4: Heat-Set the Hem
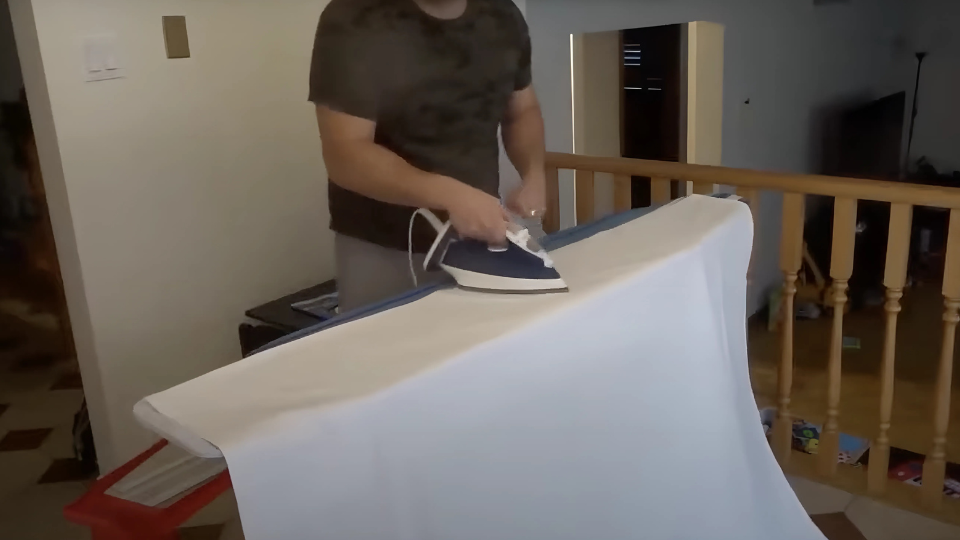
Set your iron to medium heat – too hot can damage delicate fabrics or cause the webbing to fail. Press the iron down on the folded section for 2-3 seconds, then lift and move to the next section. Don’t drag the iron back and forth.
Work systematically across the entire hem, ensuring every section gets equal heat treatment. The webbing needs a consistent temperature to create a strong bond. After completing one direction, flip the curtain over and repeat the process from the other side.
Materials Needed in This Step
- Iron at the correct temperature
- Patience for proper heat setting
Instructions: Allow the hem to cool completely before handling. Test a small section by gently pulling – if it holds firmly, the process worked correctly.
Step 5: Trim and Finish
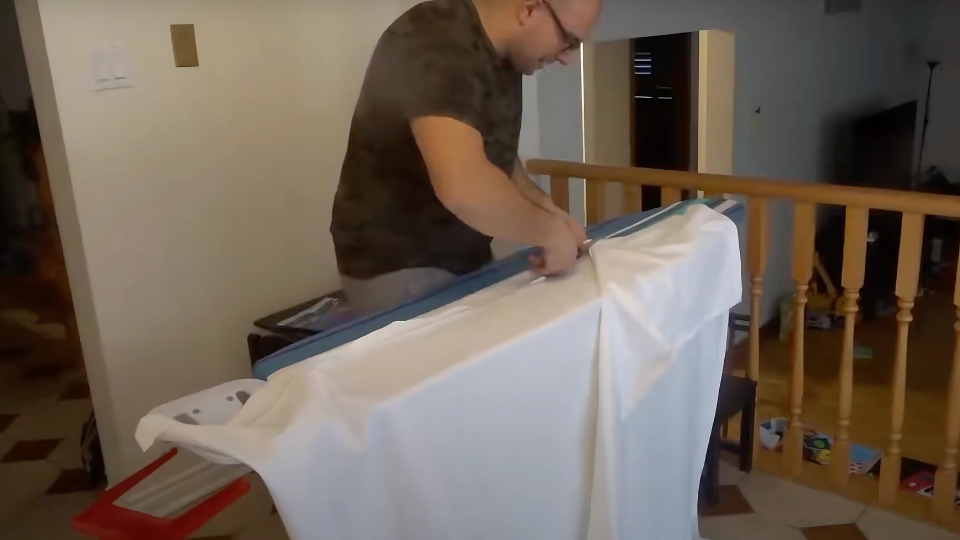
Once the webbing has cooled and set properly, you’ll have excess fabric below your new hemline. Use sharp scissors to trim this excess, leaving about half an inch below the bonded area. You don’t need a perfectly straight cut, since this edge won’t be visible.
Check the entire hem length for any spots where the webbing didn’t bond properly. If you find loose areas, simply apply more webbing and heat-set again. This technique is very forgiving and allows for corrections.
Materials Needed in This Step
- Sharp scissors
- Additional webbing if needed
Instructions: Rehang your curtains and step back to admire your professional-looking results. The hem should hang straight and even, with no visible adhesive or rough edges.
Video Tutorial
Special thanks to Helpful DIY for providing valuable insights in their video, which I referenced while creating this guide.
No-Sew Curtain Hacks That Work
- Match webbing width to fabric weight: narrow for lightweight fabrics, wide for heavier materials.
- Test webbing on a hidden area first to check fabric compatibility.
- Work in bright lighting to ensure accurate measurements and straight lines.
- Keep iron moving to prevent shiny heat marks on fabric.
Mistakes That Can Ruin Your No-Sew Project
| Mistake | Why It’s a Problem | Correct Approach |
|---|---|---|
| Rushing the measuring phase | Leads to incorrect curtain dimensions, causing a poor fit or needing rework | Take extra time for precise measurement and double-check before making any cuts. |
| Using the highest heat setting on the iron | Can damage delicate materials or prevent proper bonding of webbing | Use medium heat for most fabric and webbing combinations |
| Skipping the cooling period after heat-setting | Bond may not fully set and can fail when the hem is handled too soon | Allow full cooling time to ensure the webbing bond strengthens and sets properly |
When to Use Alternative Methods?
- Works best for straight hems on medium-weight fabrics only.
- Remove existing narrow hems first, or use professional services for complex cases.
- Choose professional hemming for expensive designer curtains or valuable family heirlooms.
Conclusion
Shortening curtains without sewing can change your room’s appearance in under an hour. This method costs a fraction of the cost of professional hemming while delivering results that look completely professional.
You’ve learned to measure accurately, apply webbing correctly, and create strong, lasting hems that withstand regular use.
The heat-activated webbing technique is effective on most curtain fabrics and withstands normal washing and daily use well. You can use this same method on other home textiles, such as tablecloths, bed skirts, and even some clothing items.
Remember that practice makes perfect. Your first attempt might take longer, but you’ll speed up quickly with experience. Keep extra webbing on hand for future projects, and don’t be afraid to tackle other home improvement tasks.
What other curtain projects are you planning to tackle next? Share your results and inspire others to try this simple but effective technique.
Frequently Asked Questions
How to Fix Curtains that Are Too Long?
Use heat-activated webbing to create a permanent hem without sewing or cutting the original length.
How to Shorten Curtains Quickly?
The no-sew webbing method takes only 30 minutes and requires just an iron and measuring tape.
How to Adjust the Curtain Length without Cutting?
Fold the excess fabric up and secure it with heat-activated webbing for a reversible solution.
