Starting a vegetable garden feels overwhelming when you see your bare yard and wonder where to begin. Poor soil preparation is the number one reason why home gardens fail to produce the abundant harvests gardeners dream of.
Your plants struggle in compacted earth, fight for nutrients in depleted soil, and battle drainage issues that could have been easily prevented.
Properly preparing your garden bed sets the foundation for healthy, productive vegetables that will nourish your family throughout the entire season.
With the correct location, soil amendments, and preparation steps, you can create the perfect growing environment that makes gardening easier and more rewarding.
This guide walks you through each essential phase of garden bed preparation, from selecting the ideal location to allowing your prepared bed to rest before planting, ensuring your vegetable garden thrives from day one.
Why Garden Bed Preparation Is Crucial?
Proper garden bed preparation forms the foundation of a successful vegetable garden. When you take time to prepare your soil correctly, you create the perfect environment for strong root systems to develop.
Well-prepared beds drain water efficiently while retaining essential moisture and nutrients. This process breaks up compacted earth, allowing roots to spread freely and access oxygen.
A healthy soil structure enables your vegetables to absorb nutrients more effectively, resulting in faster growth and larger yields. Skip this vital step, and your plants will struggle in poor conditions, producing weak growth and disappointing yields.
Think of bed preparation as building a home for your vegetables – the stronger the foundation, the better your plants will thrive throughout the growing season.
Types of Garden Beds
- In-ground beds: Traditional garden beds dug directly into your existing soil, requiring minimal setup costs but needing more soil preparation work.
- Raised beds: enclosed garden boxes filled with quality soil mix, offering better drainage and easier access while preventing soil compaction.
- Container beds: Portable pots and planters are perfect for small spaces, patios, or renters who want flexibility to move their garden.
- Keyhole gardens: Circular raised beds with a central composting basket, maximizing growing space while continuously feeding plants with nutrients.
- Hügelkultur beds: Mounded beds built over buried wood and organic matter, creating self-watering systems that improve soil fertility over time.
- Lasagna beds (sheet mulching): No-dig beds created by layering organic materials like leaves, grass, and compost directly on top of the existing ground.
- Straw bale beds: Conditioned straw bales used as both growing medium and container, offering good drainage and easy setup for temporary gardens.
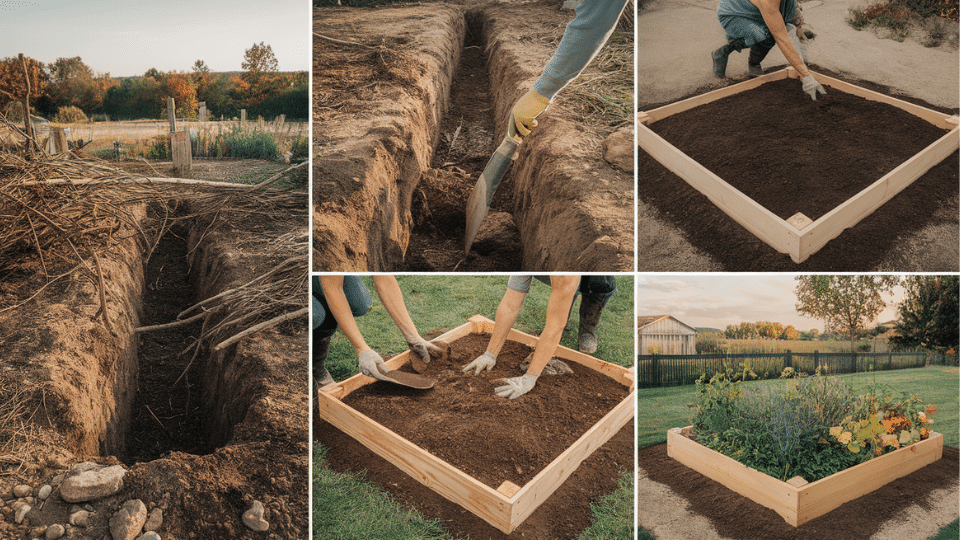
Phased Guide to Preparing the Perfect Vegetable Garden Bed
Follow these simple, practical phases to create a healthy and productive garden bed ready for planting vegetables.
Essential Tools and Materials Checklist
| Category | Items | Purpose |
|---|---|---|
| Basic Tools | Shovel, rake, hoe | For digging, leveling soil, and breaking up clumps |
| Soil Testing | Soil pH tester, moisture meter | To check soil pH and moisture levels before planting |
| Soil Amendments | Compost, manure, pH adjusters (lime, sulfur) | To enrich the soil and balance pH |
| Mulching Supplies | Straw, wood chips, leaf mold | Helps retain moisture and suppress weeds |
| Bed Materials | Raised bed kits, wood planks, bricks, edging | Used to frame and structure raised or defined garden beds |
| Watering Tools | Watering can, hose with spray nozzle, drip line | For consistent and efficient irrigation |
Phase 1: Site Selection and Clearing
Start by selecting the sunniest spot in your yard that gets six to eight hours of direct sunlight. Mark out your bed boundaries with spray paint or stakes and string.
Remove all weeds, grass, and debris from the area using a shovel or garden hoe. Pull up roots completely to prevent regrowth. Clear away rocks, sticks, and any trash that could interfere with planting. This clean slate gives your vegetables the best chance to establish strong root systems without competition from unwanted plants.
Phase 2: Soil Analysis and Testing
Purchase a simple soil test kit from your local garden center or hardware store. Follow the instructions to check your soil’s pH level and nutrient content. Most vegetables grow best in slightly acidic to neutral soil with a pH between 6.0 and 7.0.
The test will also reveal if your soil lacks essential nutrients, such as nitrogen, phosphorus, or potassium. Take soil samples from various locations within your bed to ensure the most accurate results. This information guides what amendments you’ll need to add.
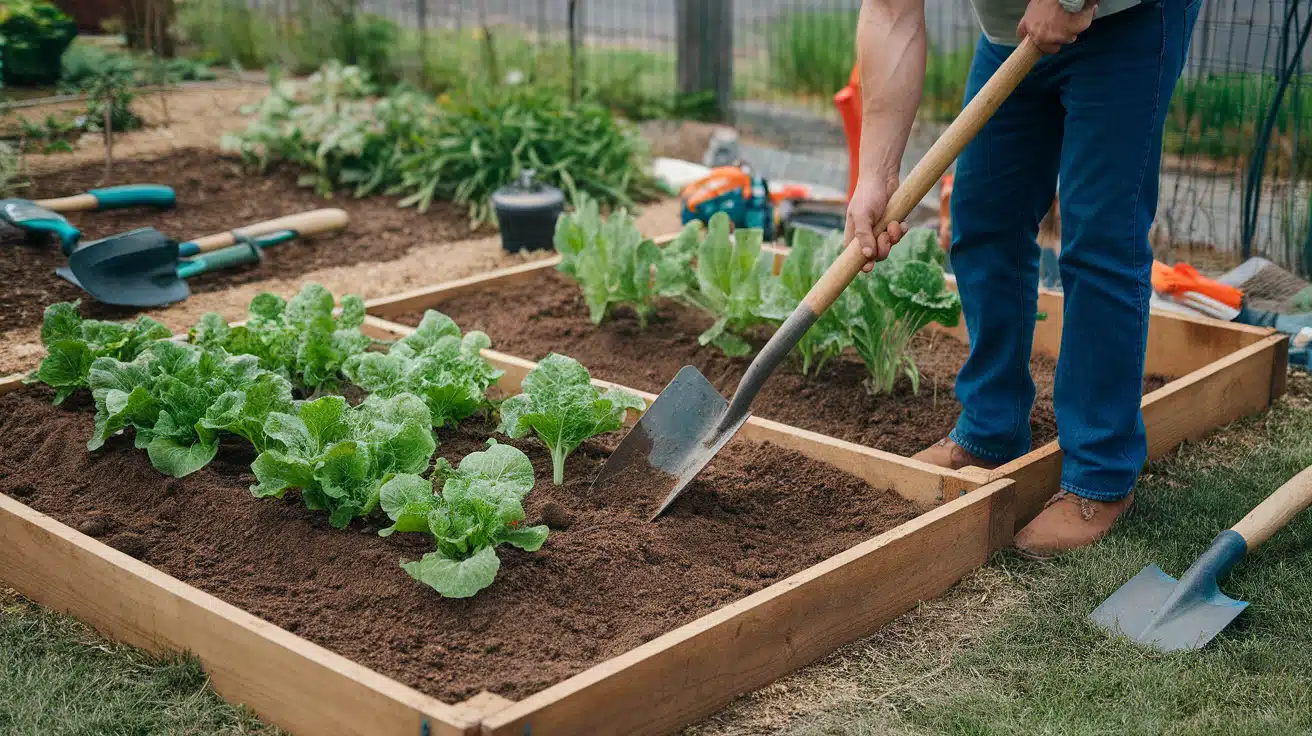
Phase 3: Soil Preparation and Aeration
Use a shovel, spade, or rototiller to break up compacted soil to a depth of 8 to 12 inches. Work when the soil is slightly moist but not muddy – it should crumble in your hand, not stick together.
Turn over each shovelful completely, breaking up large clumps as you go. This process allows air and water to penetrate deeper, creating space for roots to spread easily. Well-aerated soil also helps beneficial microorganisms thrive, which improves overall soil health.
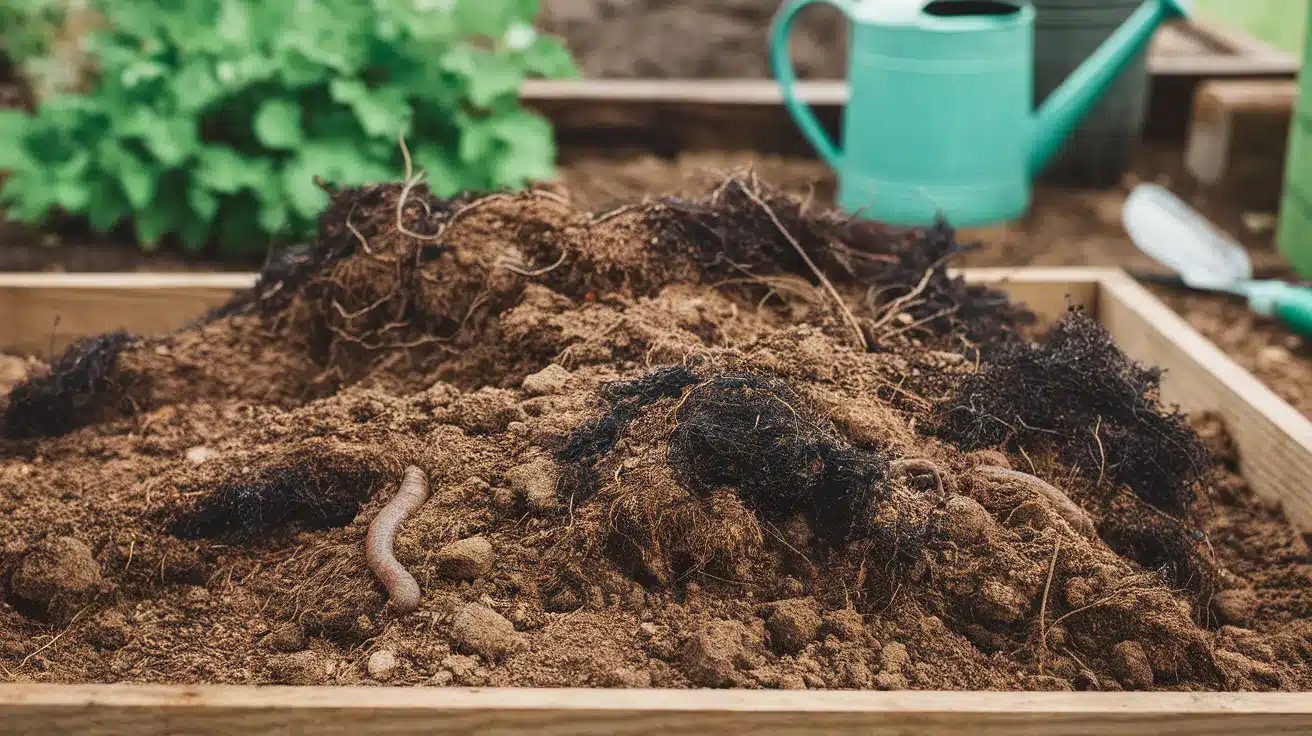
Phase 4: Soil Enhancement and Amendment
Mix in 2 to 4 inches of quality compost or well-aged manure across the entire bed surface. Work these organic materials into the loosened soil using a rake or hoe.
Add other amendments based on your soil test results, such as lime to raise the pH, sulfur to lower it, or specific fertilizers for addressing nutrient deficiencies. Organic matter improves soil structure while feeding beneficial bacteria and worms. Don’t skip this step, as native soil rarely has the ideal balance of nutrients needed for optimal growth.
Phase 5: Bed Construction and Border Installation
Form your bed into a gentle mound or keep it level, depending on your drainage needs. Install edging materials like untreated wood boards, stone, or metal strips around the perimeter. Keep the bed width to a maximum of 4 feet so you can reach the center from either side without stepping on the soil.
Define clear pathways between beds to prevent soil compaction. Proper borders help contain mulch, keep grass from creeping in, and give your garden a neat, organized appearance.
Phase 6: Final Preparation and Settling
Spread a 2 to 3-inch layer of organic mulch like straw, shredded bark, or grass clippings over the prepared soil. Leave small spaces around where you plan to plant seeds or transplants. Water the bed lightly to settle everything in place.
Allow the bed to rest for one to two weeks before planting, giving amendments time to integrate and the soil ecosystem to stabilize. This waiting period helps prevent transplant shock and gives your vegetables the best start possible.
Soil Health and Long-Term Maintenance
- Annual composting and cover cropping: Add 2-3 inches of fresh compost each spring and plant cover crops, such as clover or ryegrass, during the off-season to maintain soil fertility naturally.
- Crop rotation tips: Rotate plant families each year, following heavy feeders like tomatoes with light feeders like beans, and then root crops like carrots to prevent soil depletion.
- Water management and mulching strategies: Water deeply but less frequently to encourage deep root growth, and maintain a 2-3 inch mulch layer year-round to retain moisture and suppress weeds.
- Regular soil testing: Test soil pH and nutrients every 2-3 years to track changes and adjust amendments accordingly for optimal plant health.
- Avoiding soil compaction: Never walk on wet soil, and use permanent pathways between beds to prevent damage to the soil structure and root zones.
- Adding organic matter seasonally: Mix in leaf mold, grass clippings, or aged manure throughout the growing season to continuously feed beneficial soil organisms.
Avoid These Garden Bed Prep Errors for a Better Harvest
| Mistake | Why It’s a Problem |
|---|---|
| Planting too early | Cold soil and late frosts can stunt growth or kill seedlings. |
| Skipping soil preparation | Leads to poor root development and reduced yields. |
| Over-fertilizing | Can burn plants, encourage excessive foliage, and harm soil microbes. |
| Poor drainage | Roots may rot in soggy soil; vegetables need well-draining beds. |
| Using untreated wood in raised beds | Can rot quickly or leach harmful chemicals into the soil (if pressure-treated). |
| Ignoring soil pH and nutrient balance | Results in nutrient lock-out or deficiencies affecting plant health. |
| Overcrowding plants | Leads to competition for nutrients and light, and increases pest/disease risk. |
Final Thoughts
Preparing your garden bed properly is the secret to growing healthy, productive vegetables that will reward you with abundant harvests.
By following these essential steps, choosing the correct location, testing your soil, adding organic amendments, and allowing time for everything to settle, you create the perfect foundation for your plants to thrive.
Remember, successful gardening starts below ground. The time you invest in soil preparation now will pay off with easier maintenance, fewer plant problems, and bigger harvests later.
Your vegetables will thank you with vigorous growth and delicious produce that tastes better than anything from the store.
Ready to start your own vegetable garden? Begin by selecting your sunny location and testing your soil this weekend. With proper preparation, you’ll be amazed at how much food you can grow in even a small space.
What vegetables are you most excited to grow in your new garden bed?
Frequently Asked Questions
How Do you Prepare a Bed for Growing Vegetables?
Clear weeds, test soil pH, dig 8-12 inches deep, add compost, and mulch before planting.
How do you Prepare the Ground for a Vegetable Garden?
Remove grass and weeds, test soil, till deeply, mix in compost, and shape beds.
What Are 5 Things you Should Do to Prepare a Good Veggie Garden?
Choose a sunny spot, clear weeds, test soil pH, add compost, and loosen the earth deeply.