
Considering how to paint furniture, but unsure where to start? You’re at the right place.
Refreshing an old piece with paint is an easy and affordable way to update your space. It doesn’t take expert skills or fancy equipment, just some time, patience, and the right approach.
If you have a plain side table or a tired dresser, a fresh coat of paint can make it look new again. Even better, you get to create something that feels personal and adds charm to your home.
This blog will walk you through each step, from surface prep to the final coat.
You’ll also find helpful tips to avoid common mistakes, save time, and get a smooth finish. Pick your color, grab a brush, and let’s get started.
Why Painting Furniture Is a Smart DIY Project
Painting furniture is a smart DIY choice for plenty of good reasons. First, it helps you save money compared to buying something brand new. If you’re working with a tight budget, it’s a simple way to update your space without spending much.
It also reduces waste, giving older pieces a second life instead of discarding them. That’s a win for both your wallet and the environment.
For renters or those in smaller homes, painting offers a way to personalize without making significant changes.
You get to pick the exact color and finish that suits your space. It’s all about creating something that works for your needs and style, using what you already have right at home.
Materials Needed to Paint Wood Furniture at Home
Before you begin, make sure you have the necessary tools and supplies. Starting with the basics will help you stay focused and make the project easier to manage. Below is a brief overview of the key materials you’ll use early in the process.
| ITEM | PURPOSE |
|---|---|
| Screwdriver | To remove hardware like knobs and handles |
| Degreasing cleaner | To clean the surface before sanding |
| 220-grit sandpaper | For lightly sanding the furniture surface |
| Shellac-based primer | To block stains and help paint stick better |
| Enamel or acrylic paint | Main paint for finishing the furniture |
In addition to the essentials above, you’ll also want to gather a few more items to keep things neat and hassle-free: a soft cloth or sponge, tack cloth or clean rag, paintbrush or paint roller, painter’s tape, drop cloth or newspaper, and a small container to hold any hardware you remove.
With everything in place, you’re ready to paint confidently and get great results.
Step-by-Step Guide to Painting Furniture at Home
Furniture painting may seem intimidating at first, but it’s pretty simple when broken down into steps. With the right tools and a bit of care, you can give any piece a fresh look.
This guide walks you through each part so you know exactly what to do and when.
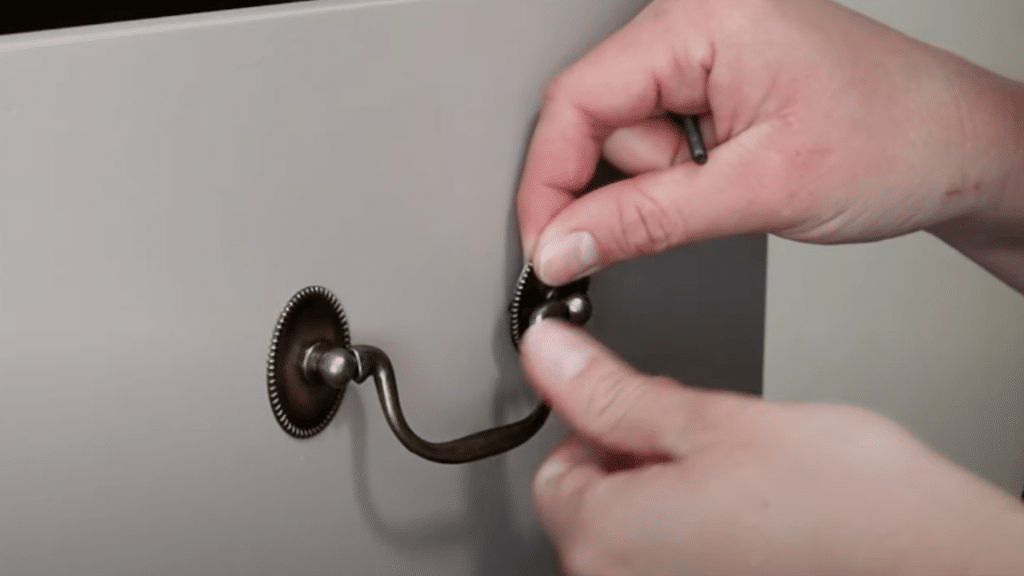
Step 1: Remove the Hardware
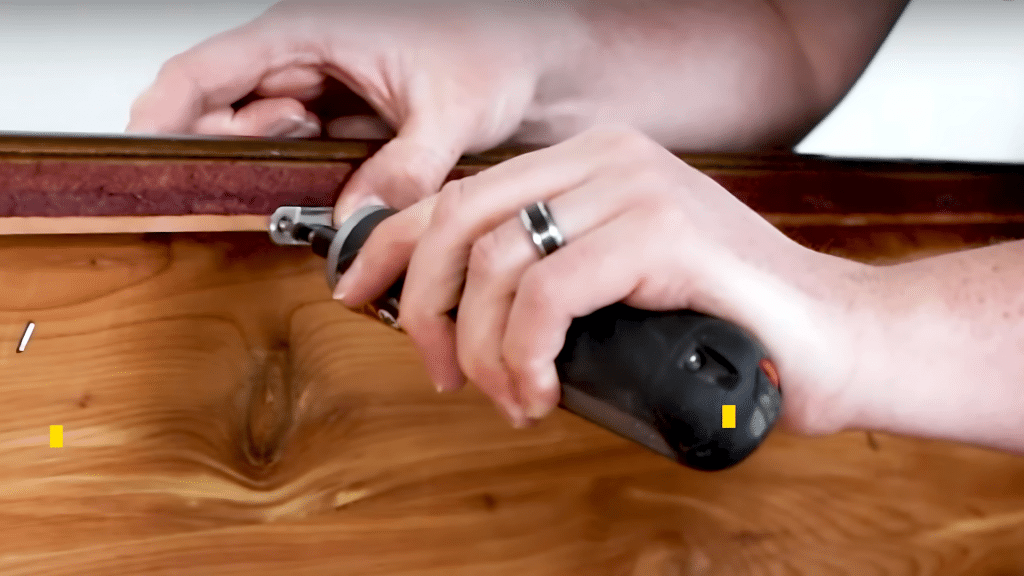
Let’s start with something quick that sets the tone for the rest of your project.
Before you do anything else, remove all the hardware from your furniture. This simple task makes painting easier and gives you a cleaner finish.
- Unscrew and remove all knobs, handles, and hinges
- Use a small bowl or bag to keep the pieces together
- Check for hidden screws or extra hardware inside drawers
With your furniture hardware safely removed, you’re ready to prep the surface.
Step 2: Clean the Surface
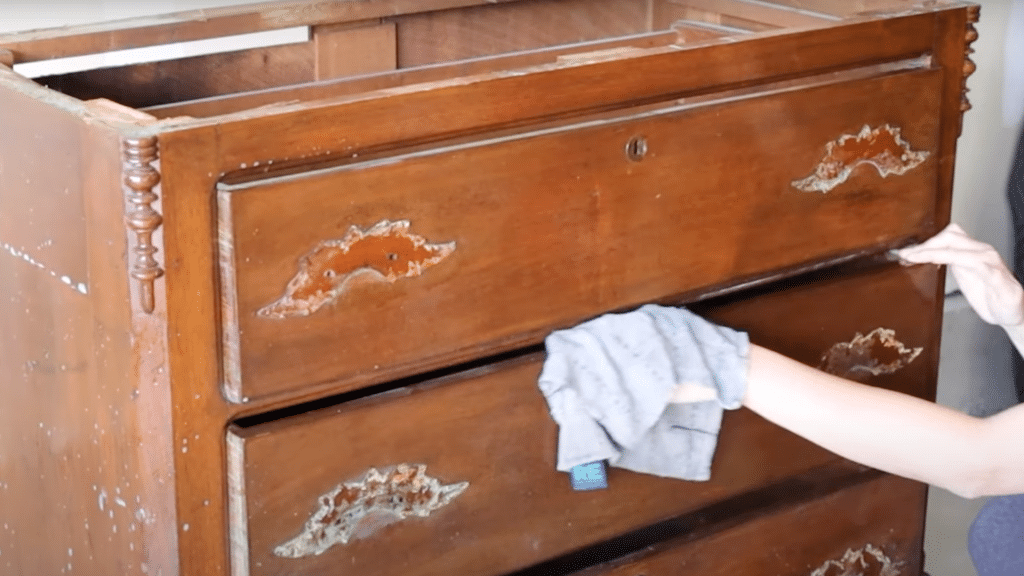
A clean base makes all the difference when it comes to painting.
Even if your furniture appears fine, it’s essential to remove all dirt, grease, or buildup that can prevent paint from adhering. For tough spots, mineral spirits can help cut through stubborn grime.
- Use a degreasing cleaner and a soft cloth to wipe the surface
- Focus on corners, edges, and high-touch areas
- Let it dry completely before moving on
As your piece is clean and dry, it’s time to smooth out the surface.
Step 3: Lightly Sand the Furniture
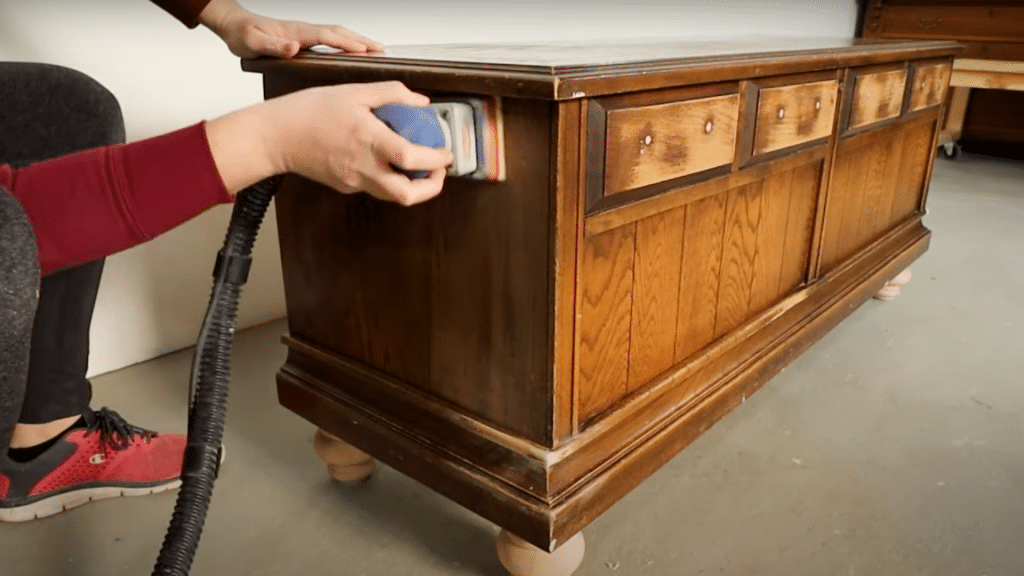
Sanding might sound like a chore, but it helps your paint go on smoothly and stay put.
This step helps rough up the surface just enough for primer and paint to grip well. You don’t need to go too deep-just lightly sand the wood to create texture.
- Use 220-grit sandpaper for light sanding.
- Go over all surfaces evenly, including edges
- Wipe away all dust with a clean cloth or tack cloth
Now that your surface is smooth and ready, let’s move on to the fun part.
Step 4: Prime and Paint
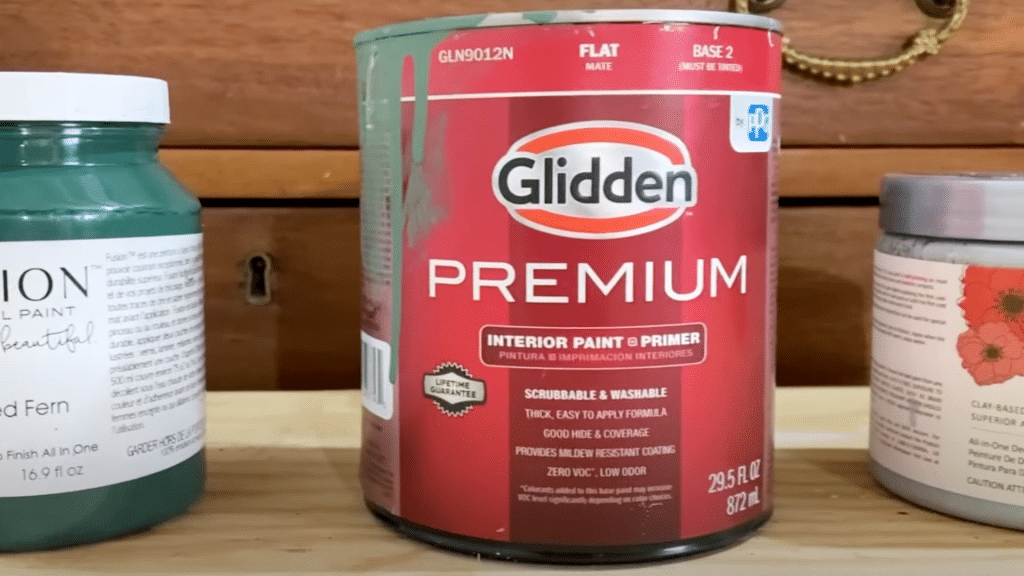
This is where your furniture starts to take on a whole new look.
Priming and painting refresh your piece, adding color and style while also protecting the wood. Take your time and work in thin layers for the best result. Whether you choose white paint, milk paint, or another color, the finish coats will determine the final appearance.
- Apply a shellac-based primer to block stains
- Let the primer dry thoroughly before painting
- Use enamel or acrylic paint in 2 to 4 thin coats
- Let each coat dry before adding the next
- Use quality brushes or rollers for a smooth finish
With the painting done, all that’s left is to let it cure and complete the finishing touches.
Step 5: Let It Dry and Reattach the Hardware
This final step brings everything together and prepares your piece for use.
Once the paint has thoroughly dried and cured, you can bring the piece back to life by reattaching the hardware. Be gentle and make sure everything lines up nicely. This is also a good time to check if any furniture repair is needed before final assembly.
- Let the paint dry for at least 24 hours
- Avoid touching or placing items on the surface while drying
- Reattach knobs, handles, and hinges carefully
- Make any final touch-ups if needed
You’re done! Enjoy the result of your hard work and the fresh new feel of your updated furniture.
Watch the Full Video Tutorial
For a complete step-by-step guide with visuals, check out this helpful video by Katie Scott SALVAGED by k. scott. It covers each part of the process clearly and shows exactly how to paint wood furniture with confidence and ease.
Chalk Paint Instructions and Tips
Chalk paint has become a popular choice for painting furniture because it requires minimal prep work and creates a beautiful matte finish. Unlike regular paint, chalk paint sticks to most surfaces without extensive sanding or priming, making it perfect for beginners.
To use chalk paint effectively, apply thin coats with a brush, working in sections. The paint dries quickly, so work efficiently. After your painted piece is completely dry, you can distress edges with fine sandpaper for a vintage look. Always seal chalk paint with wax or a clear topcoat to protect the finish and make it durable for everyday use.
Mistakes to Avoid When Painting Wood Furniture
Even a small project can feel frustrating if a few key steps are missed. Knowing what to watch out for can save you time and help your painted furniture turn out clean and long-lasting. Here are some common mistakes that are easy to prevent.
- Skipping prep work: Cleaning and sanding may seem minor, but they make a significant difference in how paint applies and adheres to the surface.
- Rushing coats and drying time: Let each layer dry thoroughly. Stacking wet coats leads to uneven texture, streaks, and peeling.
- Using the wrong type of paint or brush: Low-quality tools or the wrong kind of paint can result in brush marks, chips, or a poor finish.
- Forgetting the topcoat: A clear coat helps protect your painted surface from scratches, marks, and everyday wear and tear.
By keeping these things in mind, you’ll avoid the most common issues that slow down or ruin a project. A little extra care at each stage goes a long way toward getting a smooth, strong finish you’ll be happy with.
Final Thoughts
Painting furniture doesn’t have to feel like a big task. Start with something simple, such as a chair, a small table, or a nightstand. You could even try updating a cabinet or old wood cabinets to practice your skills.
These smaller projects are easy to manage and perfect for learning as you go. The goal isn’t to make it perfect. It’s about enjoying the process and making something that feels right in your home.
Each time you paint, you’ll build more confidence. Every finished piece adds something personal and unique to your space. Even a little change can bring a fresh look.
Have you tried painting a piece of furniture? Or are you thinking about it? Share your before & after photos or ideas in the comments.
Let’s inspire each other and keep the creativity going.
