Sanding hardwood floors represents one of the most effective ways to bring tired, worn surfaces back to life.
This process removes years of scratches, scuffs, and discoloration while preparing your floors for fresh staining and finishing.
Understanding the timeline helps you make informed decisions about scheduling, budgeting, and whether to tackle the work yourself or hire professionals.
Most homeowners find that floor sanding takes anywhere from two to five days, depending on the room size and the condition of the wood.
The duration depends on several key factors and varies significantly between DIY and professional approaches. Proper planning ensures you can complete the project efficiently while achieving the beautiful results you want.
What Determines Your Sanding Timeline
The time required for sanding hardwood floors varies considerably based on several important factors.
Room size plays a significant role, as larger spaces naturally require more time – a small bedroom will take significantly less time than an open-concept living area.
Floor condition is equally important, as heavily damaged or uneven surfaces require multiple passes with different grits, which can substantially extend your timeline.
The type of wood also affects the duration, with harder species, such as oak, requiring more time to sand than softer woods, like pine.
Finally, your experience level matters greatly – professionals work much faster due to their expertise and access to superior equipment, while DIY projects naturally take longer as you learn the process.
Step-by-Step Process Breakdown
The sanding process consists of six distinct phases, each building upon the previous step to achieve professional-quality results.
Understanding each stage helps you plan your timeline and gather the necessary materials before you begin. Proper execution of each step ensures a smooth, even finish that’s ready for staining and protective coating.
Preparation (2-4 hours)
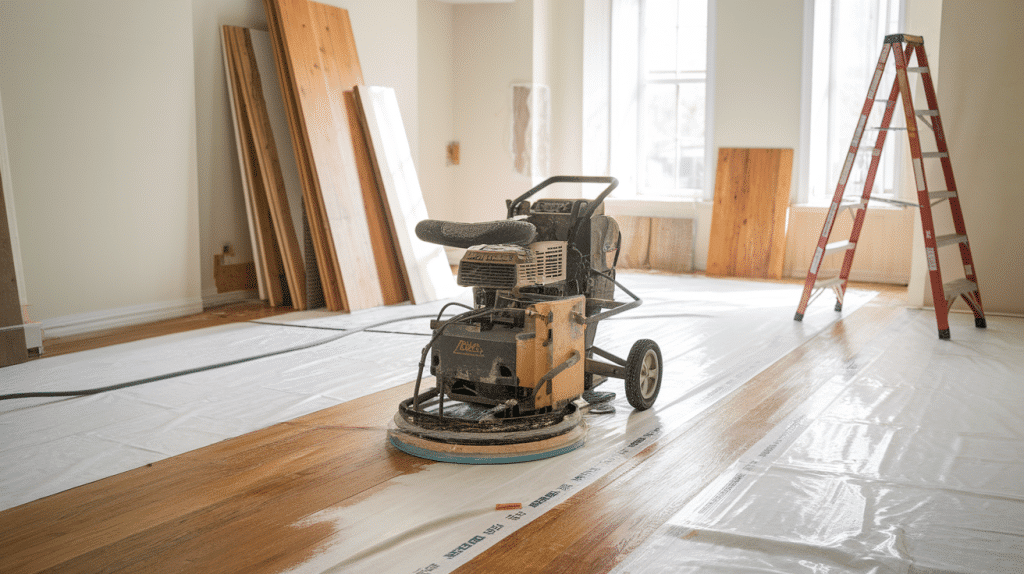
Remove all furniture, clean the space thoroughly, and cover vents and fixtures to prevent dust damage. This initial phase sets the foundation for success and prevents costly mistakes later.
Proper room preparation also protects your belongings and other areas of your home from fine dust particles.
- Clear the room completely, including baseboards and trim
- Seal off adjacent rooms to contain dust
- Check for protruding nails or staples
Initial Sanding (varies by room size)

Use a drum sander to remove the old finish, working systematically across the entire floor. This step requires patience and consistent technique to avoid creating uneven surfaces or gouges.
Move slowly and maintain control of the equipment to ensure uniform finish removal across all areas.
- Start with coarse grit (36-60) for heavy finish removal
- Move with the wood grain in overlapping passes
- Maintain steady, even pressure throughout
Edge Sanding (1-3 hours)
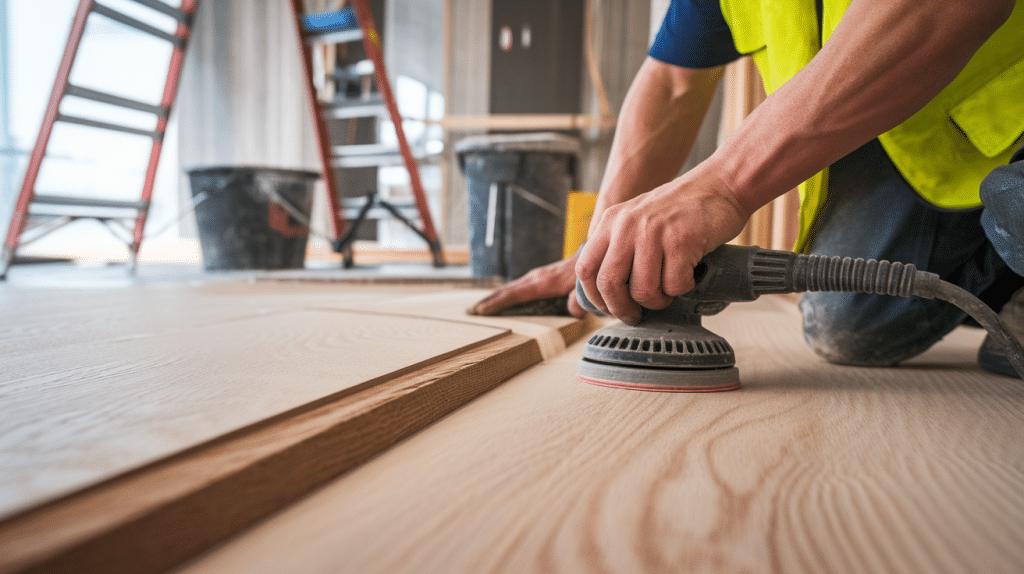
Hand-sand areas that the large equipment can’t reach, including corners and edges along walls. This detailed work requires careful attention to match the main floor surface texture.
Proper edge sanding ensures your finished floor looks consistent from wall to wall without visible transition lines.
- Use an edge sander or a hand sander for tight spaces
- Match the grit used on the main floor areas
- Pay attention to transitions and thresholds
Final Sanding (1-2 hours)
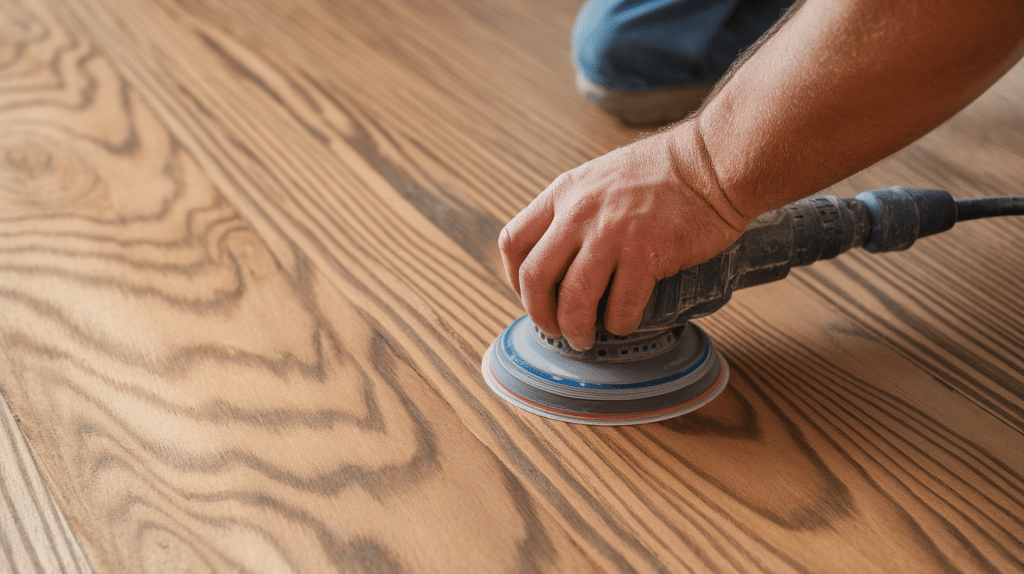
Complete a final pass to ensure smooth, even surfaces throughout the room. This step removes any remaining imperfections and prepares the wood for stain absorption.
Take the time to scrutinize your work, as this is your last opportunity to correct any issues before completing it.
- Switch to fine grit (100-120) for a smooth finish
- Remove any scratch marks from previous grits
- Check the entire surface for consistency
Cleaning (1 hour)
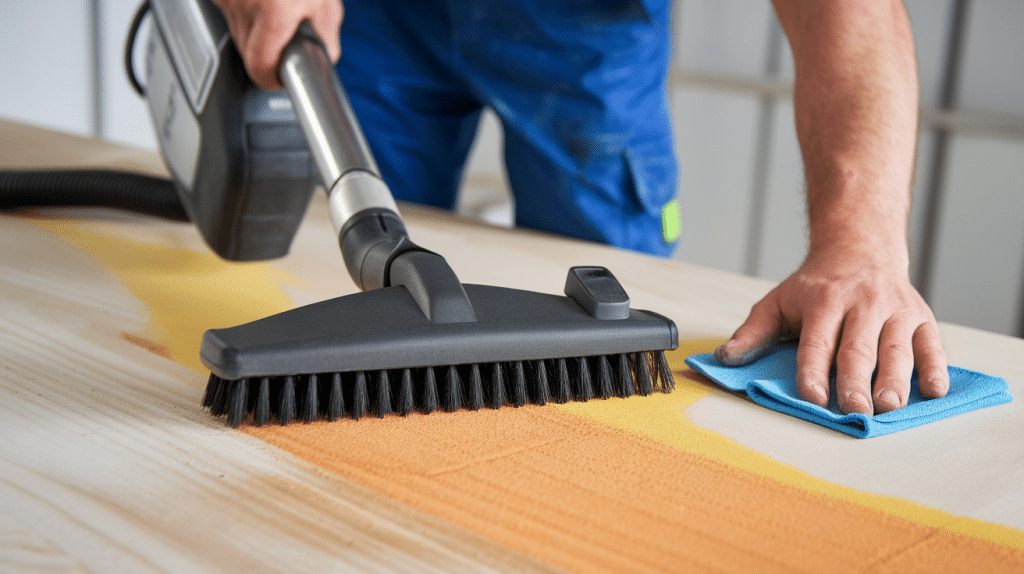
Remove all dust and debris before applying any new finish. Even small particles can create bumps or imperfections in your final coat, so thorough cleaning is essential.
This step ensures optimal adhesion and appearance of your chosen stain and protective finish.
- Vacuum thoroughly with the brush attachment
- Use a tack cloth to remove fine particles
- Ensure the surface is immaculate and dry
Staining and Finishing (additional 1-2 days)

Allow proper drying time between coats if you plan to stain and finish the floors. Rushing this phase can ruin all your previous hard work with poor adhesion or uneven coverage.
Plan for adequate ventilation and controlled temperature conditions during the application and curing process.
- Apply the stain evenly if the desired color change
- Allow 8-12 hours of drying time between finished coats
- Plan for 2-3 coats of polyurethane or chosen finish
Time Estimates
Professional teams typically complete 200-300 square feet per day, while DIY enthusiasts can expect to finish 100-150 square feet in the same timeframe.
This difference reflects the expertise and specialized equipment that professionals bring to the project, along with their ability to work efficiently without breaks for learning or troubleshooting.
| Room Size | DIY Timeline | Professional Timeline |
|---|---|---|
| 100 sq ft | 1-2 days | 4-6 hours |
| 300 sq ft | 2-3 days | 8-12 hours |
| 500 sq ft | 3-4 days | 12-16 hours |
Making Smart Decisions for Your Project
Most DIY projects take 2-4 days to complete on average for a standard room, while professionals typically complete the same work in 1-2 days.
Consider your skill level, available time, and the condition of the floor when deciding on your approach. If you’re new to floor sanding, starting with a less visible room can help you build confidence and skills.
Don’t forget to consider the physical demands of the job, as operating heavy sanding equipment for hours can be exhausting and potentially lead to uneven results if you become fatigued.
Weather conditions also matter – avoid sanding during humid periods, as moisture can interfere with proper drying and finishing.
Allow extra time for unexpected challenges, and remember that proper preparation leads to better results.
Plan for 24 hours before light foot traffic and avoid heavy use for 72 hours after completion. Having realistic expectations about timing helps reduce stress and ensures quality results.
Protecting Your Investment for Years to Come
Most hardwood floors require sanding every 7 to 10 years, depending on the level of foot traffic and the care provided.
Regular maintenance, such as prompt spill cleanup, the use of protective mats, and periodic deep cleaning, can extend this timeline and preserve your investment.
High-traffic areas may require attention sooner, while bedrooms and formal spaces often last longer between sandings.
Sanding hardwood floors requires patience, planning, and realistic time expectations. While the process demands significant effort, the results can completely refresh your living space.
Have you tackled a hardwood floor sanding project yourself, or did you hire professionals? Share your experience and any helpful tips in the comments below to help other homeowners planning their floor renovation projects.