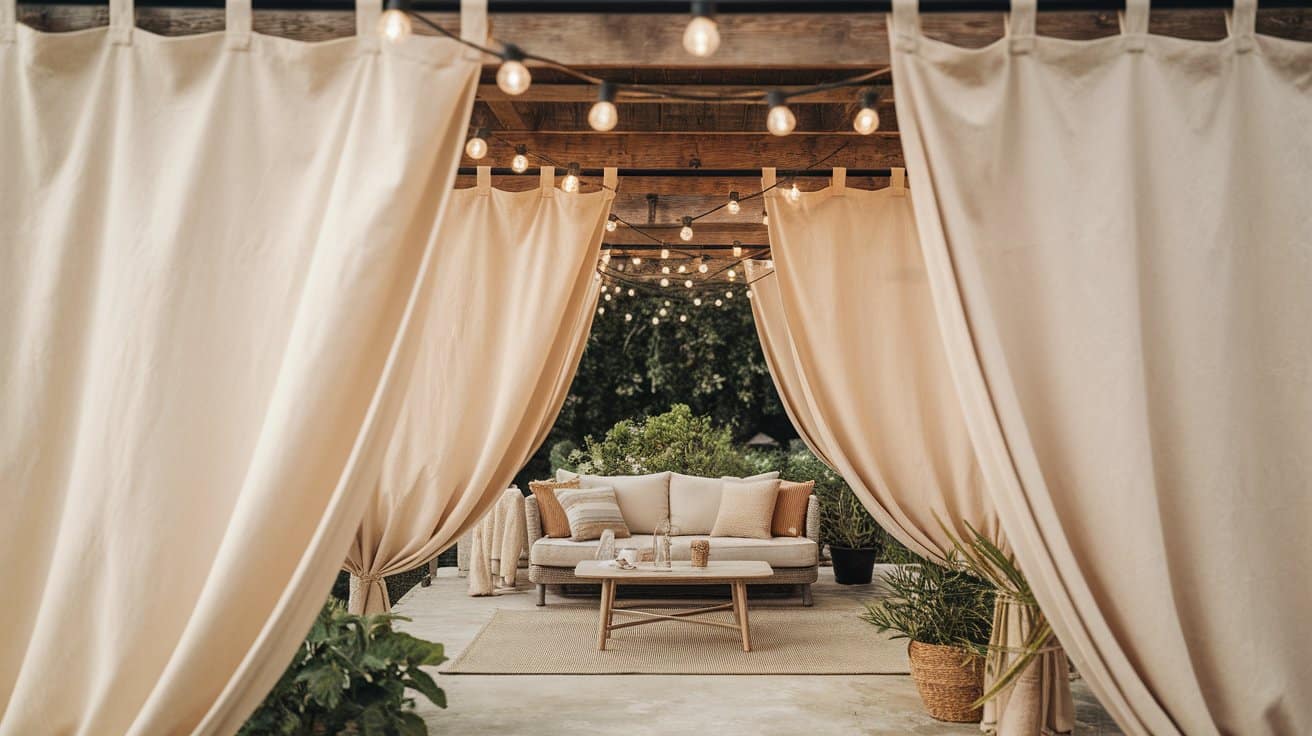
Ever wondered why your outdoor gatherings feel incomplete despite having beautiful furniture and decor? The missing element might be simpler than you think: proper outdoor curtains.
DIY outdoor curtains are simple to install with just a few tools, making them perfect for weekend projects. Weather-resistant fabrics and simple hanging systems make this project accessible for beginners.
Your patio, deck, or gazebo can gain sun protection, wind barriers, and defined entertaining zones. Professional installations often cost thousands, but this DIY approach requires minimal investment.
I’ve helped countless homeowners create functional outdoor spaces through simple curtain installations.
This blog walks you through every step, from planning to final styling touches that make outdoor areas truly comfortable.
Why Choose DIY Outdoor Curtains?
DIY outdoor curtains provide instant privacy without permanent structural changes to your property. Unlike built-in screens or walls, fabric panels can be removed during harsh weather or winter months. This flexibility makes them perfect for renters or homeowners who prefer temporary solutions.
Cost savings represent another major advantage of the DIY approach. Professional outdoor curtain installation often costs $500-1500 per space. Creating your own version typically requires $50-200 in materials, depending on size and fabric choice.
Key Benefits:
- Instant privacy – Block neighbors’ views immediately.
- Weather protection – Shield from sun, wind, and light rain.
- Easy maintenance – Machine washable fabrics stay fresh.
- Seasonal flexibility – Remove during storms or winter storage.
- Custom sizing – Perfect fit for any outdoor space dimensions.
Planning Your Outdoor Curtain Setup
Successful outdoor curtain projects start with careful assessment of your space and needs. Consider your outdoor area’s unique characteristics before selecting materials or installation methods.
1. Space Assessment: Evaluate your outdoor area’s dimensions and layout. Note existing structures that could serve as mounting points or obstacles that might affect curtain placement.
2. Style and Function Goals: Determine your primary objectives – sun protection, wind blocking, or creating separate zones. Different goals may require different fabric weights and installation approaches.
3. Budget Planning: Set a realistic budget for materials and tools. Basic setups cost $50-100, while larger or more elaborate installations may reach $200-300, depending on space size and fabric choices.
4. Timeline Considerations: Plan your project timeline around weather conditions and your personal schedule. Most installations take 4-6 hours spread over a weekend, allowing time for proper measurements and adjustments.
Tools and Materials You’ll Need
Gather all materials before starting your project to ensure smooth installation. Budget-friendly options can work well when chosen carefully for your specific space needs.
| Item | Quantity | Purpose |
|---|---|---|
| Canvas drop cloths (6×9 ft) | 4 pieces | Main curtain fabric |
| Screw-on curtain rod brackets | 6-8 brackets | Rod mounting system |
| Curtain rod sections | 2-3 rods | Hanging support |
| Clip rings | 20-28 rings | Curtain attachment |
| Screws (appropriate for surface) | 12-16 screws | Bracket installation |
| Measuring tape | 1 tool | Accurate measurements |
| Level | 1 tool | Straight installation |
| Drill with bits | 1 set | Bracket mounting |
7-Step Process to Install DIY Outdoor Curtains
Follow these detailed steps to create functional outdoor curtains using affordable materials. Each step addresses common challenges encountered during installation.
Step 1: Measure, Plan, and Prepare Materials
Determine curtain placement based on desired privacy and coverage needs. Account for roof angles or uneven surfaces that may affect length requirements. Mark mounting locations clearly before purchasing hardware.
Select 6×9-foot canvas drop cloths for standard patio coverage. Inspect each cloth for quality and budget around $13 per piece. Plan for at least four drop cloths for typical patio enclosure projects.
Key Consideration: Uneven rooflines require different curtain lengths for proper ground clearance.
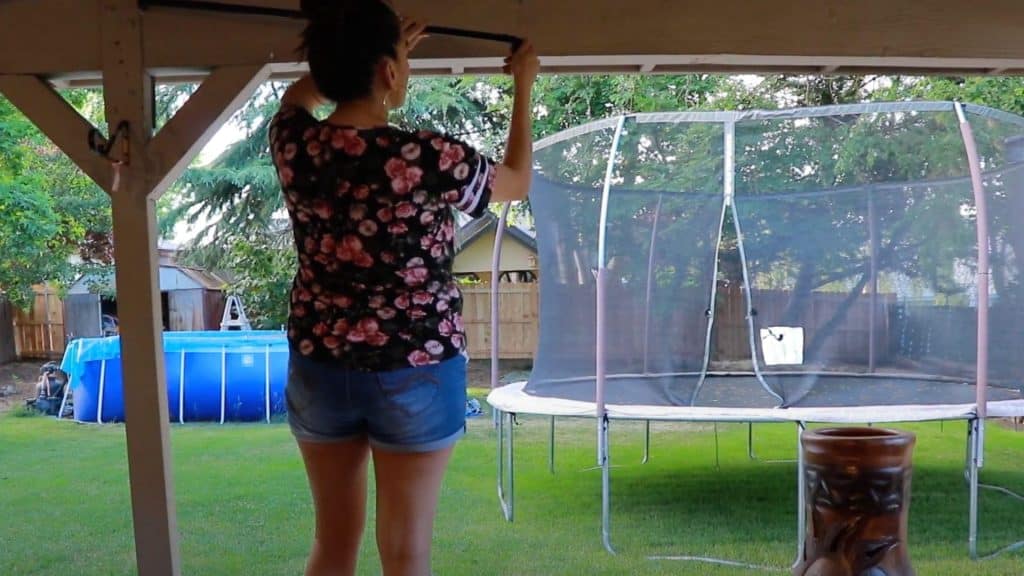
Step 2: Install Screw-On Bracket Systems
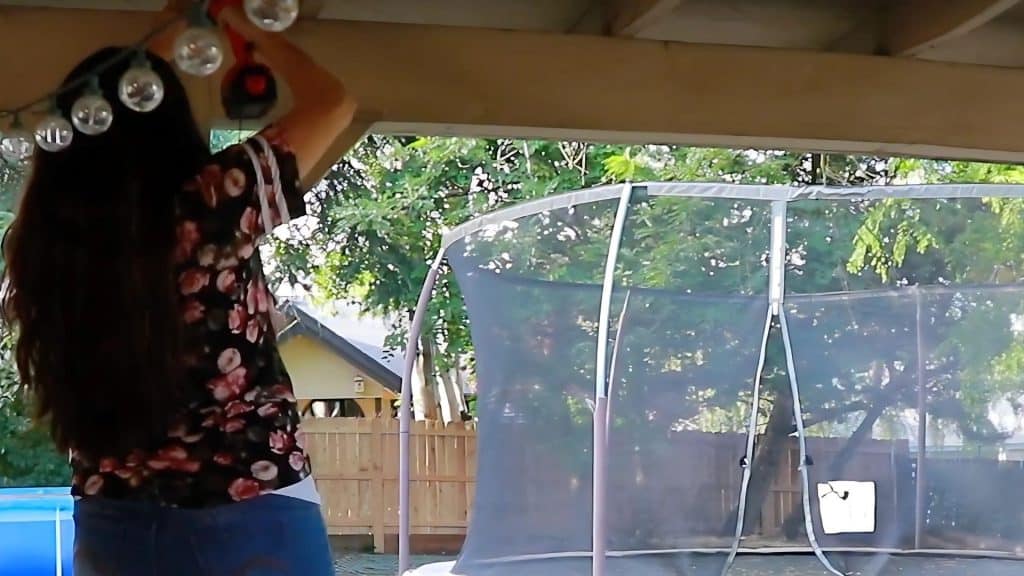
Mount brackets using appropriate screws for your surface material. Test bracket stability before adding curtain weight. Space brackets according to curtain rod length specifications.
Check that all brackets align properly for smooth rod installation. Misaligned brackets cause binding and difficult curtain operation.
Important Note: Cheaper bracket systems may require closer spacing to handle fabric weight effectively.
Step 3: Install Curtain Rods
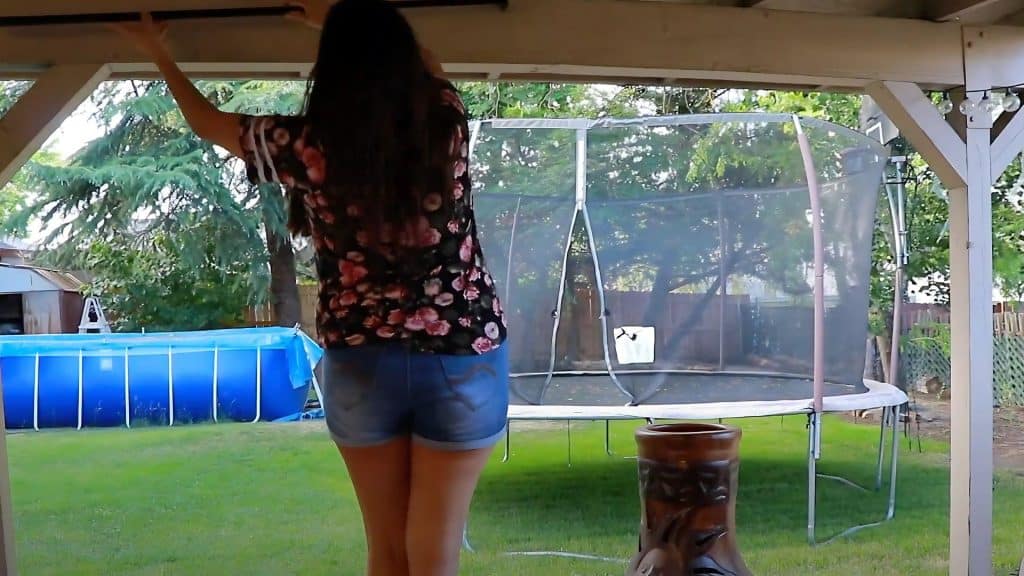
Insert curtain rods through mounted brackets, ensuring smooth sliding action. Test weight capacity by applying downward pressure before hanging actual curtains. Address any wobbling or instability issues immediately.
Longer rod spans may feel flimsy at center points. Consider additional support brackets for spans over 6 feet to maintain proper function.
Important Note: Quality curtain rods prevent future sagging and operational problems, worth the extra investment.
Step 4: Attach Clip Rings to Prepared Curtain Panels
Space clip rings evenly along curtain tops, typically 5-7 rings per 6-foot width panel. Fold curtain tops approximately 27 inches to achieve the desired length and ground clearance. Secure folds before attaching rings.
Adjust folds as needed based on your mounting height. Adjust each panel individually for consistent bottom alignment.
Tips: Test ring spacing with one panel before completing all curtains to ensure adequate support.
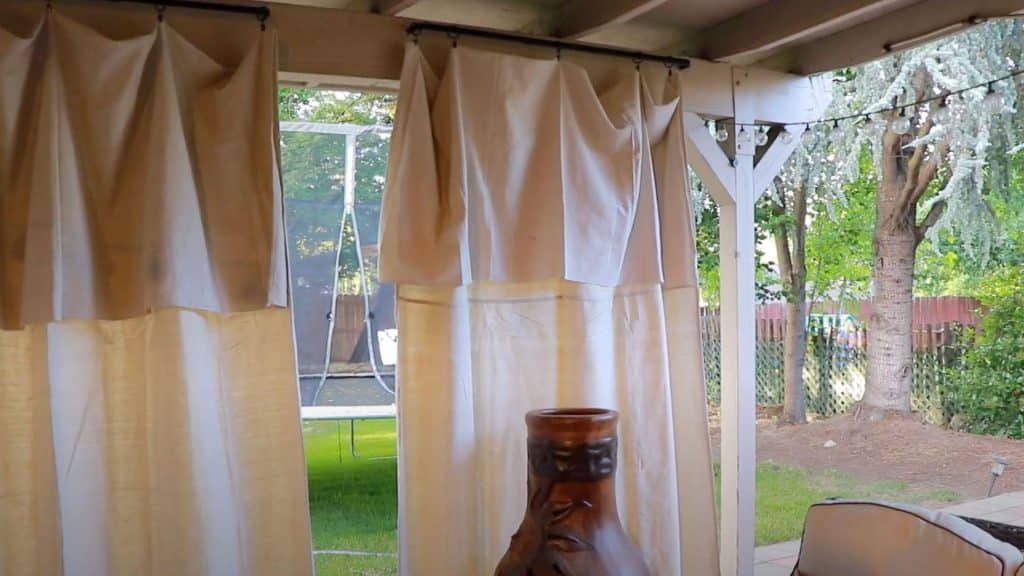
Step 5: Hang Curtains and Adjust for Proper Coverage
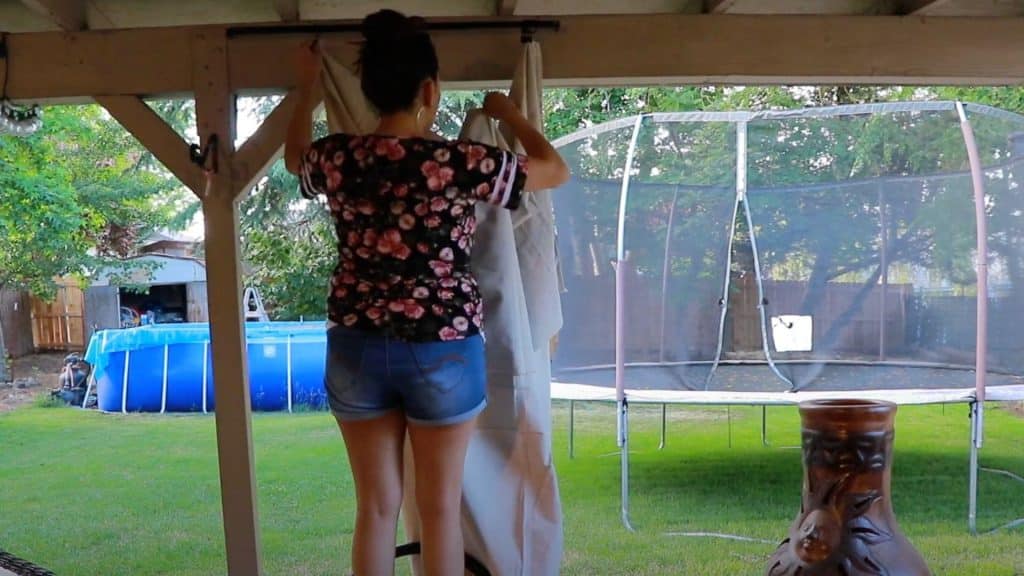
Lift prepared panels onto installed rods, working systematically across the space. Check for gaps between panels and adjust positioning as needed. Ensure curtains move smoothly along rods without binding.
Fine-tune fabric folds and ring placement to ensure alignment, especially on patios with non-uniform structures.
Key Consideration: Some gaps may be acceptable initially if budget constraints limit complete coverage options.
Step 6: Evaluate Results and Plan Future Improvements
Test the curtain function during different weather conditions and times of day. Note areas needing improvement, such as additional panels or better hardware. Document lessons learned for future projects.
Consider upgrades like continuous rod systems or additional panels to eliminate gaps. Budget improvements over time rather than compromising initial functionality.
Important Note: Initial installations often reveal areas for improvement that can be addressed in phases.
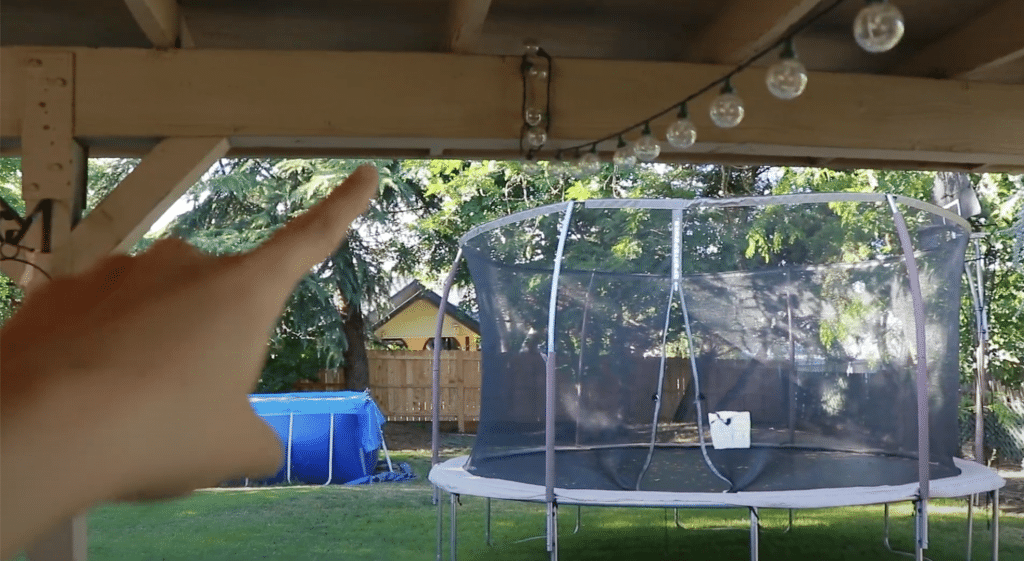
Video Tutorial
Check out the video for more insights! Watch a step-by-step demonstration of how to build DIY curtains for outdoor spaces.
By – Araceli Chan DIY
Essential Tips for Success
Start with proper planning to avoid costly mistakes and material waste. Measure twice and cut once applies especially to outdoor projects where weather adds complexity.
Here are a few Success Tips:
- Choose quality hardware – Rust-resistant materials last multiple seasons.
- Plan for maintenance – Easy removal systems simplify cleaning and storage.
- Test before finalizing – Hang temporary versions to check function and appearance.
- Account for shrinkage – Pre-wash all fabrics before measuring and cutting.
- Have backup plans – Weather delays are common in outdoor projects.
Styling and Finishing Touches
Change your basic curtain installation into a good-looking outdoor feature with thoughtful styling choices. Small details make big differences in overall appearance and functionality.
1. Color and Pattern Options
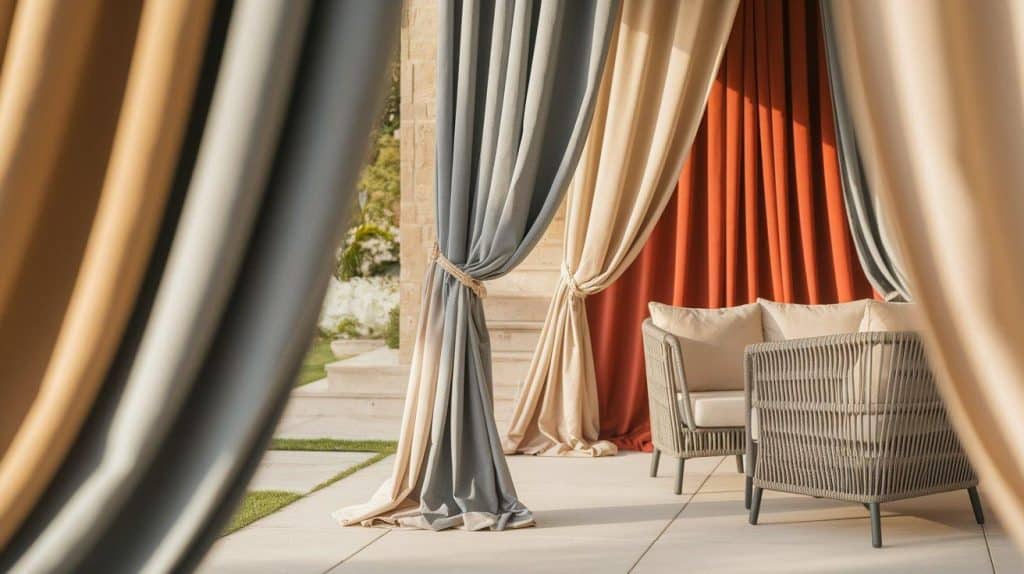
Neutral colors like beige, gray, or natural canvas work well with most outdoor furniture and décor. Bold colors can create focal points but may fade faster under sun exposure. Consider your climate and maintenance preferences when selecting shades.
2. Lighting Integration
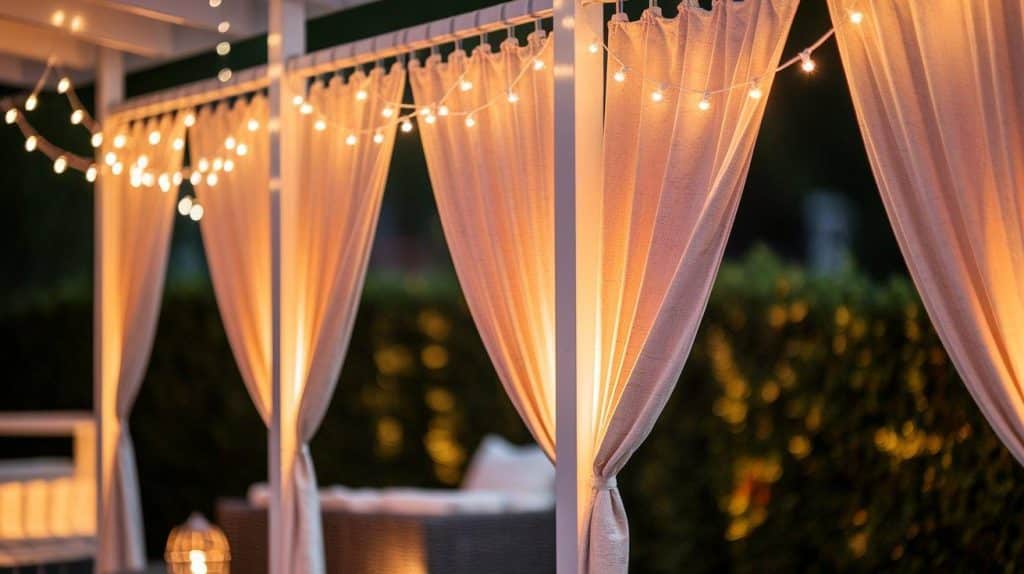
Incorporate lighting elements that complement your curtain system. String lights woven through curtain tops create magical evening atmospheres. Solar spotlights can highlight curtain textures and colors after dark.
3. Plant and Decor Coordination
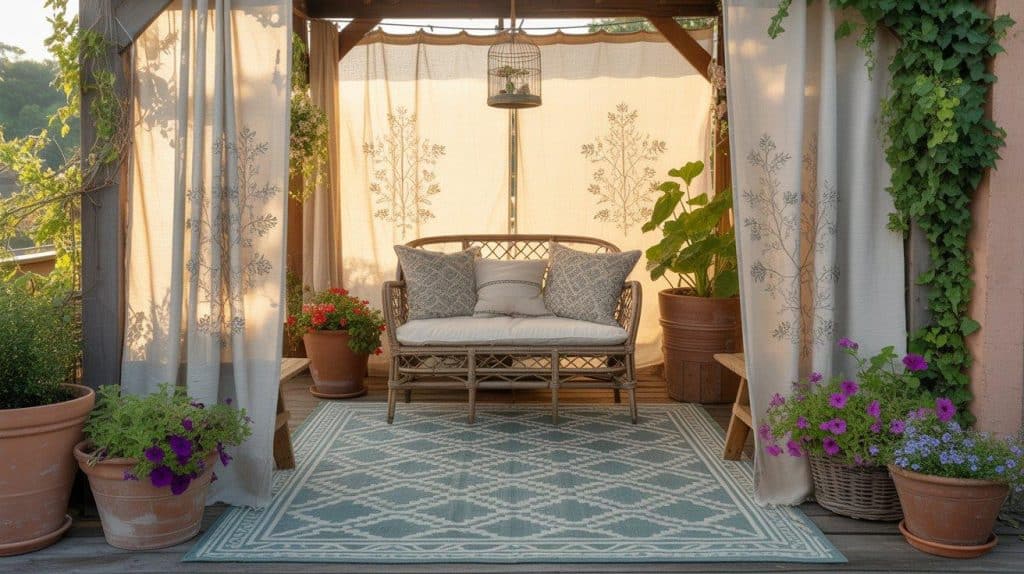
Position planters and outdoor furniture to work with your curtain layout. Tall plants can extend privacy coverage while potted flowers add color coordination. Outdoor rugs help define spaces created by curtain placement.
Final Thoughts
Your outdoor curtain project marks the beginning of enhanced outdoor living experiences. Weekend gatherings become more comfortable with proper sun and wind protection in place.
Maintenance proves straightforward with removable panels that machine wash easily. Store curtains during extreme weather to extend their lifespan significantly.
Future upgrades like better hardware or additional panels can happen gradually as budget allows. The confidence gained from completing this project opens doors to other outdoor improvement ideas.
Weather-resistant outdoor spaces increase property value while providing immediate enjoyment benefits. Your investment pays dividends through years of comfortable outdoor entertainment and relaxation.
Ready to start your outdoor curtain project? Share your experience in the comments below and inspire others to create their perfect outdoor retreat!
Frequently Asked Questions
Can I Use PVC Pipe as A Curtain Rod?
PVC works well for curtain rods but requires center support brackets to prevent sagging. Wood dowel rods offer better stability for heavier fabrics.
What Are Good Alternatives to Outdoor Curtains?
Consider bamboo screens, metal panels, lattice sections, or roller shades. Each option provides different levels of privacy and weather protection for outdoor spaces.
What Are Dummy Curtains?
Dummy curtains are decorative panels that remain stationary and don’t move along rods. They provide visual appeal without functional opening and closing capabilities.
