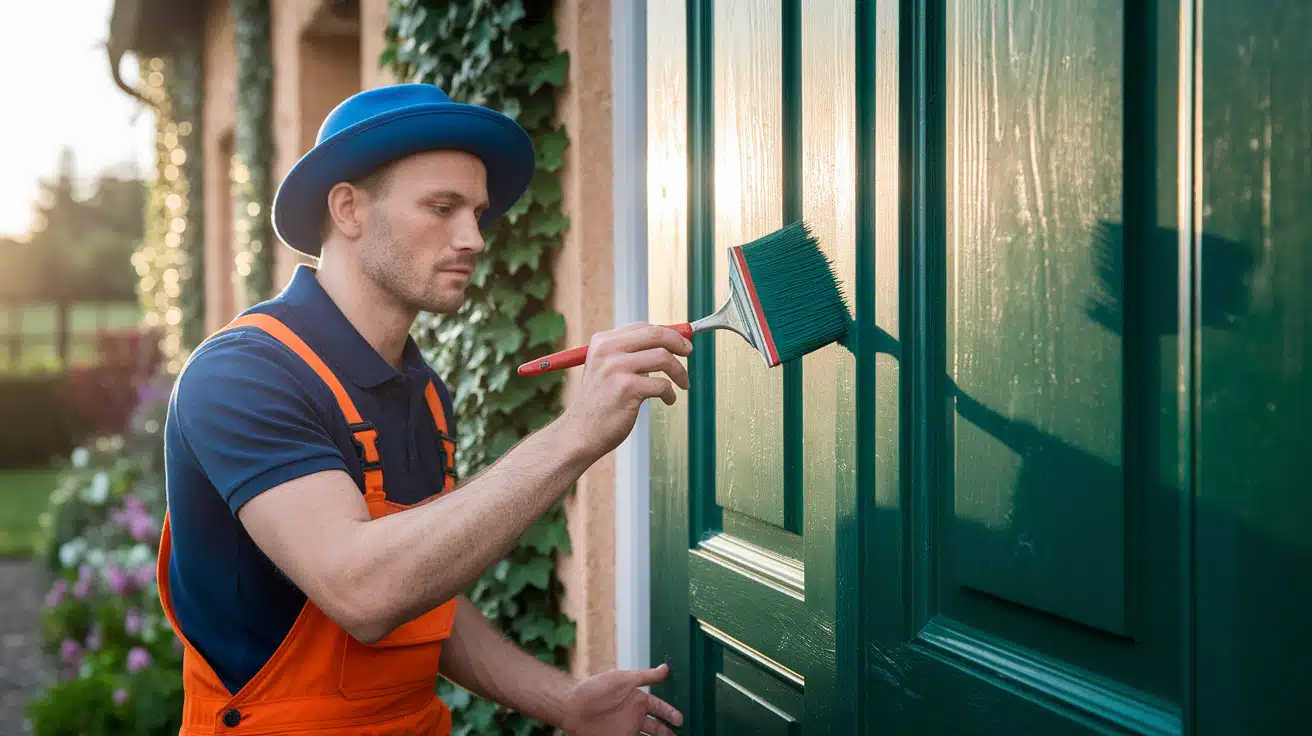
Does your front door look tired and worn out?
That sinking feeling hits when pulling into the driveway and noticing how shabby the entrance seems compared to the rest of the home.
Here’s the thing: a fresh coat of paint can completely alter a door’s appearance in just one weekend. Countless homeowners have changed dull, weathered doors into stunning focal points that enhance their home’s curb appeal and increase its value.
What if the whole process is more straightforward than expected?
With the right tools, quality paint, and a proven step-by-step method, anyone can achieve professional-looking results without hiring expensive contractors.
This guide walks you through every step, from choosing the right paint type to applying the final coat. By the end, homeowners will have all the knowledge needed to give their doors the required makeover.
Why Your Front Door Needs a Fresh Coat of Paint?
Your front door works harder than you think. Here’s why a simple paint job delivers big results for your home:
- First Impressions Matter- A crisp, clean door makes your entire home look cared for. Guests judge your property in seconds, and a well-painted entrance sets the right tone.
- Weather Protection- Paint shields your door from rain, sun, and snow. Without this barrier, wood rots and metal rusts. One paint job prevents years of damage.
- Smart Investment- This small upgrade pays back big when selling. Buyers notice fresh paint immediately, and it signals a well-maintained home.
- Stops Big Problems- Peeling paint lets moisture sneak in. Catching this early with new paint saves you from expensive door replacement down the road.
The bottom line? Repainting your door takes one weekend but protects your home for years. It’s the easiest way to refresh your home’s look while saving money on repairs.
Step-by-Step Guide to Painting the Exterior Door
Follow these easy, professional-grade steps to ensure your exterior door receives a smooth, long-lasting finish that improves both curb appeal and protection.
Tools Required:
| Tool | Purpose |
|---|---|
| Screwdriver | For removing hardware |
| 2 or 2.5-inch angled sash brush | For cutting corners |
| Mini paint roller | For covering large panel areas |
| Sandpaper | For light surface preparation |
| Cotton ball and rubbing alcohol | For testing the existing paint type |
| Masking tape (premium orange) | For masking edges, it prevents paint bleeding |
Materials Required:
| Material | Purpose |
|---|---|
| High-quality exterior primer | Water-based, multi-surface, for base coat |
| Premium exterior paint | Water or oil-based, UV-resistant; for final finish |
| Rubbing alcohol | For cleaning and paint testing |
| Clean rags | For wiping and general cleaning |
| Drop cloths | For protecting the floors during painting |
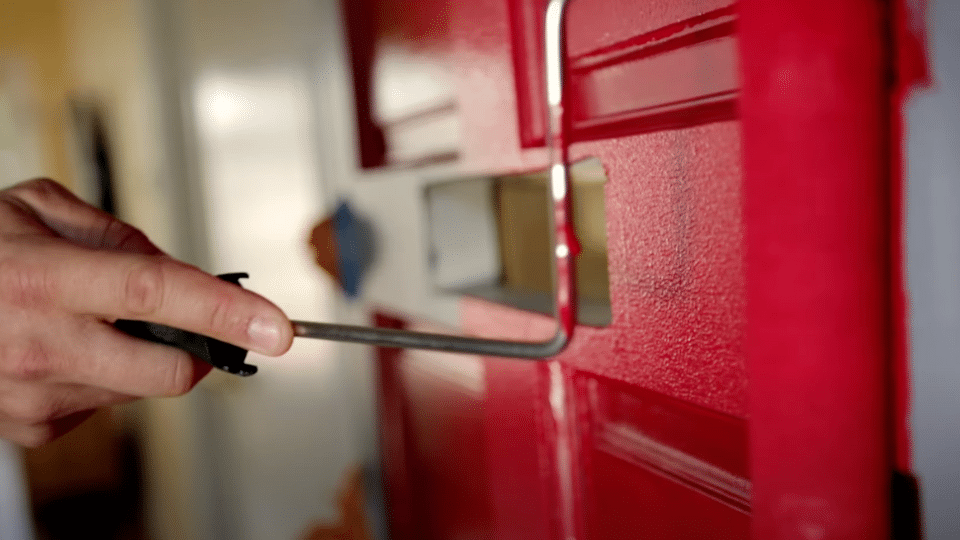
Step 1: Surface Preparation and Hardware Removal
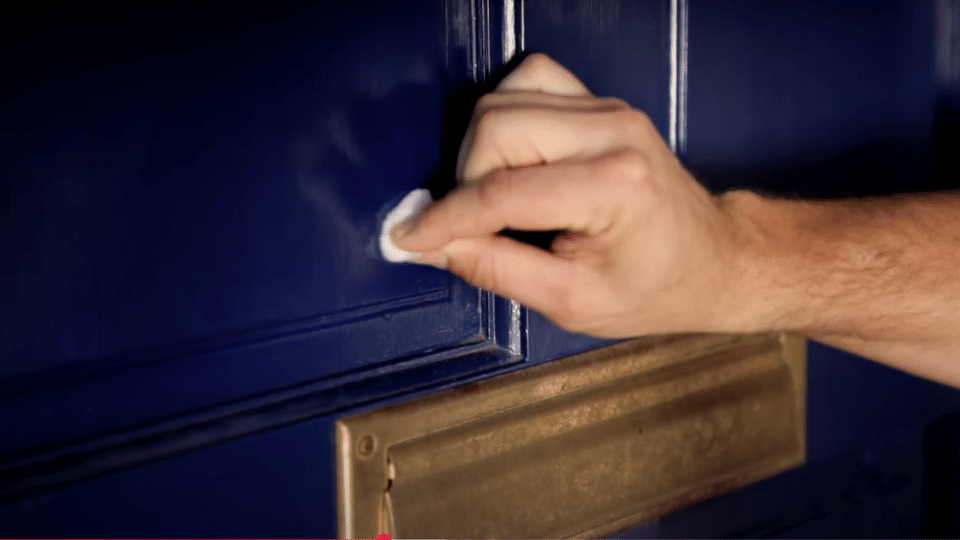
Remove decorative items, such as door knockers and mail slots, completely. Use masking tape to protect doorknobs and locks that can’t be removed. Test existing paint type by rubbing alcohol on a cotton ball; if the paint wipes off, it’s water-based; if not, it’s oil-based.
Pro tip: Take photos of hardware placement before removal to ensure proper reinstallation and avoid confusion about screw locations.
Step 2: Prime the Entire Surface
Apply one coat of high-quality water-based primer using your mini roller for large areas and an angled brush for detailed sections. Ensure complete coverage, especially on previously unpainted or heavily sanded areas. Allow primer to dry completely according to the manufacturer’s instructions.
Pro tip: Thin your primer slightly with water (5-10%) for better flow and coverage, especially in recessed panel areas.
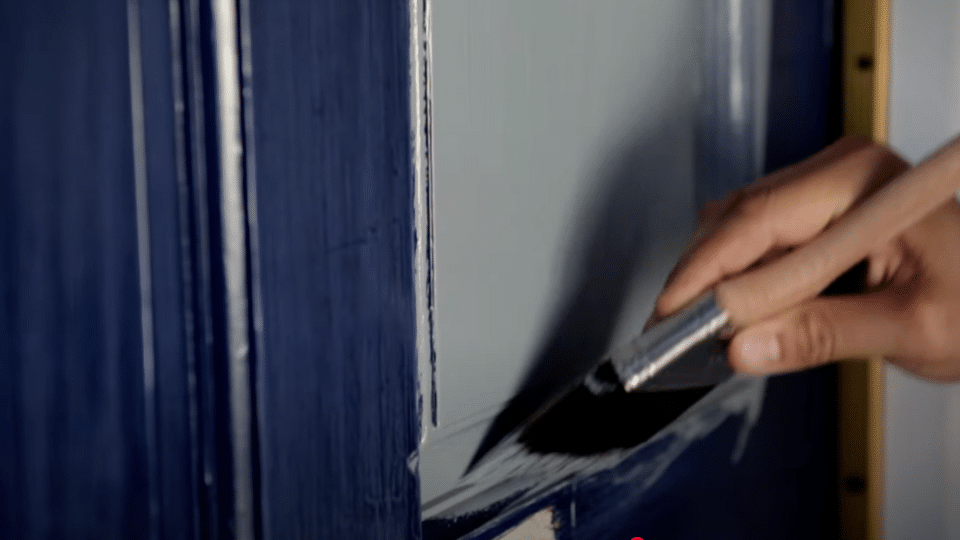
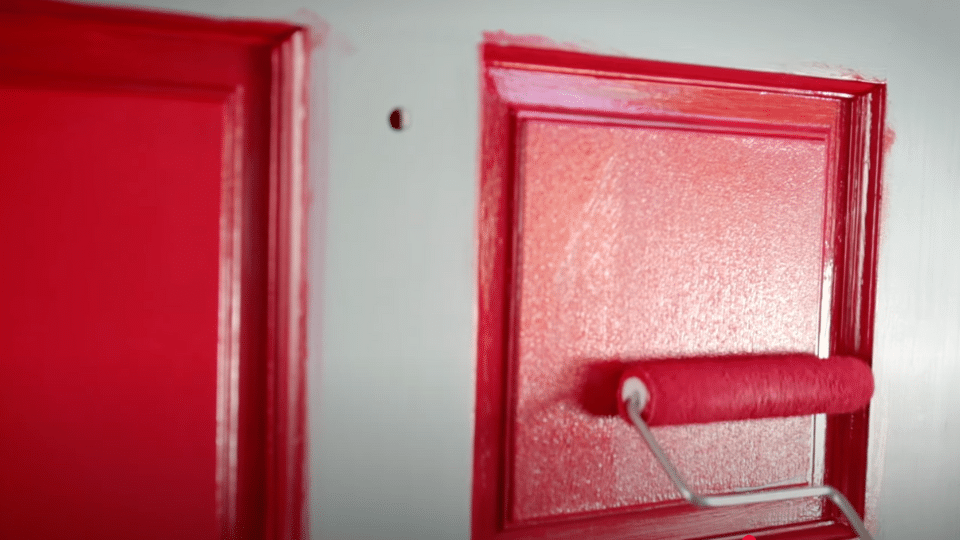
Step 3: Paint Individual Panels First
Start with recessed panel areas, using your angled brush to cut in the corners. Then, use the mini roller to fill the panel surface. Immediately brush out the rolled paint for a smooth finish. Work one panel at a time to maintain a wet edge and prevent lap marks.
Pro tip: Load your brush with less paint than you think you need multiple thin coats look better than one thick, drippy coat.
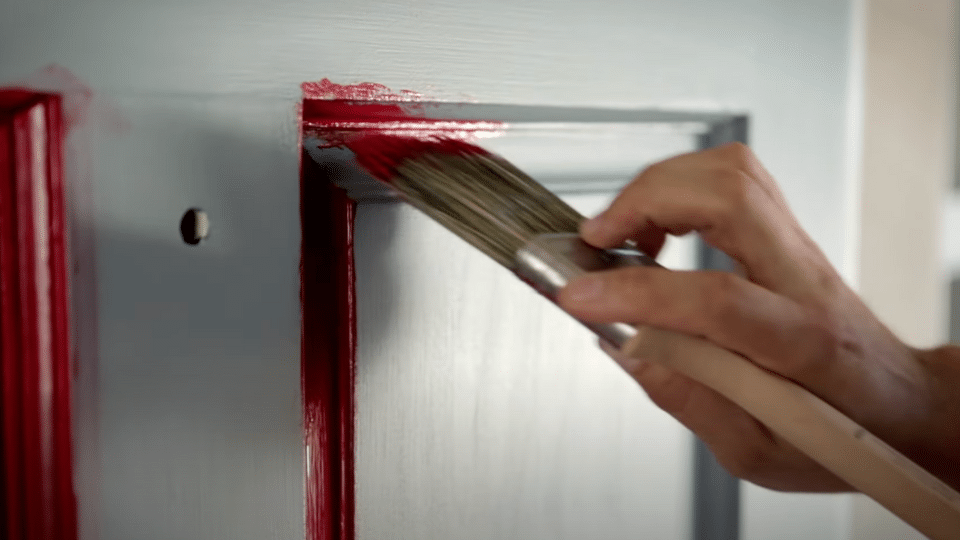
Step 4: Paint Rails and Stiles in Sequence
Paint the center vertical and horizontal pieces (stiles and rails) between panels, then move to the top rail section. Feather paint edges where new sections meet previously painted areas. Continue with outer stiles and finish with the bottom rail.
Pro tip: Keep a wet rag handy to immediately wipe away any paint drips before they start to set this saves significant touch-up work later.
Step 5: Apply Second Coat and Finish
Allow the first coat to dry completely, then apply a second coat using the same systematic approach. Depending on your color choice, you may need additional coats for full coverage. Once the masking tape is fully dry, carefully remove it and reinstall the hardware.
Pro tip: Remove masking tape while the final coat is still slightly tacky to prevent peeling dried paint along the tape edges.
Video Tutorial
I want to give credit to Dunn-Edwards Corporation for their informative video, which served as a reference for this guide.
How to Maintain Your Painted Front Door
The front door faces the weather, visitors, and daily use every single day. A fresh paint job looks great, but maintaining it requires simple, regular care.
- Clean your door monthly with soap and water: Mix warm water with a few drops of mild dish soap. Use a soft cloth to wipe down the entire surface, working from top to bottom. Rinse thoroughly and dry completely to prevent water spots and soap buildup that can dull your paint.
- Check for damage every season: Look for chips, cracks, or peeling paint during each seasonal change. Test door hardware, such as hinges and handles – loose parts can stress the door and damage the paint. Also, check the weather stripping and caulk around the frame, as gaps allow moisture to enter.
- Handle touch-ups the right way: Store leftover paint in a cool, dry place with the lid tightly sealed. When you spot damage, clean the area first and remove any loose paint. Use a small brush to apply thin coats, letting each one dry completely before adding another.
- Add weather protection where possible: Install a storm door or small awning to shield your door from rain, snow, and UV rays. Apply car wax twice yearly for extra protection against moisture and sun damage. Keep sprinklers adjusted so they don’t regularly hit your door.
- Know when to call professionals: Get help for significant peeling, bubbling, or color matching issues. Consider complete repainting every 5-7 years, even with good maintenance. Professionals can identify underlying problems, such as moisture damage, that DIY fixes may not address.
Oil-Based vs Water-Based Paints
Choosing between oil-based and water-based paint can impact not just how your exterior door looks, but how well it stands up to weather, time, and wear.
| Feature | Oil-Based Paint | Water-Based Paint |
|---|---|---|
| Durability | Extremely durable; resists wear and scratches | Good durability; improved with modern formulas |
| Finish | Smooth, glossy, professional-looking | Satin, matte, or semi-gloss; less glossy than oil |
| Drying Time | Longer (8–24 hours) | Quick (1–2 hours) |
| Odor | Strong fumes; requires ventilation | Low odor; safer for indoor use |
| Cleanup | Requires mineral spirits or paint thinner | Easy cleanup with soap and water |
| Application | Self-levels well; fewer brush marks | Can show brush strokes; needs high-quality tools |
| Eco-Friendliness | Contains VOCs; not environmentally friendly | Low VOCs; an eco-friendlier option |
| Best Use | Heavy-use surfaces like doors, trims, and metal | General exterior use, especially wood and fiberboard |
If you’re looking for a quick, low-maintenance project with easier cleanup and eco-friendly benefits, water-based paint is your best bet. However, for a hard-wearing, ultra-smooth finish that lasts, oil-based paint remains the go-to choice for many DIY professionals.
Conclusion
Painting an exterior door converts the home’s appearance while protecting against weather damage.
The step-by-step process, from surface preparation to final coat application, ensures professional results without incurring contractor expenses.
Quality tools, proper primer, and systematic painting technique create lasting protection against moisture, UV rays, and daily wear.
Most homeowners complete this project in two days, spending less money on materials while adding significant value to their property. The fresh paint barrier prevents costly repairs while creating an inviting entrance that welcomes guests and impresses potential buyers.
Ready to start the door makeover?
Gather the necessary tools, select the desired paint color, and start with proper surface preparation for optimal results.
Frequently Asked Questions
How Long Should You Let Primer Dry Before Painting?
Most primers need 2-4 hours to dry before painting. Oil-based primers typically take 6-8 hours to dry. Check the label for exact times.
Can I Prime and Paint the Same Day?
Yes, you can prime and paint the same day. Wait for the primer to dry completely first. This usually takes 2-8 hours.
Why Does Primer Stick Better than Paint?
Primer has special bonding agents that adhere to surfaces more effectively than regular paint. It creates a sticky base for paint to hold onto.