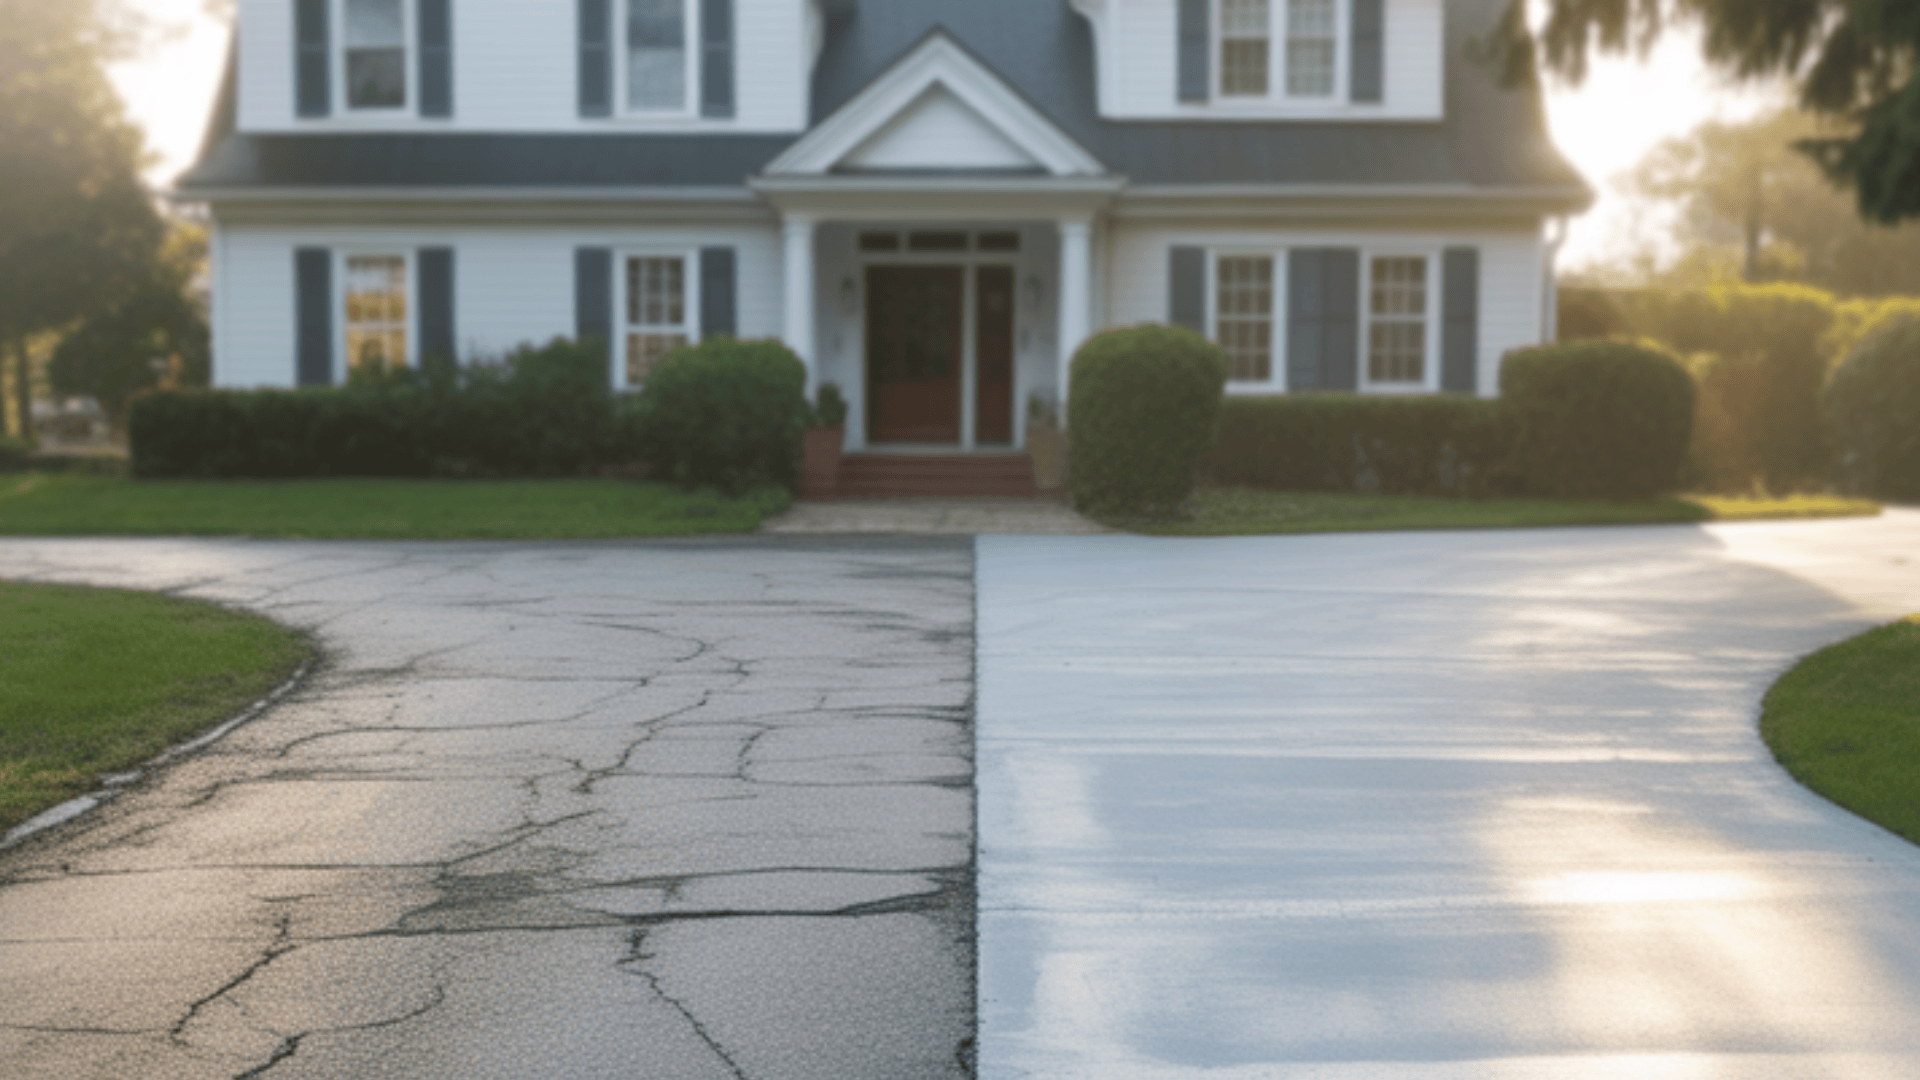
Your driveway takes a beating from cars, weather, and the passage of time. Cracks, stains, and rough spots can make your home look worn down and negatively impact its value.
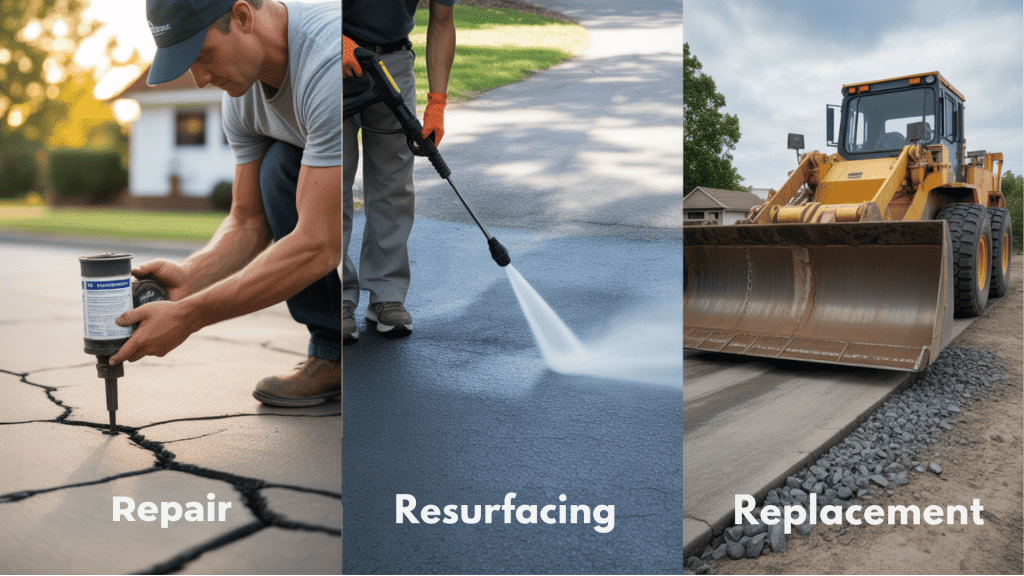
When problems show up, you have three main choices. You can patch up small issues with repairs. You can add a fresh layer on top with resurfacing.
Or you can start over completely with a full replacement. Each option works better for different situations and budgets.
This guide will help you determine which path makes the most sense for your driveway’s condition and your budget. Let’s break down each choice so you can make the right call.
Understanding the Options
Before you can make the right choice, you need to understand what each option entails.
Driveway resurfacing adds a new layer of concrete or asphalt over your existing surface. You clean and fix problems with the old surface, then apply the new layer on top.
This works great when you have lots of surface damage but a solid foundation underneath. You’ll get a fresh look that lasts 5-10 years for much less than full replacement, though it won’t fix structural problems.
Driveway repair fixes small problems without changing the whole surface. This means filling cracks, patching holes, and addressing trouble spots.
Repairs are quick and cheap; often a weekend DIY project. The downside is that patches usually show against old concrete and only last 2-3 years.
Driveway replacement means tearing out everything and building from scratch. This makes sense for major damage, structural issues, or driveways over 20 years old.
You’ll get the longest-lasting results (15-20+ years) but pay the highest cost and deal with the most disruption.
How to Assess Your Driveway’s Condition
The key to making the right choice is honestly evaluating what you’re dealing with. Use this guide to figure out which category your driveway falls into:
| Signs You May Only Need Repair | Signs Resurfacing Is Your Best Bet | Signs You Need a Full Replacement |
|---|---|---|
| A few narrow cracks here and there | More than 25% of the surface has cracks, stains, or rough patches | Large potholes that keep getting bigger |
| Small potholes you could fill with a coffee can | Widespread surface damage, but the foundation feels stable when you walk on it | Wide or deep cracks that run across major sections |
| Light surface wear that doesn’t go deep | The surface looks tired, but the base underneath is solid | Areas where concrete has started to heave up or sink down |
| Most of the driveway still looks good | Damage spread across a good portion of the driveway | Drainage problems where water pools instead of running off |
| Problems only in a few spots | Want the driveway to look fresh and new again | The foundation has problems that need fixing |
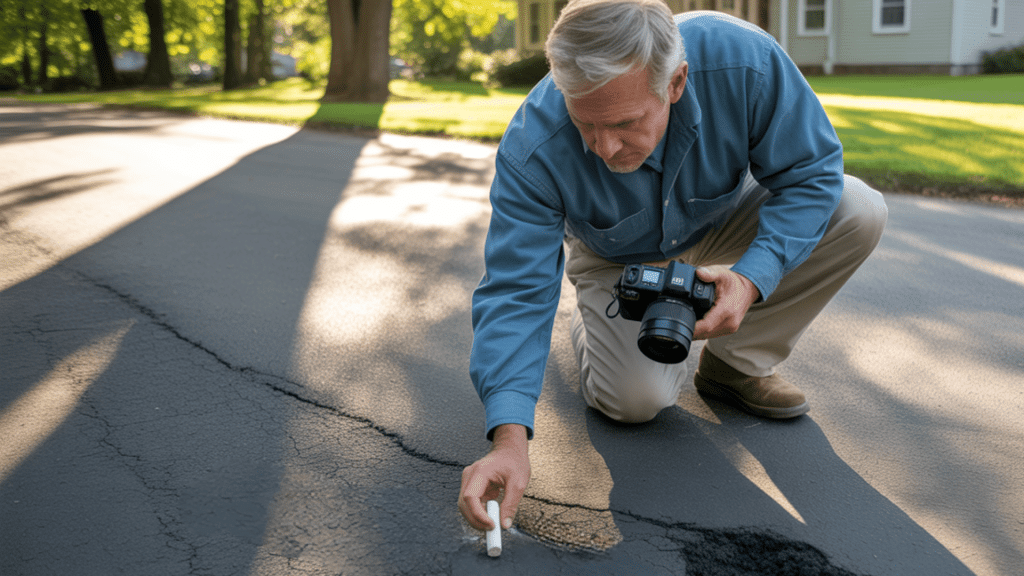
When you’re not sure which category your driveway fits, it’s worth getting a professional to take a look. They can spot problems you might miss and help you avoid costly mistakes.
Pro Tip: Take photos of your driveway on a sunny day when all the damage shows clearly. Print them out and use them when talking to contractors. It helps you get more accurate estimates and avoid surprises.
Cost, Durability, and Value Comparison
Comparing your options side by side makes the choice much clearer. Here’s how repair, resurfacing, and replacement stack up against each other:
| Option | Typical Cost Range | Lifespan | Best For |
|---|---|---|---|
| Repair | Lowest | 2-3 years | Minor, localized damage |
| Resurfacing | Moderate | 5-10 years | Widespread surface issues, stable base |
| Replacement | Highest | 15-20 years | Major damage, old driveways, and a bad foundation |
Think about the cost per year rather than just the upfront price. Sometimes spending more now saves money in the long run.
The Driveway Resurfacing Process (Step-by-Step)
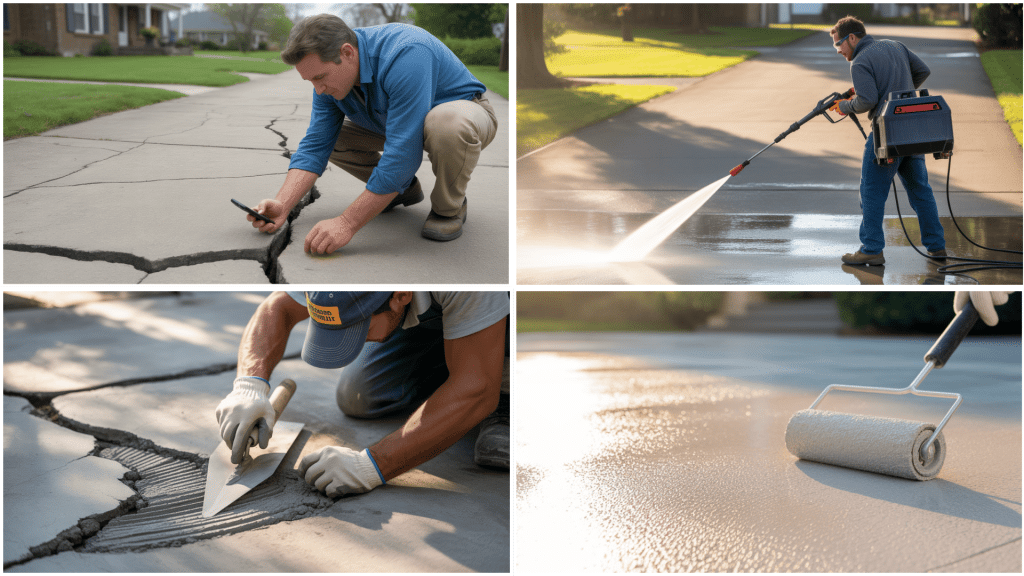
Want to know what resurfacing actually involves? Here’s a detailed breakdown of each step.
Step 1: Assess & Prep the Area
Start by walking your driveway and taking photos of problem areas. Clear away all debris, leaves, and anything else sitting on the surface. Set up safety cones to mark your work area.
Use a surface cleaner for the bigger sections and a pressure washer to blast debris out of cracks. This step sets you up for success with everything that follows.
Step 2: Clean & Fill Cracks
Apply degreaser to remove oil stains and built-up grime, then rinse everything thoroughly. Fill smaller cracks with Portland cement or caulking compound. Use a mortar mix for larger cracks that need more support.
Smooth everything out with floats to get an even surface. Take your time here because bumps and rough spots will show through the final coating.
Step 3: Dry & Rinse
Let the mortar cure for 1-2 days before moving to the next step. The concrete needs time to harden properly, or your work might not hold up.
After the waiting period, rinse the area one more time to remove any loose debris or dust that settled during curing.
Step 4: Apply Primer & Epoxy
Start with a thinned primer coat of epoxy that can soak into the surface. This helps the main coating stick better and last longer.
Follow up with two full layers of epoxy mixed with anti-skid powder. The powder gives you better traction, especially when the surface gets wet from rain.
Step 5: Final Touches & Curing
Take some final photos to document your finished work. Put up caution tape to keep people and cars off the fresh surface.
Allow at least 7 days for the epoxy to cure completely before driving on it. Plan ahead because you’ll need another parking spot during this time. Keep up with regular maintenance to protect your investment.
When to Choose Each Option
Now that you understand what each option involves, let’s talk about timing and situations. Here are the specific circumstances that point toward repair, resurfacing, or replacement:
Pick Resurfacing When…
You have surface-level damage spread across a good portion of the driveway. The foundation underneath still feels stable and solid. You want your driveway to look fresh and new again.
Resurfacing also works well when you’re happy with your driveway’s layout but tired of how it looks.
Go with Repair When…
Your driveway is relatively new but has picked up a few battle scars. You’re dealing with minor issues that don’t cover much area. Your budget is tight, and you need a quick fix.
Repair also makes sense when you’re planning to replace the driveway in a few years anyway. Why spend big money on a temporary solution?
Choose Replacement When…
Your driveway has structural issues like major settling or heaving. You’re dealing with serious drainage problems that cause water to pool. The driveway is very old or severely damaged throughout.
Replacement is also the right call when repair and resurfacing costs would add up to almost as much as starting over.
Pros and Cons at a Glance
Sometimes you need to see all the benefits and drawbacks laid out clearly. Here’s a quick breakdown to help you weigh your options:
Repair
- Pros: Quick to complete, budget-friendly, easy DIY project, extends life a bit
- Cons: Only temporary, patches often show, won’t fix major issues
Resurfacing
- Pros: Good value for money, improves appearance significantly, extends driveway life considerably.
- Cons: Won’t fix structural problems, requires proper surface prep
Replacement
- Pros: Lasts the longest, fixes all underlying issues, gives you a completely new look
- Cons: Most expensive option, disruptive to daily life, takes the most time
Conclusion
The right choice depends on three key factors: how bad the damage is, what your budget allows, and how long you want the solution to last. Take time to honestly assess your driveway’s condition before deciding.
Don’t be afraid to get a professional opinion, especially if you’re torn between options. An expert can spot things you might miss and help you avoid expensive mistakes down the road.
Remember that regular maintenance and quick repairs can extend the life of any solution you choose. The most important thing is to act before small problems become major headaches that force you into costly emergency repairs.
What’s your driveway situation? Drop a comment below and let us know which option you’re leaning toward – we’d love to help you think through your decision.
Frequently Asked Questions
How Do I Know If My Driveway’s Foundation Is Stable?
Walk around and feel for soft spots or areas that bounce when you step on them – if everything feels solid underfoot, the foundation is probably fine.
Can I Resurface A Driveway With Deep Cracks Or Potholes?
You’ll need to repair those problem areas first before resurfacing, as deep damage will show through the new surface layer.
How Long Does Each Process Take?
Repairs can often be done in a day or weekend, resurfacing typically takes 2-3 days, and full replacement usually requires a week or more.