That beautiful antique dresser sits in the corner, covered in years of dust and grime. The urge to restore its beauty is strong, but the fear of ruining a family treasure worth thousands of dollars holds back any action.
This common dilemma faces many antique furniture owners staring at precious pieces that need attention but worrying that one wrong move could destroy their value forever.
Most people either avoid cleaning their antiques thoroughly or use harsh products that strip away original finishes. Both approaches prove wrong and potentially costly.
After years of research and testing, gentle methods exist that safely remove dirt while preserving the wood’s character and worth.
This guide shares the exact techniques professionals use to clean antique furniture without causing damage, providing the confidence needed to restore precious pieces to their former glory.
Why Proper Cleaning Is Essential for Antique Furniture
Antique furniture represents more than just functional pieces; these items carry historical value and family memories. Without proper care, these treasures can lose their beauty and worth over time.
- Preserves Original Value: Regular cleaning maintains the furniture’s market value and prevents costly restoration work. Dirt and grime can permanently stain wood surfaces, making future repairs difficult and expensive. Clean antique pieces retain their investment potential for generations.
- Prevents Long-Term Damage: Dust and moisture create conditions for wood rot, insect infestations, and finish deterioration. Proper cleaning removes harmful particles before they penetrate the wood grain. This preventive approach saves money compared to major restoration projects.
- Maintains Structural Integrity: Built-up dirt can weaken joints and hardware over time, compromising the structural integrity of the vehicle. Regular maintenance ensures that moving parts function smoothly and prevents loose connections. Clean furniture lasts longer and requires fewer repairs throughout its lifetime.
- Improves Natural Beauty: Proper cleaning reveals the wood’s original grain patterns and depth of color. Accumulated grime dulls the surface, hiding intricate details that make each piece unique. Clean antique furniture showcases the craftsmanship of earlier eras.
Step-By-Step Cleaning Guide for Antique Furniture
Revitalize your antique furniture with these simple, safe, and practical DIY cleaning steps. Preserve history one gentle wipe at a time.
Tools Required
| Tool | Purpose |
|---|---|
| Soft Dry Cloth | Removes surface dust without scratching the delicate antique finish. |
| Clean Cloth/Sponge | Applies cleaning solutions evenly while controlling moisture levels. |
| Soft Brush | Reaches carved details and textured areas for thorough cleaning. |
| Clean Water | Rinses away soap residue to prevent buildup and damage. |
Material Required
| Material | Purpose |
|---|---|
| Mild Dish Soap | Breaks down dirt and grime without harsh chemicals that damage wood. |
| Furniture Cleaning Spray (Wood-Specific) | Safely cleans wood surfaces while maintaining finish quality. |
| Furniture Polish | Restores shine and creates a protective barrier against moisture and scratches. |
| Furniture Finishing Wax | Provides deep protection against water damage and extends the lifespan of furniture. |
| Furniture Refinishing Kit | Repairs damaged finish areas and restores the original appearance. |
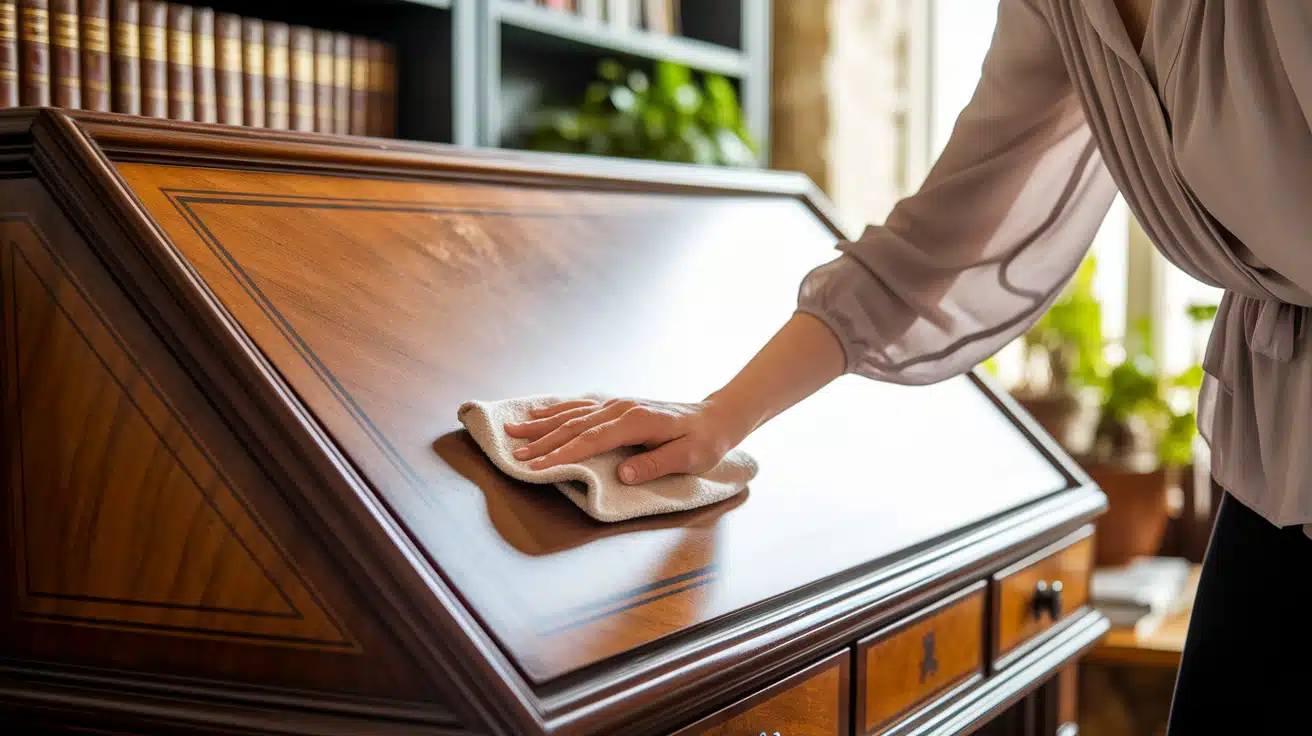
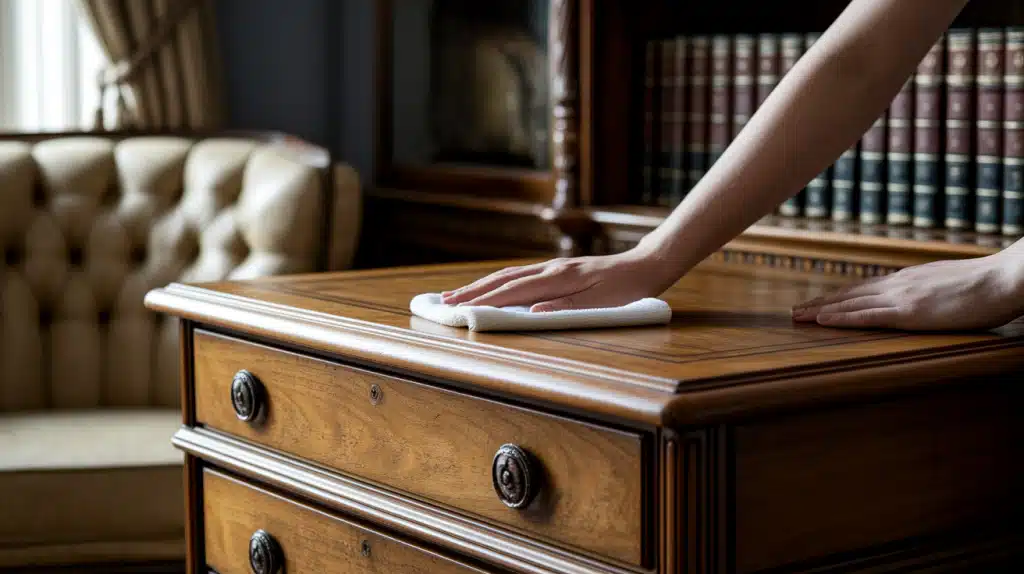
Step 1: Initial Dusting
Start by removing loose dust and debris using a soft, dry cloth. Work gently across all surfaces, moving in the direction of the wood grain to avoid pushing dirt into crevices.
Pay special attention to decorative elements and hard-to-reach areas where dust tends to accumulate. This crucial first step prevents scratching during subsequent wet cleaning phases and ensures better results from your cleaning efforts.
Quick Note: Always dust before any wet cleaning to prevent mud formation on the surface.
Start with regular dusting and cleaning to remove loose debris this essential first step prepares your antique furniture for deeper cleaning and helps prevent sticky buildup that dulls finishes.
Step 2:Gentle Soap Cleaning
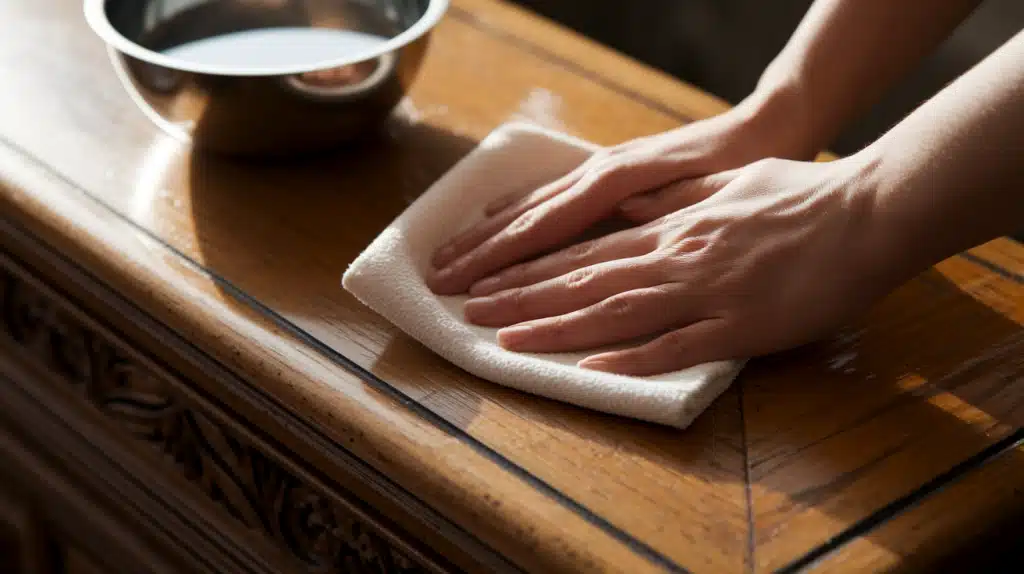
Mix a small amount of mild dish soap with lukewarm water to create a gentle cleaning solution. Use a soft cloth, dampened (not soaked) in this mixture, to clean the surface systematically. Work in small sections, wiping with the grain pattern.
Rinse your clothes frequently in clean water to prevent soap residue from building up. This method effectively removes accumulated grime while being gentle on antique finishes.
Time-Saving Tip: Keep two cloths ready one for cleaning and one for immediate drying.
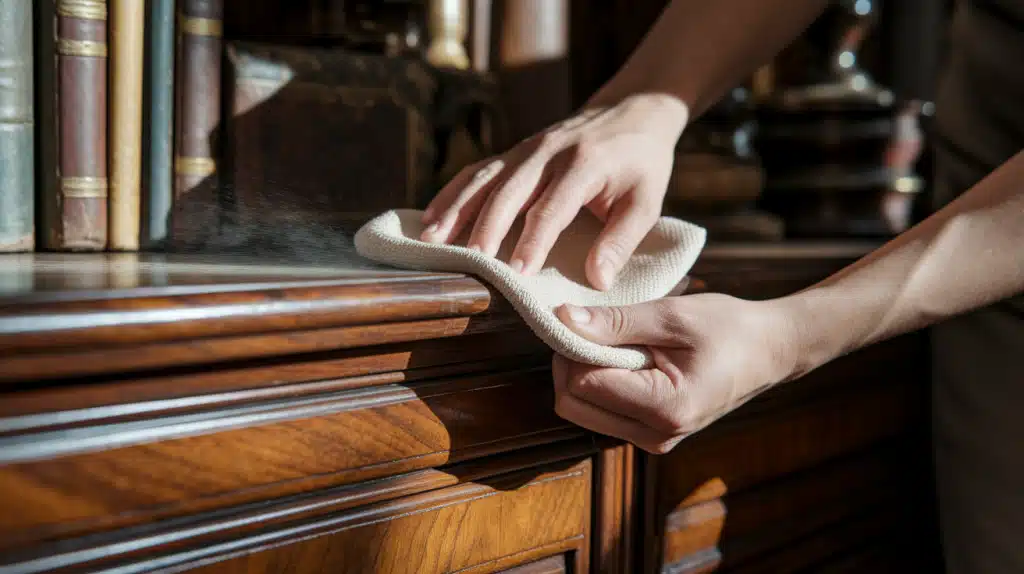
Step 3: Spray Treatment
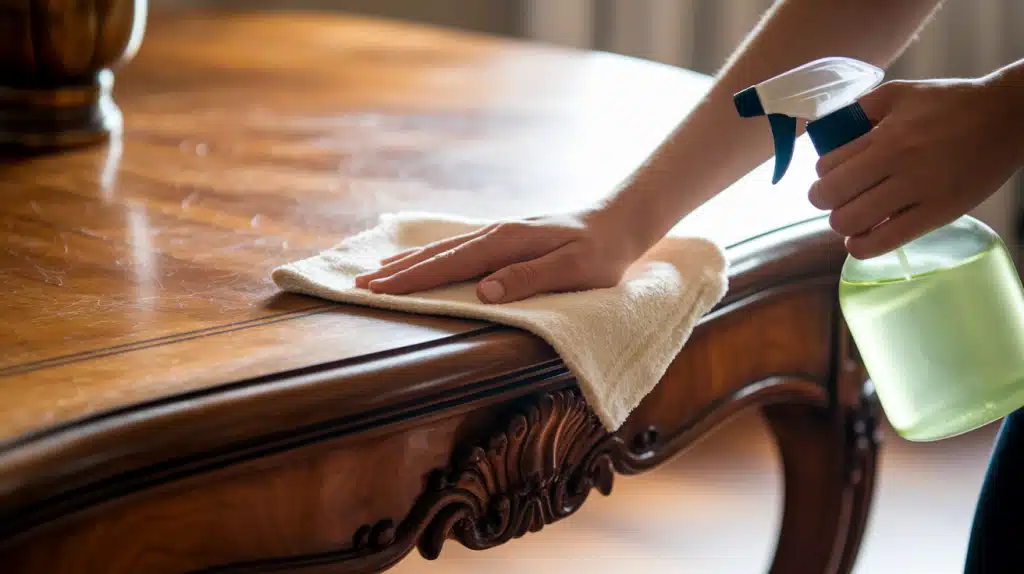
Apply the wood-specific cleaning spray onto a cloth rather than directly onto the furniture surface. Wipe in the direction of the wood grain to maintain the natural pattern and avoid creating visible marks. Work methodically across the entire piece, ensuring even coverage.
Avoid circular motions that can damage the finish or create swirl marks. This targeted approach removes stubborn stains while preserving the wood’s protective coating.
Safety First: Test the spray on a hidden area before full application to check compatibility.
Step 4: Finish Touch-Up
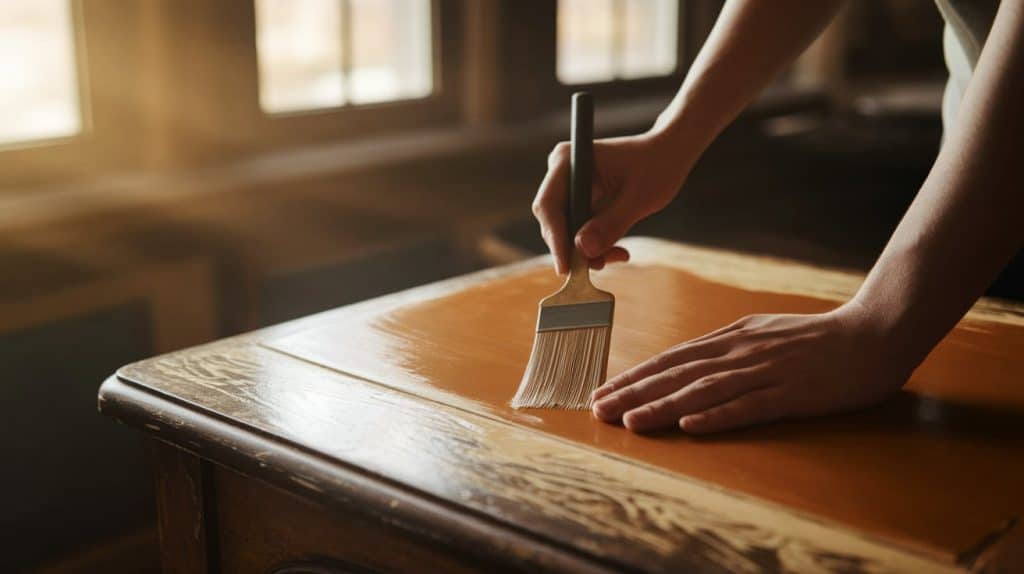
For worn or damaged areas, use a furniture refinishing kit or finishing wax to restore the protective barrier. Apply thin, even coats using gentle strokes in the direction of the grain.
Allow sufficient drying time between applications, as specified in the product instructions. This step repairs minor damage and restores the furniture’s original luster while maintaining its antique character and value.
Patience Pays: Multiple thin coats work better than one thick application for lasting results.
Step 5: Final Buffing
Use a clean, soft cloth to buff the waxed surface to your desired shine level. Work in small sections using gentle, consistent pressure to achieve an even finish across the entire piece.
Remove any excess wax that hasn’t absorbed into the wood. This final step brings out the natural luster and completes the protective treatment, leaving your antique furniture looking refreshed and well-maintained.
Long-Term Care: Regular monthly waxing maintains protection and keeps your antique looking fresh.
Video Tutorial
Special thanks to Fixing Expert for providing valuable insights in their video, which I referenced while creating this guide.
Common Mistakes to Avoid When Cleaning Antique Pieces
Avoiding common cleaning mistakes is crucial to preserving the beauty and value of your antique furniture. Gentle care always prevails over quick fixes.
Mistake 1:
Many people reach for strong household cleaners, believing they work more effectively. These products can strip original finishes, discolor wood, and cause permanent damage to delicate surfaces.
Solution: Stick to mild dish soap mixed with water or cleaners specifically made for antique wood. Test any product on a hidden area first to check compatibility.
Mistake 2:
Excess water can warp wood, loosen joints, and cause veneer to lift. Many beginners use too much liquid during cleaning, thinking that more moisture equals better results.
Solution: Use a damp cloth, not a wet one. Wring out excess water before touching the furniture. Dry each section immediately after cleaning to prevent moisture damage.
Mistake 3:
Circular motions or scrubbing against the wood grain create visible scratches and damage the natural pattern. This mistake permanently ruins the furniture’s smooth finish.
Solution: Always move your cloth in the same direction as the wood grain. Work gently with light pressure to avoid surface scratches and maintain the original texture.
Mistake 4:
Jumping straight into wet cleaning pushes dirt into the wood grain, creating muddy streaks that are hard to remove. This standard shortcut makes cleaning more complicated.
Solution: Always start with a dry cloth to remove loose dust and debris. This prevents dirt from mixing with cleaning solutions and creating stubborn stains.
Wrapping It Up
Cleaning antique furniture doesn’t have to be scary when you follow the proper methods. These six simple steps, ranging from gentle dusting to protective waxing, help preserve both the beauty and value of precious pieces.
Remember, patience and gentle techniques always work better than rushing or using harsh chemicals.
Your antique furniture deserves proper care that protects its history while keeping it functional for daily use. Regular maintenance prevents costly repairs and ensures these treasures stay in your family for generations to come.
Ready to start your next furniture restoration project? Please share your experience in the comments below, or let us know which piece you plan to clean first.
Your success stories might inspire other antique lovers to take better care of their own family heirlooms.