Tired of staring at that worn-out ottoman that’s seen better days?
The feeling is all too familiar. The piece itself is perfect, but the fabric is stained, torn, or no longer matches the room. Replacing furniture can get expensive quickly, and finding the perfect ottoman to fit specific spaces and styles can feel impossible.
However, here’s the good news: giving an ottoman a complete makeover costs a fraction of the replacement price.
Creating a custom cover at home is easier than most people think, and the results look professionally done. With just basic sewing skills and a few materials, any tired ottoman can change into a stylish centerpiece.
This guide walks you through every step of creating a custom ottoman cover, from measuring and cutting fabric to sewing perfect corners that fit.
By the end, readers will have the skills to create covers that are both beautiful and washable.
What’s an Ottoman?
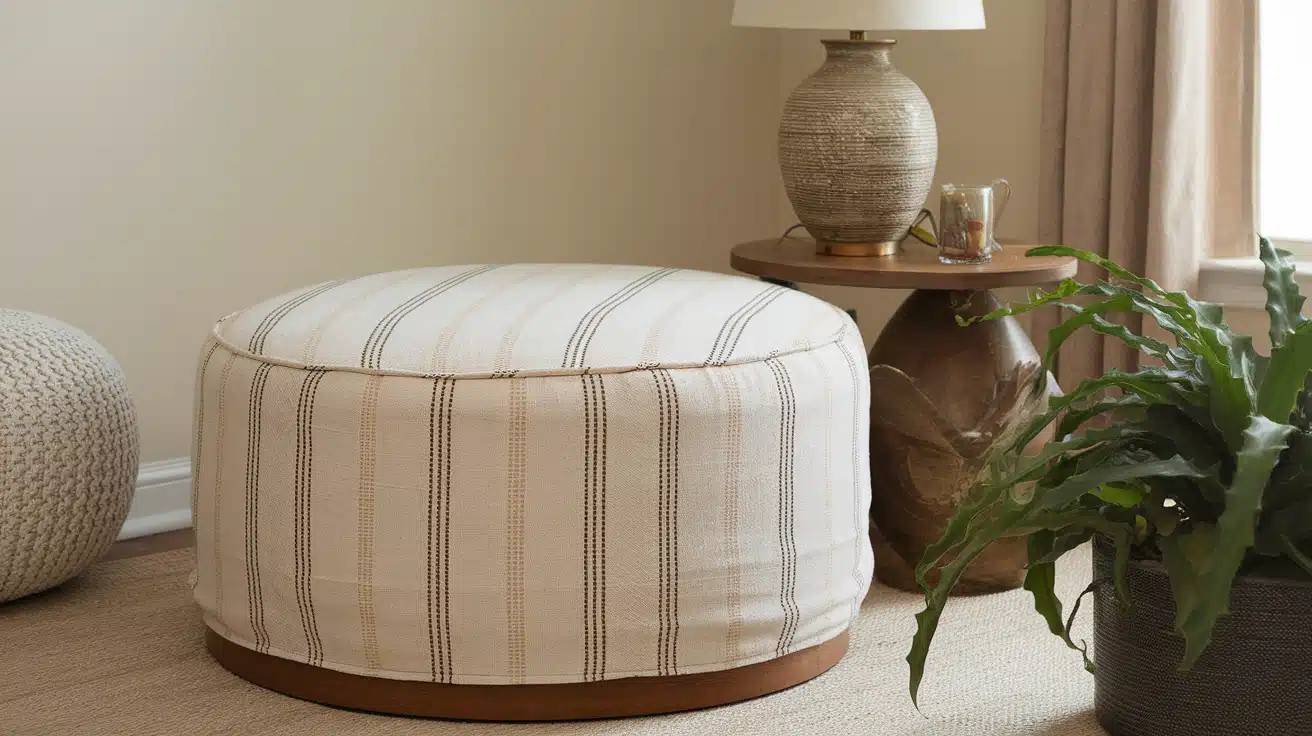
An ottoman cover is a removable fabric covering designed to fit over an ottoman. Similar to how a pillowcase covers a pillow, an ottoman cover wraps around the entire ottoman to protect and refresh its appearance.
An ottoman is a low, upholstered piece of furniture that typically lacks a back or arms. These pieces serve multiple purposes in homes:
- Footrests for relaxation
- Extra seating when guests visit
- Storage containers (many have hollow interiors)
- Coffee tables for holding drinks or books
Many DIYers even change theirs into a stylish DIY Ottoman Coffee Table to add both function and flair to their living spaces.”
Why Use an Ottoman Cover?
- Protection from Damage – Covers shield the original upholstery from spills, stains, pet hair, and daily wear. This protection helps maintain the furniture’s condition and extends its lifespan.
- Easy Maintenance – Removable covers can be machine washed, making cleaning much simpler than trying to clean built-in upholstery. Regular washing keeps the furniture fresh and hygienic.
- Style Flexibility – Covers allow homeowners to change room aesthetics without purchasing new furniture. Different colors and patterns can match seasonal decorations or updated room themes.
- Cost Savings – Replacing a worn cover costs significantly less than reupholstering or buying new furniture. This makes ottoman covers a budget-friendly solution for furniture updates.
Step-By-Step Guide To DIY Ottoman Cover
Learn how to make a custom ottoman slipcover with this step-by-step guide from measuring and pinning to sewing seams and hemming like a pro.
Tools Required
| Tool | Purpose |
|---|---|
| Tape measure | Accurately measures ottoman dimensions to determine fabric cutting size |
| Straight pins | Temporarily holds fabric in place on the ottoman and marks the corner seam lines |
| Ruler | Creates straight, even lines for marking seam allowances and cutting guides |
| Fabric chalk/marker | Marks cutting and sewing lines that can be easily removed later |
| Scissors | Cuts fabric to size and trims excess seam allowances for a clean finish |
| Sewing machine | Sews permanent seams and hems with consistent, strong stitches |
| Serger machine (optional) | Finishes raw fabric edges to prevent fraying and adds a professional look |
Materials Required
- Main fabric (cotton recommended) – Forms the visible outer layer of the slip cover; cotton is washable and durable.
- Cotton batting (optional) – Adds extra cushioning and padding between fabric layers for comfort.
- Backing fabric – Provides structure when used with batting, creating a smooth interior surface.
- Thread – Joins fabric pieces together and secures hems with strong, lasting stitches.
Step 1: Measure Your Ottoman
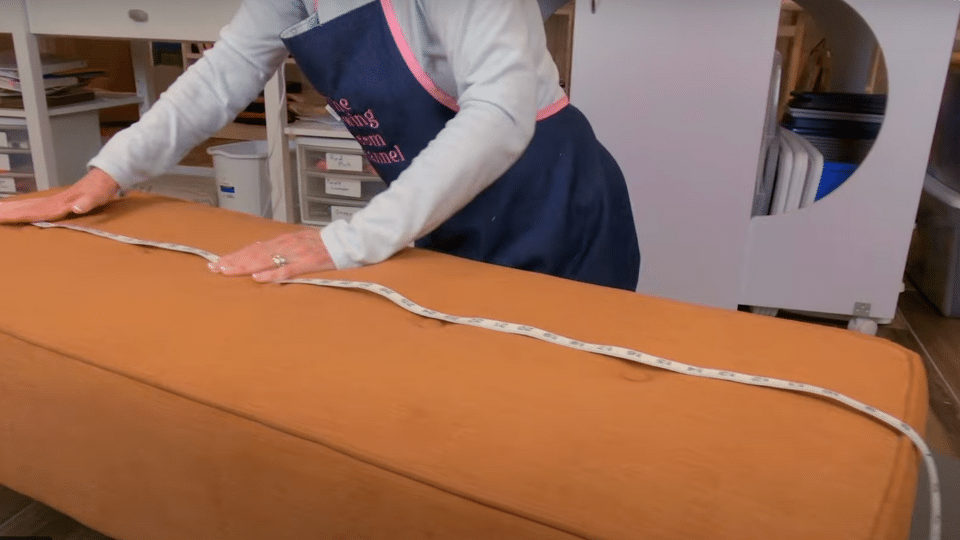
Start by measuring your ottoman carefully using a tape measure. Measure the longest edge from the bottom, up over the top, and down to the opposite bottom edge. Then measure the shorter side using the same method.
Add 6 inches to each measurement to allow enough fabric for hemming. Record these measurements, as they determine the amount of fabric you need to cut. Pre-wash your fabric, if washable, before cutting.
Common Mistake: Not adding enough extra fabric for hems, which leaves you short when finishing the cover.
Step 2: Find the Fabric Center and Position
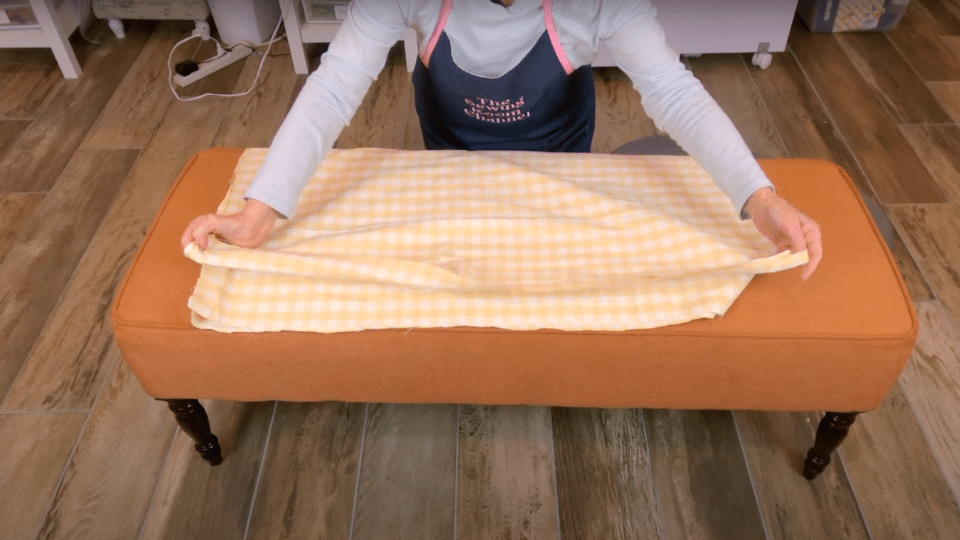
To find the center of your fabric, fold it in half with the pretty sides together, then fold it in half again. Place a straight pin at the corner fold to mark the exact center point.
Unfold the fabric thoroughly and place it face down over the ottoman. Center the fabric using your pin mark as a guide. Check that the fabric hangs evenly on all four sides before moving to the next step.
Common Mistake: Not centering the fabric properly, which creates uneven sides and an unprofessional look.
Step 3: Pin the Corners
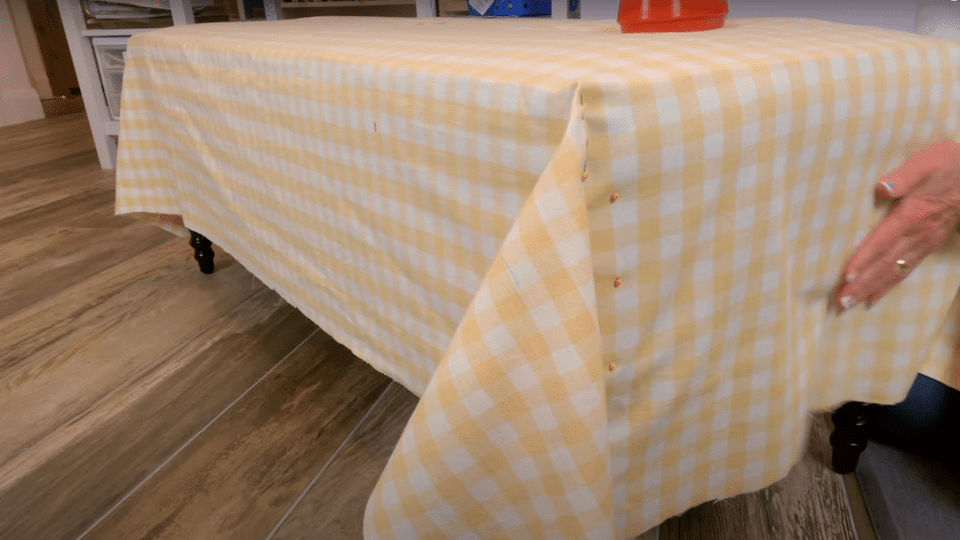
Smooth the fabric over the ottoman without stretching it. At each corner, pinch the fabric together and place straight pins into the side of the ottoman to hold it in place.
Bring the corner fabric together carefully without stretching and pin along the edge where the fabric meets. This line of pins marks where you will sew your seam. Repeat this process for all four corners of the ottoman.
Common Mistake: Stretching the fabric while pinning, which causes puckering and a poor fit when sewn.
Step 4: Mark and Stitch Corner Seams
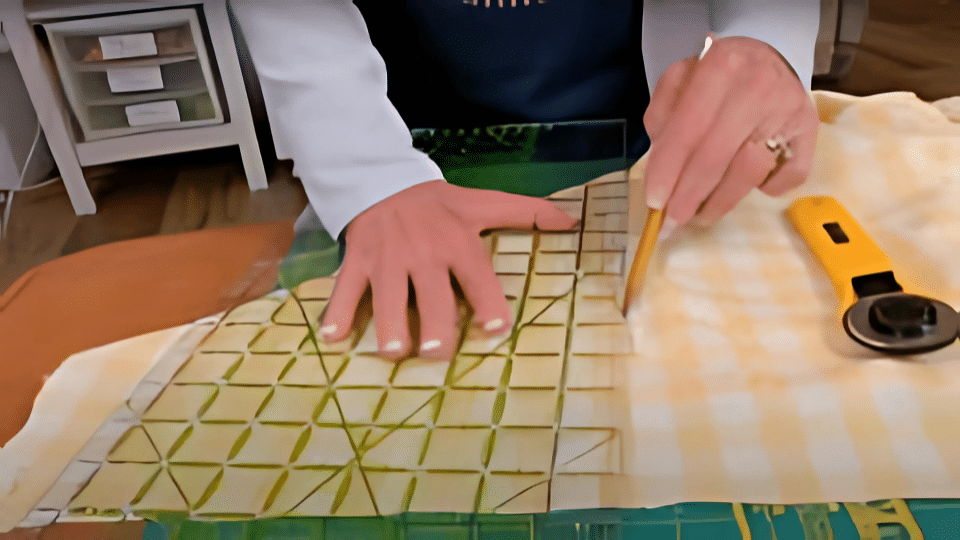
Remove the fabric from the ottoman carefully, keeping pins in place. Use a ruler to draw straight lines next to your pin marks with fabric chalk or marker. These lines show where to sew.
Use long basting stitches along these drawn lines to temporarily hold the seams in place. Place your ruler 1 inch from the stitch line and trim off the excess fabric, leaving a proper seam allowance for finishing.
Common Mistake: Cutting too close to the stitch line, leaving no room for adjustments or proper seam finishing.
Step 5: Sew Final Seams and Test Fit
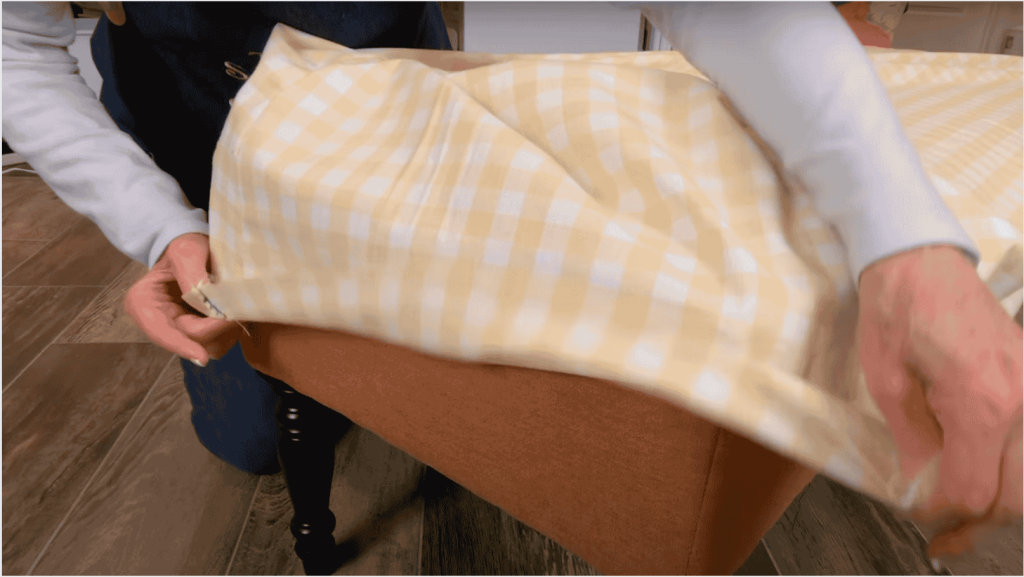
Place the cover back on the ottoman with seams facing outward to check the fit. Ensure it’s neither too tight nor too loose, and adjust as needed. Remove the cover and sew permanent straight stitches over your basting stitches using a sewing machine.
Trim the seam allowance to ¼ inch and finish the raw edges with a zigzag stitch, overcast stitch, or serger to prevent fraying and create a professional finish.
Common Mistake: Not test-fitting before finishing the hem, which can result in a cover that’s too tight or loose.
Step 6: Hem the Bottom Edge
Turn the cover right side out and place it on the ottoman. Mark where the hem should fall, keeping in mind it should end 1 inch below the bottom of the ottoman.
Turn the raw fabric edge under and pin it around the bottom. Fold the raw edges under again and pin securely. Sew a straight stitch or hem stitch all around to secure the hem, creating a clean finished edge.
Common Mistake: Making the hem too short, which exposes the ottoman legs, or too long, which looks sloppy and collects dirt.
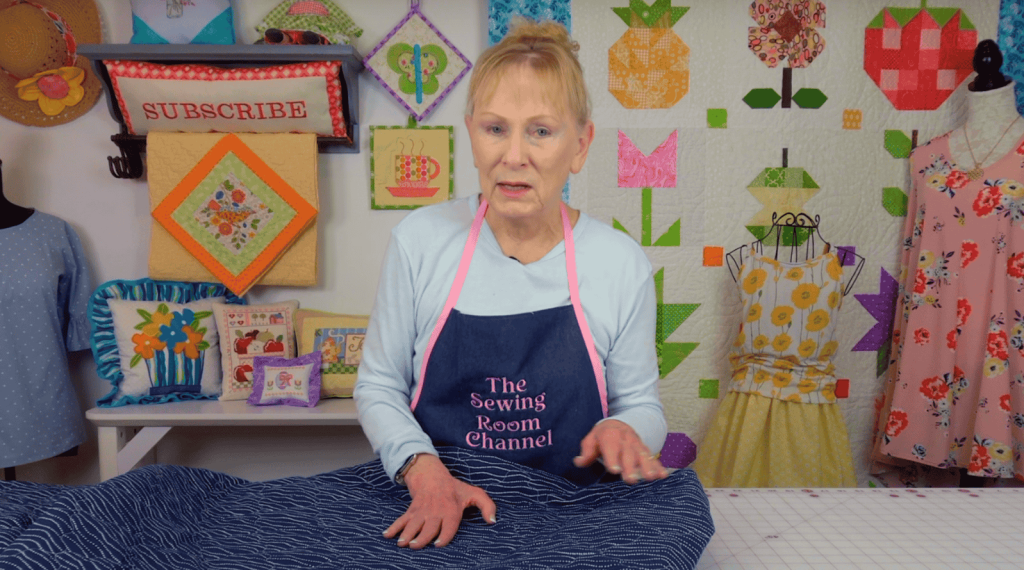
Video Tutorial
I want to acknowledge The Sewing Room Channel for the insightful video, which served as a key reference in compiling this guide.
Alternate Design Options For Ottoman Covers
1. Solid Color Covers: Simple, single-color covers offer the most versatility and timeless appeal in any room. Popular choices include neutral tones like beige, gray, and white for classic looks, or bold colors like navy blue, emerald green, or burgundy for statement pieces.
2. Textured Fabric Covers: Textured covers add depth and tactile interest without relying on printed patterns, utilizing fabric surfaces such as corduroy, velvet, linen weaves, or faux fur.
3. Geometric Pattern Covers: Geometric designs add visual interest without being too busy or overwhelming in modern or contemporary rooms. Common patterns include stripes, chevrons, polka dots, and simple repeating shapes that can make spaces appear larger or add height.
4. Floral and Botanical Covers: Floral patterns bring a natural, soft feeling to any space and work exceptionally well in bedrooms, sunrooms, or traditional living areas. Options range from small, delicate flower prints to large, bold botanical designs featuring realistic illustrations or stylized motifs.
5. Seasonal and Holiday Covers: Seasonal covers enable homeowners to change their decor throughout the year, featuring spring pastels, summer tropical prints, fall warm colors, or winter holiday themes.
Conclusion
Creating a custom ottoman cover at home changes tired furniture into stylish focal points without breaking the budget. The six-step process outlined here demonstrates that professional-looking results can be achieved without advanced sewing skills, provided one takes care to measure accurately, pin properly, and pay attention to detail during construction.
This DIY approach saves hundreds of dollars compared to buying new furniture or hiring professional reupholstering services. More importantly, washable covers mean long-term maintenance becomes effortless, protecting your investment while keeping your space looking fresh.
Ready to start your first ottoman makeover project?
Gather your materials, choose a fabric that matches your style, and begin measuring. The satisfaction of seeing that worn-out piece become a beautiful, functional centerpiece makes every stitch worthwhile.
Share your results in the comments below!
Frequently Asked Questions
What Do You Put on Top of An Ottoman?
Decorative trays, books, candles, plants, throws, or serving items. Keep items lightweight and use coasters to prevent damage to the fabric surface.
How to Protect a Fabric Ottoman?
Use removable covers, fabric protector spray, regular vacuuming, immediate spill cleaning, and rotate position to prevent wear and fading.
Are Ottomans Still in Style?
Yes, ottomans remain popular for their versatility as footrests, extra seating, storage, and coffee tables in modern home design and decor trends.
