Stubborn grease stains on your stovetop, oven, and kitchen surfaces make your home look dirty despite hours of scrubbing.
What if you could create a powerful grease-fighting cleaner using just four simple ingredients from your pantry? This homemade solution cuts through the toughest buildup without harsh chemicals or expensive store-bought products.
You’ll save money while protecting your family from toxic fumes found in commercial cleaners. Plus, you control exactly what goes into your cleaning solution, making it safe around kids and pets.
This step-by-step guide shows you how to make an effective DIY grease remover that works better than most store-bought options. Get ready to transform your cleaning routine with ingredients you already have at home.
Why Choose a DIY Grease Remover?
Making your own grease remover can save you a significant amount of money. Most homemade cleaning recipes utilize basic ingredients, such as baking soda, white vinegar, and dish soap.
These items cost just a few dollars and create multiple batches of cleaner. Compare that to buying commercial degreasers, which can cost $5-$ 15 per bottle.
- No toxic fumes – Natural ingredients won’t trigger breathing problems or headaches.
- Safe around children – Kids can be nearby without worry about chemical exposure.
- Pet-friendly cleaning – No harmful residues that could hurt your furry friends.
Every home has different cleaning needs. Some people love citrus scents, while others prefer unscented options. Heavy-duty grease might need more potent formulas than light buildup.
When you make your cleaner, you control what goes in it. Add essential oils for fragrance or increase certain ingredients for extra cleaning power. This flexibility means you get exactly what works best for your specific situation.
Step-by-Step Guide to Making DIY Grease Remover
This simple recipe creates a powerful natural cleaner that tackles tough grease on ovens, stovetops, grills, and more.
Materials Required
| Ingredient | Amount | Purpose |
|---|---|---|
| Warm to hot water | 1 to 1¼ cups | Base liquid for the solution |
| Kosher salt | 1-2 teaspoons | Abrasive action and cleaning boost |
| Dr. Bronner’s Sal Suds | ½ cup | Strong cleaning soap for grease removal |
| White vinegar | ½ cup | Natural degreaser and disinfectant |
| Lemon essential oil | 10-15 drops | Natural solvent and fresh scent |
Tools Required
| Tool | Purpose |
|---|---|
| Spray bottle | Storage and application of cleaner |
| Funnel | Easy pouring without spills |
| Measuring cups | Accurate ingredient portions |
| Stirring spoon | Mix all ingredients |
Step 1: Prepare Your Base
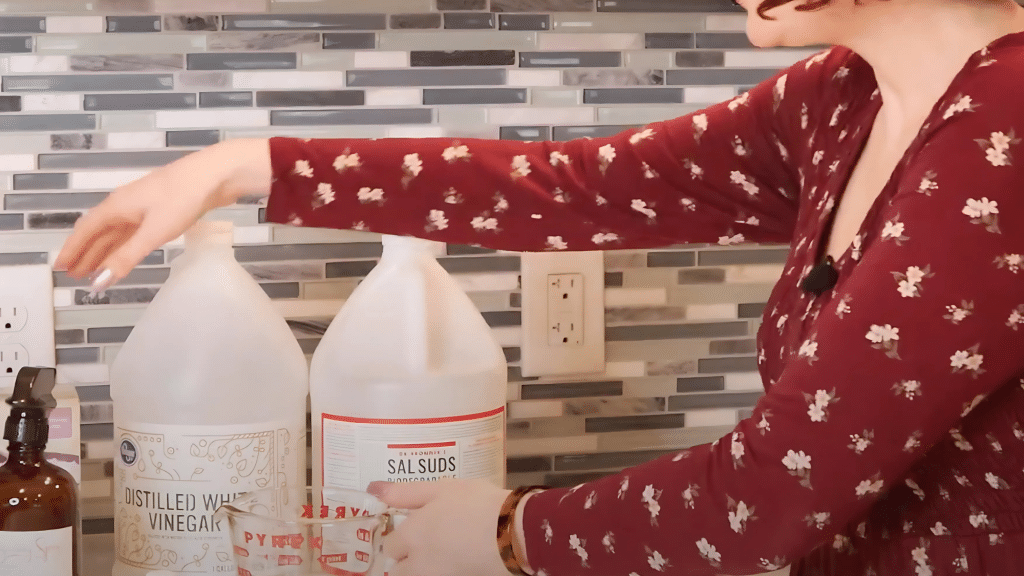
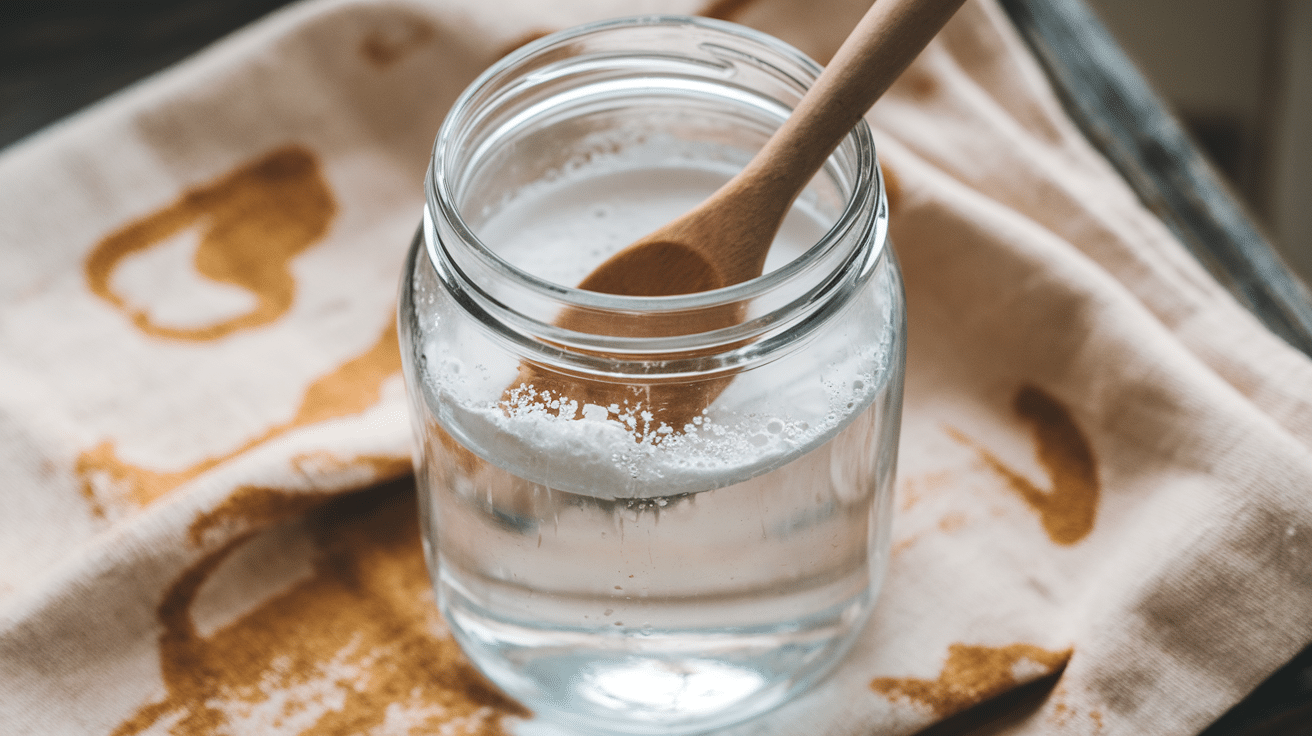
Start with 1 to 1¼ cups of warm to hot water in a mixing bowl. The hotter water works better because it helps dissolve the salt completely. Add 1-2 teaspoons of kosher salt to the warm water and stir until dissolved.
- Use the hottest water your hands can safely handle
- Only kosher salt works – other salts won’t dissolve properly
- Stir thoroughly to avoid salt crystals in your final product
Keep in mind: Regular table salt or sea salt won’t work for this recipe – stick with kosher salt only.
Step 2: Add the Cleaning Power
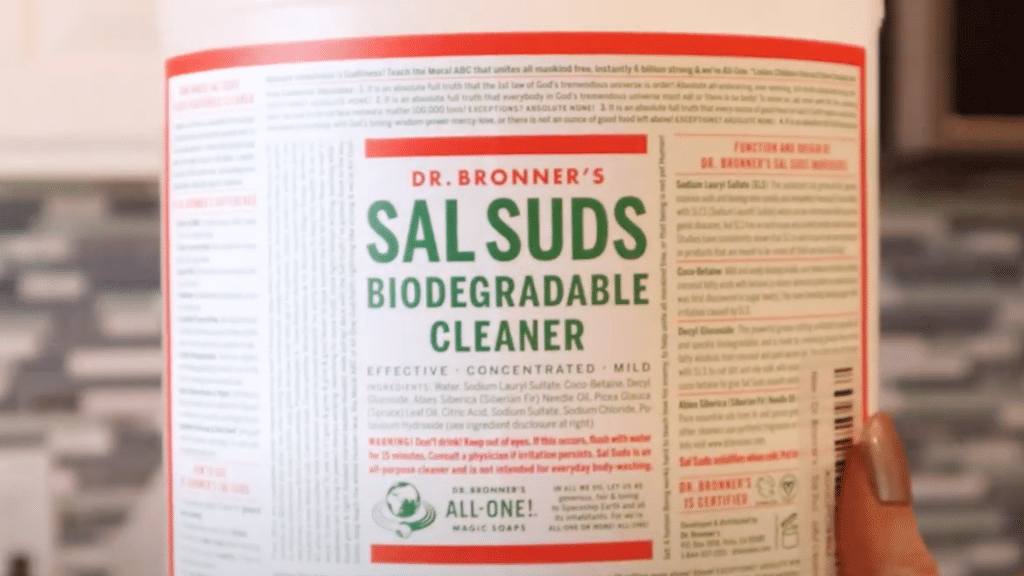
Pour ½ cup of Dr. Bronner’s Sal Suds into your salt water mixture. This soap is stronger than regular castile soap and provides the main cleaning strength. Stir gently to combine without creating too many bubbles.
- Sal Suds is different from castile soap – don’t substitute
- Add slowly to prevent excessive foam buildup
- Mix just enough to combine ingredients evenly
Keep in mind: Dr. Bronner’s Sal Suds is too harsh for skin but perfect for tough cleaning jobs.
Step 3: Incorporate the Natural Degreaser
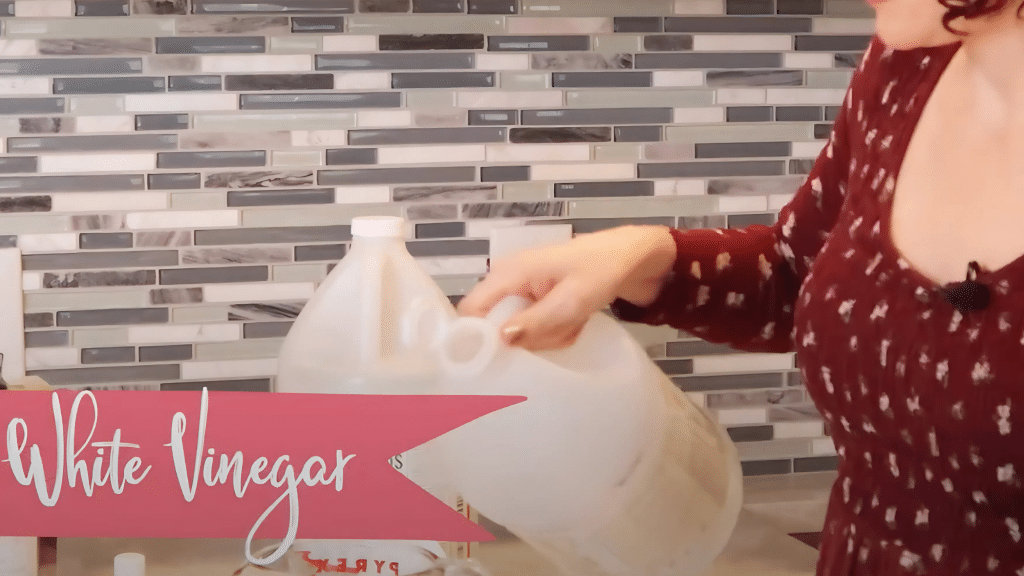
Add ½ cup of white vinegar to your mixture and stir carefully. Vinegar acts as a natural degreaser, helping to break down stubborn grease buildup. The combination of salt and soap creates a powerful cleaning solution.
- Use plain white vinegar – avoid flavored or colored types
- Pour slowly to prevent splashing and bubbling
- Stir gently to maintain the cleaning effectiveness
Keep in mind: Vinegar smell will disappear once the cleaner dries on surfaces.
Step 4: Add Essential Oil and Mix
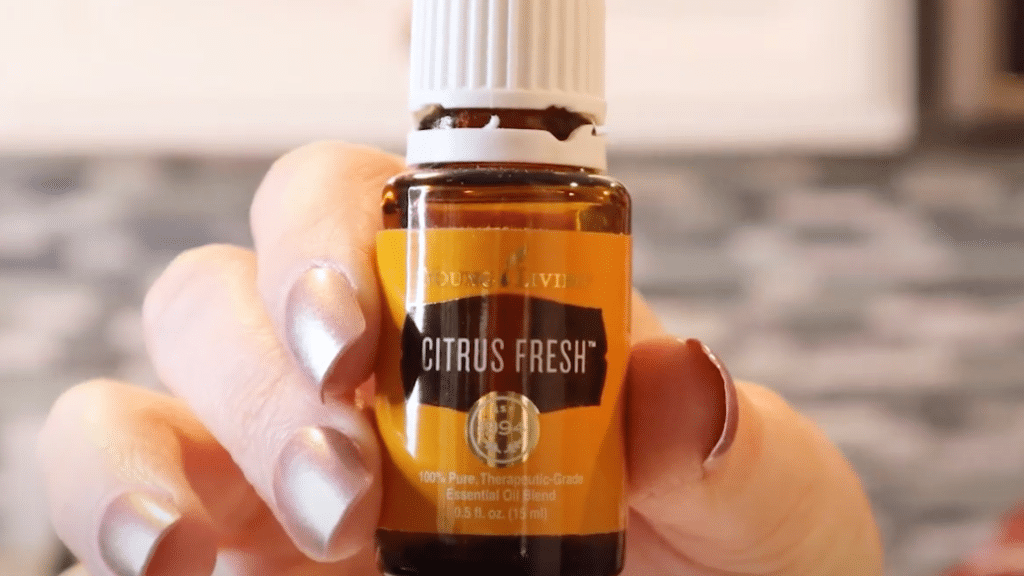
Add 10-15 drops of lemon essential oil or a citrus blend for its natural solvent properties and fresh scent. Lemon oil helps remove stuck-on particles while making your cleaner smell great. Stir the complete mixture one final time.
- Lemon oil works as a mild natural solvent
- Start with 10 drops and add more if you want a stronger scent
- Any citrus essential oil blend containing lemon works well
Keep in mind: Essential oils provide cleaning benefits beyond just fragrance.
Step 5: Transfer and Store
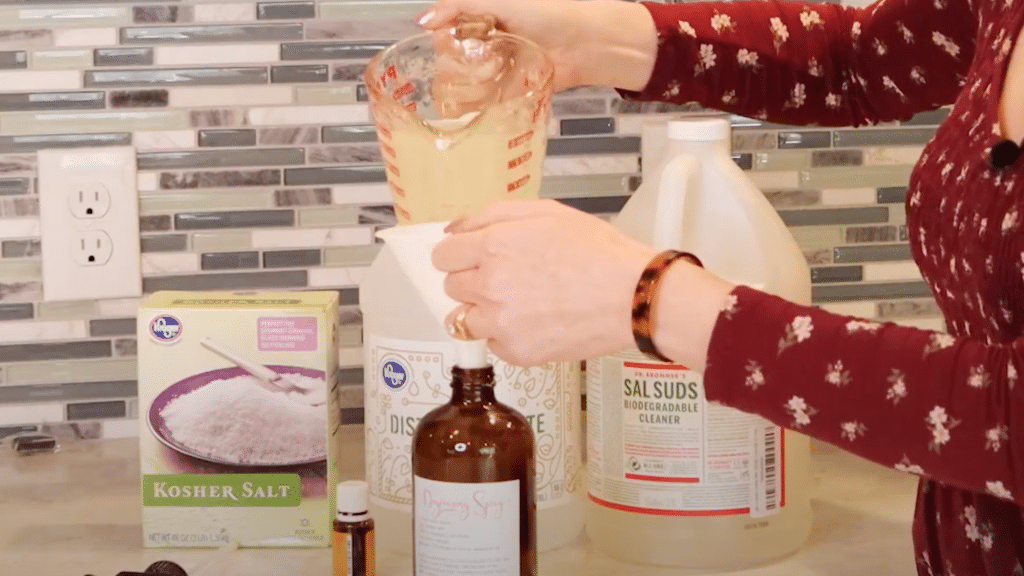
Use a funnel to pour your finished degreaser into a clean spray bottle. Pour slowly to prevent bubbling and overflow. Label your bottle with the recipe and date for easy refills later.
- Pour gradually to avoid creating too much foam
- Leave some headspace at the top of the bottle
- Store in a cool, dry place away from direct sunlight
Keep in mind: This homemade cleaner stays fresh for several months when stored properly.
For a visual tutorial, refer to this video by My Merry Messy German Life.
Mistakes to Avoid When Making DIY Grease Remover
- Using regular table salt instead of kosher salt – Table salt contains anti-caking agents that prevent proper dissolving and can leave residue on surfaces.
- Mixing baking soda and vinegar at the same time – These ingredients neutralize each other immediately, reducing cleaning power when combined too early in recipes.
- Applying vinegar-based cleaners to marble or granite – Natural stone surfaces can etch and become permanently damaged when exposed to acidic cleaners, such as vinegar.
- Skipping the rinse step after cleaning – Leaving leftover cleaner residue can attract more dirt and create a sticky buildup on surfaces over time.
- Using cold water instead of hot water – Cold water won’t dissolve kosher salt properly, reducing the overall effectiveness of your homemade degreaser.
- Substituting castile soap for Sal Suds – Regular castile soap lacks the cleaning strength needed for tough grease removal and won’t produce the same results.
- Adding too much essential oil – More than 15 drops can make surfaces slippery and may cause skin irritation during cleaning tasks.
Tips to Prevent Grease Buildup
1. Clean spills immediately after cooking – Wiping up grease splatters while they’re still warm prevents them from hardening and becoming much harder to remove later.
2. Install range hood filters above your stove – These filters capture airborne grease particles before they settle on surrounding surfaces, such as cabinets and walls.
3. Use splatter guards when frying or sautéing – Screen covers over pans reduce the amount of grease that escapes and lands on your stovetop and nearby areas.
4. Perform daily quick wipes with a mild cleaner – A simple spray of a diluted dish soap solution, followed by a microfiber cloth, prevents grease from accumulating over time.
5. Replace or clean range hood filters monthly – Dirty filters lose their effectiveness, allowing more grease to escape into your kitchen air and surfaces.
6. Keep cooking temperatures moderate when possible – High heat creates more splattering and grease spray, so use medium heat settings when recipes allow.
7. Wipe down cabinet fronts and backsplashes weekly – Regular cleaning of surfaces near your stove prevents sticky grease films from building up and attracting more dirt.
Conclusion
Creating your own grease remover transforms how you tackle kitchen cleaning. These natural ingredients work just as well as expensive commercial products while keeping your family safe from harmful chemicals.
The simple recipe using kosher salt, Sal Suds, vinegar, and lemon oil proves that effective cleaning doesn’t require complex formulas. Your surfaces will shine, your budget will stretch further, and you’ll feel confident about what touches your food preparation areas.
Remember to clean spills quickly and maintain your surfaces regularly. This prevents heavy buildup that requires intensive scrubbing later.
Ready to start mixing your first batch? Gather these four ingredients and experience the difference natural cleaning makes. Your kitchen deserves this gentle yet powerful treatment.
What grease challenge will you tackle first with your new homemade cleaner?

