Have you ever wanted to make wood projects that last longer and look better?
Laminating wood solves this problem by joining multiple layers together. This creates stronger, more stable pieces that won’t warp like regular boards.
The process works great for furniture, countertops, and home projects. When you do it right, laminated wood gives you results that solid wood simply can’t match.
You’ll learn exactly how to laminate wood in this guide and cover the tools you need, step-by-step instructions, and mistakes that can ruin your project. Plus, you’ll see why laminated wood costs less and performs better than expensive solid lumber.
Whether you’re building your first cutting board or planning complex furniture, these techniques will help you create professional-quality results. The methods work for beginners and experienced woodworkers alike.
Let’s start making stronger wood projects today.
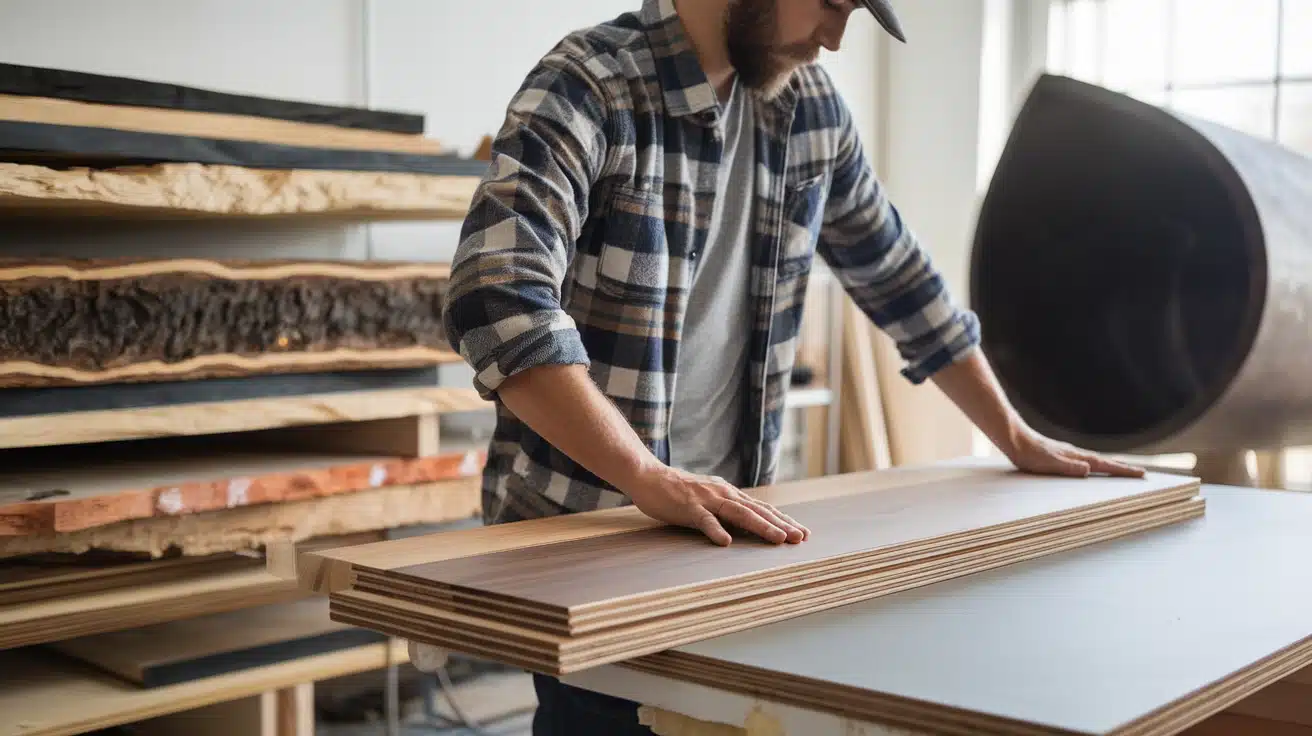
What Is Laminating Wood?
Laminating wood means gluing multiple layers of wood together to form a single, stronger piece. This creates a product with better strength and stability than solid wood of the same size.
The layers in laminated wood typically run in different directions. This cross-grain structure helps prevent warping and cracking. Wood lamination joins thin pieces to make thicker boards or combines different wood types for visual appeal.
Examples include plywood, countertops, curved furniture, and beams. The process requires glues and clamps to bond layers under pressure.
Benefits of Laminating Wood:
1. Improved durability and strength: Multiple glued layers distribute stress evenly, creating stronger beams and longer-lasting products.
2. Cost efficiency:change smaller, cheaper wood pieces and scraps into larger projects. Use lower-grade lumber for hidden layers while achieving better results than expensive solid stock at reduced cost.
3. Flexibility: Mix different wood species to create unique grain patterns and colors impossible in nature. Design curved forms and striking visual effects while stretching budgets with creative combinations.
Types of Laminating Wood Processes
1. Cold Press Lamination: Cold pressing uses glue and clamps at room temperature. It requires a longer curing time but works well for most home projects. This method costs less and doesn’t require special tools. It’s perfect for beginners and smaller items like cutting boards.
2. Hot Press Lamination: Hot press adds heat to speed up glue curing. This method works faster and creates stronger bonds. It’s best for production work where time matters. The heat helps the glue flow better into wood pores.
3. Vacuum Bag Lamination: Vacuum bags use air pressure to clamp wood evenly. This method works great for curved shapes and large panels. It is also perfect for boats and custom furniture where complex forms are needed.
Steps to Laminating Wood
Learn how to create strong, beautiful laminated wood pieces by gluing and clamping multiple wood layers together. This complete guide covers wood selection, essential tools, and five key steps from glue application to final finishing.
Choose the Type of Wood Suitable for Lamination
| Wood Type | Examples | Purpose |
|---|---|---|
| Hardwood | Oak, Maple, Walnut | Provides strength and good glue bonding. Best for furniture and visible surfaces. |
| Softwood | Pine, Cedar, Fir | Easier to work with. Good for interior projects and practice runs. |
| Engineered Wood | Plywood, MDF, Particle Board | Already laminated. Used as base layers or when uniform thickness matters. |
Gather essential tools:
| Tool/Equipment | Options | Purpose |
|---|---|---|
| Adhesives/Glues | PVA, Epoxy, Polyurethane | Bonds wood layers together. Different types for different needs. |
| Clamps | Bar, Pipe, C-clamps, Spring | Applies pressure during glue curing. Prevents gaps between layers. |
| Rollers/Brushes | Foam, J-rollers, Bristle brushes | Spread glue evenly on wood surfaces. Removes air bubbles. |
| Press Machines | Manual, Hydraulic, Pneumatic | Creates even pressure across the entire wood surface. Used for large pieces. |
Start with these five key steps to create strong, attractive laminated wood pieces. This method works for both flat panels and curved forms, and uses basic tools most woodworkers already have.
1. Apply Wood Glue
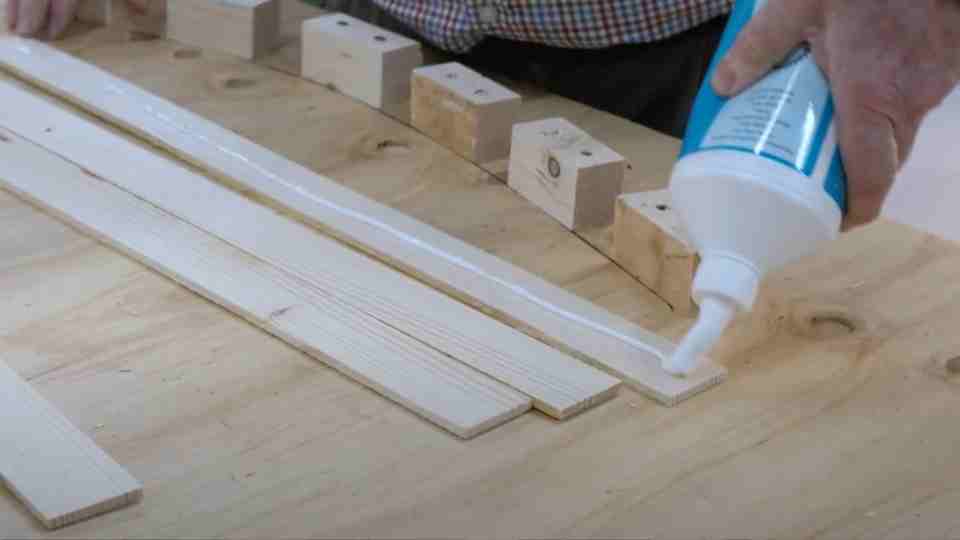
Put glue on one side of each wood piece except the last one. Spread it evenly using your fingers or a roller. Make sure you cover the entire surface with no dry spots.
Don’t put on too much glue, or it will squeeze out and create a mess. Wood glue works best at room temperature, so keep your shop warm. Work at a steady pace so the glue doesn’t start to dry before clamping.
Pro Tip: Keep a damp cloth nearby to wipe excess glue from your hands and the wood edges as you work.
2. Stack Your Wood Layers

Place each piece with its unglued side against the previously glued surface. Line up the edges as you stack. Keep track of which sides you want facing outward.
Work quickly once you start stacking to prevent the glue from drying too much. If making curved pieces, start placing them into your form as you stack. This makes the final clamping much easier.
Pro Tip: Use small pins at the corners to keep layers aligned during stacking. Remove them once you begin clamping.
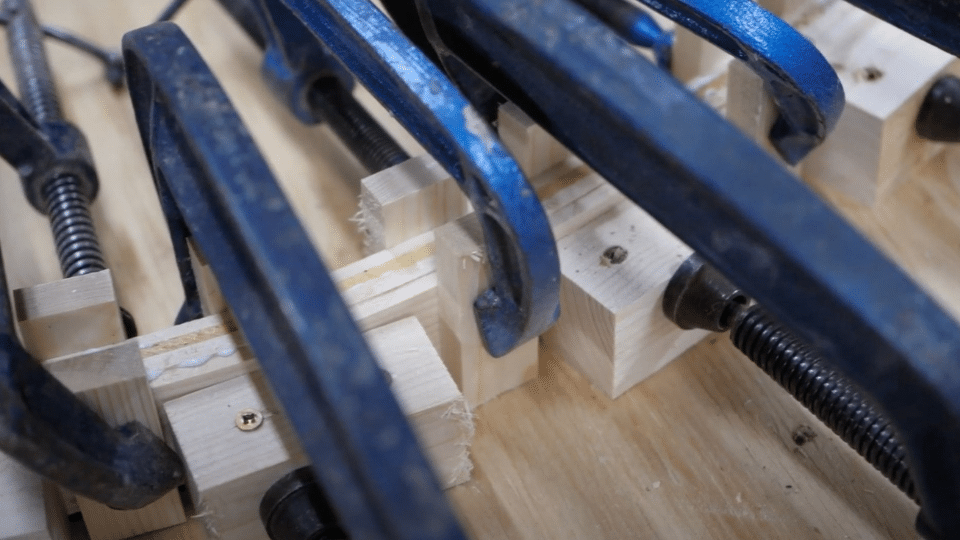
3. Clamp Properly
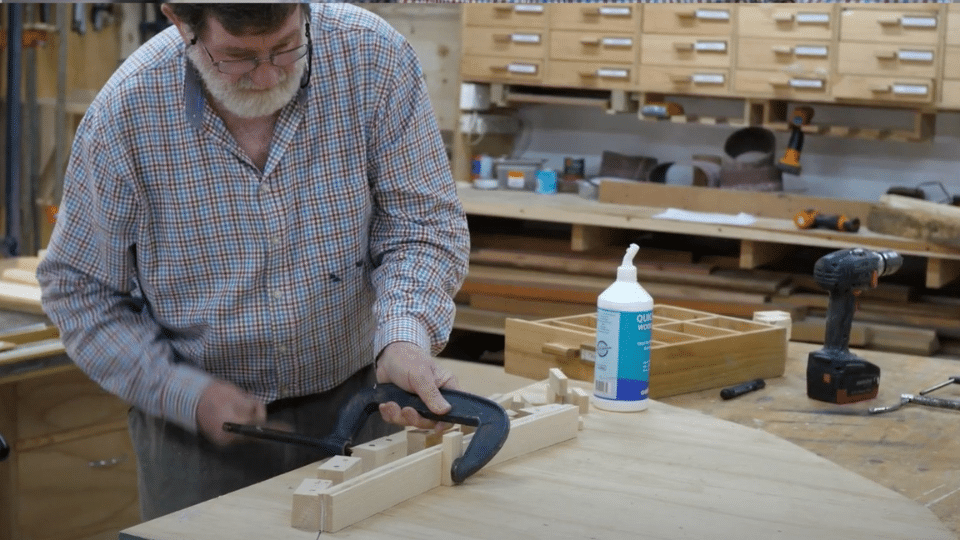
Begin clamping from the middle of the wood stack and work toward both ends. This lets the wood layers slide against each other as they bend. Use plenty of clamps for even pressure across the entire piece.
For curved forms, clamp the wood against a mold or form. Space clamps about 3-4 inches apart for best results. Check that edges stay aligned as you tighten each clamp.
Pro Tip: Put wax paper between your laminated wood and any forms or molds. This prevents the wood from sticking to the form if glue squeezes out.
4. Allow Proper Curing Time
Let the glued wood sit for at least the time listed on the glue bottle. Most manufacturers suggest 2-4 hours minimum. For the strongest bond, leave it clamped for a full day.
Longer curing times create stronger joints. Keep the wood at room temperature while curing. Cold shops slow down the process. Don’t rush this step, or your lamination might fail when put under stress.
Pro Tip: Write the time and date on a piece of tape and stick it to your project. This helps you track exactly how long it has been curing.
5. Finish Your Laminated Piece
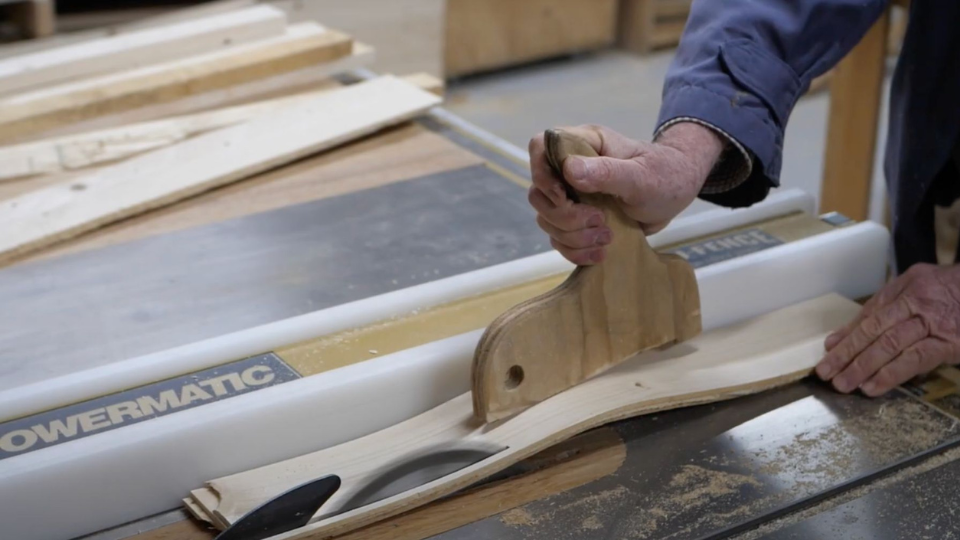
After full curing, remove the clamps carefully. Plane the sides smooth to remove any glue bumps or uneven edges. Sand the entire piece, starting with rough paper and working to finer grits.
Apply your chosen finish once all surfaces are smooth. The glue lines will be visible on edges, which many woodworkers see as a nice feature of laminated wood.
Pro Tip: Wait a few days after unclamping before applying heavy stress to the laminated piece. This gives any hidden moisture from the glue time to fully evaporate.
Special thanks to HOWit’sMADE for providing valuable insights in their video, which I referenced while creating this guide.
Common Mistakes to Avoid When Laminating Wood
1. Problem: Wood surfaces that are dusty, oily, rough, or have mismatched moisture content prevent proper glue bonding, leading to weak joints and delamination.
Solution: Clean all surfaces with a lint-free cloth, sand until smooth, check the moisture content matches shop conditions, and make a final pass with a tack cloth before applying glue.
2. Problem: Wrong glue choice causes failures – some dry too fast, others lack strength for curves, and water-based glues may raise grain and cause warping.
Solution: Match adhesive to project needs: PVA for straight laminations, epoxy or polyurethane for outdoor use. Read the manufacturer’s instructions and test on scrap pieces first.
3. Problem: Too few clamps create gaps between layers, while removing clamps too early allows curved pieces to spring back and joints to fail under stress.
Solution: Use one clamp every 3-4 inches, wait a minimum of 24 hours before unclamping regardless of glue claims, and add extra time in cold or humid conditions.
4. Problem: Thick glue spots create weak areas and messy squeeze-out, while thin coverage leaves dry spots that won’t bond properly between wood layers.
Solution: Apply thin, even coats using rollers or brushes, work quickly to prevent premature drying, and maintain consistent coverage across the entire surface without excess buildup.
Conclusion
Laminating wood brings multiple thin pieces together to create something stronger than its parts. This technique opens up possibilities for both practical and creative woodworking projects. From simple cutting boards to curved furniture, the process remains similar – careful preparation, proper glue application, even clamping, and patient curing.
The benefits speak for themselves: stronger wood products that resist warping, cost savings by using smaller or lower-grade pieces, and the chance to create unique visual patterns impossible with solid wood.
Remember that success comes from clean surfaces, the right adhesive, and giving the glue enough time to cure properly. Don’t rush the process.
Ready to try laminating wood yourself? Start with a small project like a cutting board, and build your skills from there. What will you make first? Let me know in the comments below.
Frequently Asked Questions
How long does Laminate Wood Last?
Properly made laminated wood can last 20-30 years or more. Indoor pieces last longer. The quality of glue, wood type, and proper finishing all affect lifespan.
Is Wood Laminate Expensive?
Wood laminate typically costs less than solid wood. The price depends on the wood type and size. DIY lamination saves money, while pre-made products cost more but save time
Is It Cheaper to Install Hardwood or Laminate?
Laminate is cheaper to install than hardwood. Laminate costs $3-7 per square foot installed, while hardwood runs $6-12. Many people can install laminate themselves to save more
