
Fresh flowers bring joy and beauty into our lives, but their blooms fade quickly.
Drying flowers lets you preserve those special bouquets for months or even years, turning fleeting moments into lasting memories.
Drying flowers is easier than you might think, and there are several different methods you can try.
If you want to save a special memory or create cool craft projects, this guide will show you exactly how to do it.
Let’s look at the best ways to keep your flowers looking beautiful long after they’ve been cut.
Why Dry Flowers?
Drying flowers transforms fleeting blooms into lasting treasures. Preserved flowers make perfect keepsakes from weddings, graduations, and special occasions without taking up much space.
They’re ideal for craft projects like greeting cards, bookmarks, and jewelry, while adding natural beauty to home décor.
Unlike fresh flowers that wilt within a week, dried flowers last months or years with minimal care.
The Royal Horticultural Society notes they’re environmentally friendly too; biodegradable with a low carbon footprint.
The drying process removes moisture from petals and stems, preventing rot and mold while maintaining shape and color.
The Four Most Popular Methods to Dry Flowers
Now let’s get to the fun part: the different ways you can dry your flowers. Each method works best for different types of flowers and different projects.
Method 1: Air Drying (Hanging)
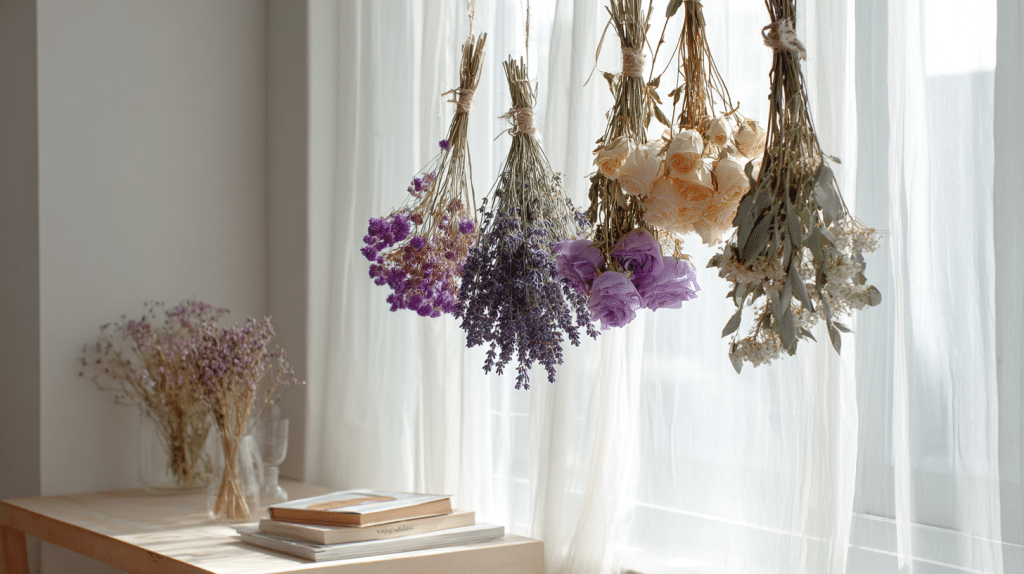
Air drying is probably the easiest and most traditional way to dry flowers. It’s perfect if you want to display your flowers upright in a vase later.
|
Materials required
|
Step-by-step instructions:
- Start by picking your flowers when they’ve just opened but aren’t fully mature or wilting. This gives you the best results.
- Remove the extra leaves from the bottom part of the stems. You want the air to circulate around the flowers, not the leaves.
- Gather about 5 to 10 stems together and tie them loosely with a rubber band or string. Don’t squeeze them too tightly, or they’ll get squished.
- Hang your bundle upside down in a dark, dry spot with good airflow. A coat hanger in a closet works great for this.
- Leave them hanging until they’re completely dry. We’ll talk more about timing in a bit.
This method works really well for flowers like lavender, roses, and baby’s breath. The upside-down position helps the stems stay straight while they dry.
Method 2: Silica Gel or Desiccant Drying
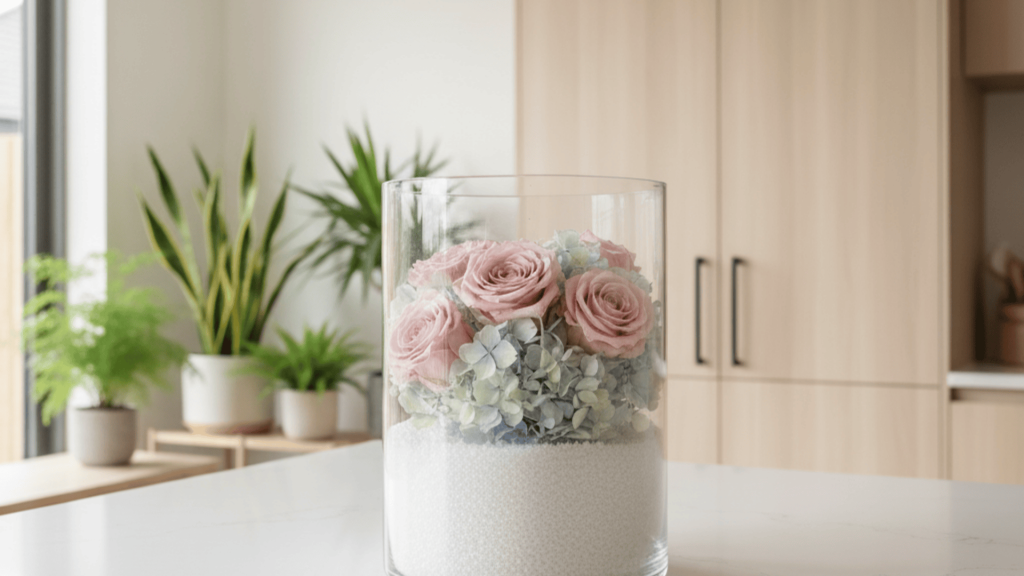
If you want your flowers to keep their three-dimensional shape and vibrant colors, silica gel is your best friend. This method takes a little more work but gives amazing results.
|
Materials required
|
Step-by-step instructions:
- Choose flowers that you really want to preserve in their full form. Roses, hydrangeas, and daisies work beautifully with this method.
- Pour a layer of silica gel into the bottom of your container. Then carefully place your flower face-up on top of it.
- Gently pour more silica gel over the flower until it’s completely buried. Be gentle so you don’t damage the petals.
- Seal the container and leave it alone for the recommended time (usually 1 to 3 weeks, depending on the flower size).
- When it’s done, carefully remove your flower and gently brush off any remaining gel with a soft paintbrush.
The silica gel works like a sponge, pulling all the moisture out of the flower while helping it keep its shape. It’s almost like magic! This method is perfect if you’re planning to use your dried flowers for special craft projects or if you want to frame them.
Method 3: Pressing (Flat Drying)
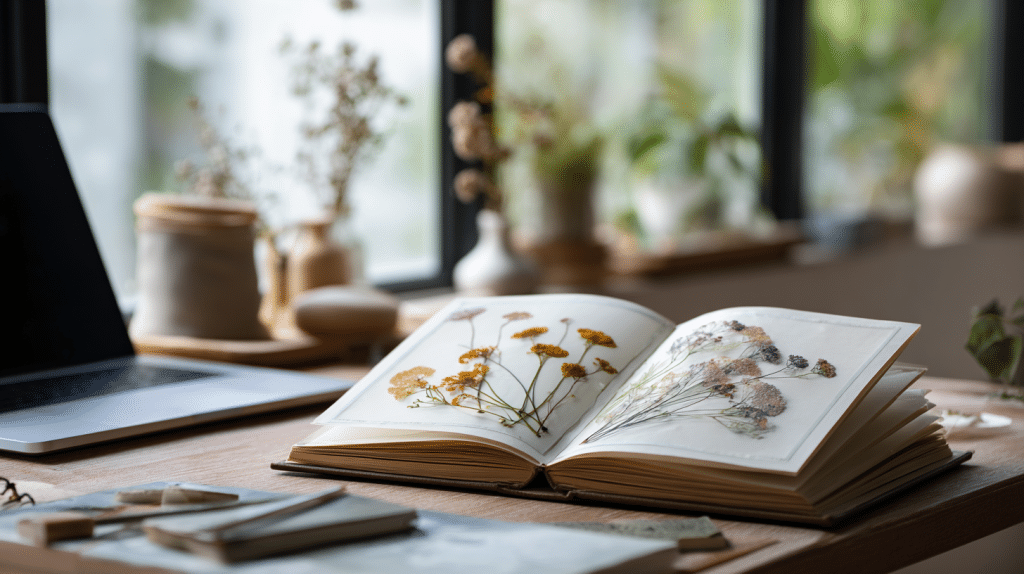
Pressing flowers is a classic technique that’s been around for hundreds of years. It’s the go-to method when you want flat flowers for bookmarks, cards, or framed art.
|
Materials required
|
Step-by-step instructions:
- Pick flowers that are naturally flat or can be flattened easily. Pansies, daisies, and violets work wonderfully for pressing.
- Open your book and place a piece of parchment paper on one page. Arrange your flowers on the paper, making sure they don’t overlap.
- Put another piece of parchment paper on top, then close the book. Stack a few more heavy books on top to add extra weight.
- Store your book sandwich in a dry place and leave it alone for 2 to 4 weeks.
- Once your flowers are dry, carefully peel them off the paper. They’ll be paper-thin and delicate, so handle them gently.
The weight of the books squeezes the moisture out while keeping the flowers completely flat.
You can use these pressed flowers to make beautiful bookmarks, decorate homemade cards, or create framed artwork for your room.
Method 4: Quick-Dry/Heat Methods (Microwave / Oven / Dehydrator)

Sometimes you need dried flowers fast, maybe for an upcoming project or event. That’s when heat methods come in handy.
|
Materials required
|
Step-by-step instructions:
- Trim your flower stems and remove any extra leaves.
- Place your flowers on parchment paper on a tray or plate.
- If using a microwave, heat them in short bursts of 30 to 60 seconds, checking after each burst. If using an oven or dehydrator, set it to a very low temperature (about 100 to 150°F) and check on them every 30 minutes.
- Watch carefully to make sure they don’t burn or turn brown. This is super important with heat methods.
- Once they’re dry, let them cool completely before touching them.
The heat speeds up the drying process from weeks to just hours or a day. However, you need to be careful because too much heat can make your flowers turn brown or crispy.
This method is best when you’re in a hurry and need dried flowers quickly.
How Long It Takes & When to Harvest
One of the most common questions people ask is, “How long will this take?” The answer depends on which method you’re using and what type of flowers you’re drying.
Here’s a quick timeline:
- Air drying: 2-3 weeks
- Silica gel: 1-3 weeks
- Pressing: 2-4 weeks
- Heat methods: A few hours to one day
As for when to pick your flowers, timing matters a lot. The best time to harvest is when the flowers have just opened and are healthy and strong.
Avoid picking them on damp mornings or right after it rains, because the extra moisture can cause mold or discoloration. Late morning on a dry day is usually perfect.
Once your flowers are dried, you’ll want to store them properly. Keep them out of direct sunlight, which can fade their colors quickly.
Display them in low-humidity areas of your home, and remember that even with good care, dried flowers will eventually lose some color and become more fragile over time.
Creative Ideas for Using Dried Flowers
Now that you know how to dry flowers, what can you actually do with them? The possibilities are endless!
1. Home Décor
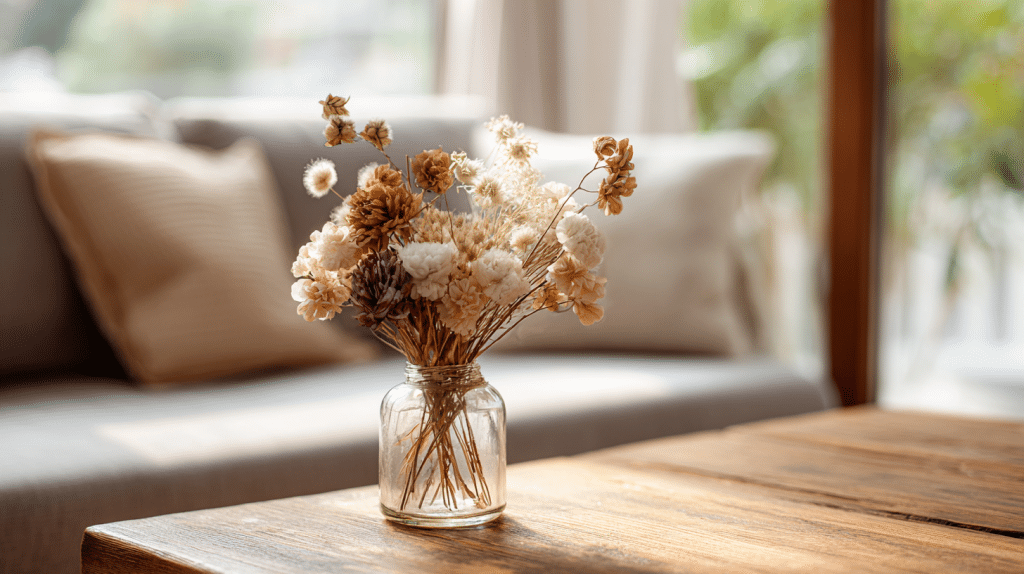
Arrange dried flowers in vases, create wall hangings, or make wreaths and garlands for your bedroom or living room.
They add a natural, cozy touch to any space. Display them on shelves, mantels, or tables for year-round beauty without maintenance.
2. Craft Projects
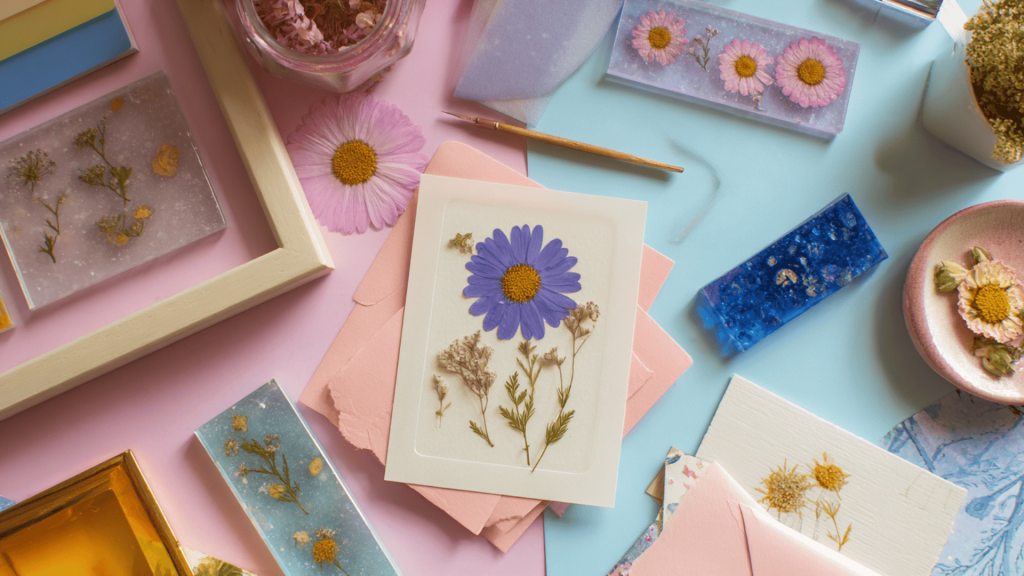
Use pressed flowers to make greeting cards, bookmarks, or picture frames. Embed silica-dried flowers in clear resin to create jewelry like pendants or earrings.
Create unique scrapbook pages or decorate gift tags with delicate pressed petals for personalized touches.
3. Special Occasions

Dried flowers make beautiful table decorations for weddings, parties, or holiday dinners. Create a potpourri by combining dried flowers with essential oils for a natural room freshener.
Use them in party favors or as elegant place card holders for memorable events.
4. Gifts and Keepsakes
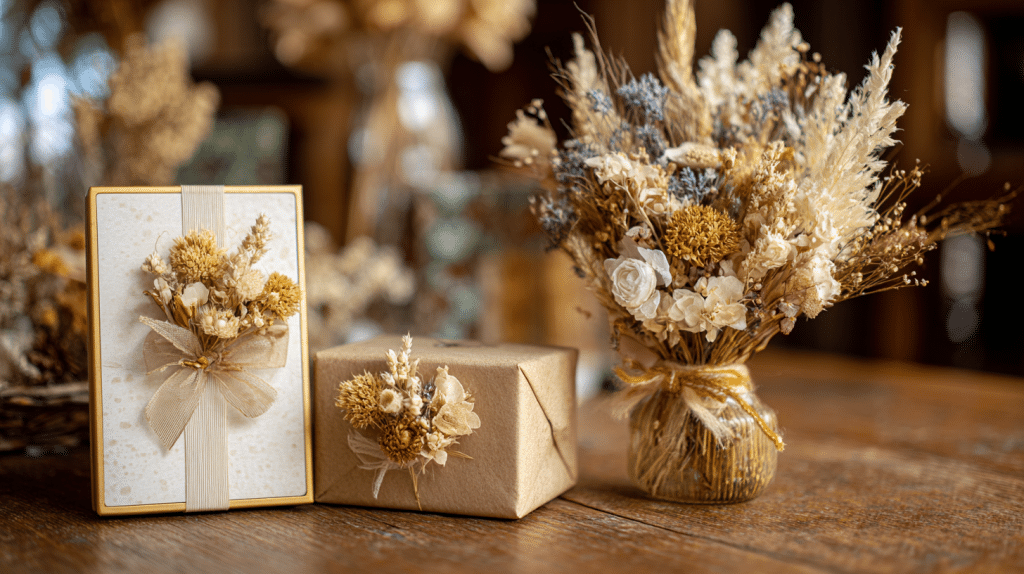
Preserve flowers from special events like proms, graduations, or weddings. Frame them as heartfelt gifts or keep them as personal memories.
Memorial flowers can be dried and displayed to honor loved ones, creating touching tributes that last for years.
Wrapping It All Up
Learning how to dry flowers opens up a whole world of creativity and preservation.
Remember the key tips: choose the right method based on what you want to do with your flowers, harvest them at the right time when they’re fresh and healthy, follow the steps carefully, and store them properly away from sunlight and moisture.
Why not start today? Pick a flower you love, try one of these methods, and see which technique works best for you.
Before you know it, you’ll have a collection of beautiful dried flowers that tell the story of your favorite moments and memories.
Frequently Asked Questions
Can Any Flower Be Dried Successfully?
Yes, most flowers can be dried using the right method, though flowers with sturdy petals like roses, lavender, and hydrangeas work best, while delicate flowers are better suited for pressing or silica gel methods.
Why Did My Dried Flowers Turn Brown or Brittle?
Dried flowers turn brown or brittle due to direct sunlight exposure, drying too fast with excessive heat, or starting with flowers that were already past their prime or wilting.
How do I Keep Dried Flowers from Collecting Dust or Breaking Down?
Display dried flowers away from windows and humid areas, gently clean them with a soft brush or cool hair dryer, and consider using a clear sealant spray for extra protection.
