
Building a raised garden bed is one of the best DIY projects for any gardener. But here’s the real secret: healthy plants start from what’s under the soil.
The layers you build inside your raised bed make a big difference! They help with drainage, provide nutrients to your plants, and keep their roots strong.
A lot of people just fill their beds with soil and hope for the best. Then they wonder why their plants don’t grow well.
The truth is, the best raised beds are made with layers that work together, kind of like how nature does.
How To Layer A Raised Garden Bed
Building a raised garden bed isn’t just about dumping soil into a box.
It’s about layering the right materials so your plants have everything they need: good drainage, rich nutrients, and strong roots. Here’s how to do it step-by-step:
Materials Needed
Keeping the materials ready helps make the whole process smoother. Here are a few things you’ll need to build your raised garden bed.
| Layer | Materials Required |
|---|---|
| Bottom Layer – Drainage Layer | Small branches or sticks Wood chips Straw Gravel (optional, if your soil is heavy) |
| Middle Layer – Organic Material | Dried leaves Grass clippings Straw Small wood pieces Shredded newspaper or cardboard (no shiny ink) |
| Top Layer – Good Soil Mix | 1 part garden soil (for structure) 1 part compost (for nutrients) 1 part potting mix or topsoil (for softness and drainage) |
Step 1: Add the Bottom (drainage) Layer
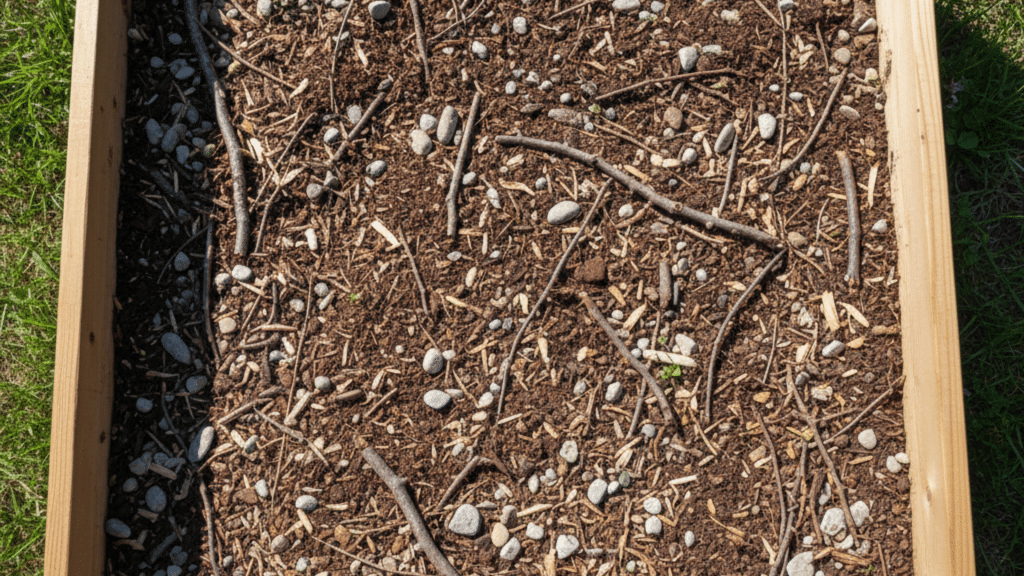
Begin by placing small sticks, wood chips, or straw at the bottom of your garden bed. This layer helps water drain, so your plants’ roots don’t sit in soggy soil.
If your ground soil is heavy, you can add a little gravel to improve drainage and give plants a strong base.
Step 2: Add The Middle (Organic) Layer
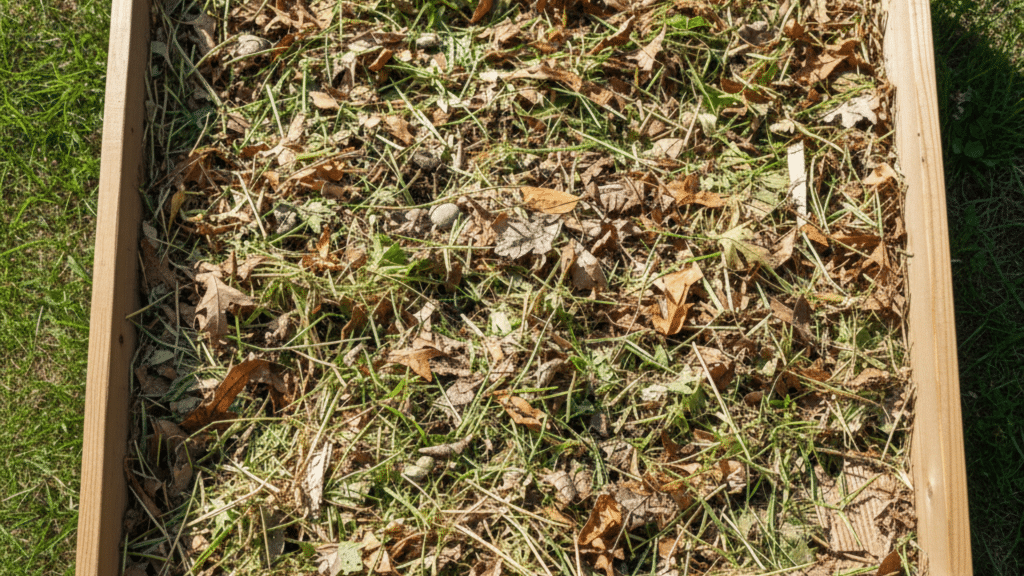
Add dried leaves, grass clippings, straw, small wood pieces, and shredded cardboard. These materials slowly break down over time and naturally feed your plants.
Make sure the layer is spread evenly so nutrients reach all parts of the bed as it decomposes.
Step 3: Add the Top (soil) Layer
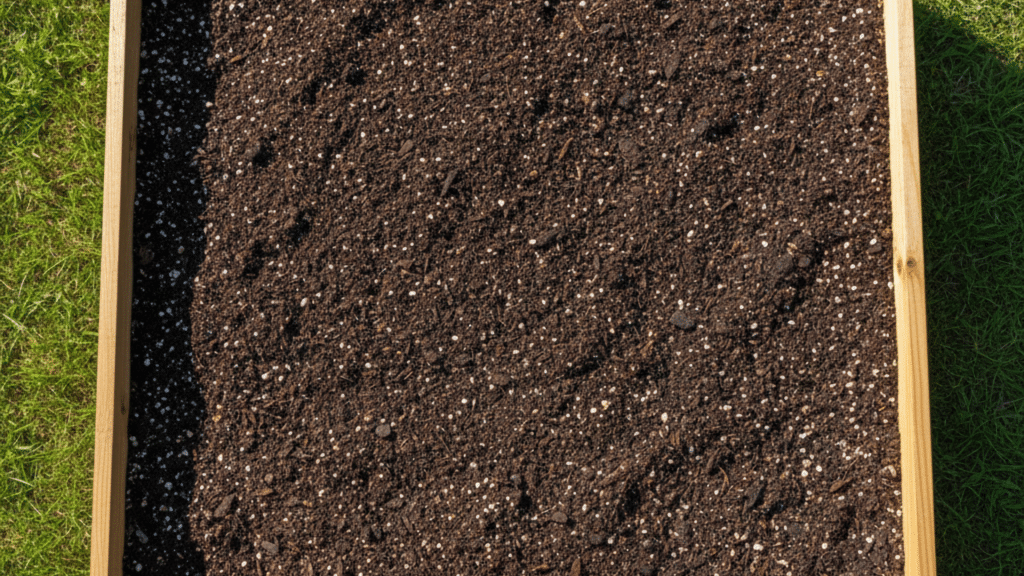
Now mix garden soil, compost, and potting soil or topsoil in equal parts (1:1:1). Spread this mix evenly across the bed. This is where your plants will grow their roots.
Gently pat down the soil so it’s firm but still loose enough for roots to spread easily.
Step 4: Water And Settle Everything
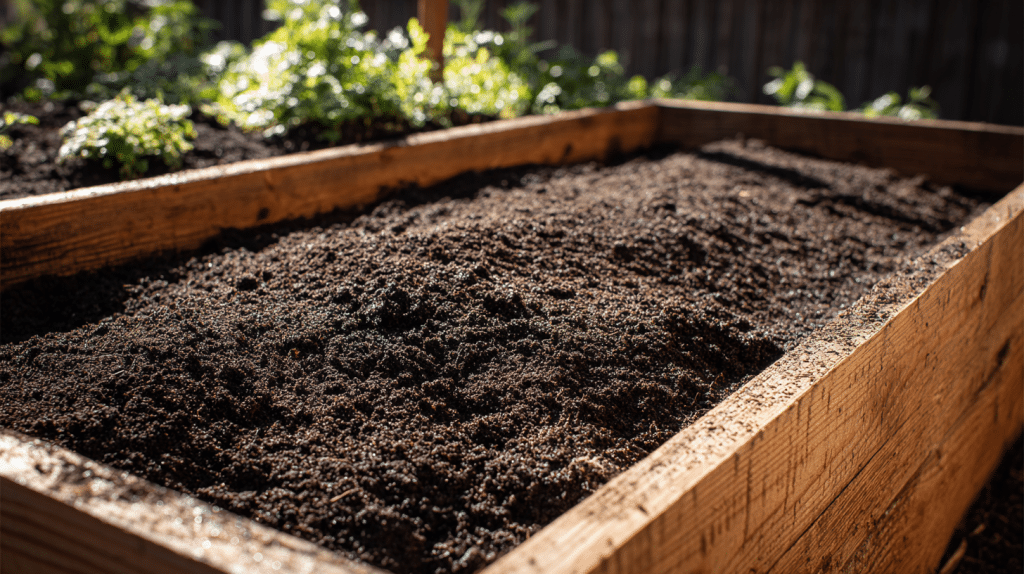
Gently water the entire bed to allow the layers to settle and remove air pockets. Make sure water reaches all the way through the soil so roots have moisture deep down.
After watering, let the bed rest for a few hours or a day before planting seeds or seedlings.
Video Tutorial
Special thanks to Beginner’s Garden – Journey with Jill for providing valuable insights in their video, which I referenced while creating this guide.
Other Methods to Build a Raised Garden Bed
There’s more than one way to create a beautiful and functional raised garden bed.
Depending on your space, style, and available materials, these alternative methods can give your garden a unique and practical edge.
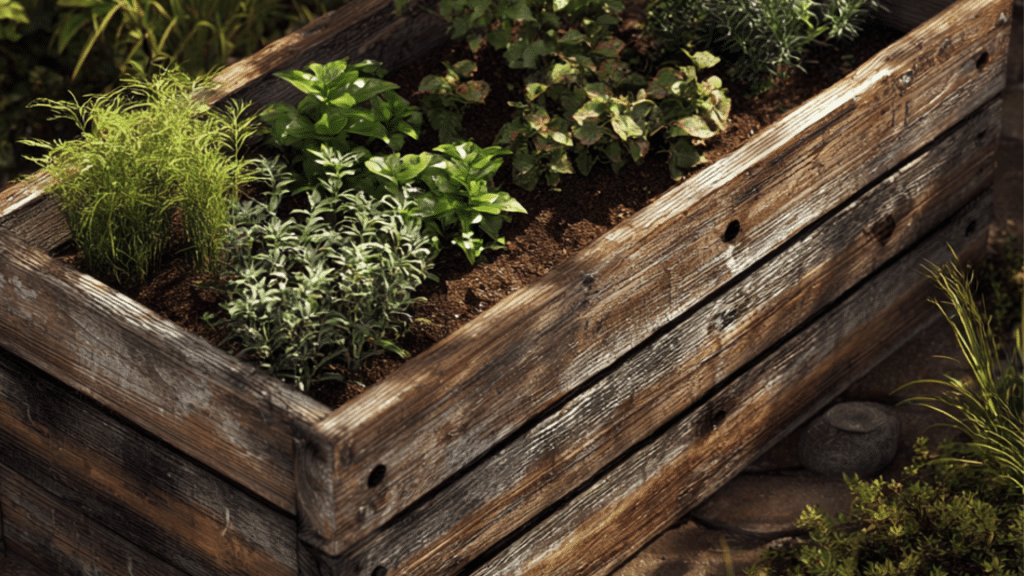
1.Log or Timber Beds
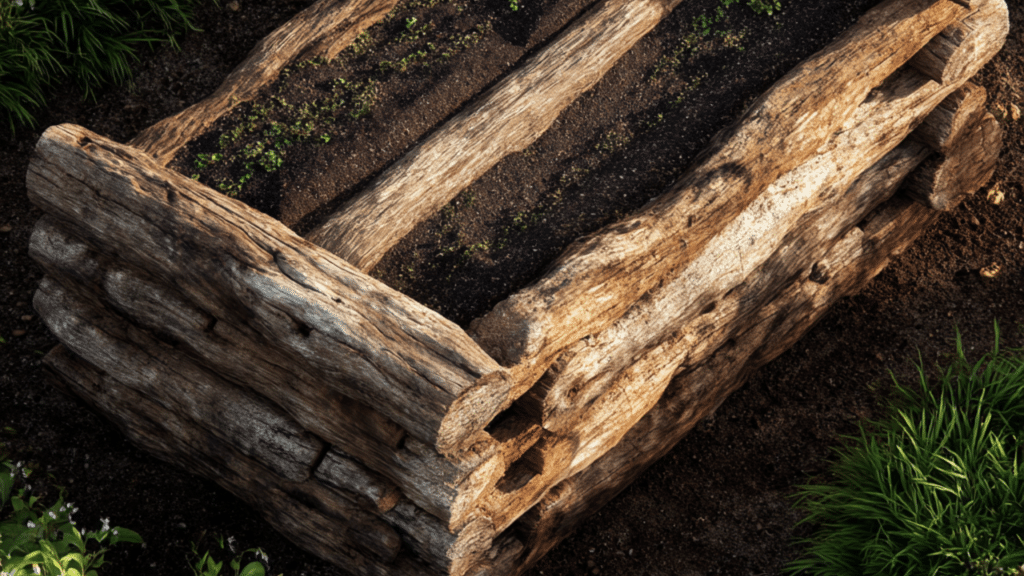
You can use logs or thick timber to form the sides of your bed. Stack them to the height you want, and fill them with layers as we discussed.
This gives a natural look and blends with your garden. Make sure the wood is untreated to avoid chemicals leaching into the soil.
2. Brick or Stone Beds

Use bricks, stones, or concrete blocks to build a sturdy raised bed. Stack them in the shape you like, leaving small gaps for drainage if needed.
This type lasts a long time and can look decorative. Fill with soil, compost, and organic layers for healthy plants.
3. Container or Bin Beds
Old wooden crates, metal bins, or plastic containers can be turned into raised beds. Just make sure to drill holes at the bottom for drainage.
These are great for small spaces, patios, or balconies. Fill with your layers of soil and organic matter, and you can even move them if needed.
Extra Tips For A Healthy Raised Garden Bed
Here are a few extra tips to keep your raised garden bed green and healthy for a long time.
- Pick a sunny spot – Most plants need 6–8 hours of sunlight every day.
- Line the bottom, if needed – use cardboard or landscaping fabric to keep weeds and pests from coming through.
- Water deeply, not often – Water a few times a week but soak the soil well so roots grow strong.
- Add mulch on top – Cover soil with straw, dry leaves, or wood chips to hold moisture and block weeds.
- Feed your plants naturally – Sprinkle compost or organic fertilizer every few weeks to keep soil healthy.
- Rotate your crops each season – Change where you plant veggies each year to prevent soil problems.
- Keep an eye on pests – Check leaves often; use soapy water or natural sprays if bugs appear.
- Refresh your soil yearly – Add fresh compost or soil each season to keep your garden fertile and ready to grow.
Conclusion
Building your raised garden bed is a fun way to grow your own vegetables, herbs, or flowers. Each bed you make will be unique and special, and there’s nothing better than seeing your plants thrive in something you built yourself.
Don’t worry if your first bed isn’t perfect. Like any new skill, gardening gets easier with practice. Start simple with the layers we’ve discussed, and over time, you can try more advanced techniques or bigger beds.
Experiment with different plants, layouts, and layers. Take photos of your garden and share your progress with friends or online. You might inspire someone else to start their own raised garden adventure!
Frequently Asked Questions
What Size Should My Raised Garden Bed Be?
A common size is 4 feet long, 4 feet wide, and 12–18 inches deep. This size is easy to reach for planting and watering without stepping on the soil.
Can I Build a Raised Bed on Grass or Concrete?
Yes! On grass, just remove the grass or lay down cardboard to block weeds. On concrete, you can put the bed directly on the surface and add all the layers, just make sure it drains well.
Can I Reuse the Soil Every Year?
Yes, but it’s best to refresh the top layer with compost or fresh soil each season. This keeps nutrients high and plants healthy for the next growing season.
