
Wood slat walls have become a favorite design trend for adding warmth, texture, and visual interest to any space
If you’re looking to refresh a living room, bedroom, or home office, a DIY wood slat wall offers a modern look without draining your budget.
The best part? You can build it yourself with a few basic tools and some planning.
Here you will see how to create a vertical wood slat wall, including materials, tools, step-by-step instructions, and cost-saving tips. This project brings professional design within easy reach for everyone.
What Is a Wood Slat Wall?
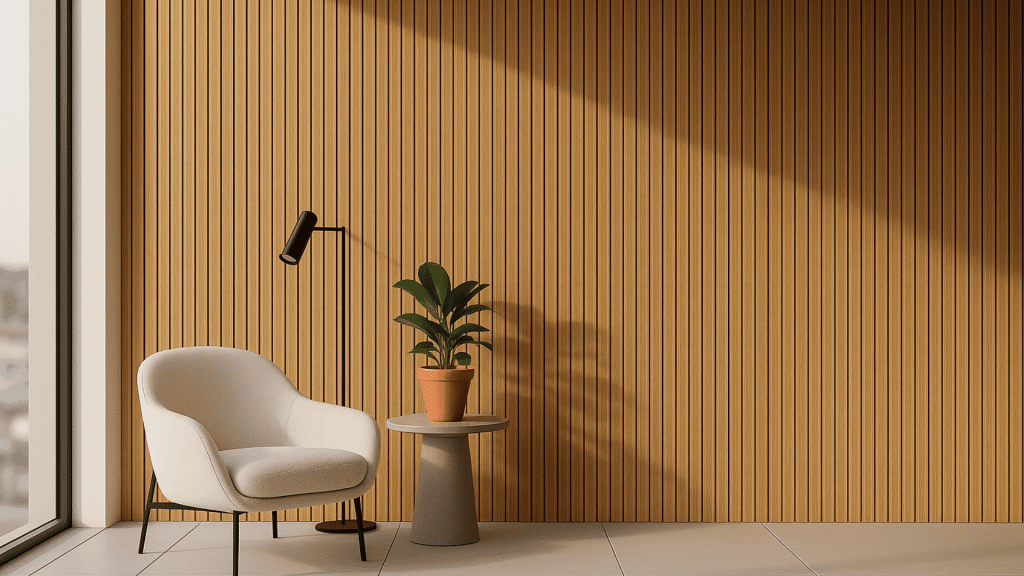
A wood slat wall is an arrangement of evenly spaced vertical or horizontal wooden slats that add texture and depth to a room.
This modern feature wall style combines minimalism with warmth, making it perfect for both contemporary and rustic interiors. The slats can be painted, stained, or left natural, depending on your style preferences.
A vertical wood slat wall DIY can serve multiple purposes: as an accent wall, a TV backdrop, or even a stylish headboard. Beyond looks, it can improve acoustics and make small rooms feel taller.
Before you start your build, understanding what defines a slat wall will help you plan a design that complements your space and personal style. The flexibility of this project makes it suitable for any room in your home.
Benefits of a DIY Wood Slat Wall
Creating your own DIY wood slat wall offers more than just look appeal; it’s a cost-effective, creative, and rewarding way to modify your home’s interior. Here are the top benefits of taking on this project yourself:
- Budget-Friendly: A stylish wall upgrade at a fraction of professional costs.
- Customizable: Choose your wood type, color, and layout freely.
- Visually Expanding: Vertical slats make walls look taller and more dynamic.
- Functional Design: Hides wall flaws and improves sound quality naturally.
- Beginner-Friendly: Simple tools and steps make it ideal for first-time DIYers.
With its blend of style, function, and affordability, a DIY wood slat wall delivers both instant impact and long-term satisfaction, making it one of the most rewarding home upgrades you can try.
Tools and Materials You’ll Need
Tools:
- Miter saw or hand saw
- Nail gun or drill
- Level
- Tape measure
- Sandpaper or an electric sander
- Stud finder
Materials:
- Wood slats (pine, oak, or MDF strips)
- Paint or wood stain
- Screws or finish nails
- Wood filler
- Spacers (for even gaps)
- Painter’s tape
- Primer and sealant
Tip: For a budget-friendly version, you can cut your own slats from plywood sheets instead of buying pre-cut ones. This saves money and lets you customize the width and length. Always prep and sand your wood before installation to ensure a smooth, professional look.
DIY Vertical Wood Slat Wall: Step-by-Step Guide
If you’ve been wanting to upgrade a plain wall with a modern, textured design, a DIY wood slat wall is the perfect weekend project.
Here’s a simple breakdown inspired by a real-life build, including the prep, cutting, staining, and installation process, to help you create a stunning vertical wood slat wall at home.
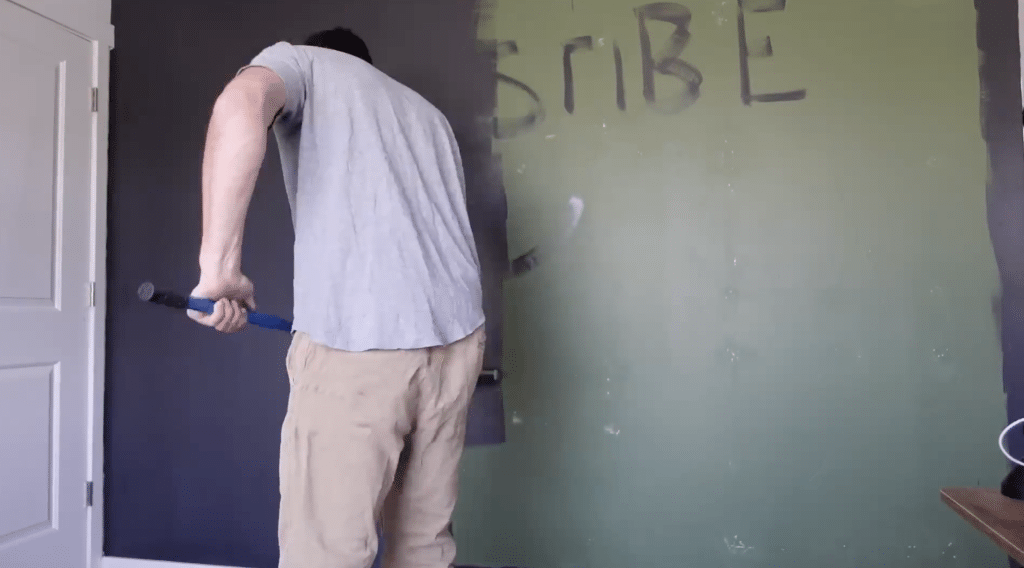
Step 1: Remove the Old Wall and Prep the Surface
Start by tearing down your existing wall design. If you previously added panels, gently remove them (avoid using Liquid Nails to make removal easier). Once the wall is clear, sand down rough spots and patch holes with spackle.
Let the filler dry, then sand again for a smooth finish. This prep ensures your new slat wall adheres properly and looks clean.
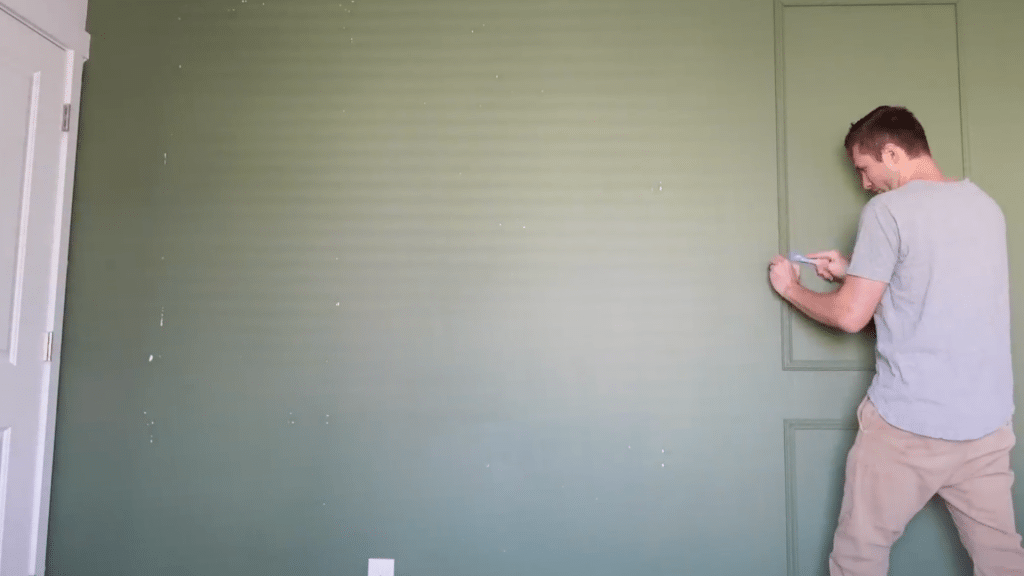
Step 2: Paint the Background Wall
Apply your chosen wall color before installing the slats. A dark shade like Black Peppercorn by Behr creates depth and contrast against light wood tones.
Use painter’s tape for clean edges and remove it while the paint is still slightly wet for crisp lines. This painted backdrop will peek through the slats, modifying the overall design.
Step 3: Cut and Stain the Wood Slats
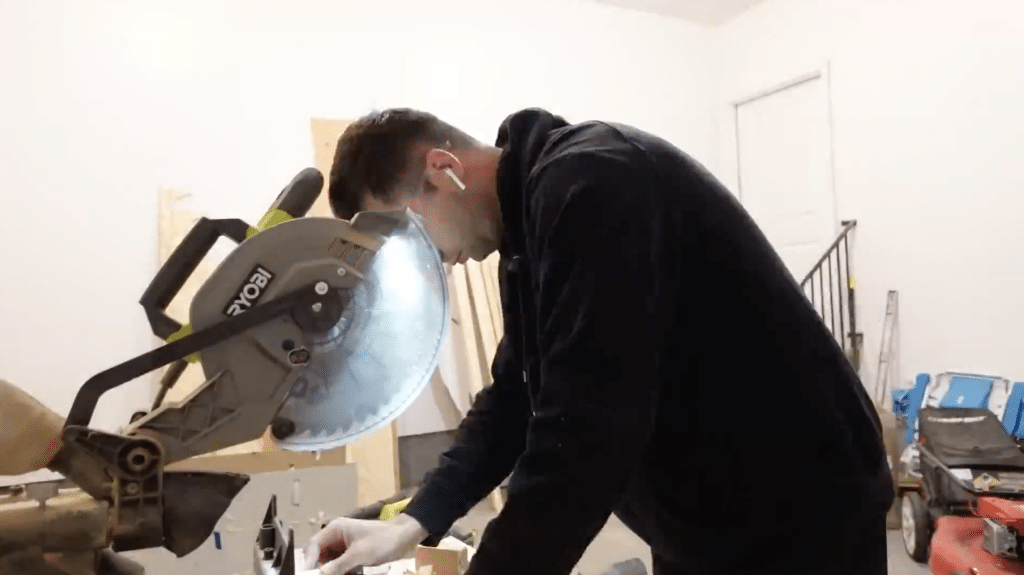
For convenience, use pre-cut select pine boards from a hardware store; they’re smooth and ready for staining. Test a few stains to find the perfect tone (the builder chose Varathane Summer Oak).
Once you’ve selected your color, stain all your slats evenly and let them dry completely. Apply a coat of polyurethane for added protection and a smooth finish.
Step 4: Measure and Install the Slats
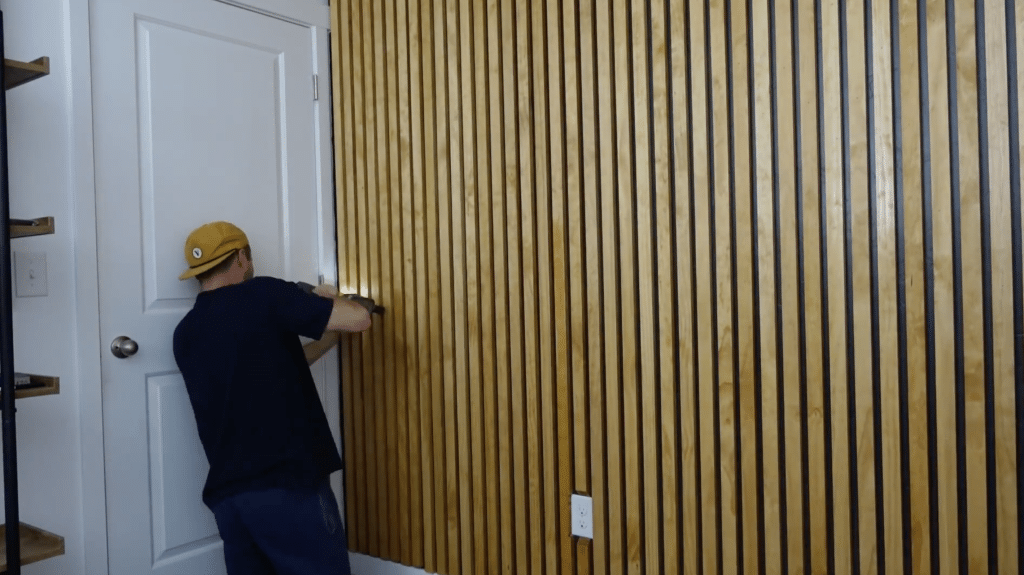
Walls and ceilings aren’t always perfectly level, so measure at multiple points from the top to the baseboard. Your cuts may vary slightly. Begin installation from one side, using a level to align your first slat.
Secure each with a brad nailer, inserting nails straight in. Use a small spacer block between each slat to maintain even gaps and consistency across the wall.
Step 5: Handle Outlets, Fill Holes, and Final Touches
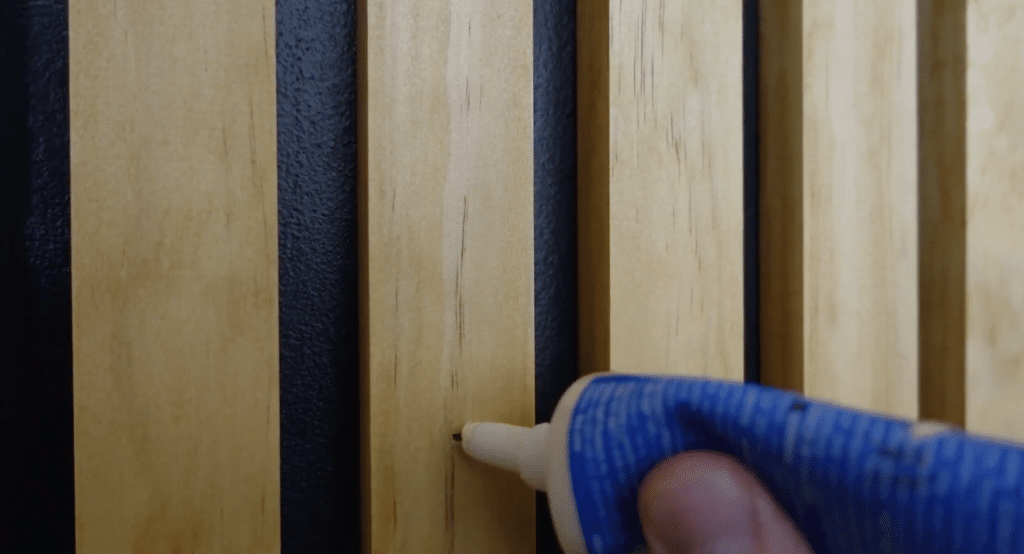
When reaching outlets, cut your slats at a 45° angle for a neat fit around fixtures. Fill nail holes with a small amount of wood filler, sand lightly, and touch up with stain for a good finish.
Step back to check alignment and consistency. Once complete, style your new vertical wood slat wall with lighting or décor; it doubles beautifully as a Zoom or workspace background.
Video Tutorial
Thanks to House to Home DIY for this insightful video, referenced while creating this guide. Watch this video for helpful tips and further guidance.
Cost Breakdown and Budget Tips
A DIY wood slat wall is stylish and affordable when planned wisely. If you’re working on a small accent wall or a full-feature wall, understanding costs upfront helps you stay on budget and make smart choices.
| Item | Cost Range | Money-Saving Tip |
|---|---|---|
| Project Total | $100–$350 | Varies by wall size and materials used |
| Plywood Strips | Low | Cut your own for a budget-friendly option |
| Solid Hardwood | High | Adds luxury but raises total cost |
| MDF Boards | Moderate | Best for painted finishes, a cheaper alternative |
| DIY Finishing Work | — | Sand, stain, and seal yourself to save money |
With smart sourcing and clean craftsmanship, even a low-cost wood slat wall can look high-end and professional.
Design Ideas and Inspirations
A vertical wood slat wall works beautifully in any room and complements a variety of design styles. In the living room, it can serve as a striking backdrop behind the TV, creating a modern focal point.
In the bedroom, it makes a cozy, hotel-inspired headboard accent when paired with soft lighting.
For home offices, it adds texture and a polished, professional look, while in hallways or entryways, it provides a warm, stylish welcome.
Choose dark stains like walnut or espresso for a sleek, modern feel, or light woods like pine and white oak for a Scandinavian touch.
You can even extend the slats onto the ceiling or mix wood tones for depth, achieving a truly custom, high-end look.
Maintenance and Care Tips
Keep your DIY wood slat wall looking fresh and stylish with a few simple maintenance habits. These quick tips will help preserve its beauty and durability for years.
- Dust Regularly: Use a microfiber cloth to remove dust and prevent buildup.
- Clean Gently: Avoid harsh chemicals, use mild soap and water for occasional cleaning.
- Touch Up When Needed: Lightly sand and reapply stain or sealant to fix scuffs or discoloration.
- Prevent Warping: Maintain good room ventilation, especially in humid environments.
- Inspect Annually: Check for loose slats or gaps and tighten or re-secure as needed.
With minimal care, your wood slat wall will continue to add warmth, texture, and classic charm to your home.
Final Thoughts
A DIY wood slat wall is one of the most rewarding and transformative home projects you can take on.
With just a few tools, some patience, and a creative vision, you can turn any blank wall into a striking design feature.
The process is straightforward and budget-friendly, whether your goal is to create a vertical wood-slat wall DIY accent or a full-room makeover.
Plus, the satisfaction of building it yourself makes it all the more special. Start planning your slat wall project today and enjoy the beauty, texture, and warmth that only real wood can bring to your home.
