
Building a non-load-bearing stud wall is a practical home project that adds structure and style to any interior space.
Learning every step clearly, from measuring and marking to fixing and finishing. With careful preparation, the process can be completed safely using basic tools and materials.
The method outlined here focuses on achieving straight lines, strong connections, and smooth results.
Anyone with patience and attention to detail can create a durable partition without specialist skills.
By following each step closely, you’ll gain hands-on experience while improving your space in a controlled, reliable, and cost-effective way.
Understanding the Project
A non-load-bearing stud wall offers a straightforward way to add a wall to a room and reshape how space is used.
It serves as a divider rather than a support structure, allowing you to create new zones such as a home office, bedroom, or storage nook.
Since it doesn’t carry ceiling or roof weight, placement is flexible and less complex.
This type of wall enhances privacy, improves room flow, and gives existing spaces a new purpose.
With accurate measurements, stable framing, and secure fixing, you can achieve a clean, lasting result ready for lining, insulation, and finishing touches.
Project Cost and Time Overview
Understanding costs helps you plan materials, tools, and time effectively, ensuring your wall project stays practical, affordable, and stress-free.
| Category | Item | Average Cost (USD) |
|---|---|---|
| Timber | 2×4 in (90×35 mm) studs | $3 – $5 each |
| Top and bottom plates | $3 – $5 each | |
| Noggins | Included in the stud cost | |
| Fasteners | Screws or nails (100 mm) | $8 – $15 box |
| Masonry anchors | $10 – $20 pack | |
| Wall Finish | Plasterboard or VJ panels | $15 – $25 sheet |
| Joint tape and compound | $10 – $18 set | |
| Primer and paint | $25 – $50 gallon | |
| Insulation (optional) | $20 – $40 roll | |
| Tools | Basic tool kit (level, saw, drill) | $150 – $300 total |
| Safety Gear | Gloves, goggles, dust mask | $20 – $40 set |
Estimated Total Cost:
- DIY with existing tools:$150 – $250
- Including new tools:$250 – $600
Average Completion Time: One weekend for a standard 8-foot interior wall
Planning your budget early prevents delays, keeps expenses under control, and ensures your wall project is completed efficiently and confidently.
How to Frame a Wall
A practical, beginner-friendly method to frame a non-load-bearing wall safely. Follow these clear steps to measure, cut, assemble, and secure timber with confidence.
Step 1: Plan and Mark the Wall
Measure the wall’s position carefully. Snap a chalk line across the floor, then use a level to mark a matching line on the ceiling.
Confirm both are straight and aligned before continuing. An accurate layout ensures your wall stands true and fits neatly within the room.
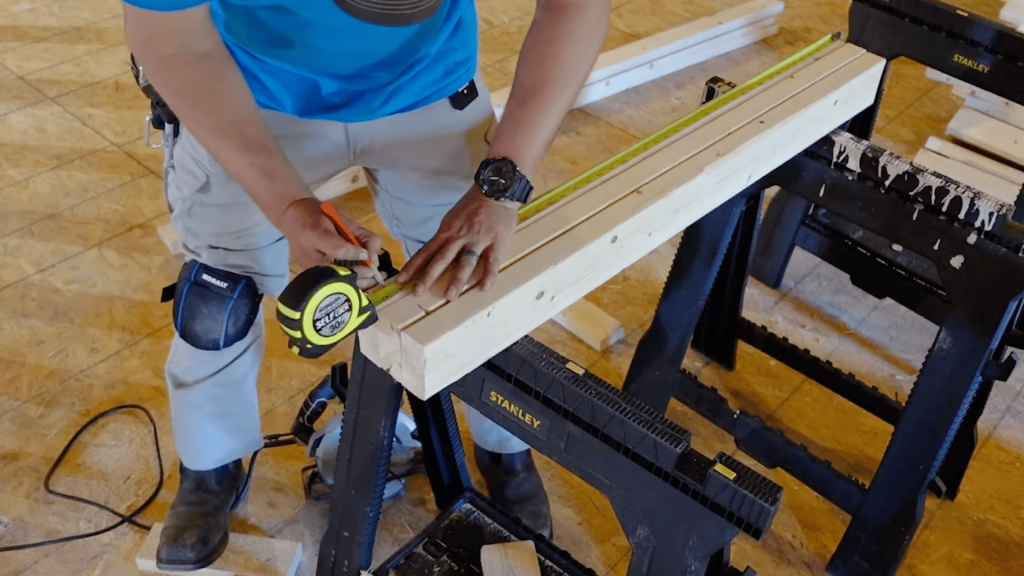
Step 2: Cut Plates and Prepare the Area
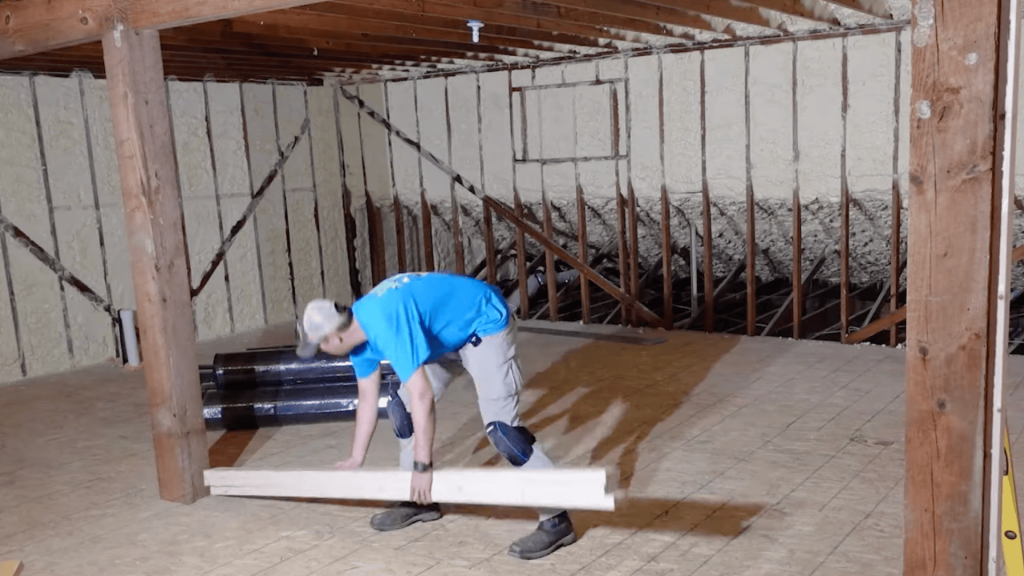
Choose straight timber and cut both top and bottom plates to size. Trim baseboards or corners for a flush fit.
Lay plates side by side and mark stud spacing, 600 mm for interior walls or 450 mm for stronger support, ensuring alignment throughout.
Step 3: Fix the Plates Securely
Place the bottom plate along your chalk line and fasten it firmly to the floor. Use masonry anchors for concrete or timber screws for wooden flooring.
Fix the top plate directly above, attaching it to ceiling joists to create a stable frame outline.
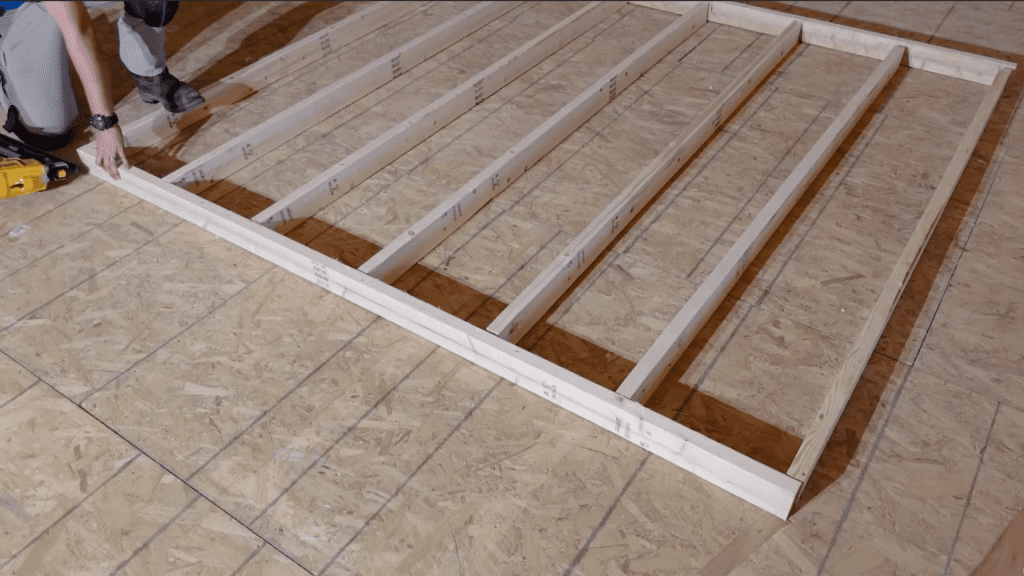
Step 4: Cut and Install Studs

Measure between plates and cut studs to match. Stand each stud upright on your layout marks, keeping them straight and level.
Secure the top and bottom ends using screws or a nail gun. Repeat the process until all studs are positioned and firmly attached.
Step 5: Add Noggins for Strength
Mark the wall’s midpoint for noggin placement. Cut pieces to fit snugly between studs and stagger them for easy fixing.
Fasten each piece flush to strengthen the frame, prevent twisting, and support future linings like plasterboard or wall panels.
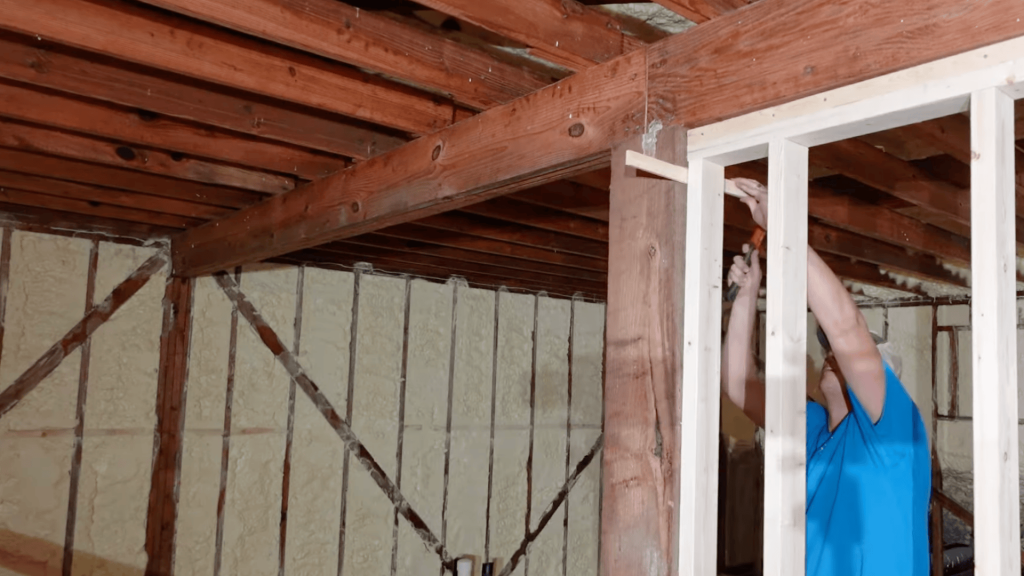
Step 6: Tie, Inspect, and Finish

Use a stud finder to locate solid timber in adjoining walls or ceilings, then secure your new frame.
Check all studs are straight, tight, and stable. Complete the project with insulation, plasterboard, joint compound, and paint for a smooth finish.
For a detailed visual guide and step-by-step demonstration, visit PatriotDIY to see the full wall-building process in action.
Stay Safe While Building Your Wall
Safety is the most important part of any DIY wall project, ensuring your work area and results remain secure and reliable.
- Always wear gloves, goggles, and a dust mask when cutting or drilling.
- Turn off the power before working near electrical outlets or switches.
- Use a stud finder to avoid hidden pipes or wires.
- Keep your workspace clean and well-lit to prevent slips and mistakes.
- Secure tools after use and check all fastenings for tightness.
- Never rush measurements; accuracy ensures both safety and stability.
Following these safety steps protects you, prevents damage, and ensures your wall project remains steady, durable, and completely worry-free.
Perfect the Look with Finishing Touches
Proper finishing makes your new wall look smooth, professional, and durable, ensuring that all joints, surfaces, and edges appear seamless.
- Apply joint tape and compound neatly for smooth seams.
- Sand surfaces lightly between coats for an even texture.
- Use primer before painting to improve color hold and durability.
- Add trim or skirting boards for a complete, polished appearance.
- Clean walls thoroughly before painting to ensure proper adhesion.
- Let paint dry fully between coats for a clean, lasting result.
These finishing steps give your wall a refined look, enhance durability, and ensure long-lasting appeal in any home interior.
Final Thoughts
Building a non-load-bearing stud wall is an achievable task that can truly improve a room’s appearance and functionality.
With careful planning, accurate measuring, and steady assembly, you can create a strong, clean, and lasting structure without professional help.
This project adds privacy, defines space, and provides an opportunity to refresh any interior with purpose and balance.
Each step, from cutting timber to finishing with paint, contributes to a safe and rewarding home upgrade.
Take your time, follow the guide carefully, and enjoy the satisfaction of creating something useful.
Start your wall project today and turn empty space into a defined, functional part of your home.
