Welcome to the enchanting world of paper roses! If you’re looking for a fun and budget-friendly way to add a dash of beauty and creativity to your life, you’re in for a treat. Paper rose is a delightful DIY craft that allows you to bring the charm of blooming flowers into your space without a green thumb. Whether you want to adorn your home with a lovely bouquet, surprise a loved one with a heartfelt gift, or add a unique touch to a special occasion, making these roses is the perfect solution.
No need to worry about complicated techniques or hard-to-find materials – we’ve got you covered with this easy-to-follow, step-by-step guide. So grab your scissors, some colored craft paper, and unleash your imagination! Get ready to create a collection of captivating roses that will brighten up any corner of your world. Let’s dive in and let the paper roses journey begin!
Step-By-Step Guide to DIY Your Paper Roses
Step 1: Gather Your Supplies
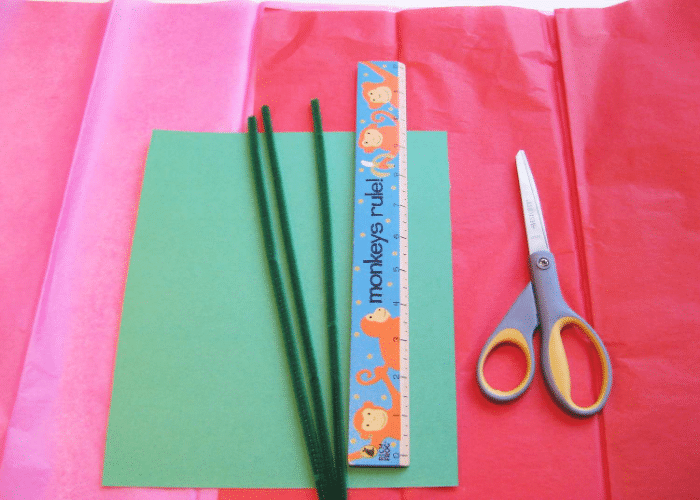
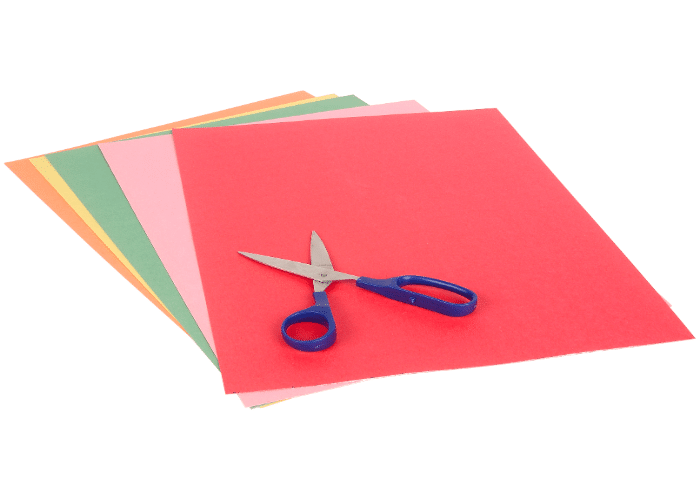
Before we dive into the crafting process, let’s gather all the necessary supplies that are essential to get started with unleashing your creativity to curate the paper rose. Here is a list of the items that you’ll require for your project.
- Colored craft paper (in your preferred rose colors)
- Scissors
- Floral wire stems or regular wire
- Floral Tape
- Glue Stick or craft glue
- Pencil
- Ruler
- Templates (optional but helpful)
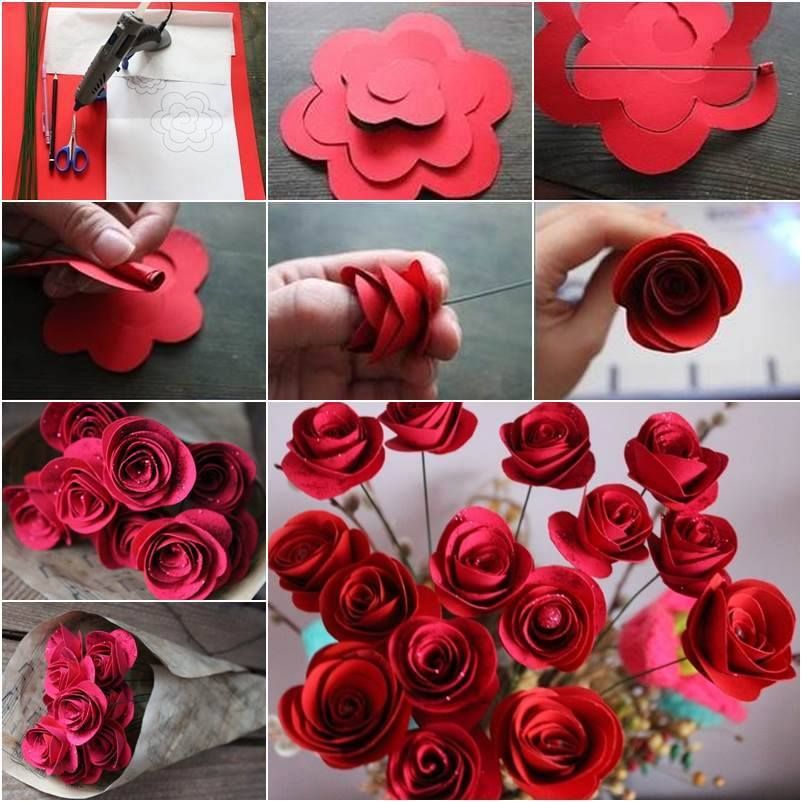
Step 2: Prepare the Paper Strips
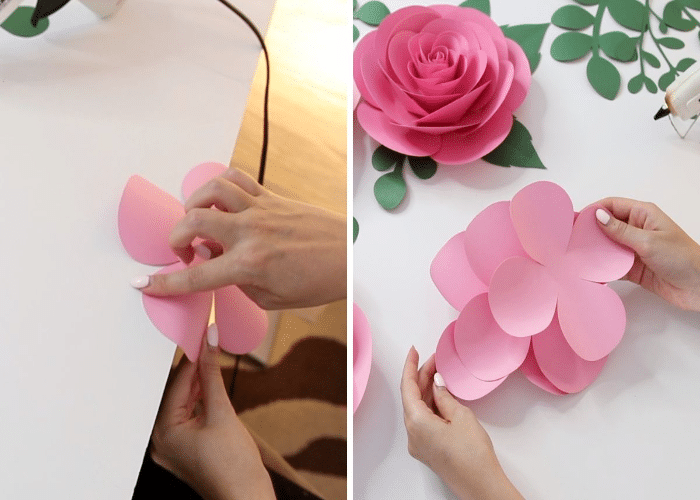
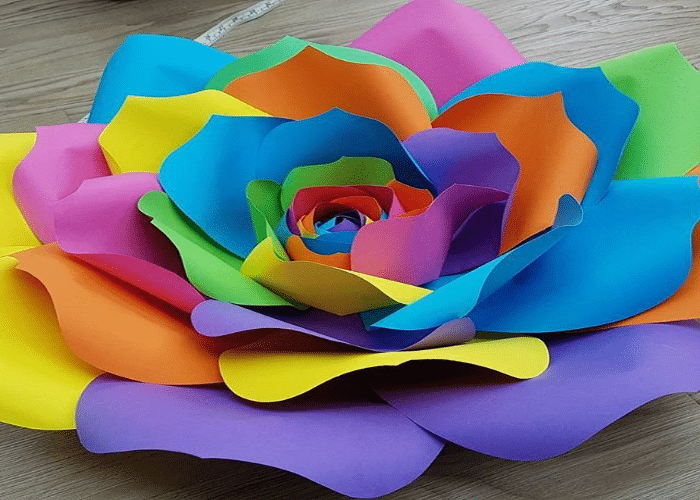
To begin making your paper roses, cut the colored craft paper into strips. The width of the strips will determine the size of your rose petals and edge sticks to the other side. You’ll have a loop-shaped strip. Next, round the edges of the loop to form the shape of the petal. Repeat this process with the remaining paper strips, creating as many petals as you desire for your paper rose.
Step 3: Create the Rose Petals

Take one of the paper strips and apply the thin layer of glue along on edge. Now, gently fold the strip in half lengthwise, ensuring the glues edge sticks to the other edge. You’ll have a loop-shaped strip. Next, round the edges of the loop to form the shape of a petal. Repeat this process with the remaining paper strips, creating as many petals as you desire for your paper rose.
Step 4: Assemble the Rose

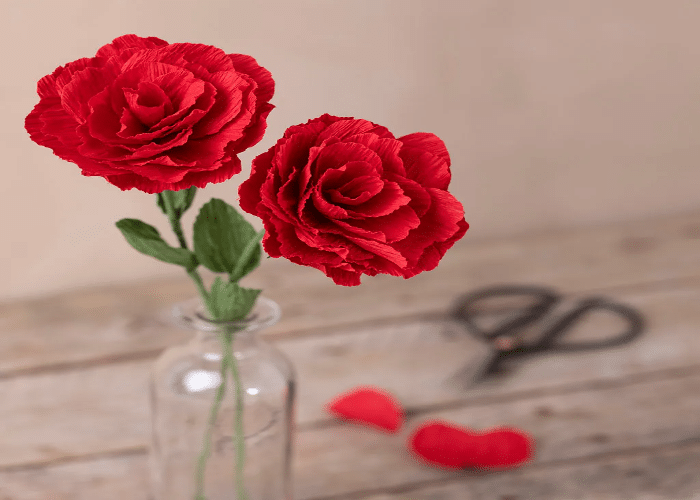
Now comes the fun part – assembling your paper rose! Start by taking one of the prepared petals and wrapping it around the tip of a floral-wise stem. Use floral tape to secure the petal to the stem by wrapping it around both. This will form the center of the rose. Gradually add more petals, one by one, around the center and secure each with floral tape as you go.
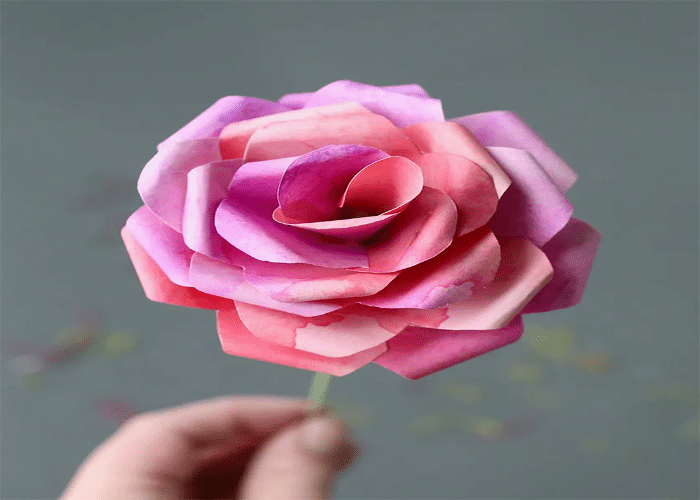
Step 5: Shape the Rose
To give your paper rose a more realistic look, gently curl the edges of the petals outward using your fingers. This will create a lovely natural curve and add dimension to your flower. Make sure you handle the entire process delicately, ensuring the flawless getup of your paper rose is clear.
Step 6: Add the Leaves (Optional)
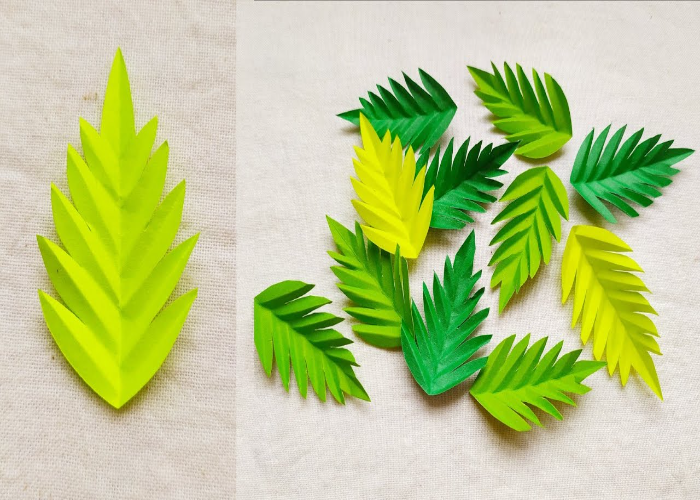
To make your paper rose to look more genuine, consider adding leaves. Simply cut leaf shapes from green craft paper and attach them to the stem using floral tape. This small addition will give your paper rose a more natural and lifelike appearance, making it even more charming as a decoration or gift.
Step 7: Experiment with Sizes and Colors
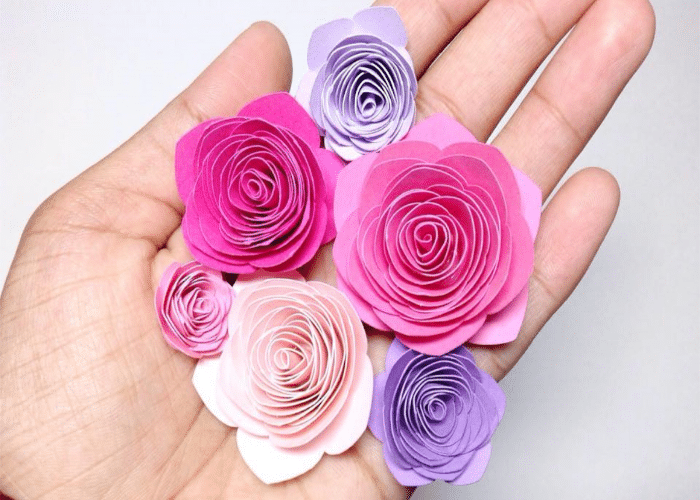
Crafting roses offers a fantastic opportunity to experiment freely with different sizes and colors. Whether you want a diverse bouquet with various rose sizes or desire to mix and match colors to your heart’s content, the possibilities are limitless. Let your creativity bloom as you create a mesmerizing array of roses that perfectly suit your personal style and preferences.
Step 8: Get Creative with Accents
Elevate your paper rose’s beauty with creative accents! Add a hint of glitter to create a magical sparkle, or Step 9: Display and Share Your Roses
Congratulations on completing your paper roses! It’s time to showcase your beautiful creations or brighten someone’s day with a heartfelt gift. Simply place them in a vase to add charm to your room, and use them as a lovely accent on gift wrappings. Or create a thoughtful bouquet for a special someone. Let your creativity bloom and spread the joy of the roses! Remember, there are no strict rules when it comes to making roses – it’s all about exploring your creativity and enjoying the journey. So, grab your craft supplies and dive into the world of paper roses with a big smile and lots of excitement! While colored craft paper is the go-to choice for making roses, don’t be afraid to get creative and experiment with other materials! You’d be surprised at the stunning results you can achieve with different types of paper. Here are a few alternatives to consider: So, don’t limit yourself to just one type of paper! Get adventurous with these alternative materials, and let your imagination bloom as you explore new dimensions for your charming roses. Paper rose is incredibly versatile and can add charm and elegance to numerous creative projects. Let your imagination run wild and explore these delightful ways to incorporate these roses into your life: Unleash your creativity and have fun exploring these imaginative ways to incorporate roses into your life. From home décor to personal accessories, these delicate blooms are sure to add a touch of magic and joy to everything they embellish. Congratulations, you’ve mastered the art of crafting paper roses! With a bit of creativity and a touch of imagination, you’ve transformed simple materials into breathtaking blooms that can brighten anyone’s day. Whether you’ve created a single rose or a whole bouquet, your paper roses are a testament to your crafty skills and passion. The beauty of these roses lies not only in their enchanting appearance but also in the joy they bring to both the creator and the recipient. These delicate wonders can decorate your home, bring charm to gift-giving, and add a unique touch to any celebration. So, keep exploring different colors, sizes, and accents to create your perfect paper rose collection. Now, armed with the knowledge and expertise from this guide, go forth and spread the charm of roses. Share your creations with friends and family, and don’t forget to let your creativity bloom in every petal you craft. Happy paper rose-making! The best paper to craft roses is high-quality craft paper. Look for sturdy craft paper that comes in vibrant colors to create realistic and charming roses. Using good-quality paper ensures that your roses will hold their shape and look beautiful for a long time. A paper flower craft is a creative DIY activity that involves making flowers using paper as the primary material. Crafters cut, fold and shape the paper into various petal and leaf designs, then assemble them to create lifelike or artistic paper blossoms. This craft allows people to enjoy the beauty of flowers without the need for natural plants and adds a personal touch to decorations, gifts, and other creative projects. To make fake flower bouquets, you’ll need artificial flowers of your choice, a pair of scissors or wire cutters, floral tape, and a vase or container for arranging. Simply trim the stems of the artificial flowers to your desired length, bundle them together to create a bouquet shape, and secure the stems with floral tape.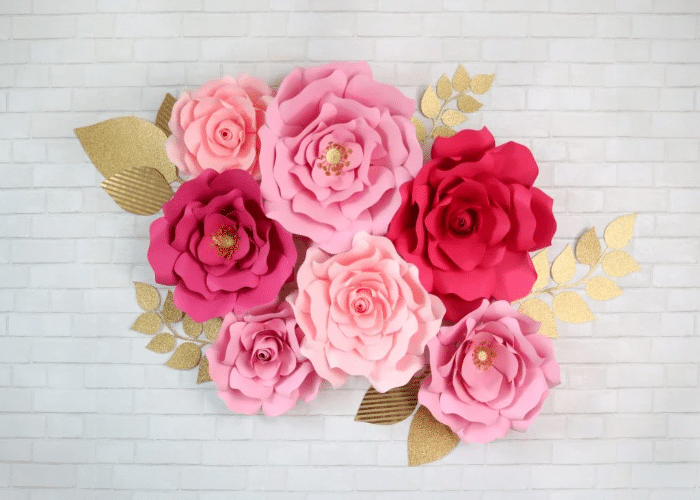
Tips for Crafting Perfect Paper Roses
Exploring Alternative Paper Materials
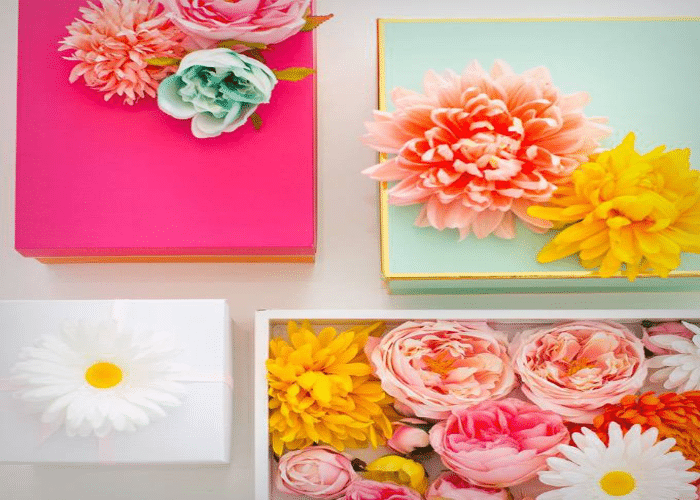
Creative Ways to Use Paper Roses
Conclusion
Frequently Asked Questions
What is the Best Paper to Craft Roses?
What is a Paper Flower Craft?
How to Make Fake Flower Bouquets?
