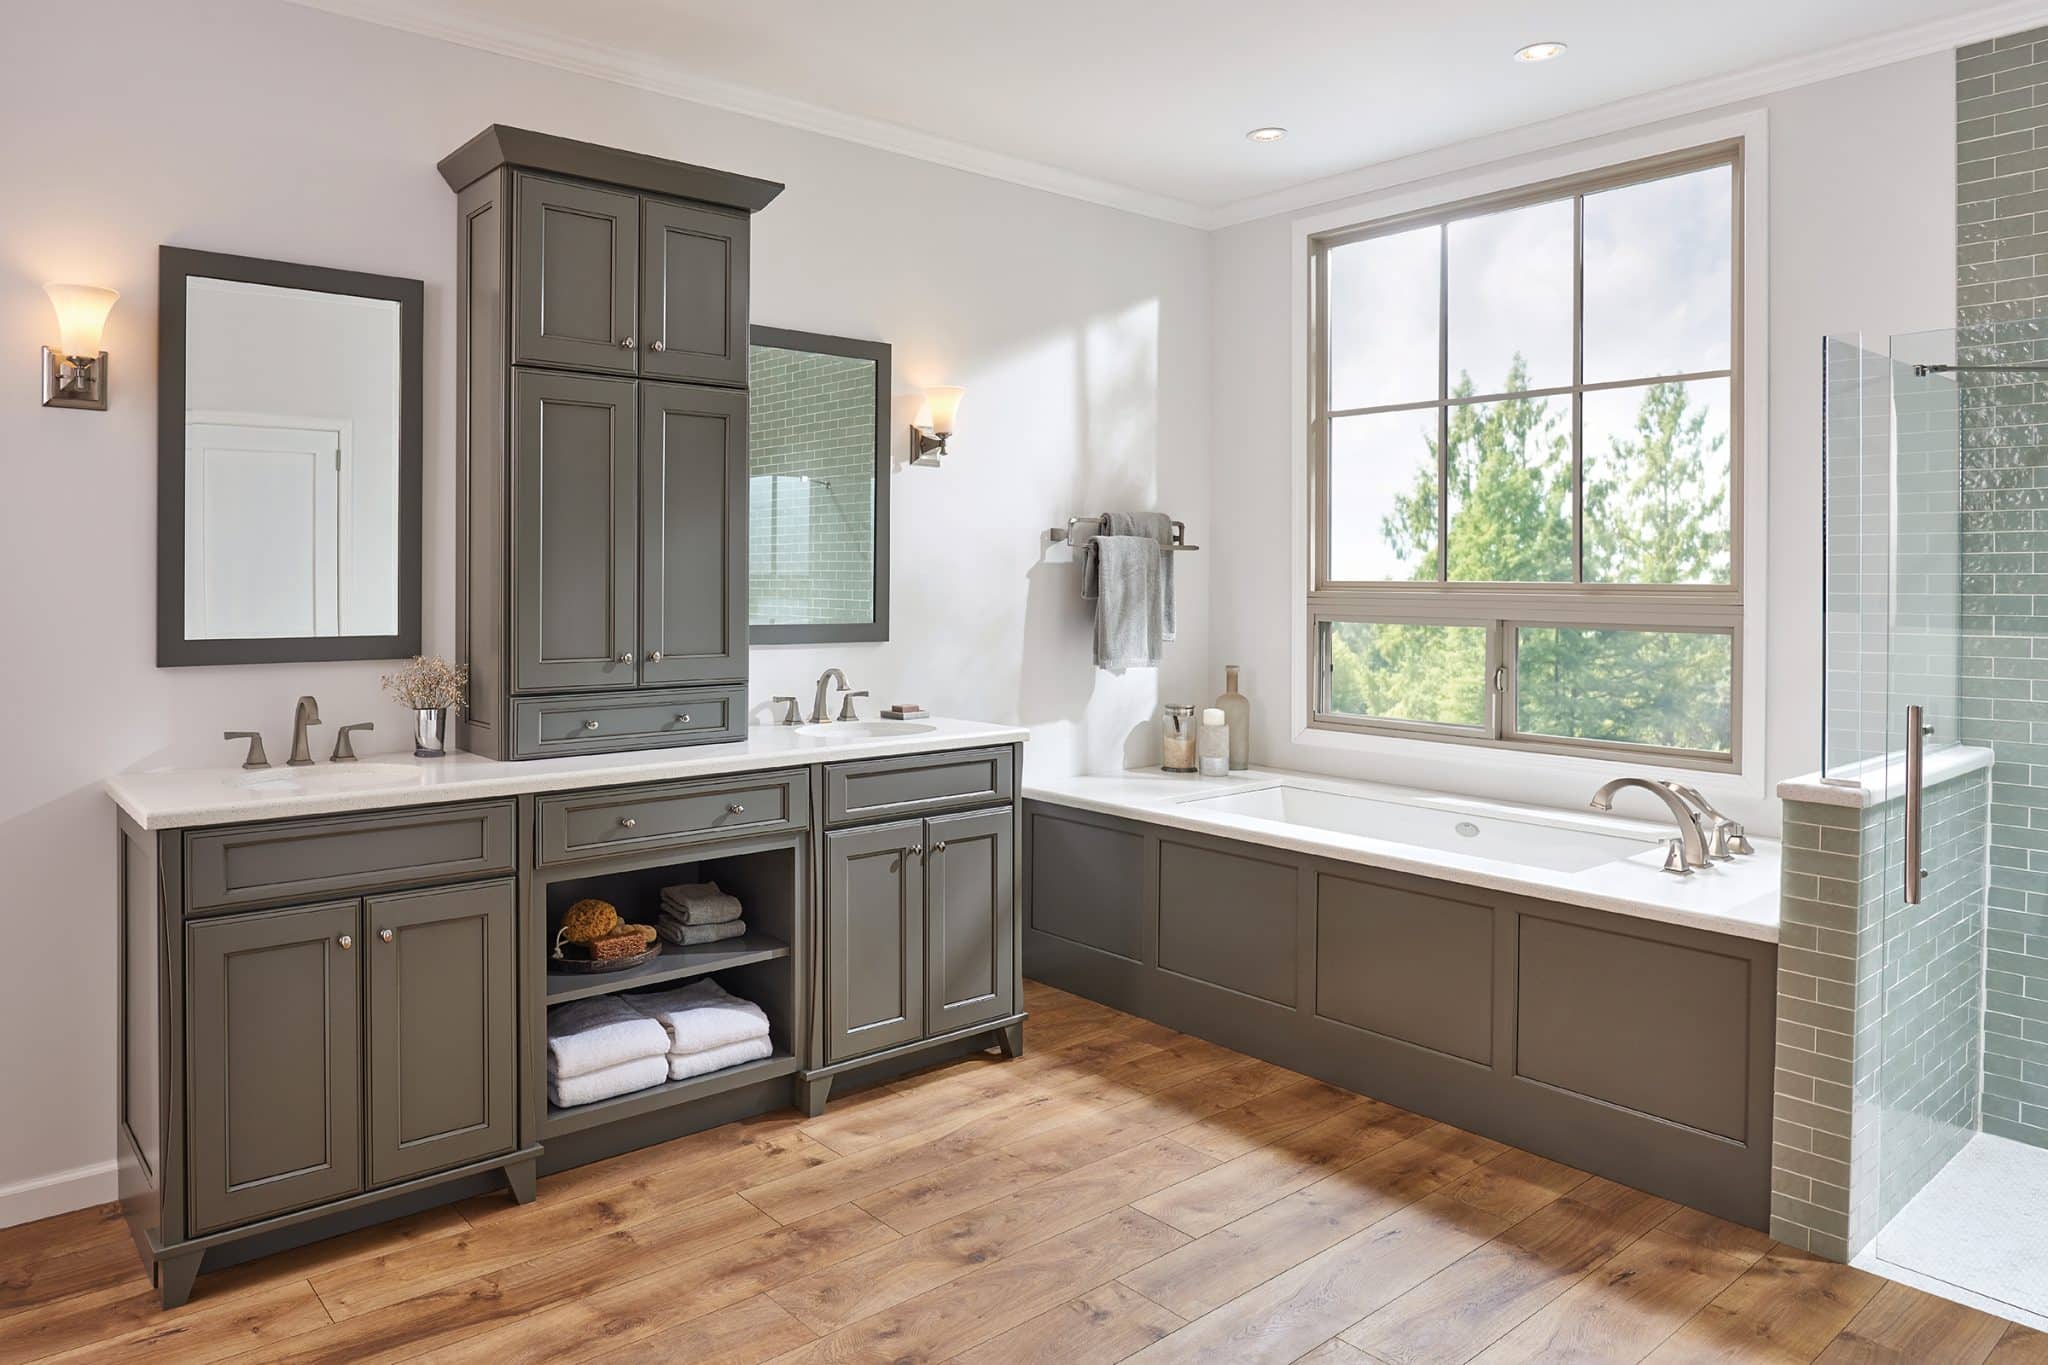

Are you planning to change the way your bathroom looks? If yes, then painting the bathroom vanity cabinets must definitely be on your list. Not everyone who plans to change the aesthetics of their bathrooms plans to buy new vanity cabinets. In fact, painting your vanity cabinets yourselves gives you better options for customization of the whole process. It is important to have your bathroom vanity look exactly the way you want it to be to make it unique.
Getting a new vanity cabinet set from the market will not make yours totally unique. However, you must follow many crucial steps if you plan to DIY. The process is not too difficult once you understand it and have all the required materials. It is important to know everything essential for a smooth bathroom vanity cabinet painting process.
Essential Steps for Bathroom Vanity Painting
Equipment Required
First, let’s talk about the equipment you will need in hand for this whole process. It is important to remember that there might be alternatives available for a few of these types of equipment, but it is still recommended to have these exact products in hand for a faster a smoother process of painting your bathroom vanity.
- You will need a Drill to disassemble and reassemble your whole vanity cabinet. This can be done with a screwdriver as well, but we would recommend using a drill as it is much faster.
- Next, you need a bucket for all the compounds and chemicals which will be required, followed by rubber gloves. A lot of people avoid rubber gloves, but it is very important to have these to avoid your skin’s contact with the chemicals.
- Next, we have protective goggles, which is again an important piece of equipment to have as it can save your eyes from any mishap during the whole process, plus it also saves your eyes from various chemicals.
- Next, we have a sponge, putty knife, drop cloth, and synthetic-fiber paintbrushes, 1.5 inches – 2 inches. Lastly, we have, microfiber paint rollers, 2-3 inches wide.
These are all of the basic and necessary materials you need for painting a bathroom vanity; now, let’s talk about all the materials you need for the process. Firstly you need a Primer and Trisodium Phosphate (TSP); these two products will be the first layer on your cabinets as these ensure better adhesiveness and finish of the paint, which you will apply later. Then you will need sandpaper, cloth or rag, deglosser, paint, painter’s tape, and stir sticks.
Easy DIY Steps to Paint Bathroom Cabinets
Step 1: Remove the Cabinets
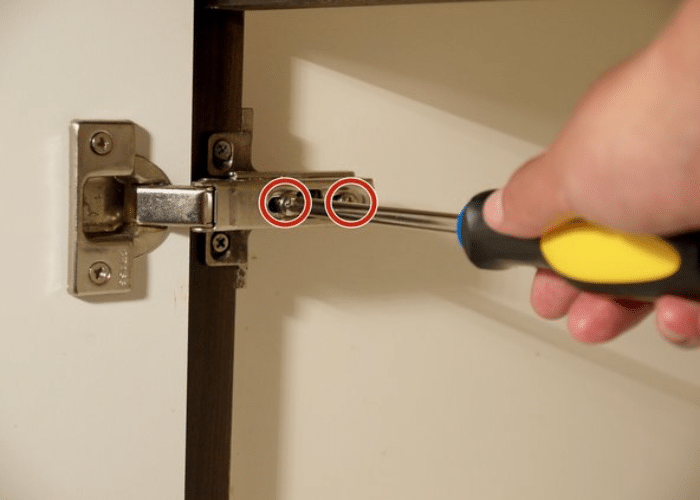
For step one, remove the cabinets and all the other hardware like hinges, handles, etc., as they will come in the way while painting later and will not give a uniform or even look to your newly painted vanity cabinet. It is important to note the exact positions and places where all of the hardware goes for an easy reassembly process later. Please note that if there are re-adjustable shelves on the inside of the cabinet, remove those too.
Doing so will give you an easier surface to paint on, and the hardware will also not be harmed during this process as it will not come in contact with any of the chemicals in the paint/primer. This step is crucial because if your hardware gets spoiled, then you would again take them off again to repair them.
Step 2: Cleaning
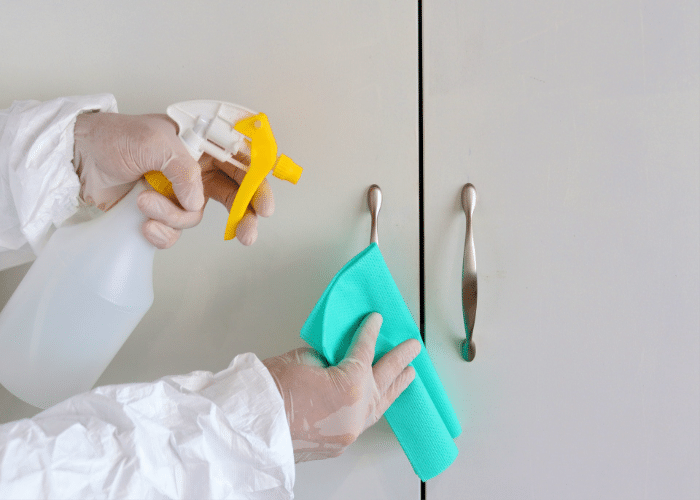
Cleaning the cabinets before starting to painting process is an essential step that many people miss at times. Use trisodium phosphate to remove dirt and grease from the surfaces of your cabinet. To use this chemical, it is important to follow the instructions on the box, which tell you how to mix the compound with water.
The usage of protective rubber gloves and glasses is super important from this step forward as now you will be handling various chemicals. You have to use a sponge with trisodium phosphate for better cleaning. Once the cabinet is clean and dry, use a putty knife to fill dents or nicks, which will make your whole cabinet’s surface smooth, and even that also ensures better application of paint later.
Step 3: Apply Primer
This is the step where you have to test your paint and primer. Using a primer before the paint is important as it sticks better with the paint, even on smooth surfaces, which will make the finish look better. To test your paint color and primer, we recommend using them on the back or non-visible surface of your vanity cabinet to see it will look when finished and also gives you a chance to tweak it if required. This step is important as you will still have time to make the changes as desired.
Once you have your perfect color and finish, cover the mirrors with painter’s tape to avoid spoiling them with paint drips. Also, remember to use a drop cloth on the floor to avoid spoiling the bathroom floor with paint drops and splashes. Once done, paint the cabinet surfaces and drawers with one light layer of primer. You can use a roller brush or tapered brush if there is a lot of detailing in your vanity cabinet. After the primer layer is applied, let it dry completely.
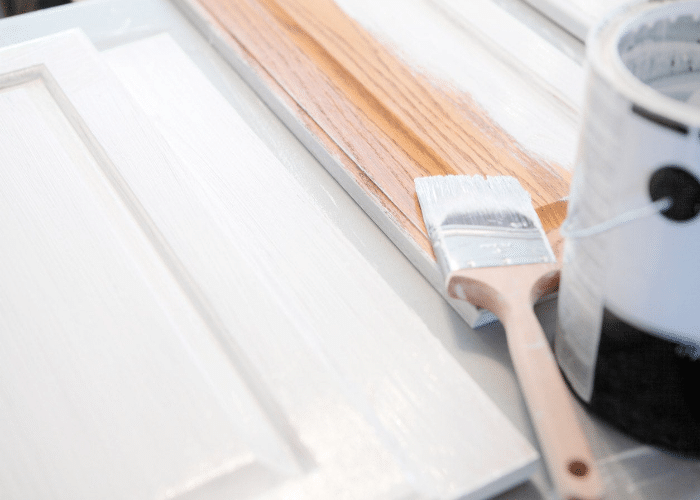
Step 4: Painting Your Cabinets
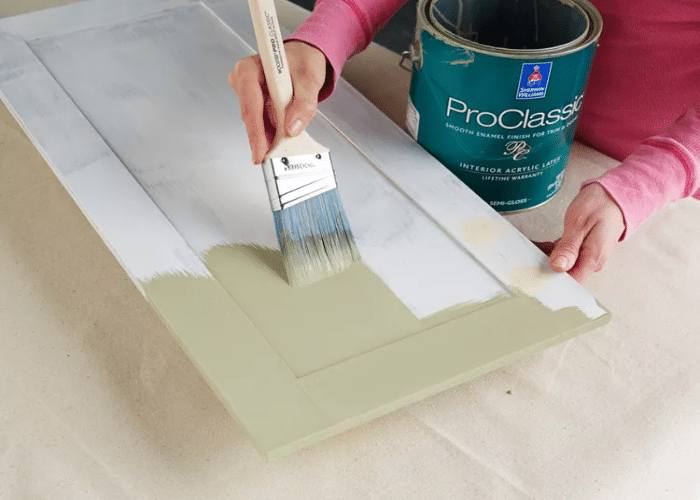
This step is where you paint your cabinets. Before starting this step, it is important to remember that only lighter coats should be done to paint the vanity cabinet as it makes the whole finish look very high quality. It is important to stir the paint mix very well before using it. Pour the paint into the paint tray and start by painting the cabinet as it is a larger surface which will take the maximum amount of time as the paint will be done on both sides.
You should also paint the adjustable shelves after completing the cabinet surfaces. If you have drawers in your bathroom vanity cabinet, you should very carefully paint those while avoiding the slide-out hardware and any other hardware that is installed. For larger surfaces, you can use a roller, and for smaller surfaces, you can use a tapered brush. Again, keep in mind to only use lighter coats for a higher-quality finish later.
Step 5: Check for the Paint Inside

This is the final step of the whole process. Look on the inside of your bathroom vanity cabinet and see if the paint is required inside as well. If there was no paint applied ever on the inside, then you can avoid this step, but if you feel that a new layer is required on the inside, use a brush and very carefully paint the surfaces while avoiding all hardware and mechanics for the shelves.
After the painting process is done and the paint is dried out, you can reinstall the mechanics; you can use a lubricant spray before installing them back so that they operate smoothly after the installation. Installing the mechanics is the reason why we asked you to make a note of the exact fitting spots to ensure smoother re-installation. After this step is done, your newly painted bathroom vanity cabinet is ready. We recommend keeping the drawers open for a few days so all of the paint smell can go.
Benefits of DIY the Entire Process
- By choosing the right color combination and following all the above-mentioned steps, painting bathroom vanity cabinets can elevate the aesthetics of any space. Whether you desire a vibrant and eye-catching look or a serene and calming ambiance, the possibilities are endless. A fresh coat of paint can instantly breathe new life into dull or outdated bathroom vanity cabinets.
- Painting bathroom vanity cabinets provides an avenue for personal expression and customization. With an extensive range of paint colors and finishes available, you have the freedom to create a truly unique space that aligns with your personal style and preferences. One of the remarkable advantages of painting bathroom vanity cabinets is the flexibility it offers in adapting to evolving design trends. Bathroom Vanity Cabinet trends are constantly evolving, and what may be fashionable today may lose its appeal over time. By opting to paint vanity cabinets, you can easily update your space without the need for costly cabinet replacements.
- Redesigning a space can be a substantial financial investment, and the cost of replacing vanity cabinets can be a significant portion of the budget. However, painting vanity cabinets presents a cost-effective alternative that provides a high impact on the overall appearance of a room. With the right materials and a little creativity, you can achieve a remarkable transformation of your bathroom vanity cabinet without breaking the bank balance.
- In a time where sustainability and eco-friendliness are gaining increasing importance, painting bathroom vanity cabinets can be a responsible choice. Rather than discarding functional furniture and contributing to waste, painting allows us to repurpose and rejuvenate existing furniture.
Conclusion
So there it is; as you can see, the process of painting bathroom vanity cabinets is not as complex as it seems. We often think that such work definitely requires labor, and it’s not something we can do. However, we can easily do it and end up saving a lot of money and resources.
Follow all of the simple steps we have stated above, and you can have your very own customized bathroom vanity cabinet. The whole process might seem very difficult, but once you gather all of the right materials and equipment, it will seem very easy.
Step out and go to your nearest hardware store to look at all the different materials to get an idea of various customizations you can make with your bathroom vanity cabinet. If you need more help with understanding all of the materials used, you can browse several elements on the e-commerce sites as well.
Do let us know how’d you proceed with the task and ahead and share your experience of how well you executed the process in the comments below.