Have neighbors stopped to stare at your plain yard during the Halloween season? Turn those blank stares into gasps of fear.
In just two hours, you can build a haunted fence that makes kids hesitate before walking up to your door.
This simple guide will show you how to make a DIY Halloween fence that looks like it came from an old cemetery. You’ll learn the exact materials and steps to create an eerie barrier that separates your house.
Read on to discover how to transform your yard into a spooky scene that will make trick-or-treaters think twice before entering.
Materials Required to Build Halloween Fence
Wood
|
Item |
Specifications |
Notes |
|
1×6 Boards |
For top and bottom plates |
8-10 ft lengths |
|
2x4s or 1x2s |
For vertical posts |
Can use cut 2x4s or buy 1x2s |
|
Lumber for pickets |
Various sizes |
36 inches typical height |
Hardware
|
Item |
Specifications |
Notes |
|
PVC Pipes |
3/4 inch diameter |
24 inch lengths |
|
Galvanized Tube Straps |
3/4 inch size |
2 per post |
|
Steel Rebar Pins |
24 inch length |
1 per post |
|
Drywall Screws |
Black color |
For securing straps |
Optional Items
|
Item |
Specifications |
Notes |
|
LED Rope Lights |
Waterproof |
RGB color changing |
|
Pathway Lights |
Stake style |
For ground lighting |
|
Black Spray Paint |
Exterior grade |
For finish |
|
Electrical Tape |
Black color |
For hiding extra light cord |
Step-by-Step Guide to Building a Spooky Fence
Making a Halloween fence is easier than you might expect. With basic tools and materials, you can build a creepy barrier that will make your yard look like an old graveyard.
Step1: Cutting and Preparing the Lumber
Start your Halloween fence project by collecting wood from your garage or buying new boards at a store. A 1×6 board makes perfect top and bottom pieces, but 1x4s or 2x4s work too.
Cut your boards to the size you need – most fence sections work well at 10 feet long. Don’t stress if your cuts aren’t perfectly straight. Small imperfections add character to your spooky fence.
Just remember to sand down any rough spots or splinters. This prep work makes the rest of your build smoother and safer for everyone involved.
Step 2: Creating the Fence Posts
Your fence needs strong posts to stand tall and scary. Take 3/4-inch PVC pipes and cut them into 24-inch sections – these become your main posts.
Attach metal straps to both ends of each post using basic screws. Make sure the straps are tight and secure. The key is placing one strap near the top and another near the bottom of each post.
This setup lets you slide the posts over ground stakes later. Test each post’s stability by giving it a gentle shake before moving forward.
Step 3: Anchoring the Fence Posts to the Ground
Before setting up your fence posts, mark where each one will go. Take 24-inch steel rebar pins and hammer them into these spots. But stop – don’t start hammering until you’ve called your local utility company!
They’ll mark any buried cables, pipes, or wires in your yard. This step might take a few days, but it’s worth the wait.
Once you know it’s safe, hammer the pins about halfway into the ground. They should be firm but leave enough length to attach your PVC posts.
Step 4: Adding the Top and Bottom Plates
Connect your horizontal boards (the plates) between the posts using sturdy screws or nails. Please start with the bottom plate, making sure it sits level on all posts.
Then, add the top plate, keeping it parallel to the bottom one. Or, if you want that old cemetery look, tilt the top plate slightly. Use a nail gun for quick attachment, then reinforce with screws for extra strength.
These plates create the frame for your pickets and need to be strong enough to hold everything together.
Step 5: Installing the Pickets for a Scary Look
The final touch is adding your vertical boards or pickets. Cut them to different lengths around 36 inches tall. Create spooky tops by cutting some at angles and making random points and peaks.
When you attach them to your plates, space them unevenly – some close together, others with gaps. This random pattern makes your fence look forgotten and scary.
Use at least two screws per picket to keep them secure. Don’t worry about making them perfectly straight – a bit of lean adds to the creepy effect.
Each step is simple, and you can adjust the design to match your style. Take your time with each part, and you’ll have a spooky fence that makes trick-or-treaters stop and stare!
Video Tutorial
Check out this YouTube video for a detailed step-by-step tutorial on making a Spooky Halloween Fence.
Enhancing with Seasonal Elements
1. Painting Your Fence for a Weathered Effect
Use black spray paint as your base coat in a well-ventilated area. Cover all parts evenly. Add touches of gray paint on edges once dry. Don’t aim for perfect coverage – uneven spots make it look old. A single coat works best for that cemetery feel.
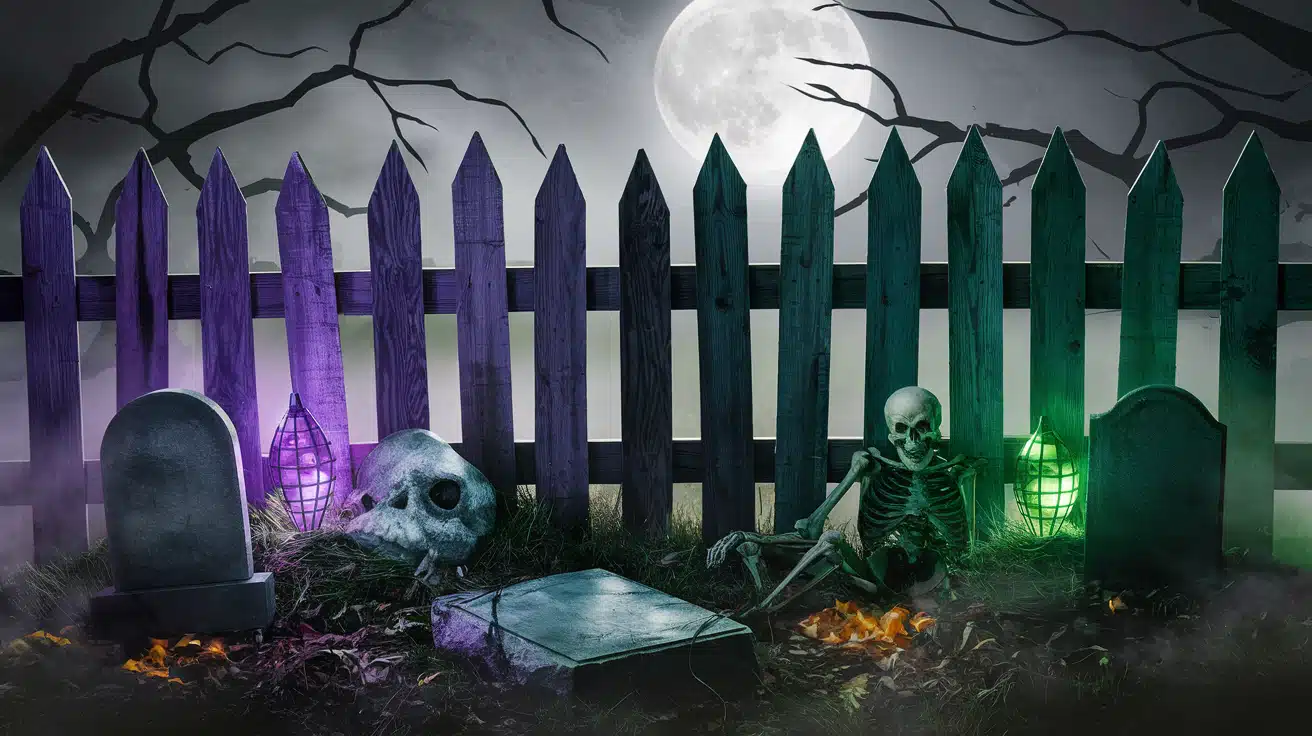
2. Incorporating Lighting for a Haunted Glow
Place waterproof RGB LED rope lights behind the pickets. Switch between green, red, or purple to match your yard’s lighting. Hide extra length with black tape rather than cutting. The lights create moving shadows between pickets as night falls.
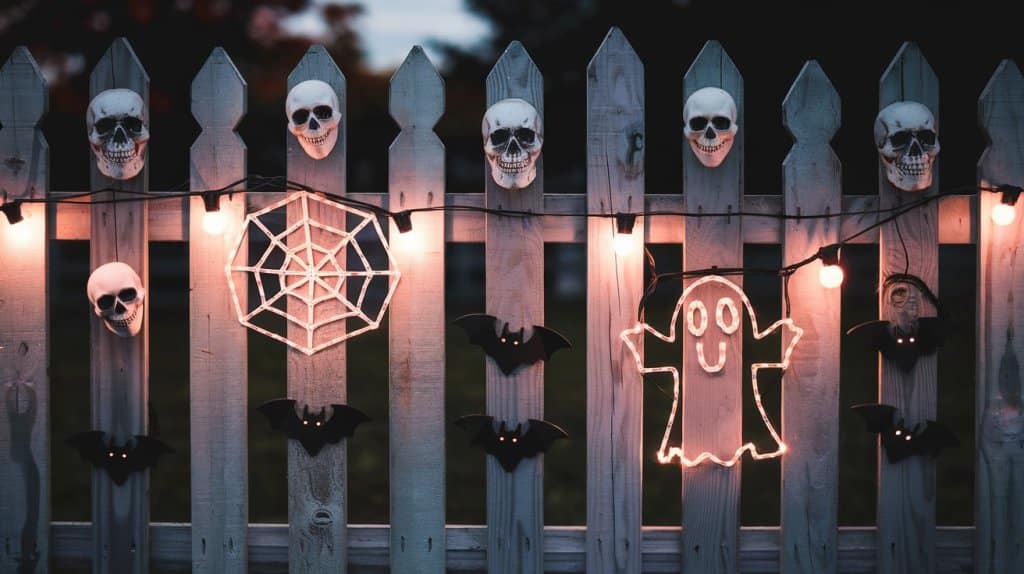
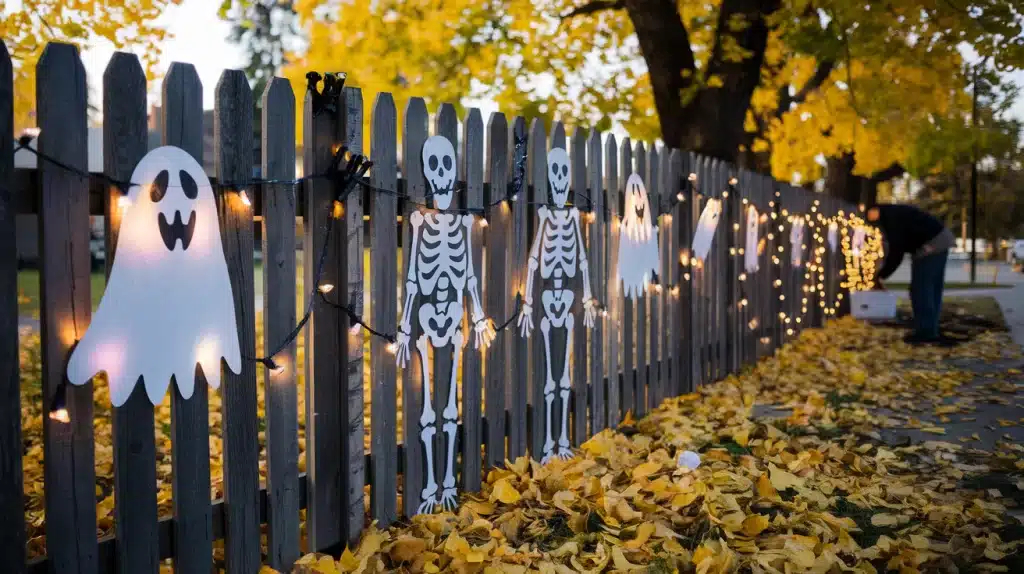
3. Using Pathway and Skeleton Accessories
Put small lights near the fence base for ground shadows. Remove stakes from path lights to drape over fence sections. Add bones or small tombstones near the bottom.
Place large props behind the fence. Use colored lights on house walls to finish the scene.
Tips for Customizing Your Halloween Fence
1. Adjusting Fence Length for Storage: Build your fence in sections based on your storage space. A 10-foot piece works well if you have room. For smaller spaces, make 5-foot sections.
Add connection points between pieces for easy assembly. Remember to measure your storage area before cutting materials.
2. Creating Unique Angles and Patterns: Cut picket tops at different angles – some pointed, others flat. Space boards unevenly, mixing heights between 32-36 inches.
Make some lean slightly left or right. Skip a few spots to create gaps. This random look makes the fence more scary.
3. Choosing the Perfect Color Scheme: Black paint creates a basic spooky look. Add green lights for a classic cemetery feel, or purple for extra creepiness.
Mix light colors to match other yard items. Try orange near pumpkins or red near spider webs. Change colors weekly for fresh scares.
Halloween Fence Maintenance and Reuse for Next Year
Keep your Halloween fence in good shape and improve it each year with careful handling and smart planning. When the spooky season ends, follow these tips to protect your creation and prepare for future frights.
Storing Your Fence Properly
1. Take Photos of Your Setup Before Dismantling to Remember the Layout
2. Remove All Ground Stakes and Store Them in a Marked Container
3. Clean Off Any Dirt or Debris from Fence Sections
4. Keep Screws and Hardware in Sealed Plastic Bags
5. Store Fence Pieces Flat to Prevent Warping
6. Cover with a Tarp if Storing in Damp Areas
7. Label Each Section for Easier Setup Next Year
Making Adjustments for Future Displays
1. Note Which Sections Need Extra Support
2. Mark Spots Where Lights Worked Best
3. Keep Track of Successful Color Combinations
4. Write Down Measurements for Stake Placement
5. Save Extra Material for Repairs
6. Plan Any New Sections You Want to Add
7. List Improvements for Next Season
Conclusion
Creating a spooky Halloween fence brings life to any yard during the fall season. By following this guide, you’ve learned how to build a fence that makes trick-or-treaters pause, and parents snap photos.
With basic materials and simple tools, you can craft a haunting boundary that sets your house apart from others on the block.
Remember, the magic lies in the small details – uneven pickets, strategic lighting, and those slightly tilted posts all work together to create the perfect cemetery look. The best part?
Your fence gets better each year as you add new touches and perfect its placement.
So gather your supplies, measure your space, and start building. Your neighbors will wonder how you made such a professional-looking Halloween decoration.
