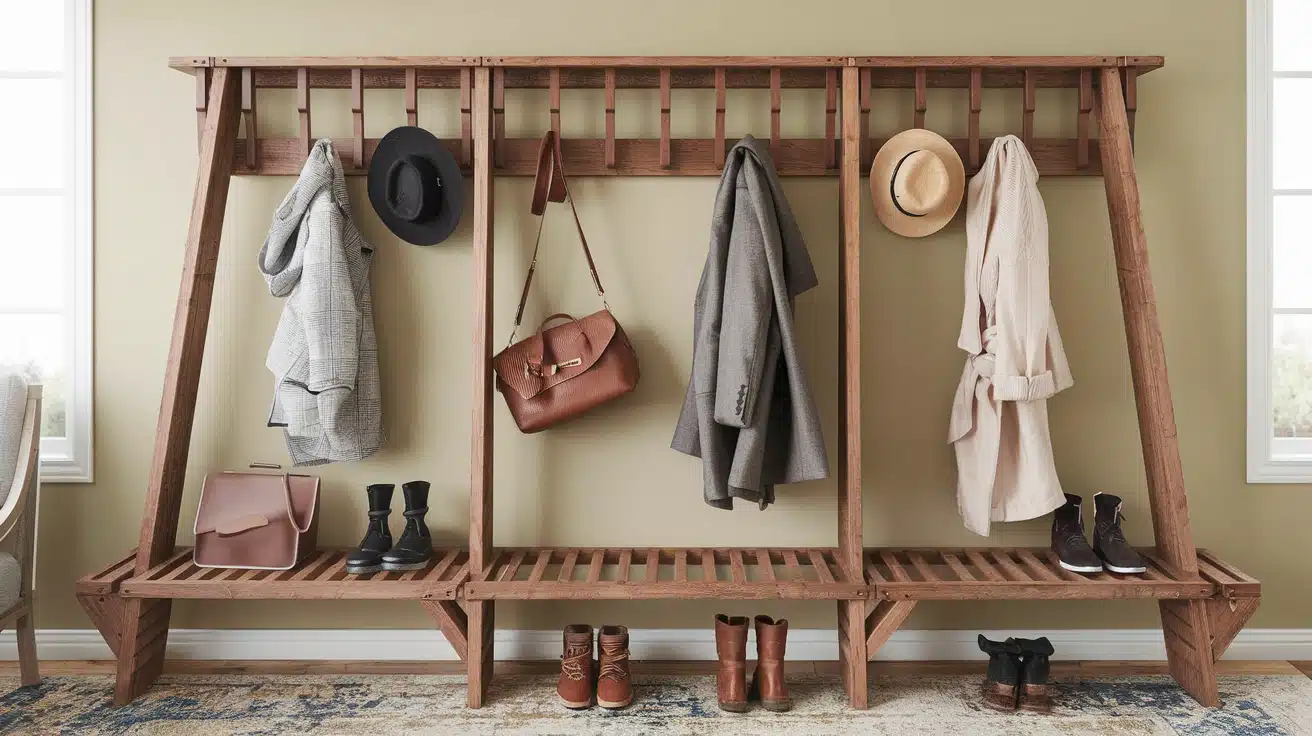
Does your home need better organization for coats and bags? Many people struggle with cluttered entryways and scattered clothing.
You might think building your coat rack requires special skills or expensive tools. But here’s something different – you can make a sturdy, good-looking coat rack with basic materials from any hardware store.
Following our simple steps, you’ll create a useful piece that fits your space perfectly and saves you money. Plus, you’ll feel satisfied knowing you built it yourself.
Read on to learn the exact materials you’ll need and step-by-step instructions to build your own coat rack this weekend.
We’ll show you how to measure, cut, and put everything together for the best results.
Materials and Tools Required
| Category | Item | Purpose |
|---|---|---|
| Wood | Wood pieces (32×32 mm, 195 mm each) | Base material for the coat rack |
| Plywood | Mounting base for wall attachment | |
| Fasteners | 8 mm threaded rod | Allows adjustable movement of wooden pieces |
| Screws | Secures components together and to the wall | |
| Finishing | Danish oil | Provides a smooth, polished finish for the wood |
| Paint (optional) | Matches the plywood base to the wall color | |
| Tools | Drill | Creates holes for the threaded rod |
| Doweling jig | Ensures accurate and straight holes | |
| Saw and miter box | Cuts wood pieces to precise lengths | |
| Clamps | Holds wood securely while drilling or cutting | |
| Sandpaper (medium and fine grit) | Smoothens wood surfaces and edges | |
| Safety Equipment | Safety glasses, gloves, and dust mask | Protects against dust, splinters, and debris |
Step-By-Step Guide to Building a DIY Coat Rack
Step 1: Plan Your Design
Take time to consider how your coat rack will fit your needs. A wall-mounted design saves floor space and keeps your entry organized.
Start by drawing a basic sketch on paper. Mark spots where you want hooks to hold coats and bags.
Use a measuring tape to check your wall space – write down the width and height you want. These measurements will help prevent mistakes during building.
Step 2: Cut the Wood Pieces
Start with quality wood that matches your home’s style. You’ll need to cut 27 pieces, each measuring exactly 195 mm in length.
Set up your miter saw with a stopping block – this simple addition acts like a helper that ensures each piece comes out the same size.
Take your time with each cut. Good preparation here means your finished rack will work better and look well-made.
Step 3: Drill Holes for the Threaded Rod
Arrange all your wood pieces in a straight line on your work surface. Use a ruler to find and mark the center point of each piece.
A drilling guide helps keep your drill perfectly straight as you make each hole.
This step needs careful attention because straight, well-aligned holes make assembly easier later. Double-check each mark before drilling to avoid mistakes.
Step 4: Sand the Wood
Working with sandpaper takes time but creates better results. Begin with medium-grade sandpaper to remove any rough spots or saw marks.
Pay special attention to the edges where hands might touch. Switch to fine-grade sandpaper for the final passes.
This careful attention to smoothness makes your coat rack safe to use and gives it a professional finish.
Step 5: Apply Danish Oil
Danish oil brings out the wood’s natural beauty while adding protection.
Use a clean cloth to apply the oil evenly across every surface of each piece.
Make sure you cover all areas, including the ends of the wood. Let each piece dry fully between coats.
This oil treatment helps your rack last longer and makes it pleasant to touch.
Step 6: Assemble the Rack
Line up all your prepared wood pieces and thread them onto the 8 mm rod. Keep small, even gaps between each piece – about the width of a coin works well.
These gaps let the pieces move slightly, making your rack more useful.
Add nuts to both ends of the rod, adjusting them until the pieces move freely but stay in place.
Step 7: Mount the Rack to Plywood
Choose a solid piece of plywood as your mounting base. Cut it to match your planned rack size. Paint the plywood the same color as your wall to create a clean look.
Attach all your wooden pieces to this base carefully. Use strong screws to mount the completed unit on your wall, making sure to hit wall studs for maximum strength.
Step 8: Final Adjustments
Hold off on attaching the end pieces until the main rack is securely on the wall. Check that all pieces move smoothly and stay in position.
Add the end pieces last, making sure they’re level and properly secured.
Step back and look at your work from different angles to ensure everything lines up correctly.
Video Tutorial
Check out this YouTube video for a detailed step-by-step tutorial on making a coat rack.
Customization Ideas for Your Coat Rack
You can make your coat rack both useful and good-looking. Here’s how to add your own style to make it fit your home:
Paint and Stain Options
The right finish can make your coat rack look different and special. When painting, consider bold colors like navy blue, forest green, or simple black for a new look.
Try light blue, pink, or cream if you prefer softer styles. White and tan work well with any home style.
Light brown creates a simple, clean look for wood stains, while medium or dark brown adds warmth to your home. You can create an old-style finish by sanding some paint off to show the wood underneath.
Making it Your Own
Small changes can make your coat rack more special. Consider adding names or fun sayings on the wood. You might draw simple patterns with paint or use letter stencils to write welcome messages.
When choosing hardware, try old-style metal hooks for a classic feel. For kids’ rooms, pick fun-shaped hooks that make hanging up coats more enjoyable. Pretty handles or knobs can add a decorative touch to any design.
Consider adding small shelves to hold keys and make your coat rack more useful. Create spots for mail or phone storage. Include spaces for the daily items you need near your door.
Different Styles to Try
Consider using real wood pieces for hooks to create a natural look. Keep the wood’s natural pattern showing through your finish.
Remember to make sure all parts are solid and long-lasting.
Try making patterns with the wood pieces in your design. Test different layouts until you find one that feels right. A simple but interesting design often works best.
Match your coat rack to your room’s style with thoughtful details. Include items that show what you like, and use colors that work well with your other furniture.
For wall design, make your coat rack part of the overall look.
You might add pictures around it or choose colors that blend with your current decor. This helps create a well-planned, attractive space in your home.
Tips for Making Your DIY Coat Rack
Making your own coat rack takes some planning. Here are simple tips to help you work safely and make a lasting coat rack.
Keep Safety First: Your well-being matters most when working with tools and wood.
- Use Safety Equipment: Wear safety glasses to keep sawdust from your eyes. Wear work gloves to stop splinters. Use a dust mask when you cut or sand wood.
- Handle Tools With Care: Learn how each tool works before you start. Hold saws and drills with both hands. Put them on a solid table or bench when you work.
- Make Your Work Area Safe: Check your work table doesn’t wobble. Use clamps to keep wood still while you cut or drill it.
- Look for Rough Spots: Run your hand over all edges after cutting. Sand any spots that feel rough to make them safe to touch.
- Get Fresh Air: Open windows or work outside when you use paint or wood stains. This helps you avoid breathing in strong smells.
How to Make Your Coat Rack Work Better
A good coat rack needs to do two things: look nice and help you store your things well.
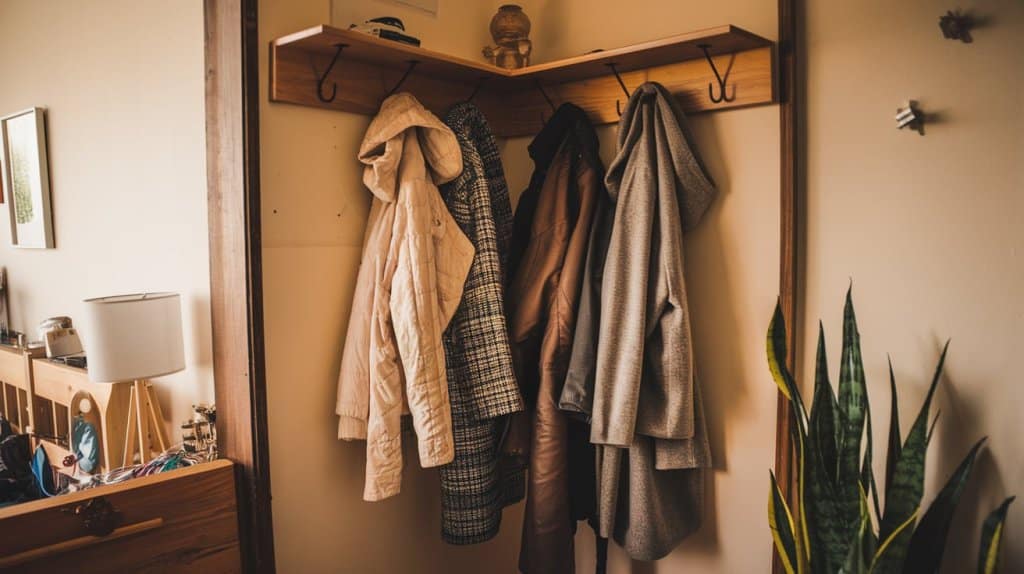
Pick the Best Spot
- Put your coat rack where you use it most – near your front door or in the hall.
- Use wall space instead of floor space when you have a smaller home
- Think about who needs to reach it most often
Make it Work for You
- Use hooks that can move left or right to fit different types of coats
- Space the hooks about 6 to 8 inches apart so coats don’t bunch up
- Try putting different-sized hooks for various items
Add Extra Storage
- Put a small shelf on top for gloves and hats
- Add a few smaller hooks for keys
- Keep everything you need by the door in one spot
Get the Height Right
- For adults, put the main hooks about 60 inches up from the floor
- If you have kids, add some lower hooks they can reach
- Make sure hooks are fixed firmly to support heavy winter coats
Keep it Safe
- Check that all parts are firmly attached
- Round off any sharp edges
- Use strong wall anchors to hold the weight
Conclusion
Building your coat rack offers more than just a place to hang coats.
This simple project brings satisfaction through making something useful with your own hands.
By following the basic steps – from cutting wood pieces to adding the final touches – you’ve learned how a few hours of work can lead to a lasting addition to your home.
The beauty of making your coat rack lies in its simplicity.
You can build something that fits your space perfectly with basic tools and materials.
Whether you keep it simple or add style touches, your coat rack will serve as both a practical storage solution and a reminder that good things come from patient, careful work.
