Tired of coming home to a dark entryway or guessing who’s outside? Let your lights think for you.
Proper lighting isn’t just about visibility; it’s about safety, convenience, and peace of mind. If you’re juggling groceries after sunset or checking on a late-night noise, motion sensor lights can make your life a whole lot easier.
Yet many homeowners hold off on installing them, assuming it requires special skills or costly help. Here’s the truth: you can do it yourself—even without electrical experience.
With just a few basic tools and a little guidance, you’ll be surprised how simple it is. This step-by-step guide walks you through the entire process, from choosing your tools to mounting and adjusting the sensor like a pro.
Get ready to light up your space the smart way.
Why Install a Motion Sensor Light?
A motion sensor light offers several important benefits for your home. Here’s why you should consider adding one:
Saves energy by only turning on when needed. Unlike standard outdoor lights that stay on all evening, motion sensor lights activate only when movement is detected. This means you’ll use less electricity and extend the life of your light bulbs.
Improves home security. Sudden illumination when someone approaches your property can deter unwanted visitors. Many potential intruders will move on when bright light exposes their presence. The automatic response also alerts you to activity around your home.
Adds convenience to daily life. No more arriving home to a dark entrance or walking through unlit areas of your yard. The sensor detects your movement and provides light exactly when you need it, making tasks like bringing in groceries or walking pets after dark much easier.
What Tools and Materials Will You Need?
Having all your supplies ready before you begin will make your installation go much more smoothly. Here’s everything you’ll need to complete this project:
| Item | Purpose | Notes |
|---|---|---|
| Motion Sensor Light Fixture | Main unit to install | Choose one with adjustable settings |
| Mounting Block (if needed) | Holds the fixture against the siding | Match color to your siding |
| Wire Connectors (Wago 221 or nuts) | Secure wire connections | Wago 221 recommended for ease and tight spaces |
| Electrical Tape | Optional, for extra security on wire connections | Not always necessary with secure connectors |
| Clear Outdoor Silicone Sealant | Seal edges to keep moisture out | Make sure it’s rated for outdoor use |
| Utility Knife or Tin Snips | Cut holes in the mounting block | Be cautious when handling |
| Screwdriver (Flathead/Phillips) | Remove and install screws | Match to the type of screws included |
| Voltage Tester | Check if the wires are live before touching | Essential for safety |
| Screws (included with fixture) | Mount the fixture and/or block | May reuse old screws if compatible |
| Ladder | Reach the light fixture | Make sure it’s stable and safe |
| Wet Paper Towel | Clean excess silicone | For a clean, professional finish |
| Smartphone (Optional) | Take a photo of existing wiring | Helps during reinstallation |
Safety Equipment:
- Work gloves
- Safety glasses
- Flashlight or headlamp (for seeing in dark areas)
Most of these items are common household tools you may already own. The motion sensor light kit typically comes with installation instructions specific to that model, which may suggest additional items based on your particular setup.
Before starting, check that your new fixture is rated for outdoor use and appropriate for your specific installation location.
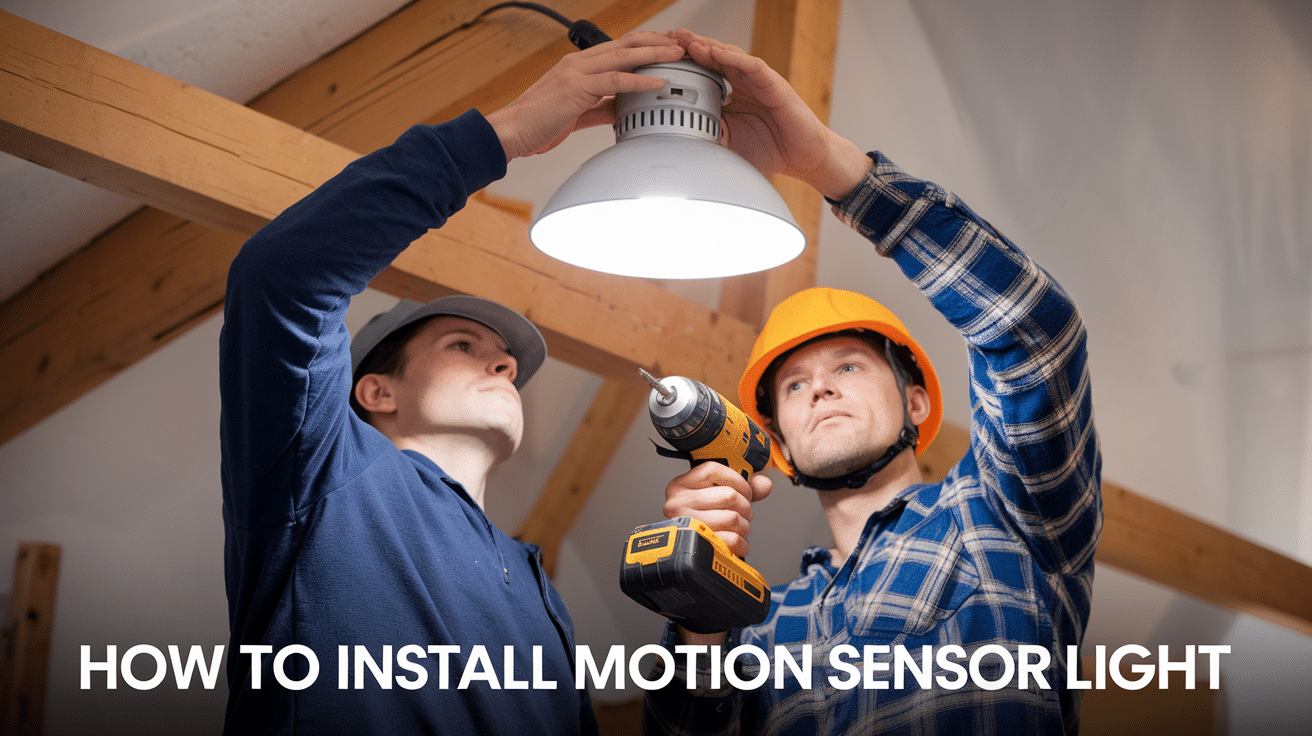
Step-by-Step Guide: How to Install a Motion Sensor Light
Installing a motion sensor light might sound tricky, but with the right steps, it’s a simple DIY project you can finish in under an hour. Follow this easy step-by-step guide to get it done safely and confidently.
Step 1: Turn Off the Power

- Find your circuit breaker panel and switch off the breaker for your outdoor lighting.
- Test the light switch to confirm power is off
- Place tape over the breaker to prevent accidental activation
- Remember: never skip this step, as even low-voltage shocks can cause injury
Step 2: Remove the Old Fixture

- Unscrew mounting screws holding the fixture to wall/ceiling
- Pull the fixture away to expose the electrical box and wiring
- Use a voltage tester to double-check that no power is flowing
- Disconnect the wires by unscrewing the wire nuts
- Set the old fixture aside for reference
Step 3: Document the Existing Wiring

- Take a photo or sketch the current wiring connections
- Note wire colors: typically black (hot), white (neutral), green/copper (ground)
- Pay attention to any unusual wiring patterns in older homes
- This visual record prevents confusion later
Step 4: Install the Mounting Block (if needed)

- For uneven siding or a finished look, use a mounting block
- Position block over electrical box with wires through center hole
- Level carefully, mark screw positions, and pre-drill if needed
- Secure with appropriate screws for your siding type
- Apply exterior caulk around edges to prevent water damage
Step 5: Connect the Wires Safely

- Pull the house wires through the mounting bracket.
- Match and connect wires: black-to-black, white-to-white, green-to-green/copper
- Twist matching pairs clockwise until tight
- Secure with wire connectors or wire nuts
- Tug each wire to verify that connections are secure
- Tuck wires back into the box without pinching
Step 6: Mount the Motion Sensor Light

- Position sensor light against mounting surface
- Thread mounting screws through fixture base into mounting holes
- Keep fixture steady while tightening screws
- Don’t overtighten as this could crack the base
- For models with separate mounting plates, attach the plate first
Step 7: Seal the Fixture

- Apply exterior-grade silicone caulk where fixture meets wall
- Focus on the top and sides, leaving a small gap at the bottom for moisture to escape
- Smooth caulk with damp finger for a clean finish
- Allow to dry completely before testing in wet conditions
Step 8: Set Up and Test Your Light

- Locate adjustment controls for duration, sensitivity, and light sensor
- Restore power at the breaker panel and allow a few minutes for calibration
- Walk through detection zone to test motion sensing
- Test in both daylight and dark conditions
- Fine-tune settings until the light works exactly as needed
Video Tutorial
For more information, check out this video tutorial by Home Repair Hub
Best Spots for Motion Sensor Lights
Knowing where to place your motion sensor lights is just as important as how you install them. Here are the smartest locations around your home to maximize security, visibility, and convenience.

| Location | Purpose | Tips for Placement |
|---|---|---|
| Front Entry Area | Welcomes guests & deters intruders | Mount 6–8 ft high, angle toward walkway, install off-center to reduce bugs |
| Side & Back Doors | Secures secondary entrances | Aim at doors/windows, place high for tamper resistance |
| Garage & Driveway | Lights driveway & entry paths | Detect cars/people entering, avoid street triggers |
| Pathways & Stairs | Ensures safe footing at night | Mount low, space evenly, use soft brightness |
| Blind Spots | Covers hidden or less visible areas | Focus on corners, behind shrubs, or between structures |
| Property Boundaries | Provides early alert for movement near property lines | Mount high, aim inward, and use long-range models |
| Outdoor Living Spaces | Adds convenience for patios & decks | Use softer light, highlight steps or features, and choose dual-mode models |
Strategically placing your motion sensor lights boosts home security and adds comfort and style to your outdoor spaces. Use this table as a quick reference to get the most out of your lighting setup.
What Should You Do If It’s Not Working?
If your motion sensor light isn’t functioning properly after installation, try these quick fixes:
Check that the power is on at the breaker panel. Confirm that all wire connections are secure and correctly matched. Verify that the bulbs are functioning and compatible with the fixture.
Make sure the light sensor isn’t affected by other light sources. Adjust the sensitivity settings—they might be set too high or too low for your space.
Read through the manufacturer’s troubleshooting guide for model-specific advice. Most issues can be resolved with simple adjustments rather than a complete reinstallation.
Final Tips for Success
For optimal performance of your motion sensor light, consider these additional tips:
- Position the sensor where it can clearly see the area you want to monitor, avoiding obstructions like tree branches that might block detection.
- Point the sensor away from heat sources like air conditioner units or dryer vents that could trigger false activations.
- Aim the sensor downward slightly to focus on human-height movement rather than small animals.
- Consider the angle of the sun throughout the day to prevent direct sunlight from interfering with the sensor.
- Clean the sensor lens periodically with a soft, dry cloth to maintain optimal sensitivity.
Conclusion
Installing a motion sensor light doesn’t have to be complicated or costly. This guide provides everything you need to tackle the job confidently, from wiring a new fixture to choosing a battery-powered solution to finding damage-free options for a rental.
With the right tools, a smart installation plan, and a few key adjustments, you’ll enjoy added peace of mind, greater convenience, and real energy savings.
So, why wait? Grab your tools, choose your ideal spot, and start lighting up your home the smart way—one motion at a time. Your brighter, safer space is just a few simple steps away.
