Ever walked into your home and had nowhere to drop your keys? That space by your door is begging for a practical touch! A handmade entry table solves this everyday problem while adding your style to your home.
This guide walks you through building a simple, sturdy entry table with basic tools and materials. You’ll learn each step, from picking wood to adding the final touches – all explained in plain, easy-to-follow terms.
This project is perfect for beginners and doesn’t need expensive tools. You can finish it in a weekend using basic supplies that won’t empty your wallet. By Sunday evening, you’ll have a useful piece you made with your own hands.
Ready to turn that empty hallway into something special? Let’s build something together!
Why is an Entry Table Useful?
An entry table serves as command central for your daily activities. It’s the perfect catch-all for keys, mail, and sunglasses—items that otherwise end up scattered throughout your home.
This simple piece of furniture creates an organized drop zone that saves precious morning minutes when you’re rushing out the door.
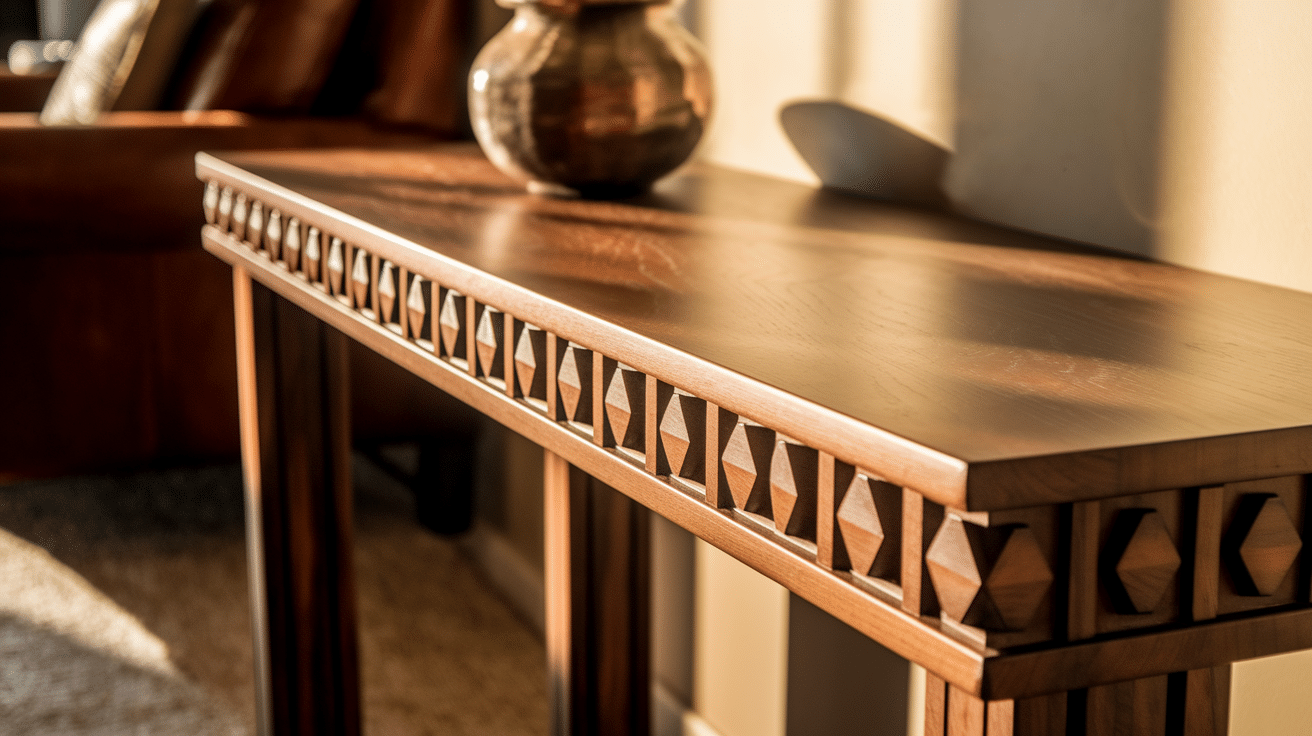
Beyond practical storage, an entry table sets the tone for your home. It’s the first piece visitors see, offering a glimpse of your style and a chance to make a welcoming statement with a lamp, family photos, or seasonal decorations.
In smaller homes, this multitasking furniture adds valuable surface space without taking up much room. It keeps clutter contained and converts an empty hallway into a functional, styled space.
Materials Required
| Item | Quantity | Purpose |
|---|---|---|
| 2×2 Lumber (for frame/legs) | 4 pieces (30″ each) | Used for the table legs |
| 1×4 Lumber (for apron/base) | 4 pieces (36″ each) | Forms the apron support under the tabletop |
| 2×6 Lumber (for tabletop) | 3 pieces (40″ each) | Main surface of the table |
| Wood Screws (2 ½ inch) | As needed (approx. 30) | For securing all frame and tabletop pieces |
| Wood Glue | 1 bottle (4–8 oz) | Adds extra strength at joints |
| Sandpaper (80 & 220 grit) | 2 sheets each | Smooths surfaces before and after assembly |
| Wood Filler (optional) | 1 small container | Fills in small gaps or nail holes |
| Drill | 1 | For pre-drilling holes and driving screws |
| Saw (Hand saw or circular) | 1 | To cut wood to length |
| Clamps | 2–4 | Holds pieces in place while gluing/screwing |
| Measuring Tape | 1 | Ensures precise cuts and placements |
| Carpenter’s Square | 1 | Ensures perfect right angles |
Step-by-Step Guide to Building a DIY Entry Table
This guide walks you through essential steps—from selecting and preparing your lumber to assembling the frame and attaching the tabletop. Follow each instruction carefully to build a sturdy, stylish entry table that adds charm to the look of your home.
Step 1: Measure and Cut All Your Lumber
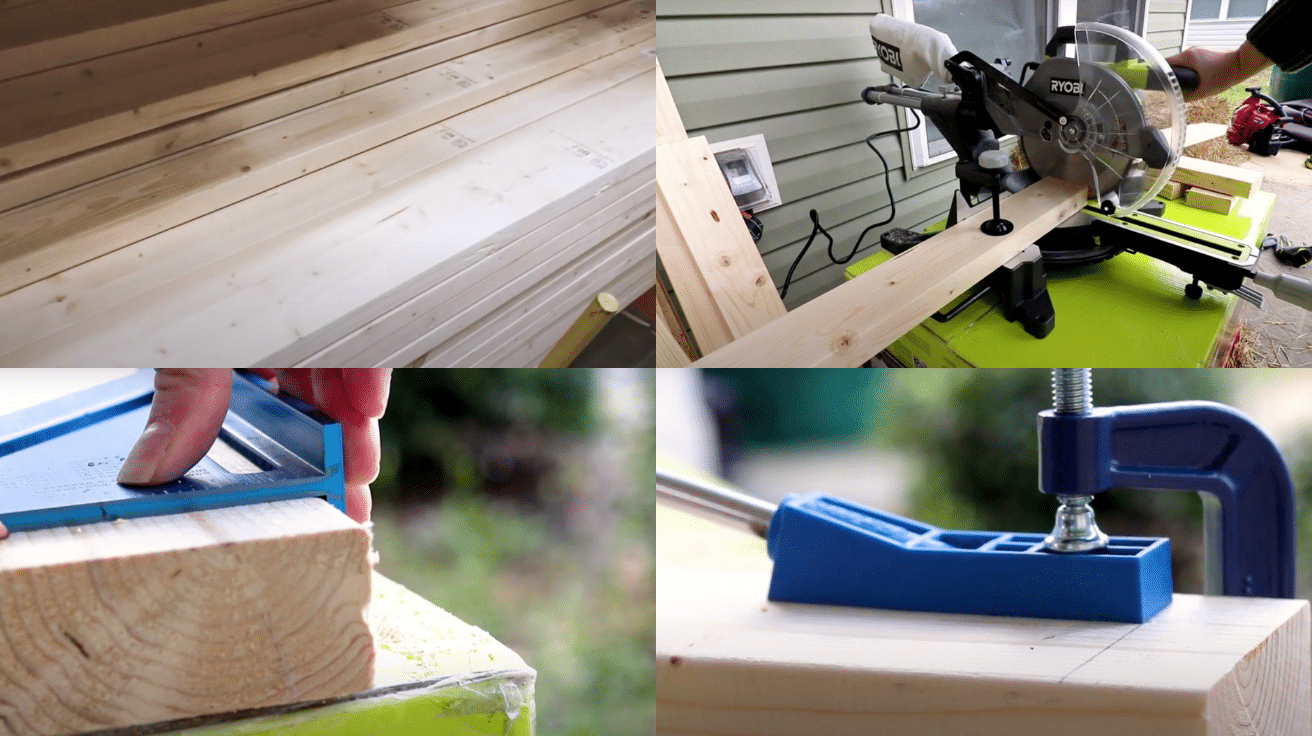
• Measure the wood accurately using a tape measure to plan the table dimensions.
• Mark the wood clearly with a pencil where cuts are needed.
• Use a circular saw or miter saw to cut the tabletop boards, legs, and apron pieces to size.
• Double-check your cuts for precision so everything fits perfectly in the later steps.
Pro Tip: Measuring twice and cutting once avoids costly mistakes and wasted wood.
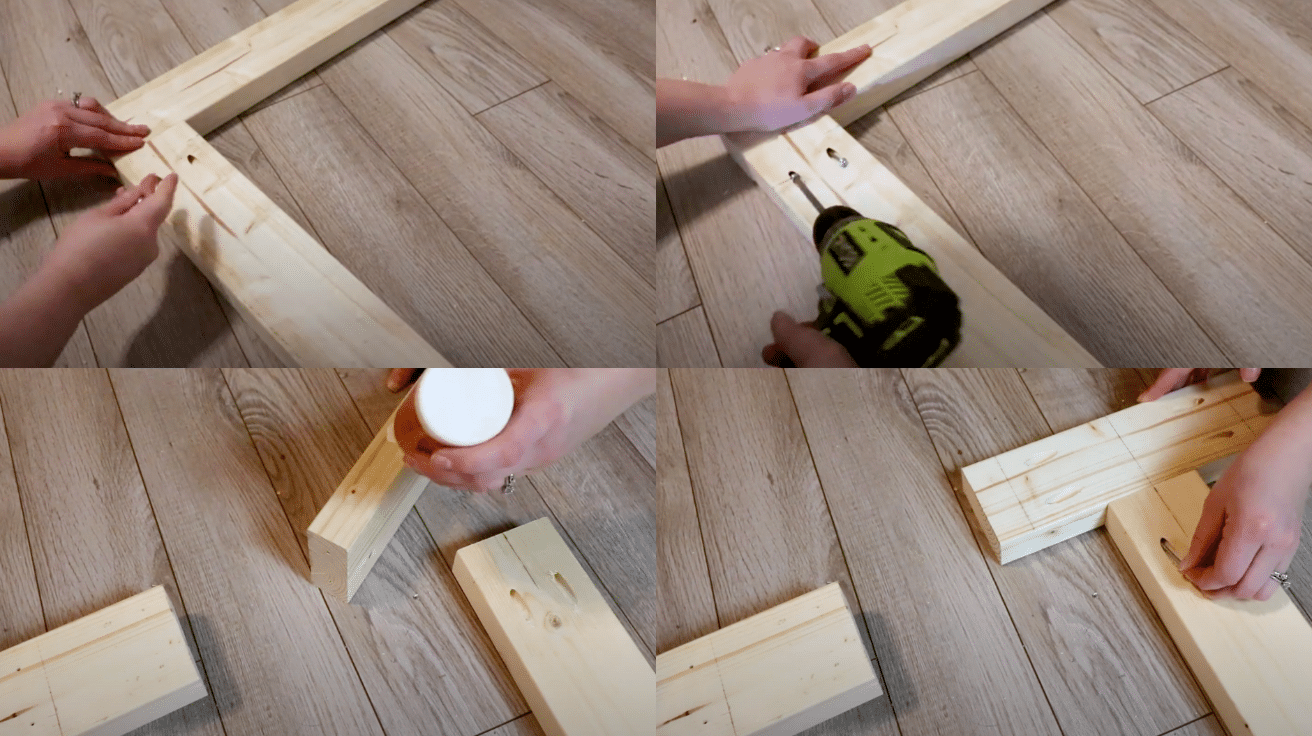
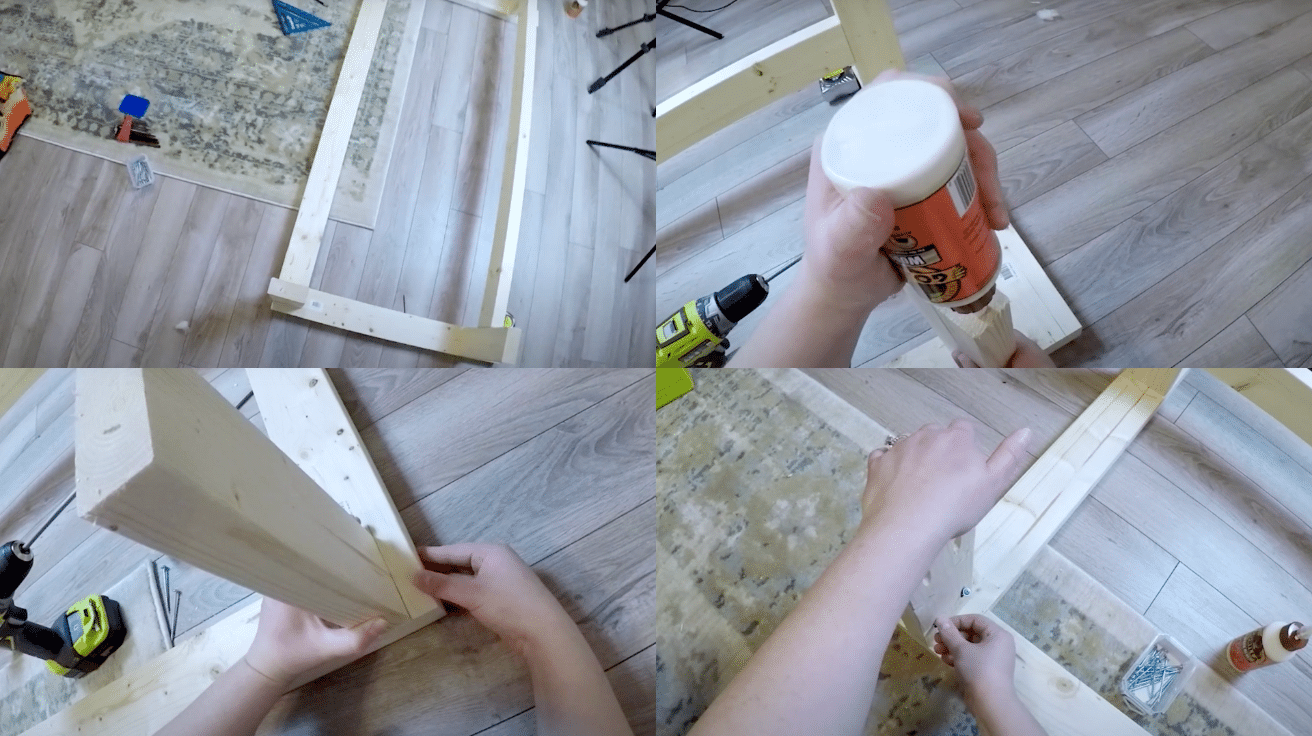
Step 2: Assemble the Table Frame
• Lay out the apron boards to form a rectangle and position them on a flat surface.
• Glue the ends of the short apron pieces and press them against the long sides.
• Drill pilot holes through the longer boards and screw them into the ends of the shorter ones.
• Ensure the frame is square by measuring diagonally from corner to corner.
Pro Tip: A perfectly square frame ensures the tabletop sits flat and doesn’t wobble.
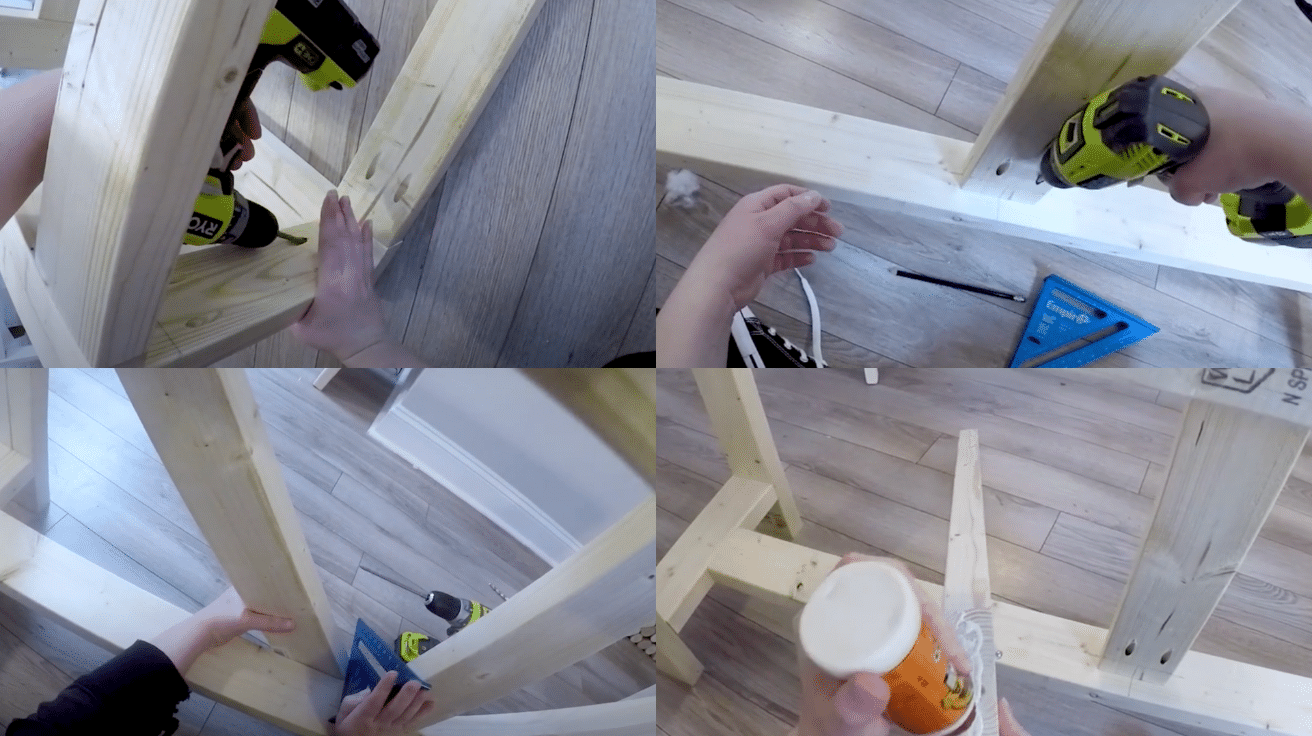
Step 3: Attach the Table Legs
• Insert each leg into a corner of the inner frame where the apron boards meet.
• Apply wood glue at the contact points and hold the leg firmly in position.
• Drill pilot holes through the apron into the leg, then fasten using wood screws.
• Check that all legs are even and that the frame rests level on the ground.
Pro Tip: Use clamps to hold the legs steady while driving in screws for added control.
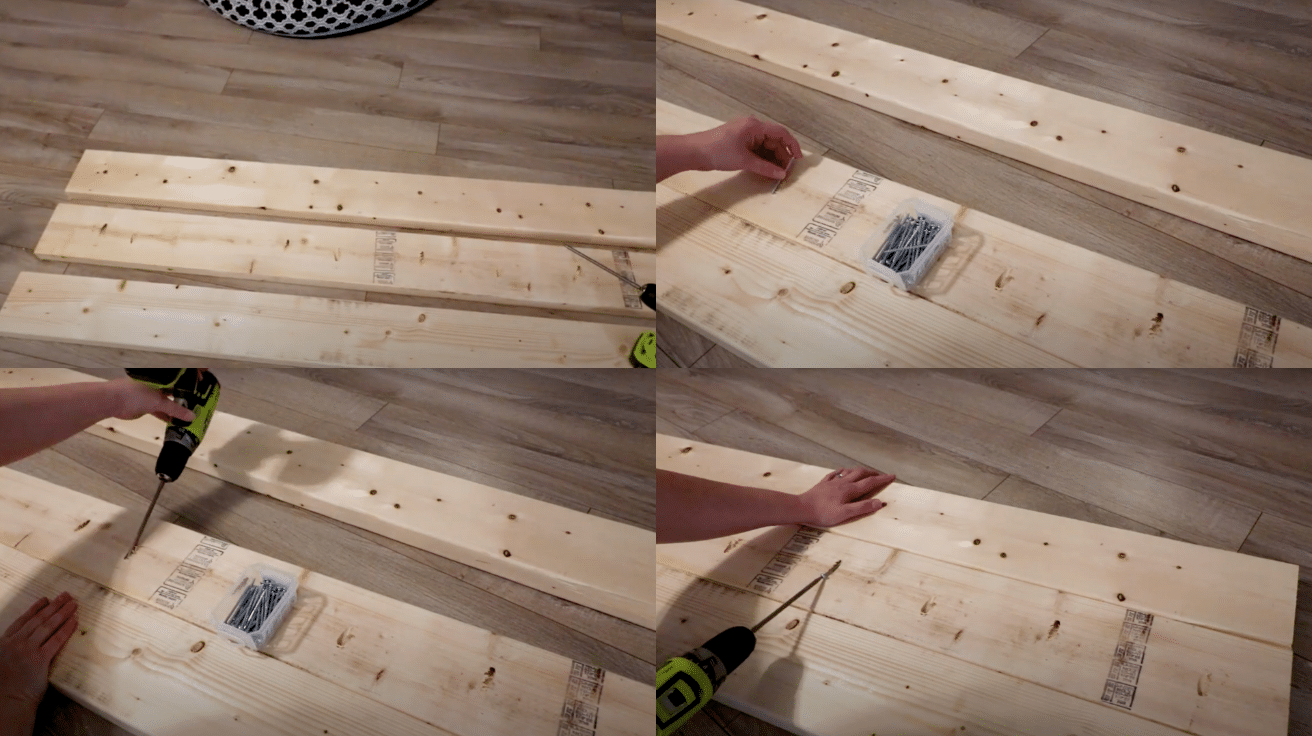
Step 4: Build the Tabletop Surface
• Lay the tabletop boards side-by-side with their long edges flush together.
• Apply wood glue between each board and press them tightly to minimize gaps.
• Use clamps to hold the boards together and let them dry for several hours.
• Wipe away any excess glue before it hardens to avoid visible marks.
Pro Tip: Use bar clamps across and along the boards to keep everything aligned.
Step 5: Attach the Tabletop to the Frame
• Flip the tabletop face down and place the frame centered on the back.
• Check that the overhang is even on all sides of the tabletop.
• Drill pilot holes through the apron and screw it to the underside of the tabletop.
• Lift the table carefully to its feet and check for stability.
Pro Tip: Mark screw locations with a pencil to avoid misalignment or splitting.
Step 6: Sand and Seal the Entire Table
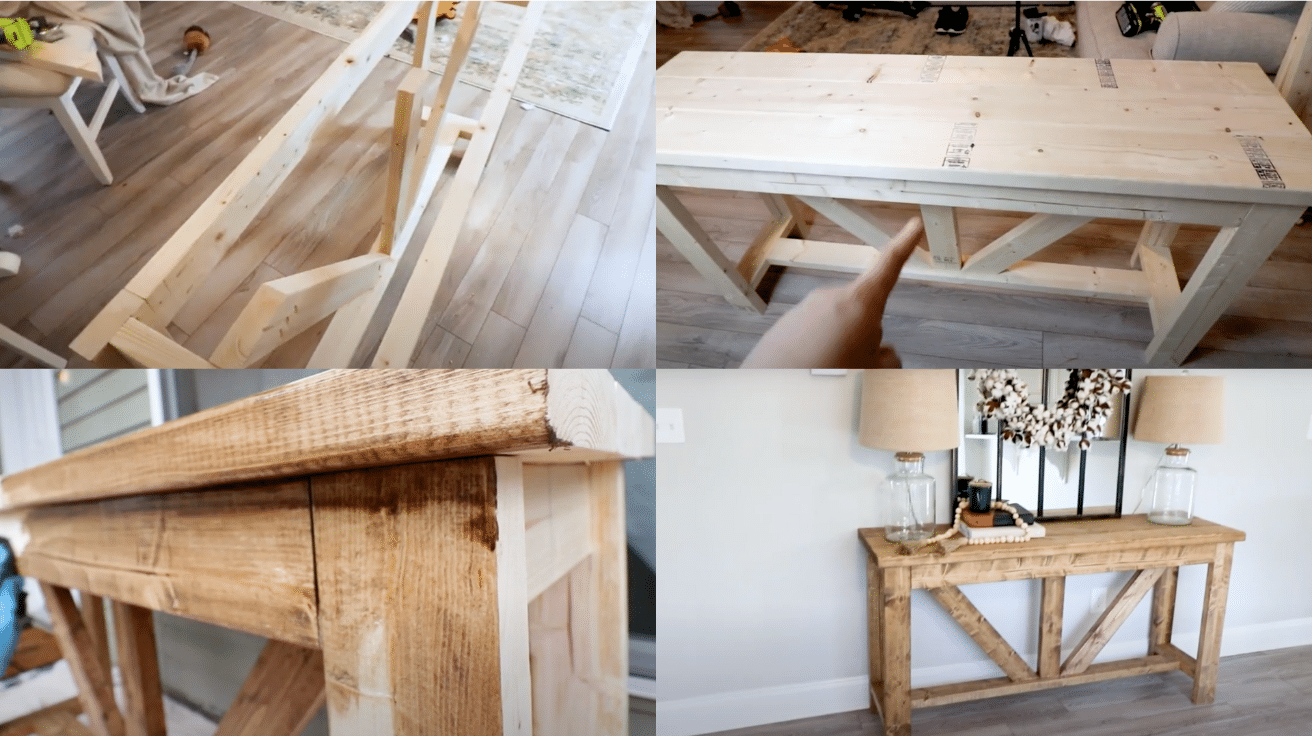
• Start sanding with 80-grit sandpaper to smooth out rough spots and level joints.
• Follow up with 120- or 220-grit sandpaper for a finer finish across all surfaces.
• Wipe away all dust thoroughly with a tack cloth to prep for sealing.
• Apply a clear wood sealant with a brush, following the grain, and coat all sides evenly.
Pro Tip: Always sand lightly between sealant coats for a smooth, professional finish.
Watch How It’s Done: DIY Entry Table Video Tutorial
Check out the video below by @TheDIYCottage for a step-by-step guide on DIY Entry Table.
Common Mistakes to Avoid
Avoid these pitfalls to ensure your DIY entry table turns out sturdy, polished, and professional-looking:
• Skipping sanding results in a rough surface and poor sealant adhesion—always smooth with coarse to fine grits.
• Using the wrong screw size for legs or knobs can damage the wood or cause instability.
• Not pre-drilling holes increases the risk of splitting and weak joints.
• Failing to level the legs can leave the table wobbly—always use a level before securing.
• Rushing sealant application or working in dusty spaces leads to an uneven finish.
• Ignoring the underside leaves the wood unprotected—seal all sides for durability.
Wrapping Up Your Entry Table Project
Standing back and looking at your finished entry table is one of the best feelings in DIY. You made this with your own two hands! Those scratches and minor flaws? They’re what make it truly yours.
Remember, building skills grow with each project. Maybe this entry table is just the start of your woodworking adventures. Next time, you might add drawers or try different wood types.
For now, enjoy that practical spot where keys, mail, and everyday items have a proper home. No more frantic morning searches or cluttered countertops!
Share photos of your creation with friends – you’ll be surprised how many will ask for your building tips. And every time someone compliments your table, you get to say those satisfying words: “I made it myself.”
