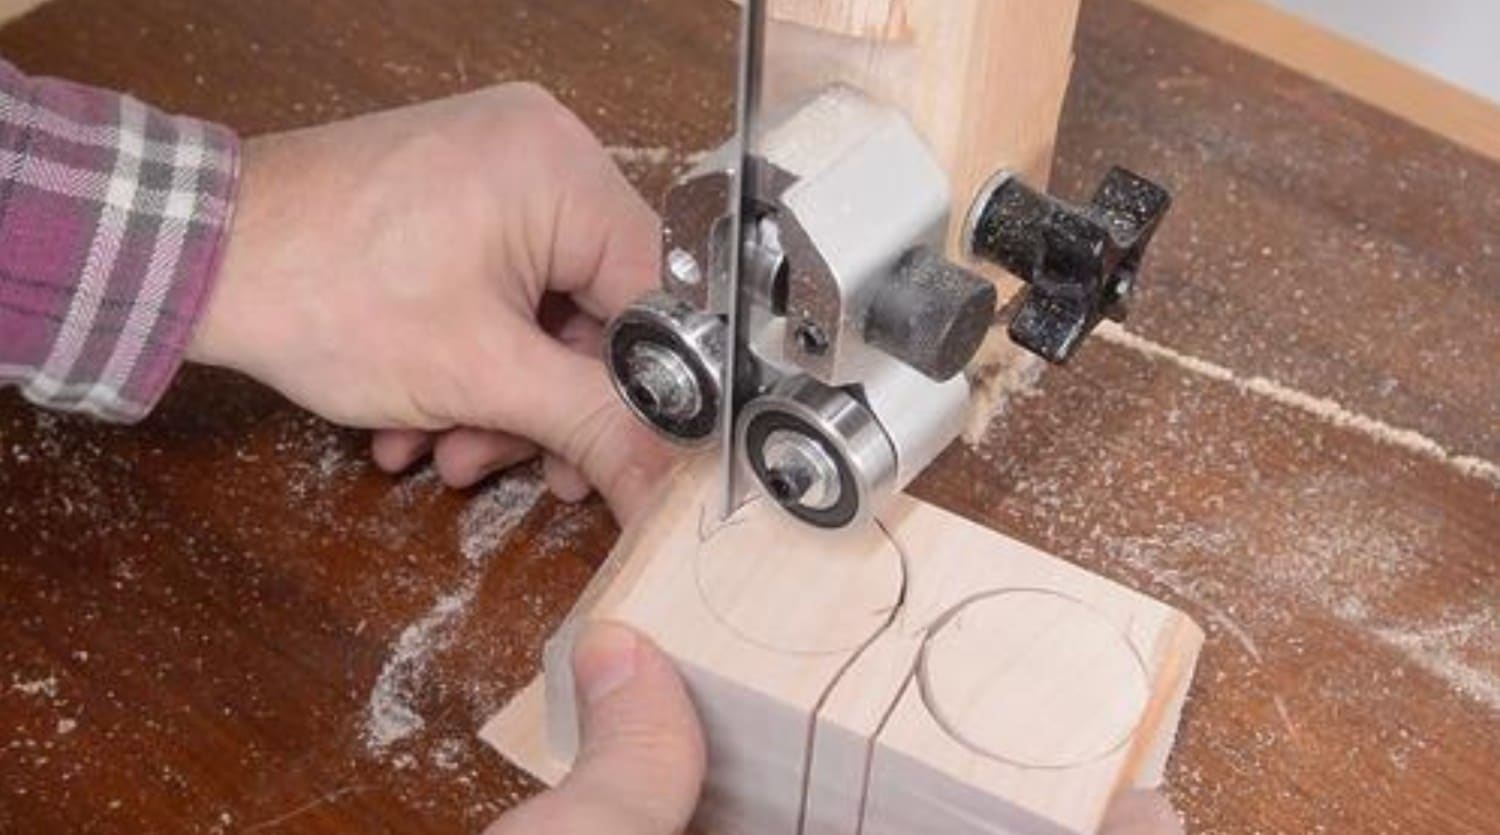
You’re not alone in this struggle. Most woodworkers face the same problem – wobbly cuts, blades that wear out too fast, and that annoying drift that ruins perfectly good lumber.
Here’s what most people don’t know: 90% of band saw problems come from poor guide setup.
Your guides are the unsung heroes of your workshop. When set up right, they keep your blade tracking straight, prevent premature wear, and give you those clean, precise cuts you’ve been chasing.
The good news? Proper guide setup takes just 15 minutes and uses tools you already have.
In this guide, you’ll learn the exact steps to set up your band saw guides like a pro. No more wasted material, no more frustration – just smooth, accurate cuts every time.
Ready to fix your band saw once and for all?
Why Band Saw Guide Setup Matters
Proper band saw guide setup is key to achieving accurate cuts, extending blade life, and ensuring safety. Here’s why it matters:
- Ensures Accurate Cuts:
Well-adjusted guides keep the blade stable and tracking straight, resulting in cleaner, more precise cuts. - Reduces Blade Wear:
Proper guide positioning minimizes friction, extends blade life, and maintains consistent cutting performance. - Improves Safety:
Properly set guides reduce the risk of blade binding and kickback, making your cuts safer and more controlled. - Optimizes Saw Performance:
A correctly tuned guide system ensures smooth operation and helps your saw run at peak efficiency. - Prevents Downtime:
Regularly adjusting guides prevents issues like blade drift, saving you time and avoiding project delays.
Step-by-Step Guide to Setting Up Your Band Saw for Accuracy
Tools and Materials Needed:
| Item | Purpose |
|---|---|
| Your band saw | Any model will work with this guide |
| Installed band saw blade | This method works for all blade widths |
| Small piece of paper | For gauging tiny gaps |
| Hex wrenches | For adjusting your specific band saw guides |
| Good lighting | To see the small adjustments |
| Clean cloth | For wiping down components |
| Optional: magnifying glass | For precise alignment checks |
Step 1: Loosen All Guides
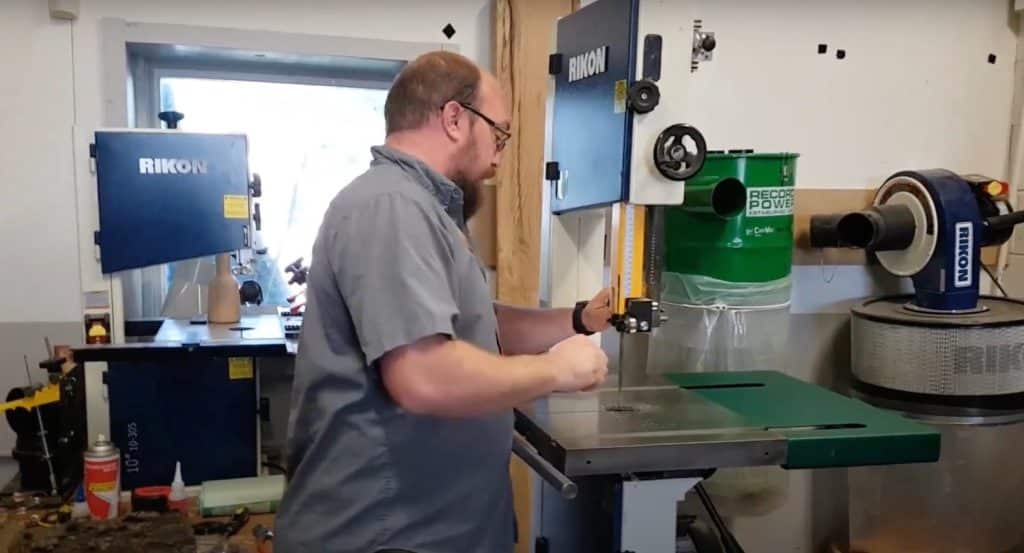
Begin by loosening all the guide components, including the top and bottom side guides and thrust bearings. Back the guides away from the blade completely to ensure there is no interference with the blade.
This is an essential step as it gives you a fresh starting point to see how the blade sits naturally in the machine before making any adjustments. Use a hex wrench to loosen each component, but avoid removing any parts that may be difficult to reinstall. This step allows you to work without obstruction and ensures proper setup.
Step 2: Position the Blade on the Wheel
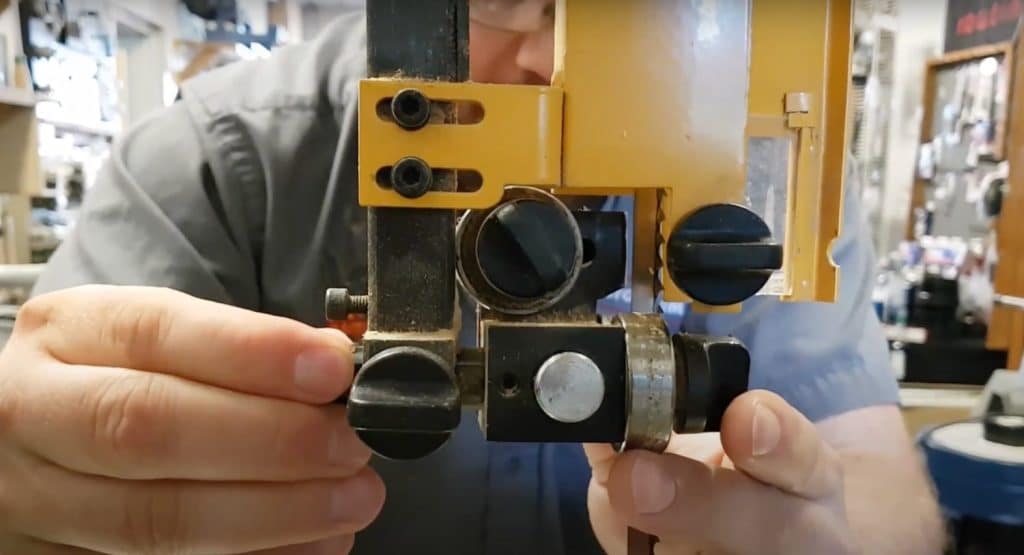
Carefully inspect the position of your blade on the upper wheel. The body of the blade, not the teeth, should be centered on the wheel for proper support and tracking.
If the teeth are centered, the blade can hang off the back edge of the wheel, leading to tracking issues and uneven wear. Ensure that the blade is centered so it sits securely and evenly on the wheel. Once this is done, lock the tracking adjustment in place to secure the blade’s position for the next steps.
Step 3: Set Top Side Guides
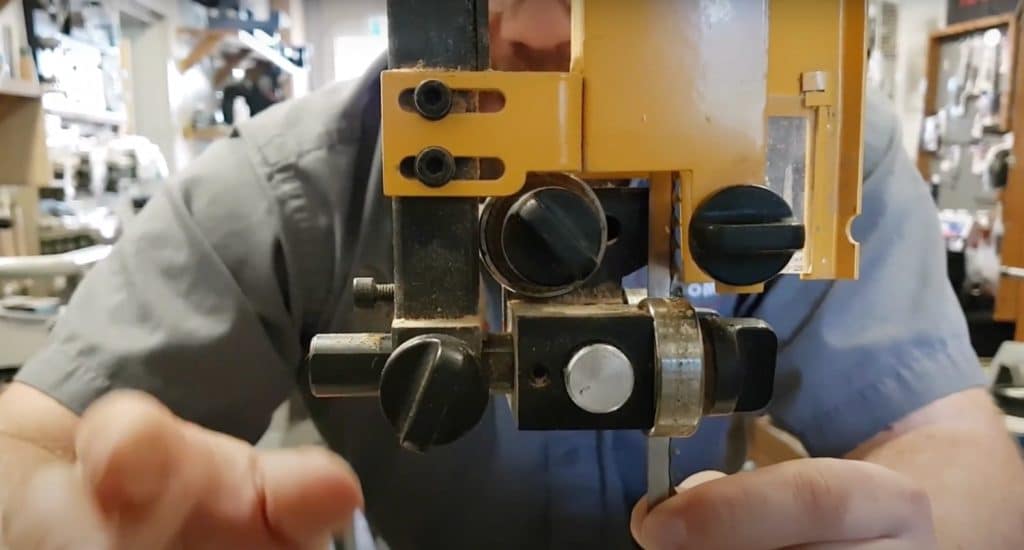
Position the top side guides just behind the blade’s gullet (the curved area between the teeth). The guides should never contact the teeth, as this can cause immediate and severe damage, such as flattening or dulling the teeth.
Carefully adjust the side guides forward until they are in the proper position relative to the gullet and blade body, ensuring that there is a slight gap. Once properly positioned, lock the guides in place to prevent them from shifting during operation. This is one of the most crucial steps for blade longevity and performance.
Step 4: Position the Top Thrust Bearing
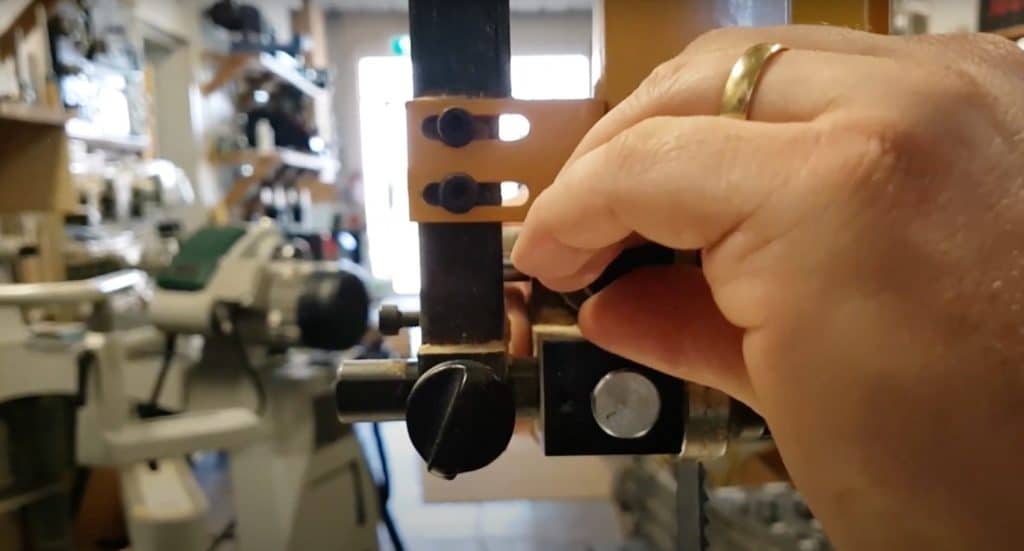
Next, adjust the top thrust bearing so that it is about the thickness of a piece of paper away from the back of the blade. The thrust bearing should be close enough to support the blade and prevent it from moving backward during cutting, but not so close that it creates friction or drags on the blade.
The goal is for the bearing to support the blade without making constant contact as the wheel spins. Check the spacing by rotating the upper wheel by hand, ensuring the blade moves freely without dragging the thrust bearing. Once positioned correctly, secure the thrust bearing in place.
Step 5: Set Bottom Side Guides
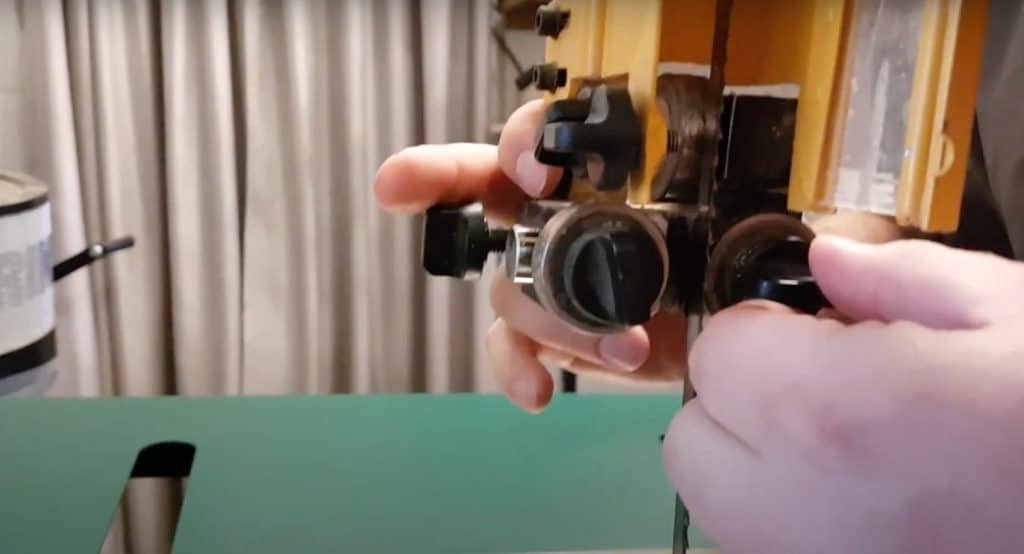
Move to the bottom guide assembly and adjust the side guides using the same principles as the top guides. These guides should also be positioned just behind the blade’s gullet, ensuring no contact with the teeth. While it may be more difficult to see clearly, take your time and use a mirror or camera if needed to ensure correct positioning.
The bottom side guides should mirror the top guides in terms of support for the blade without interfering with the teeth. Once in the proper position, lock the guides securely to prevent any shifting during operation.
Step 6: Position Bottom Thrust Bearing
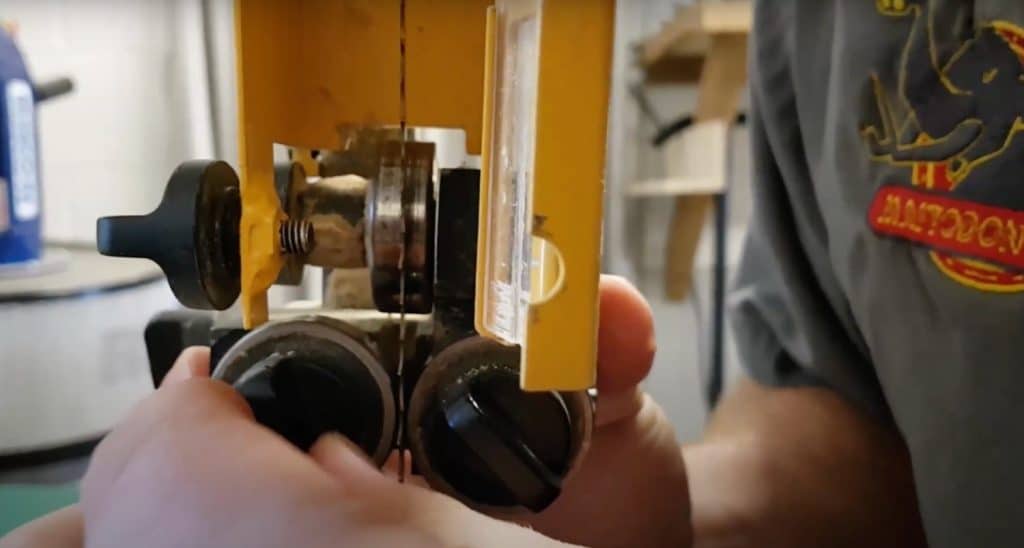
Just like the top thrust bearing, adjust the bottom thrust bearing to be about the thickness of a piece of paper away from the back of the blade. This gap is crucial for preventing the blade from being pushed backward during cutting.
If set too far back, the blade could move erratically, misaligning with the side guides. By keeping the bearing slightly away from the blade, you prevent excess friction and wear on both the bearing and the blade. Once the correct position is confirmed, secure the bottom thrust bearing.
Step 7: Fine-Tune Side Guide Spacing
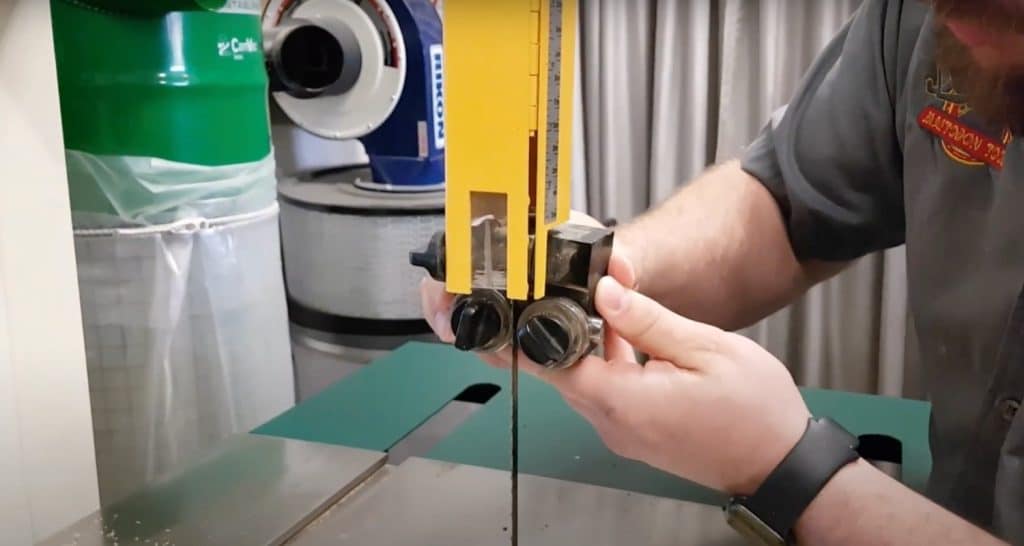
Once the thrust bearings are in place, fine-tune the spacing of the side guides to be approximately the thickness of a piece of paper away from the blade. If you’re using cool blocks or similar non-bearing guides, you can set them directly against the blade for continuous support.
For bearing or ceramic guides, ensure a slight gap to avoid excessive friction that can lead to premature wear. Once properly adjusted, spin the upper wheel by hand to check that the blade moves freely through the guides. If you notice any bearing rotation, adjust the clearance until there is no unwanted contact.
Step 8: Test the Setup
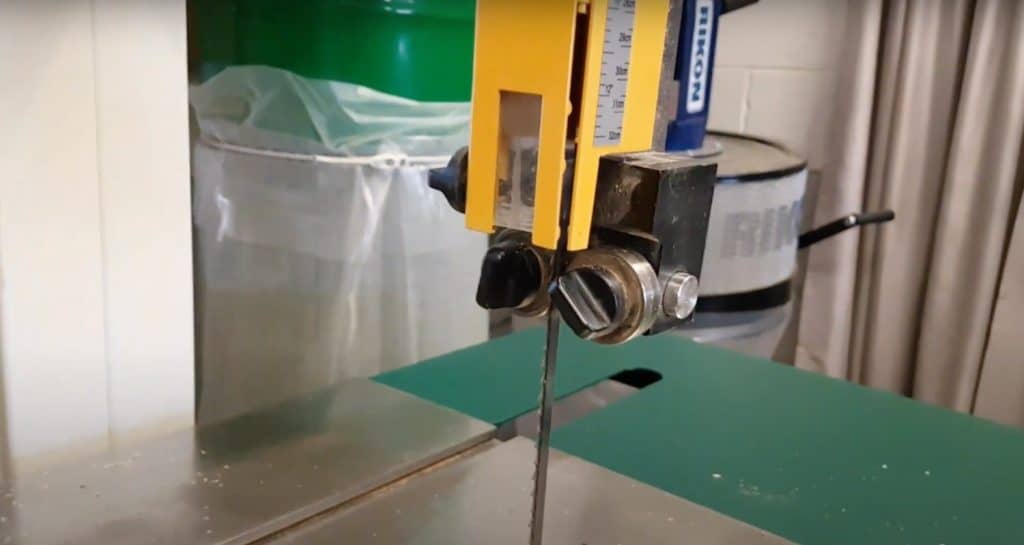
With all adjustments complete, manually rotate the upper wheel slowly and listen for any noise. The wheel should turn smoothly and silently, with only occasional light touches of the guides or thrust bearings. If you hear scraping or bearing noise, this indicates that the guides are too close or misaligned.
Perform this test multiple times and make small adjustments as needed to achieve a quiet, smooth operation. The blade should track properly, and you should not hear any grinding or scraping sounds as the wheel rotates.
Video Tutorial
Check out this YouTube video for a detailed step-by-step Tutorial by EthAnswers by Stockroom Supply
Band Saw Safety: The Importance of Proper Guide Setup
A properly set-up band saw guide system not only ensures precision and longevity but also plays a vital role in your safety. Improper guide setup can lead to accidents, blade binding, and kickback, increasing the risk of injury.
Here’s how a well-configured guide system contributes to safer operation:
- Reduced Risk of Blade Binding and Kickback:
Misaligned or overly tight guides can cause the blade to bind, leading to sudden shifts or kickback. Properly adjusted guides and thrust bearings ensure smooth operation and minimize resistance. - Maintaining Proper Blade Tracking:
Correctly adjusted guides help the blade track straight, preventing it from veering off course. A stable blade provides better control and reduces the risk of accidents or loss of control. - Minimized Contact with the Blade:
Guides should never touch the teeth of the blade, as this can lead to jamming or sudden stops. Keeping a slight gap ensures smooth cutting and reduces the risk of blade obstruction. - Proper Tension and Blade Support:
Correct blade tension prevents excessive movement or vibration. With the right guide adjustments, the blade stays aligned and stable, reducing the risk of it shifting out of place during operation. - Consistency for Safe Operation:
Regular maintenance of the guides ensures consistent cutting performance. Worn or misaligned guides can cause unsafe conditions, so frequent check-ups help maintain safe, reliable operation.
Band Saw Blade Myths and Misconceptions
Here are some common band saw myths, debunked to help you get the best performance from your saw:
- Myth: More Blade Tension Equals Better Cuts
Fact: Too much tension can cause wear on both the blade and saw. Proper tension is key, not excess. - Myth: Tight Guides Always Give Better Control
Fact: Guides should be slightly away from the blade to reduce friction and prevent wear. - Myth: All Band Saws Are the Same
Fact: Band saws vary by model and guide type. Always adjust based on your saw’s specifications. - Myth: Blade Drift is Unavoidable
Fact: Blade drift is usually caused by improper setup. Proper tension and guide adjustments can prevent it. - Myth: Blade Quality Doesn’t Matter Much
Fact: High-quality blades provide smoother, more accurate cuts and last longer. - Myth: You Don’t Need to Adjust Guides Often
Fact: Regularly check and adjust guides, especially when changing blades or noticing performance changes. - Myth: Guides Only Affect Straight Cuts
Fact: Guides affect all cuts, including curves and resawing. Proper setup is key for all tasks.
Conclusion
Taking the time to properly set up your band saw guides isn’t just a small adjustment—it’s the key to unlocking your saw’s full potential.
With the right setup, you’ll experience smoother, more precise cuts, extend the life of your blades, and work more safely.
Whether you’re a beginner or an experienced woodworker, mastering this simple process will save you time, money, and frustration.
Don’t let improper guide setup hold you back—invest a few minutes to fine-tune your band saw, and you’ll reap the rewards of better performance and flawless cuts on every project.
Frequently Asked Questions
How Do I Know Which Bandsaw Blade to Use?
Choose a wider blade (1/2″–3/4″) for straight cuts and resawing, and a narrower blade (1/8″–1/4″) for curves. Select a blade with the right TPI for your material—lower TPI for thicker cuts, higher TPI for finer, smoother cuts.
What Is the 3-Tooth Rule for Bandsaw Blades?
The 3-tooth rule states that at least three teeth should be in contact with the material at all times during a cut. This ensures smoother cuts and reduces strain on the blade.
What Is the 4 Inch Rule for Bandsaw?
The 4-inch rule for band saws states that the distance between the top of the material and the upper wheel should be at least 4 inches. This ensures proper blade tension and prevents the blade from rubbing against the upper guides.

