

Choosing the best stain for hardwood floors can feel overwhelming. So many colors. So many brands. And the last thing anyone wants is to regret the look of their floor after all that hard work.
The right stain brings out the natural beauty of wood. It also protects it from wear and tear over time. Some stains add warmth. Others give a cooler, more modern feel.
But how do you know which one to pick? This guide breaks it down simply, what works best, what tools to use, and mistakes to avoid.
From light finishes to bold, rich tones, there’s a match for every space and style. No fancy talk, just real help. If you’re planning to stain your hardwood floors, this is the place to start.
Let’s make it easy and worth it.
What is Staining?
Staining is the process of applying a colored liquid to wood to change its natural appearance while still allowing its grain to show through.
It enhances the beauty of the wood and adds character, depth, and tone without completely hiding its texture.
In the context of hardwood floors, staining involves:
- Applying a wood stain (either oil-based, water-based, or gel-based) to the sanded wood surface.
- Penetrating the wood fibers to change or enrich the color.
- Highlighting natural grain patterns and making the flooring visually appealing.
Why Staining Hardwood Floors Matters
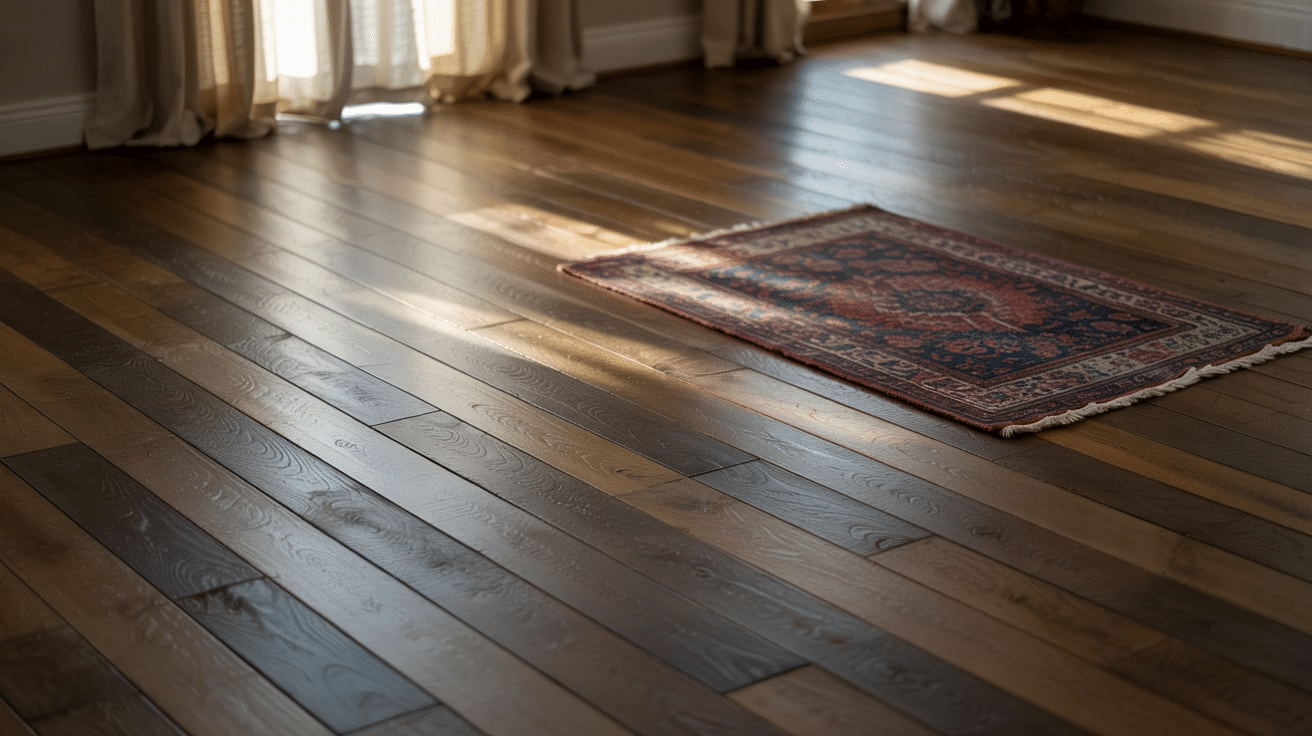
Staining hardwood floors enhances their natural beauty while providing essential protection.
It highlights unique grain patterns, adjusts the wood’s tone to match your style, and sets the overall mood of a room.
Beyond aesthetics, staining also adds a layer of defense against moisture, wear, and UV damage, especially when combined with a quality finish.
The right stain improves durability, simplifies maintenance, and extends the floor’s lifespan.
Choosing between light or dark stains depends on your space and lifestyle; lighter shades brighten rooms but show more dirt, while darker tones offer depth and hide flaws. It’s a key part of any flooring project.
Step-by-Step Guide to Staining Hardwood Floors
Staining hardwood floors is a detailed process that requires careful preparation, precise application, and proper follow-through to achieve a smooth, long-lasting finish.
Here’s how the process unfolds step by step:
Quick List: Materials & Tools Required
| Item | Use |
|---|---|
| Floor Sander | Smooths and removes old finish |
| Edge Scraper | Cleans tight corners and edges |
| Vacuum Cleaner | Removes dust before staining |
| Lamb’s Wool Applicator | Applies stain evenly |
| Clean Rags | Wipes off excess stain |
| Wood Stain(Suitable Brand) | Adds color to hardwood |
| Floor Buffer | Smooths floor before sealing |
| Polyurethane Finish | Seals and protects the stained floor |
| Gloves & Mask | Personal safety during staining/sealing |
Step 1- Preparation

Before stain can be applied, the surface must be perfectly clean, smooth, and dust-free to ensure even absorption and lasting results.
- Sand the entire floor thoroughly to remove old finishes and smooth out imperfections.
- Use a hand scraper to clean edges and tight corners the sanding machine can’t reach.
- Vacuum the entire floor meticulously to remove all dust particles before staining.
Step 2- Stain Application
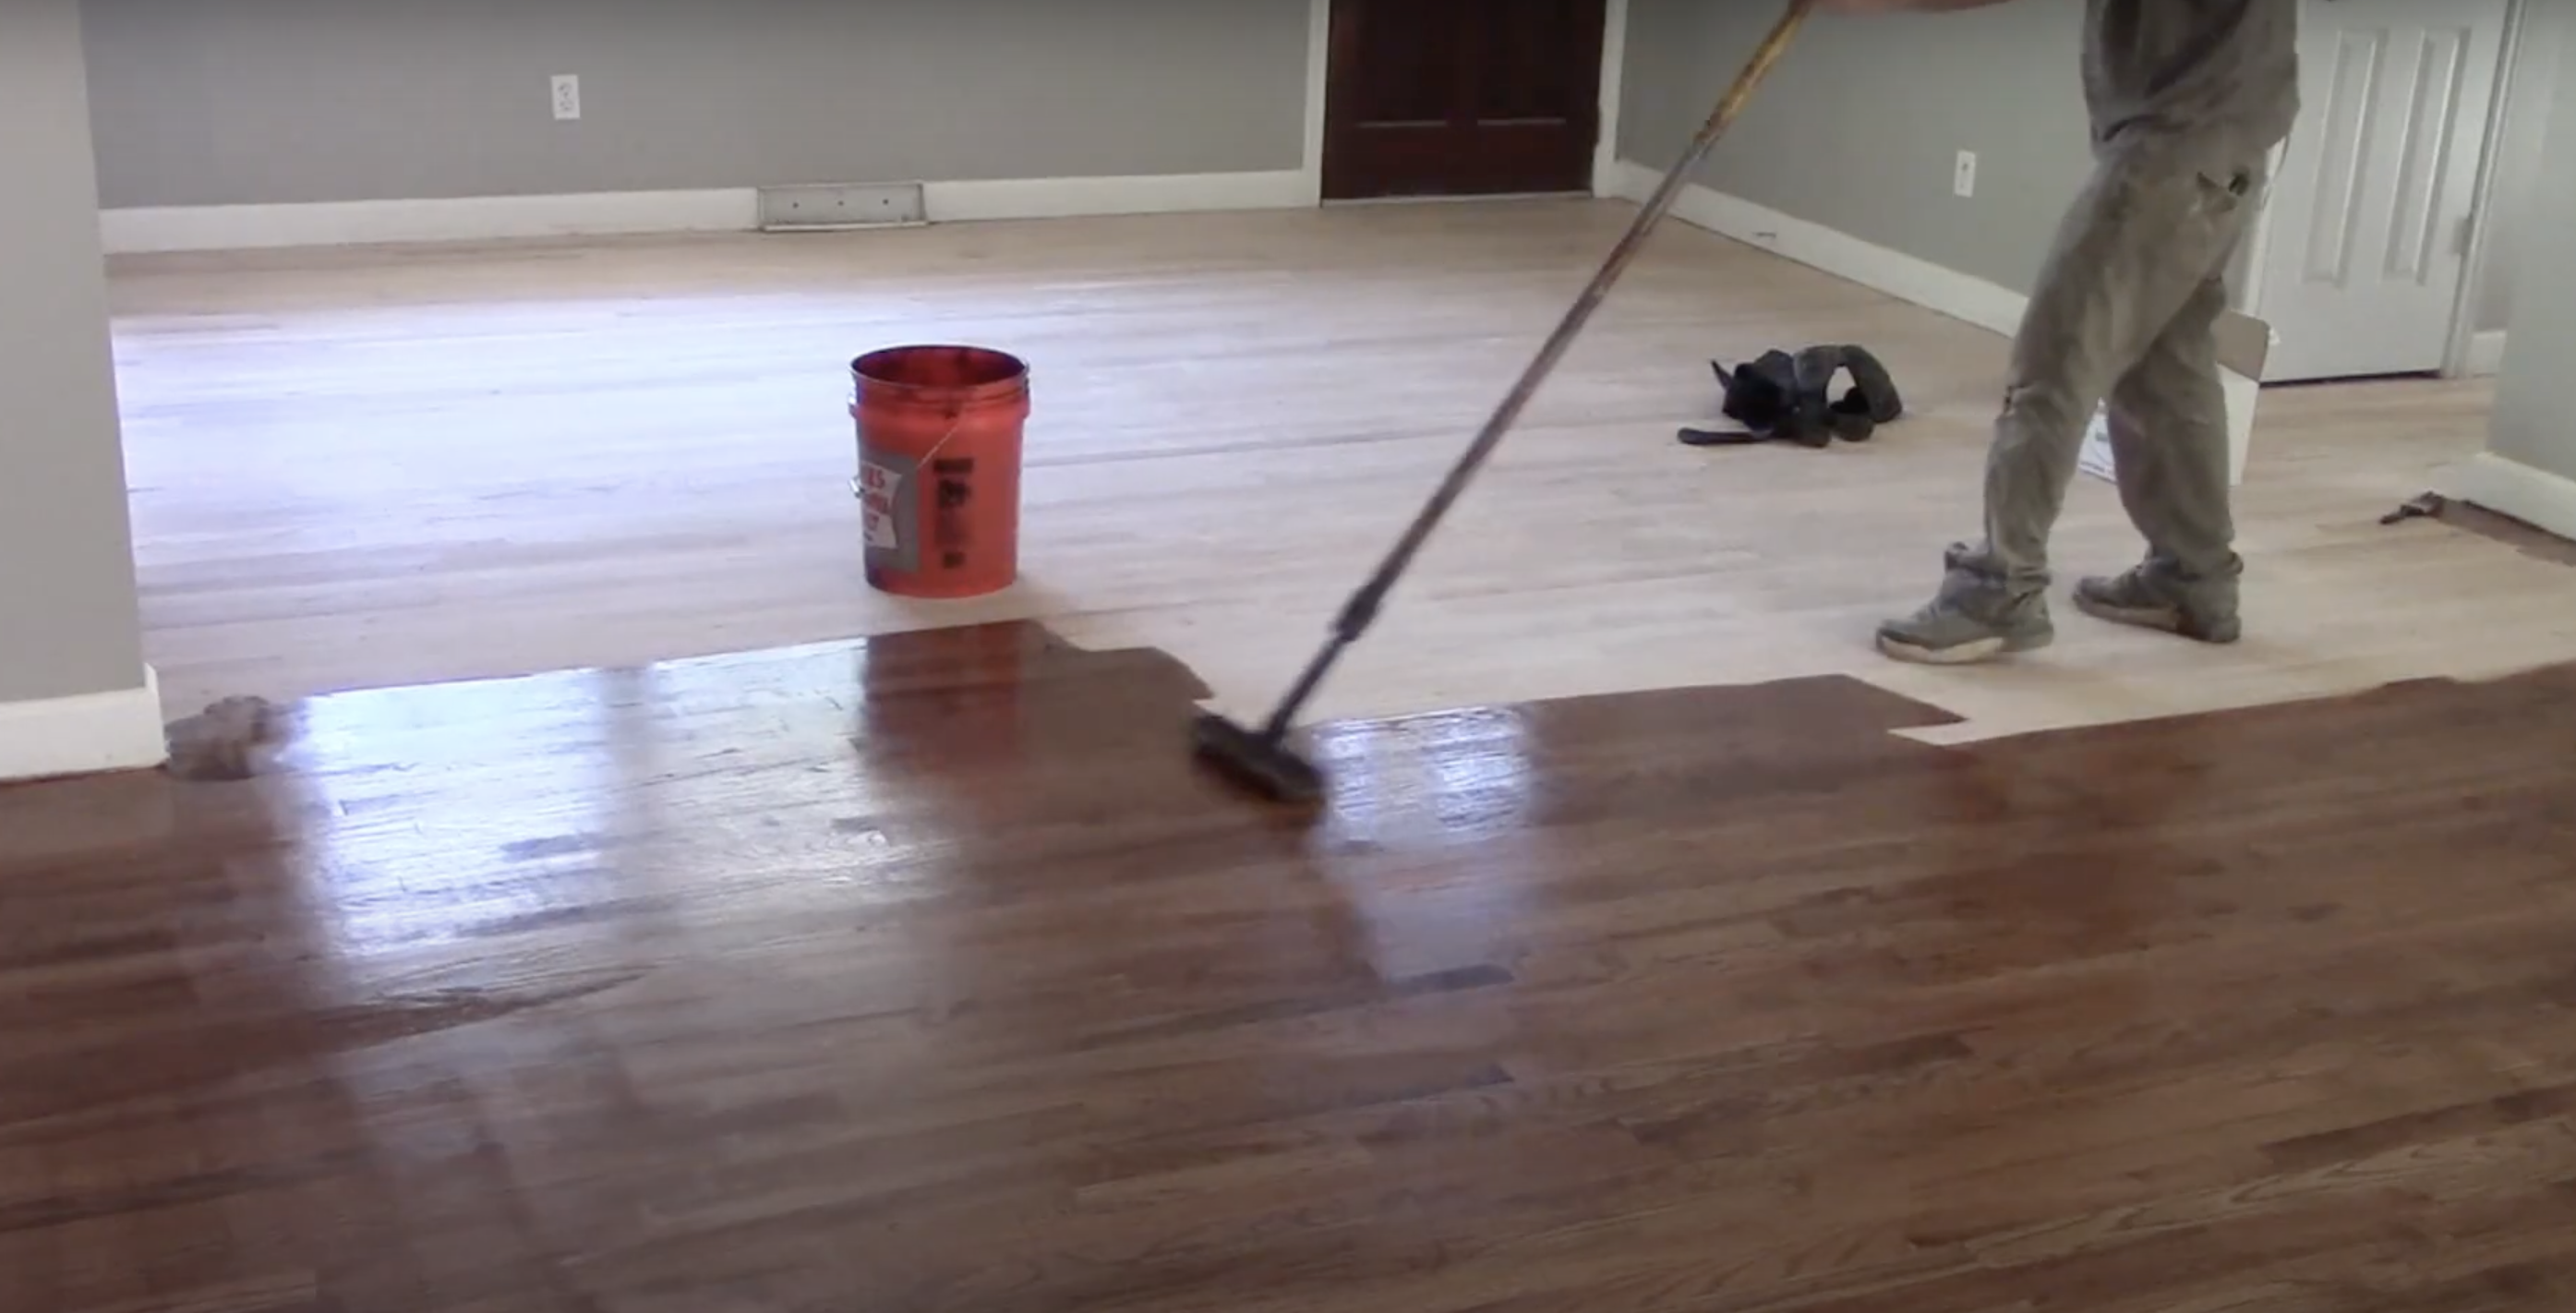
Applying stain evenly and methodically is key to achieving a uniform color tone without blotches or streaks.
- Dip a lamb’s wool applicator into the stain and spread it smoothly across the floor.
- Work in long, even strokes to maintain consistency and avoid overlap marks.
- Move strategically across the room to end near the doorway, allowing easy exit without stepping on wet stain.
Step 3- Wiping Excess
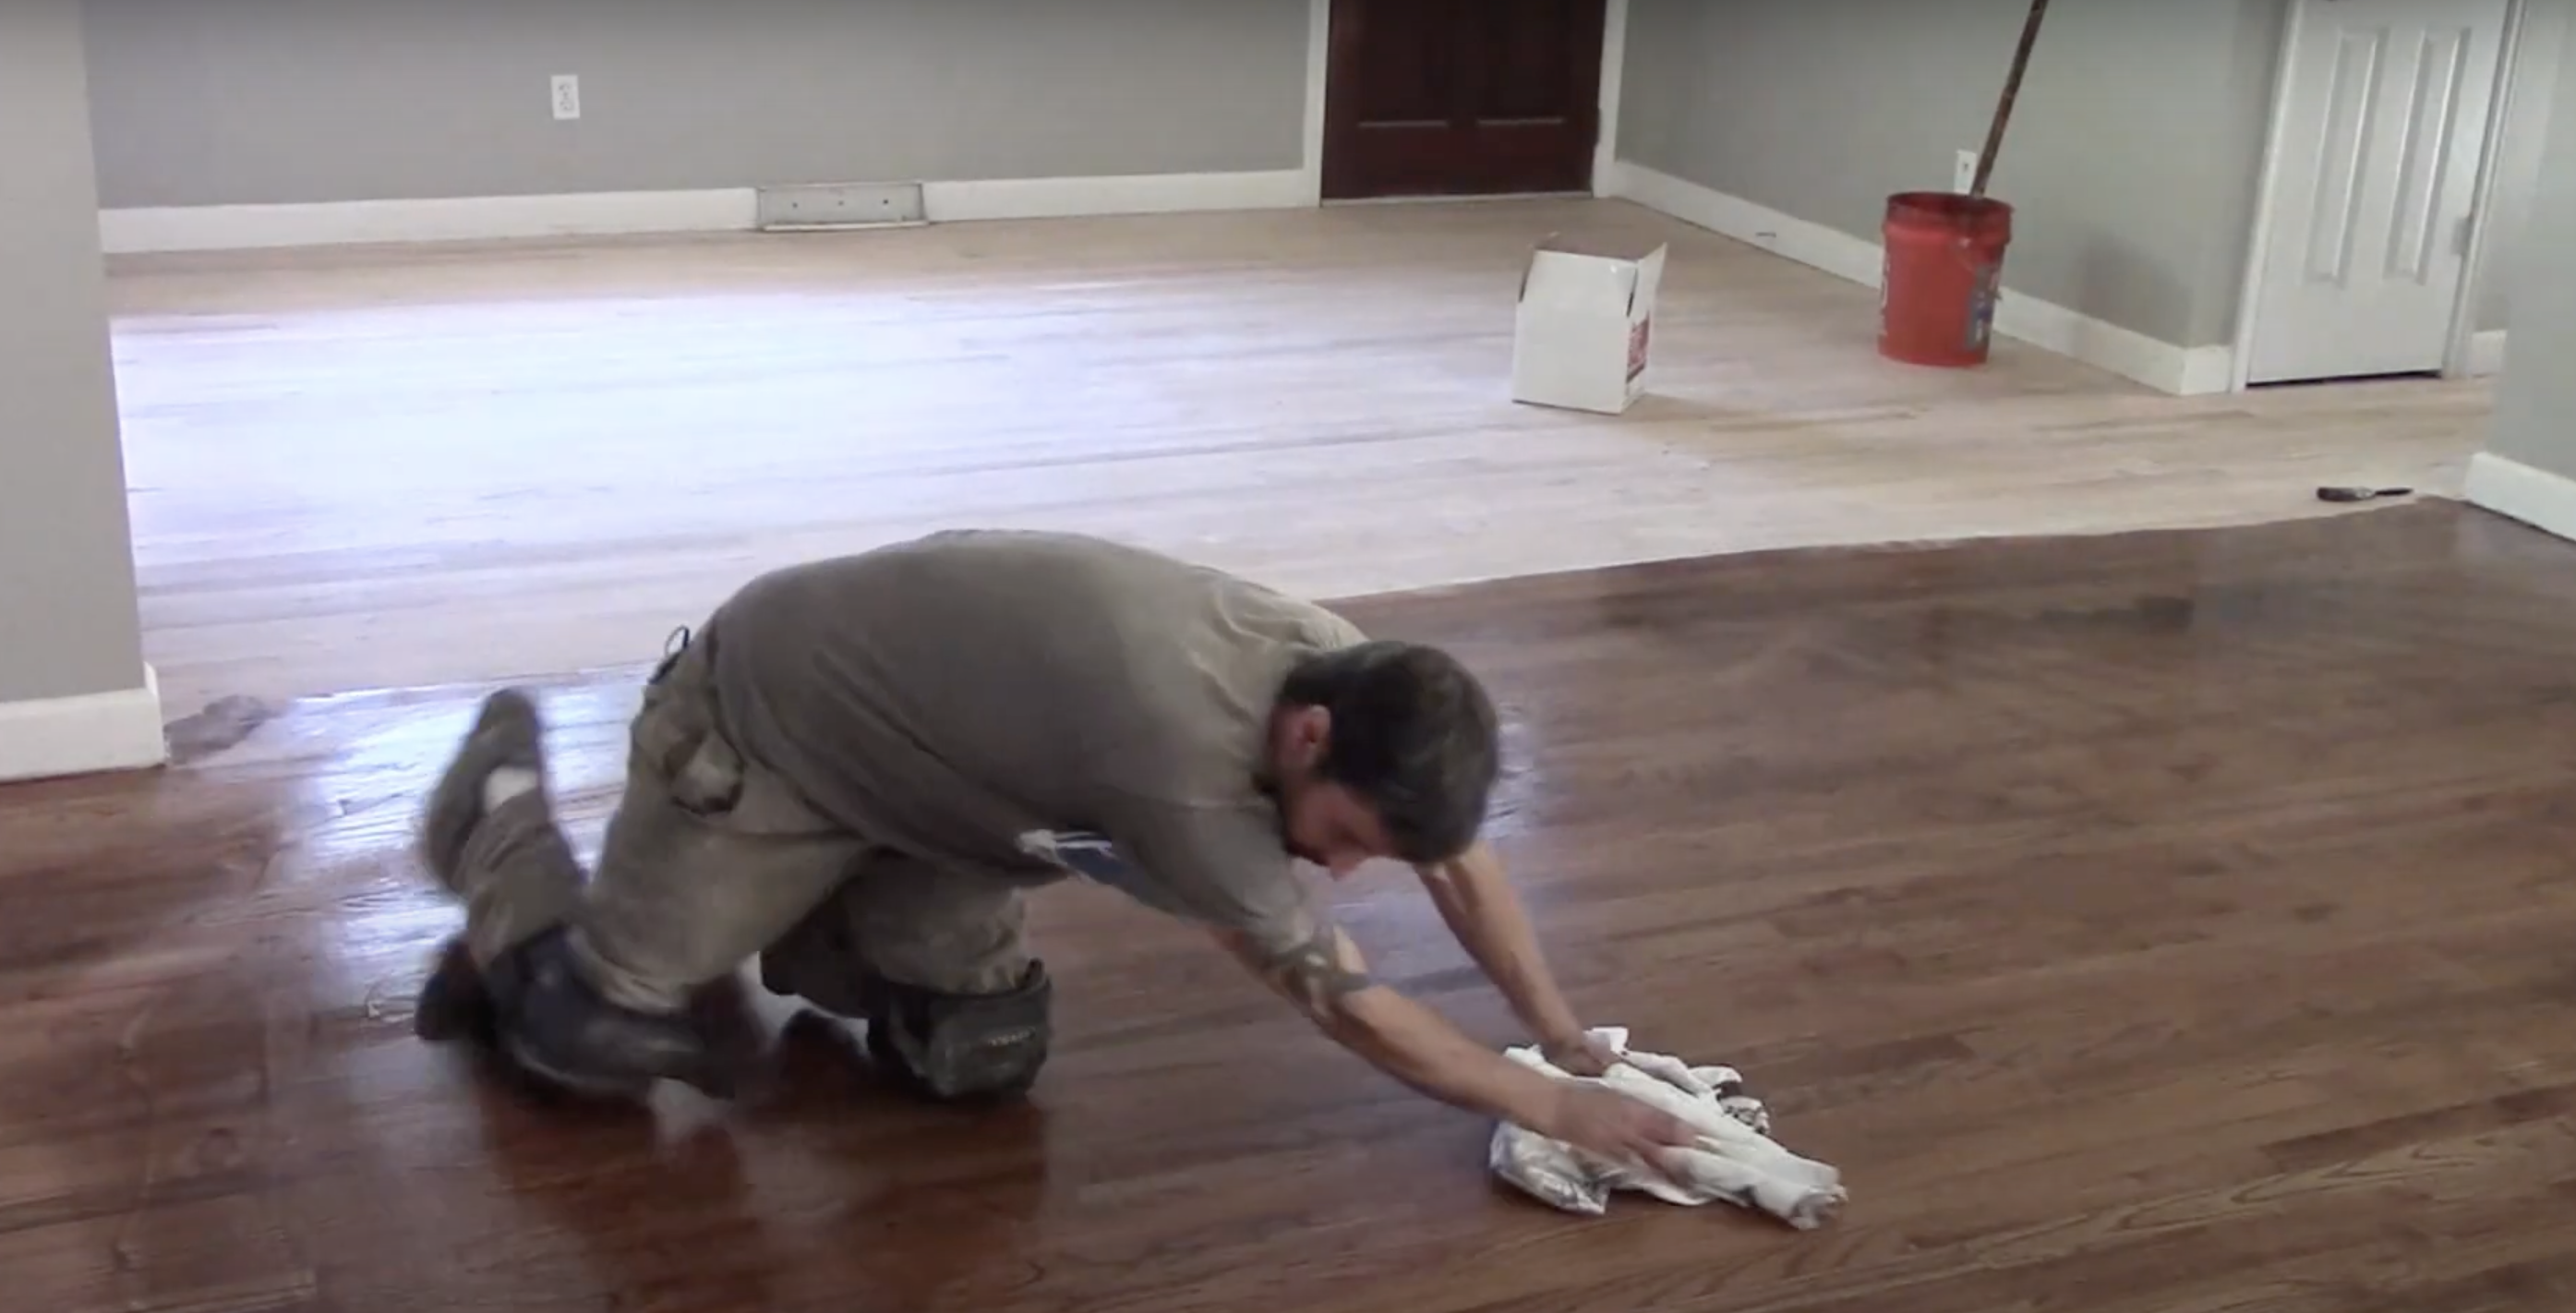
Removing excess stain ensures a cleaner, richer look and helps prevent tacky or uneven drying.
- Use clean, soft rags to rub down each section and wipe off any excess stain.
- Rubbing also helps even out the color and brings out the natural wood grain.
- Repeat this process throughout all rooms, closets, and hallways for consistency.
Step 4- Workflow Strategy
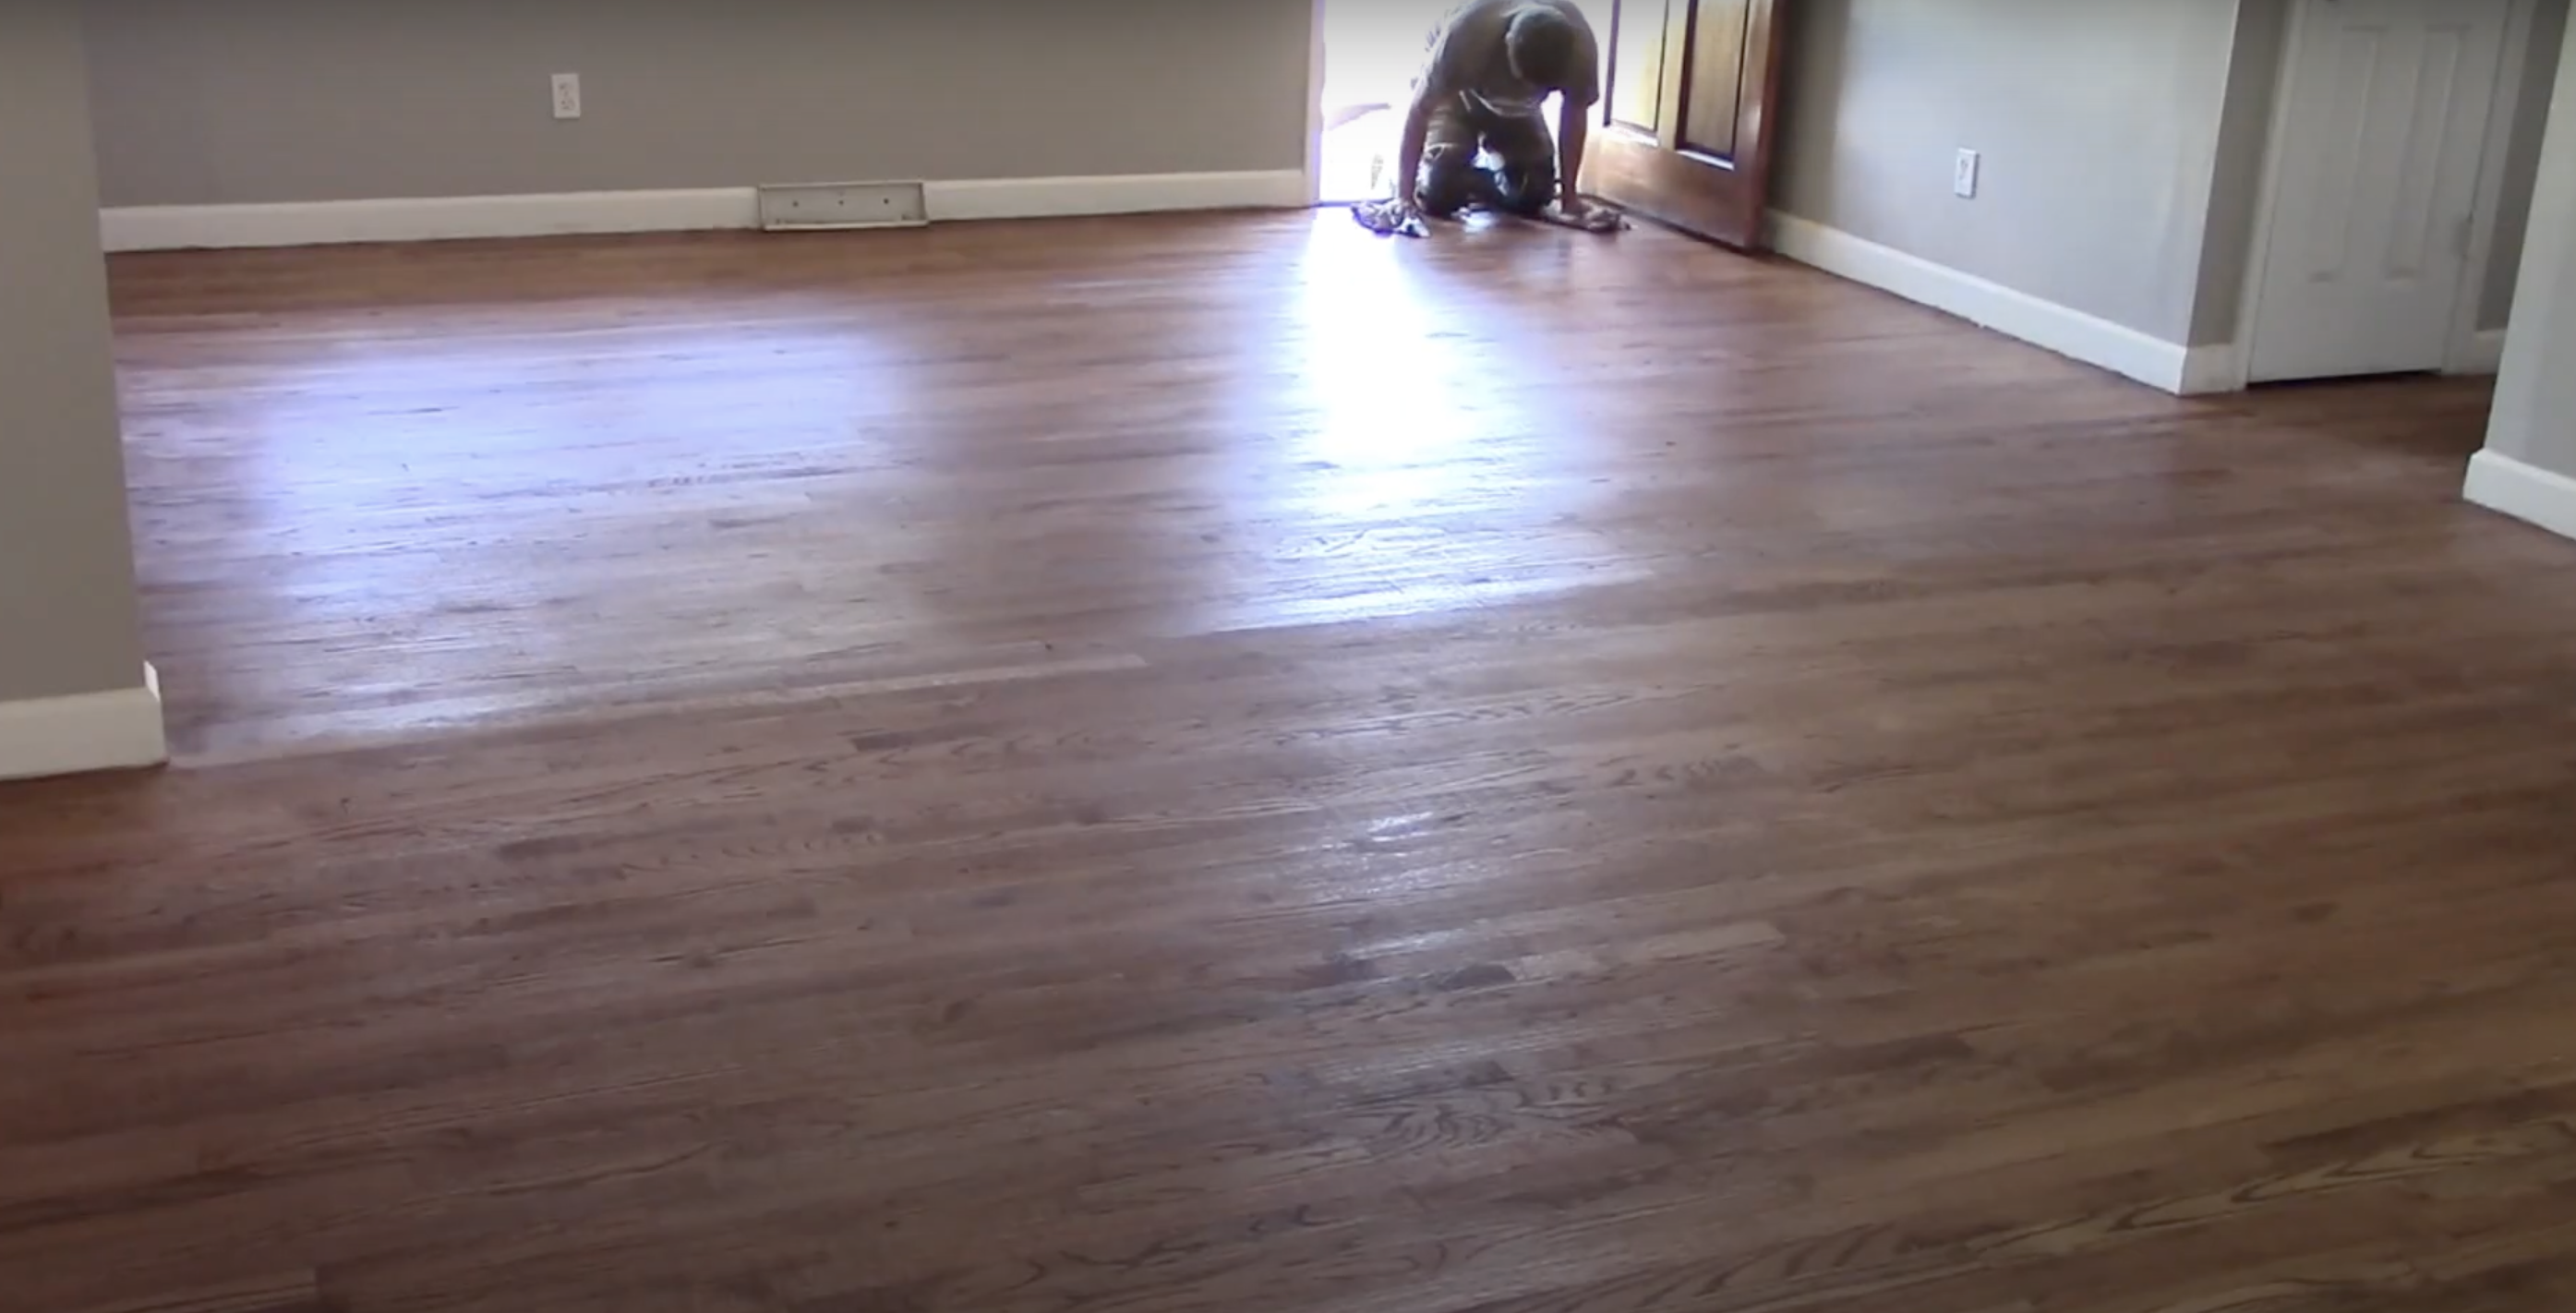
Planning your approach before staining helps you avoid walking over wet areas and ensures a smooth, efficient workflow.
- Start at the far end of the house and work your way back toward the main exit.
- Stain one section at a time, ensuring it’s wiped clean before moving on.
- Always finish at a doorway so you can exit without damaging freshly stained floors.
Final Touches and Next Steps
After staining, allowing proper drying time, and sealing the floor with polyurethane ensures durability and a professional finish.
- Let the floors dry completely overnight.
- Lightly buff the surface the next day to smooth any raised grain.
- Apply the first coat of polyurethane to protect the stain and enhance its appearance.
Video Tutorial
Check out this full walkthrough on YouTube: Staining Hardwood Floors
Top Hardwood Stain Brands
Choosing the right stain brand is key to achieving a durable, attractive finish on hardwood floors.
The stain’s quality and formula affect both the look and how well it holds up over time, whether you want classic, rich tones or modern, subtle shades.
1. Bona DriFast Stain

Bona DriFast is a premium oil-modified stain specifically engineered for speed and professional performance. It dries in approximately 2 hours, making it perfect for time-sensitive jobs.
The stain delivers vibrant color while preserving the wood’s natural grain, and the 26 intermixable colors offer versatility for unique finishes.
- Best For: Fast-paced professional jobs
- Dry Time: ~2 hours
- Stain Type: Oil-modified
- Color Range: 26 intermixable shades
Price- Around$20–$25 per quart, depending on the shade and store
Why Choose: Fast drying and ideal for professionals who need quick turnaround without sacrificing quality. It blends easily for custom shades and leaves a rich, even finish.
2. DuraSeal Quick Coat Penetrating Finish
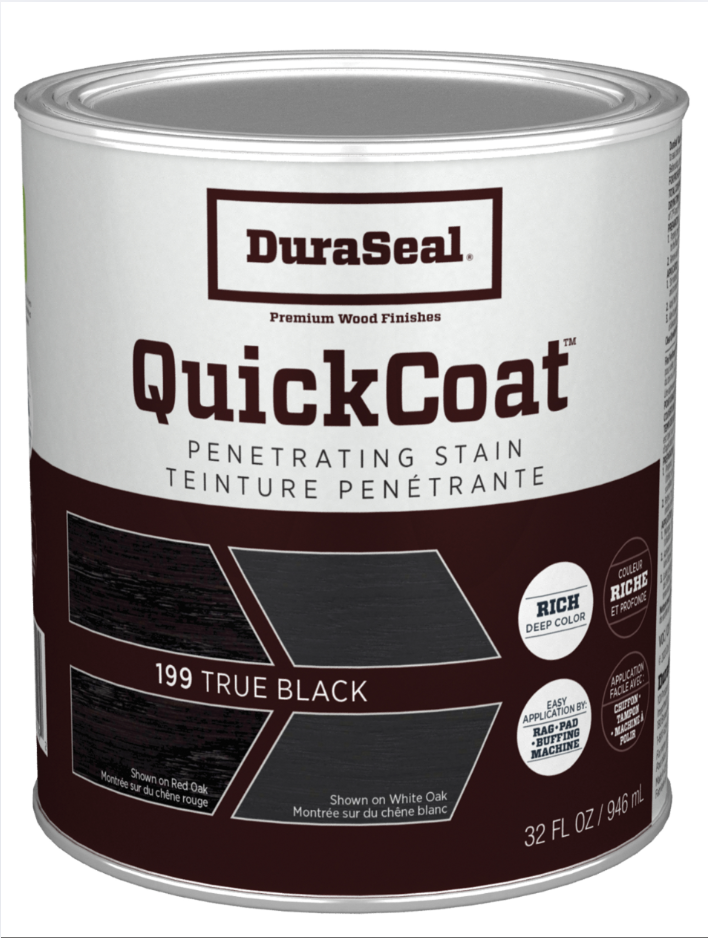
DuraSeal Quick Coat is a professional-grade oil-based stain known for its exceptional penetration and long-lasting finish.
It offers over 70 color choices, ranging from warm ambers to deep browns, and is widely respected in both residential and commercial flooring projects.
- Best For: Commercial spaces, high-traffic areas
- Dry Time: 2–3 hours
- Stain Type: Oil-based
- Color Range: 70+ classic and custom shades
Price- Priced at approximately $25–$30 per quart, often used by professionals.
Why Choose: Durable and fade-resistant, this stain is a go-to for high-traffic floors. It allows same-day topcoating with a rich, traditional look.
3. Minwax Wood Finish
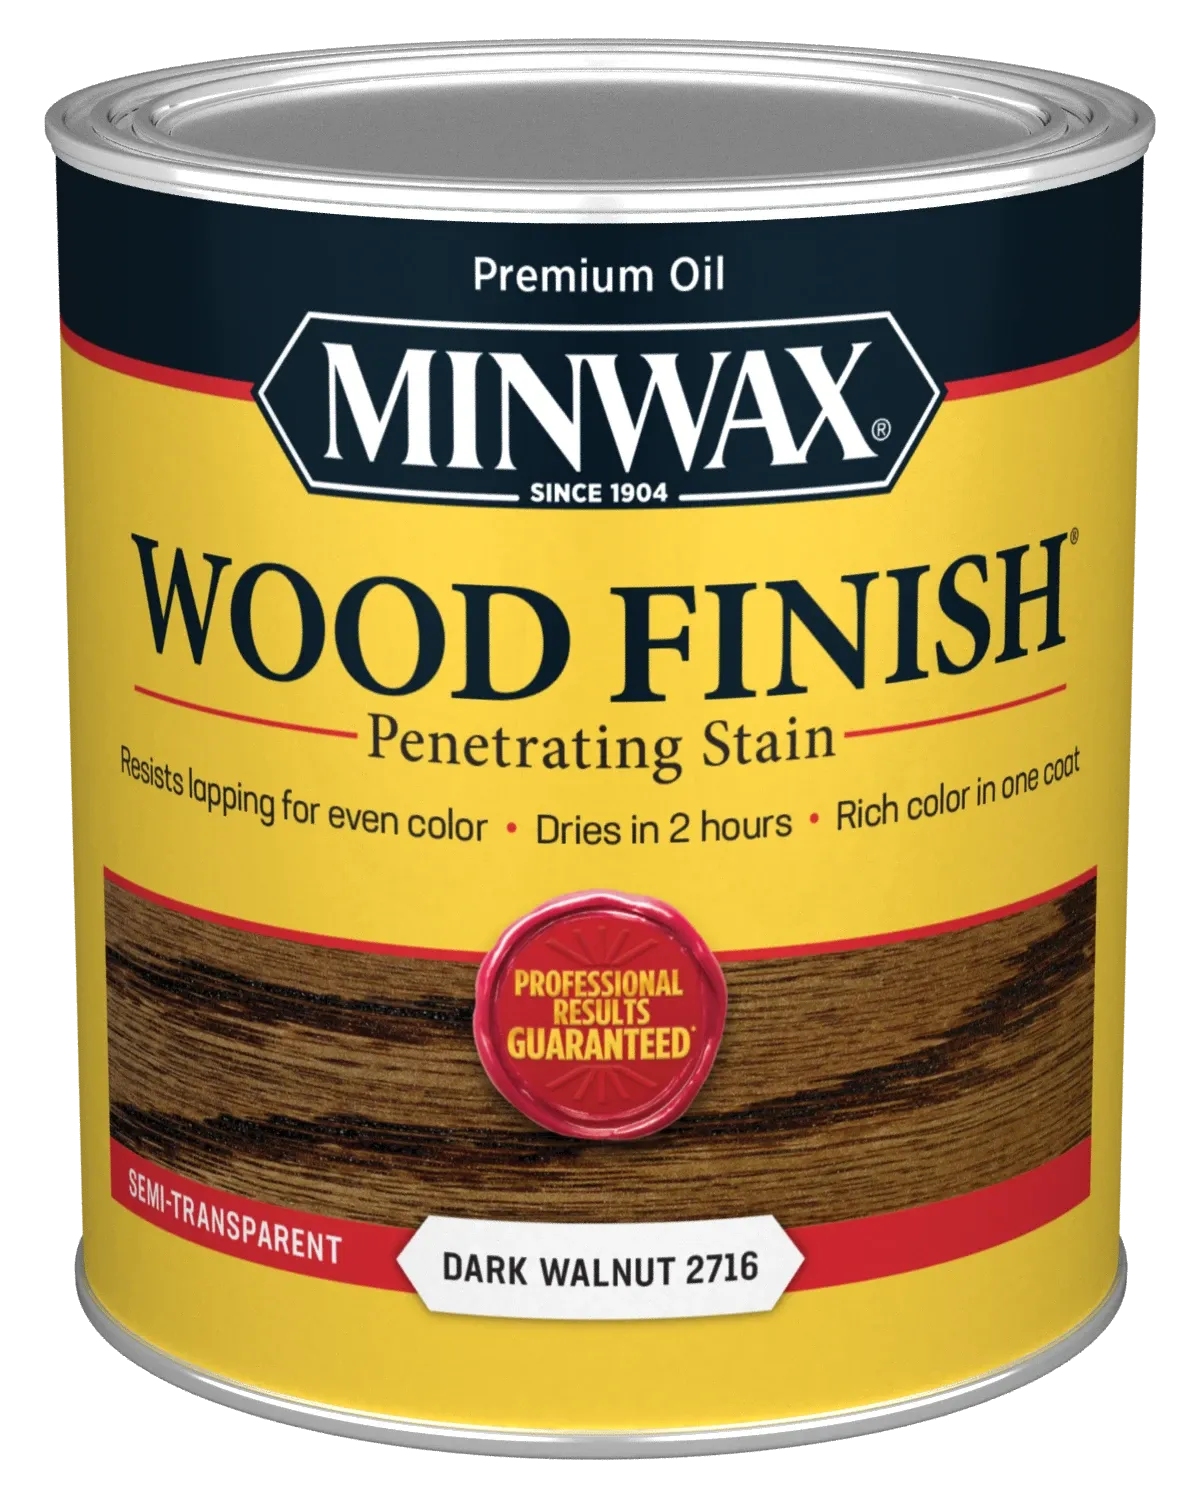
Minwax is one of the most recognizable wood stain brands and is readily available in most hardware and home improvement stores.
It comes in both oil-based and water-based formulas, making it adaptable to different user preferences. With a wide variety of classic tones and reliable performance, it’s a solid choice for small- to medium-scale home projects.
- Best For: Beginners, small home projects
- Dry Time: 4–6 hrs (oil), 1–2 hrs (water)
- Stain Type: Oil-based and water-based
- Color Range: 25+ standard shades
Price- Budget-friendly at about $10–$15 per quart, widely available.
Why Choose: A favorite for DIYers thanks to its wide availability and ease of use. It offers consistent, reliable results at a friendly price point.
4. General Finishes Gel Stain
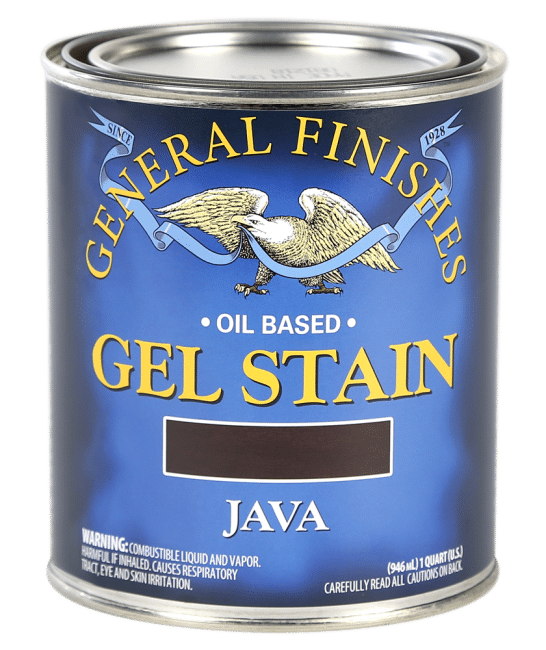
General Finishes Gel Stain is a unique, thick-bodied product that sits on the wood’s surface rather than soaking in, which reduces blotching and creates a smooth finish.
It’s ideal for vertical surfaces, refinishing old wood, or dealing with problematic grain patterns. While it takes longer to dry, it offers a beautifully hand-rubbed appearance that adds depth and richness to wood.
- Best For: Uneven grain woods, refinishing projects
- Dry Time: 8–10 hours
- Stain Type: Gel-based
- Color Range: Limited but rich tones (e.g., Java, Walnut, Gray)
Price- Costs roughly $23.75 per quart, great for deep, even tones.
Why Choose: Excellent for challenging woods like maple or cherry where traditional stains blotch. Its gel formula offers thick, smooth coverage and rich color.
5. SamaN Water-Based Stain
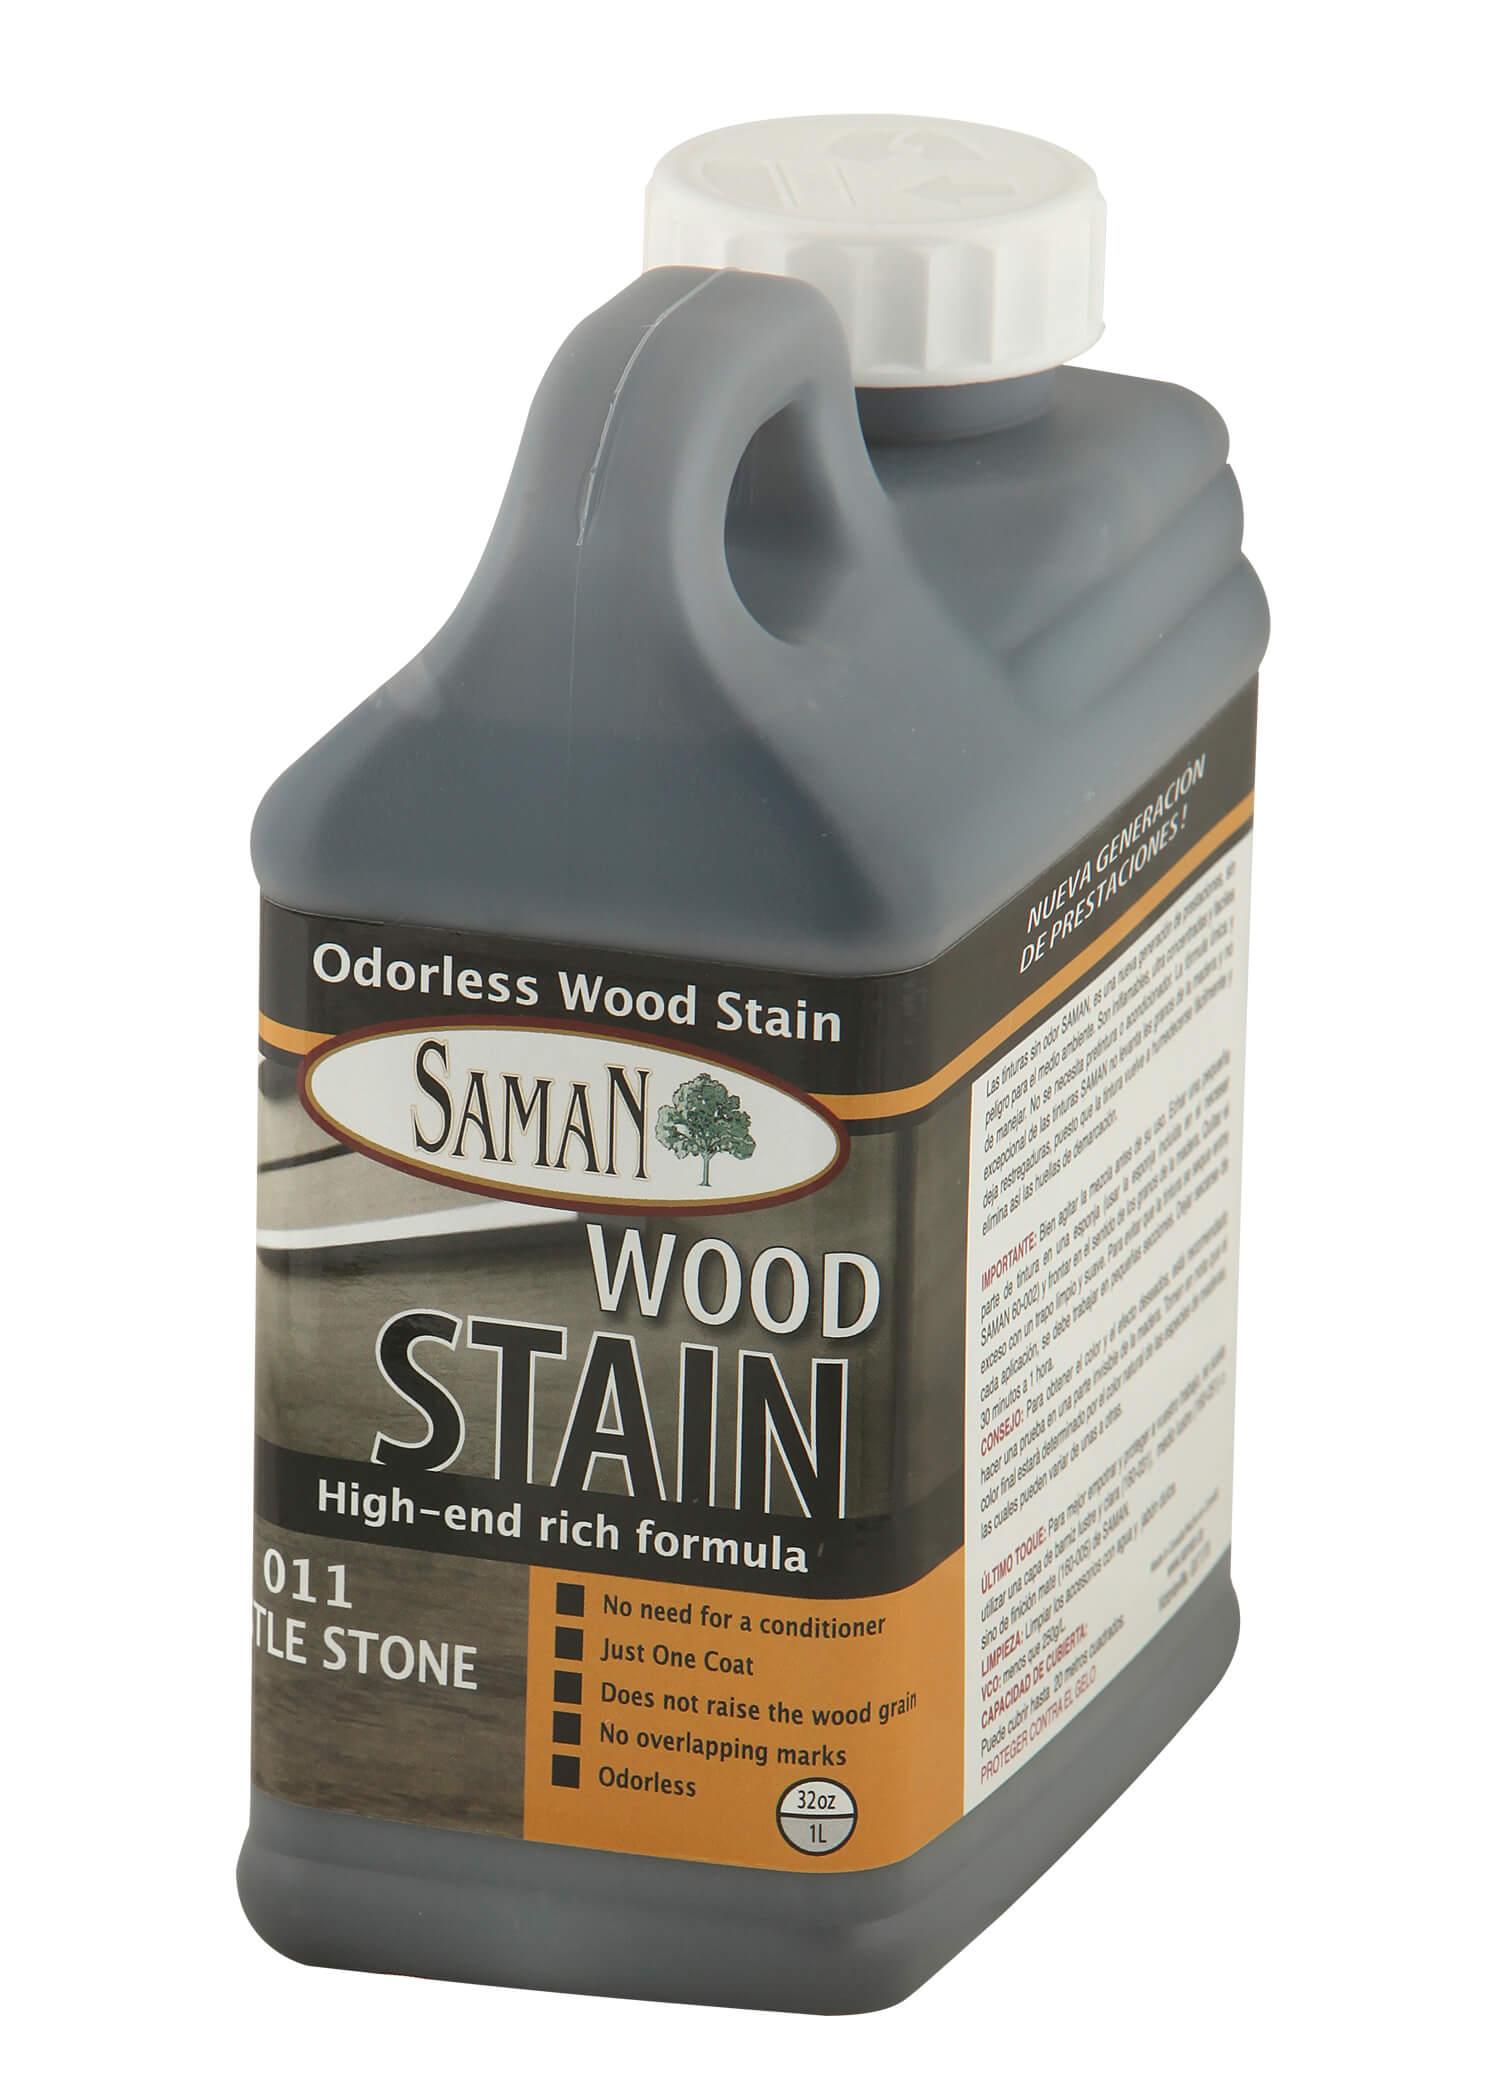
SamaN is a water-based stain that is praised for being non-toxic, virtually odorless, and environmentally responsible.
It doesn’t require a wood conditioner and is designed to prevent overlap marks and streaking, which makes it especially easy to apply.
- Best For: Eco-conscious and indoor projects
- Dry Time: ~1 hour
- Stain Type: Water-based, low-VOC
- Color Range: 40+ vibrant shades
Price- Typically $15.63 for a 12 oz bottle, eco-conscious and low-odor.
Why Choose: Eco-friendly, low odor, and quick drying, great for indoor use and sensitive environments. It delivers rich color without overlapping marks.
6. Varathane Classic Wood Stain
Varathane Classic is a high-performance stain known for delivering bold color payoff in a single coat.
It comes in both water-based and oil-based options and dries much faster than traditional stains, which makes it perfect for weekend projects or quick room updates.
- Best For: Fast DIY makeovers, budget projects
- Dry Time: 1 hour (water-based), 8 hours (oil-based)
- Stain Type: Oil-based and water-based
- Color Range: 30+ colors
Price- Usually $15–$20 per quart, with a wide selection of colors.
Why Choose: Budget-friendly, fast-drying, and powerful color in just one coat. It’s ideal for DIYers who want a quick update with professional-looking results.
Common Mistakes to Avoid
Here are the most common mistakes that homeowners and even some professionals make and why they matter:
A. Skipping Surface Preparation:Neglecting to properly sand or clean the floor can result in uneven stain absorption and patchy color.
B. Not Testing Stain: Applying stain without first testing it on a small sample or inconspicuous area can lead to unexpected and often irreversible color outcomes.
C. Overapplication:Using too much stain may cause blotching, tackiness, and longer drying times. Excess stain that doesn’t absorb must be wiped off, or it will leave a sticky, uneven surface.
D. Ignoring Environmental Conditions: Staining in high humidity or low temperatures can hinder proper drying and curing, leading to a soft or cloudy finish.
E. Inadequate Ventilation:Poor airflow during and after staining can extend drying time and concentrate harmful fumes. Proper ventilation ensures a safer environment and more efficient stain curing.
Avoiding these pitfalls will help ensure your hardwood floors turn out beautifully stained, evenly finished, and ready to last for years.
Maintenance Tips for Stained Hardwood Floors
Keep your floors looking great with simple care:
- Sweep or Vacuum Often: Use a soft broom or a hardwood-friendly vacuum to remove dust and grit.
- Damp Mop with Care: Clean weekly using a hardwood-specific cleaner, avoid soaking the floor.
- Use Entryway Mats: Trap dirt and moisture before it reaches your floor.
- Protect from Furniture: Add felt pads under furniture legs to prevent scratches.
- Reapply Finish as Needed: Refresh the topcoat every few years and wipe spills immediately to prevent staining.
Finishing Touch
Staining hardwood floors isn’t just about looksm, it’s also about keeping them strong and clean for years. This guide shared the best stain brands, the tools you’ll need, and each step from prep to finish.
It also pointed out common mistakes and how to keep your stained floors looking great. The key is to take your time and follow the process.
A good stain can change the whole mood of a room and make your floors last longer. Don’t forget to test colors first and work toward the door!
From start to seal, now you know how it’s done. Was this guide helpful? Have questions or a favorite stain to recommend? Drop a comment below and join the conversation!