
If your “newly painted” planter is already peeling before you’ve even put the can away… pull up a chair. You are not the only one.
Most spray paint fails aren’t because you’re bad at DIY. They fail because the paint and the surface basically hate each other. Wrong formula, no primer, weird weather, zero prep boom, you’ve got a flaky, sticky, sad looking project.
Let’s fix that.
I’m going to walk you through:
- How to match the paint to what you’re painting
- When you really need primer or clear coat
- The simple spray technique that prevents drips
- What to do when things go wrong (because they will)
By the end, you’ll know exactly how to get a smooth, durable finish instead of “Pinterest vs. reality.”
The Real Reason Your Spray Paint Keeps Peeling
Here’s the secret: spray paint is picky. It needs the right surface to grab onto.
Think of it like this:
- Wood is a sponge – it soaks paint in and holds it pretty well.
- Metal is glassy – it’s smooth, it rusts, and paint just sits on top.
- Plastic is like Teflon – slick, sometimes flexible, and basically says, “no thanks” to normal paint.
On its own, spray paint doesn’t magically “know” what it’s on. That’s why you’ll see:
- Paint sliding off plastic in sheets
- Rust bubbling under a paint job that looked fine last month
- Perfectly painted metal that suddenly peels off in big, satisfying-but-horrifying chunks
It’s not you. It’s chemistry.
Quick Compatibility Test (Do This Before You Commit)
Before you do 3 coats on the whole thing, test a hidden spot:
- Spray a small patch.
- Let it dry 24 hours.
- Try to dent it with your fingernail.
If it:
- Peels, dents, or still feels tacky → wrong paint or bad conditions.
- Feels hard and smooth → game on.
It’s basically a first date for your paint and your surface. Check the vibes before you move in together.
The Only Paint Cheat Sheet You Actually Need
You do not need a degree in paint chemistry. Just match your surface to a basic type:
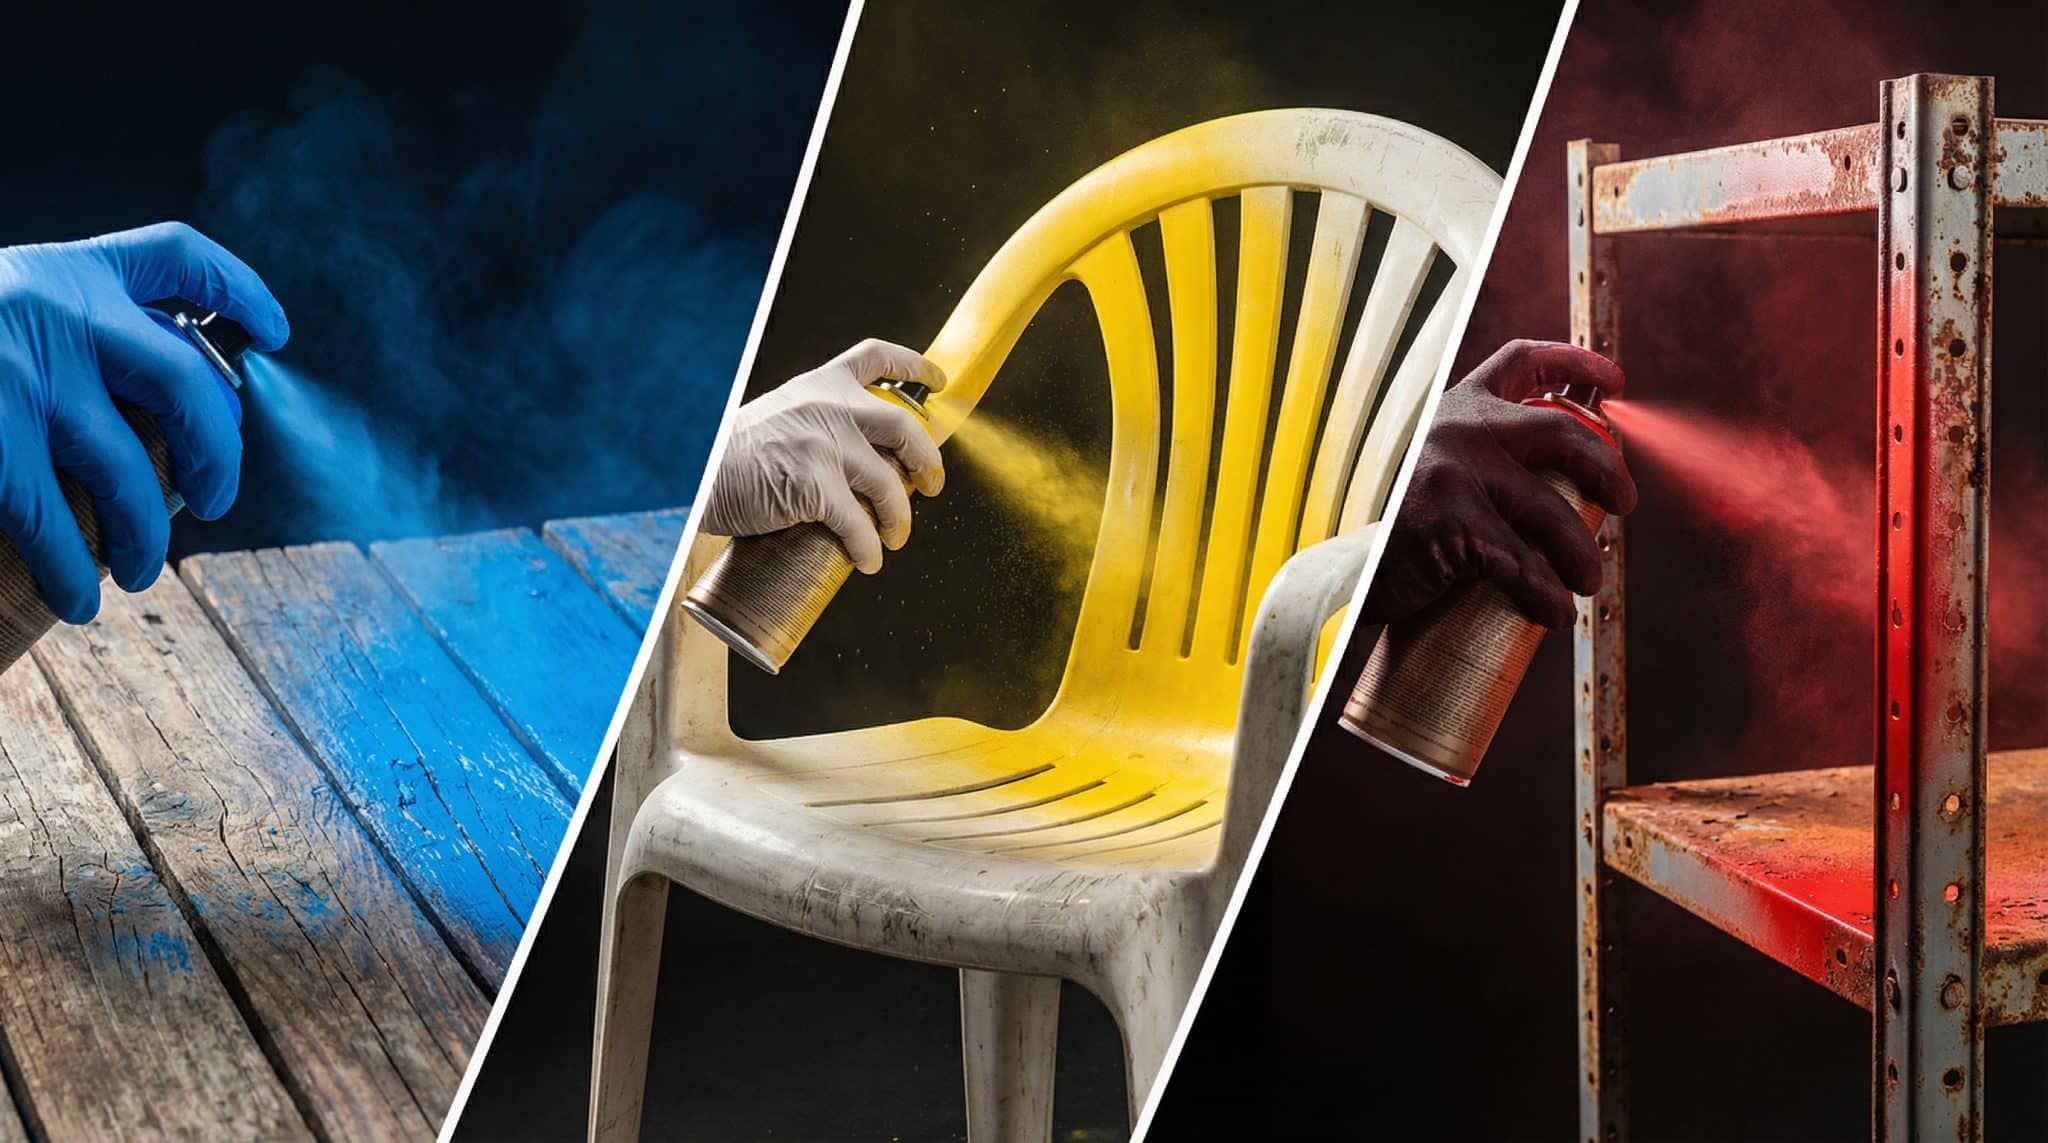
For Wood (furniture, frames, shelves)
- Best paint:
– Indoors: Acrylic spray paint (dries fast, doesn’t yellow)
– Outdoors / heavy use: Enamel spray paint (harder shell, more durable)
- Primer?
– Bare wood: Primer = smoother, more “factory” finish
– Previously painted wood: Usually no primer, just a light scuff sand
For Plastic (chairs, planters, bins, toys)
This is where most people lose their sanity.
- Best paint:
– Anything plastic and you’re not sure? Use plastic specific / “fusion” spray paint
– Or: adhesion promoter + regular spray paint
- Primer?
– If the can says “for plastic” or “fusion,” you’re usually good without extra primer
– No plastic specific paint? Use an adhesion promoter first (it’s a clear spray that helps paint grip)
For Metal (indoor and outdoor)
Metal’s biggest enemy is rust, not color.
- Clean bare metal:
– Rust inhibiting primer + rust preventive enamel
- Already rusty metal:
– Rust converting primer (turns rust black and stable) + enamel on top
- Shiny galvanized metal (new trash cans, metal roofing, chain link, etc.):
– MUST use self-etching primer first
– Skip this and your paint will literally sheet off. Ask me how I know.
Primer & Clear Coat: When You Actually Need Them
Think of:
- Primer as double sided tape for your paint
- Clear coat as the raincoat
You don’t always need both, but when you do, they make a huge difference.
Use Primer When:
- The surface is bare wood and you want a smooth, even, “store bought” look
- You’re painting bare metal, especially if it’s going outside
- You’re painting plastic and the paint isn’t plastic specific
- You’re going very dark → very light (hello, old black dresser turning “Swiss Coffee”)
You Can Skip Primer When:
- The thing is already painted and not peeling – just scuff sand it first
- You like the wood grain to show a bit
- You’re using a fusion/plastic specific paint on plastic
Add Clear Coat When:
- The item lives outside (planters, chairs, railings)
- It gets handled daily (chairs, side tables, kids’ furniture)
- You’ll be wiping or washing it a lot (tabletops, cabinets, outdoor decor)
Two light clear coats > one heavy drippy one. Thin and patient will always beat thick and desperate in spray paint land.
Prep: The Boring Part That Actually Decides Everything
If there’s one thing that separates “that looks amazing!” from “what happened to this?” it’s prep. Not the color. Not the brand. Prep.
Wood Prep (The Chill Friend)
What you’re painting: furniture, frames, shelves, random wood things you found in the garage.
- Clean it: Wipe off dust and grime with a damp cloth. Let it dry.
- Sand it:
– Bare wood: Light sand with 150-180 grit
– Painted/sealed wood: Scuff with 220 grit just enough to dull the shine
- Optional: Primer for smoother, more even color and less grain showing.
Wood is forgiving. Mess up? Sand, try again. No one has to know.
Plastic Prep (The Drama Queen)
If you skip this, the paint will punish you.
- Wash thoroughly: Dish soap + water. Rinse well. Let it dry.
- Degrease: Wipe with rubbing alcohol. This removes oils and residue.
- Lightly scuff (if it’s smooth): Quick once-over with 320 grit sandpaper.
- Use the right stuff: Plastic specific paint or adhesion promoter.
Do not skip the cleaning step. Plastic often has mold release residue from the factory that literally repels paint. Ask every sad, peeling plastic chair at the curb.
Metal Prep (Where Rust Goes To Die)
What you’re painting: railings, metal chairs, light fixtures, shelves, trash cans, planters.
- Attack loose rust & flaking paint: Wire brush or sandpaper.
- Clean it: Dish soap or a degreaser, then rinse and dry.
- Wipe with rubbing alcohol: Gets the last of the oils off.
- Prime quickly: Especially outdoors, so new rust doesn’t start forming.
For rusty metal:
Use a rust converter primer right over the remaining rust (once it’s not flaking). It’ll turn black as it reacts. Then paint.
For galvanized / shiny metal:
Self-etching primer first, or the paint will ghost you in 3 months.
How to Actually Spray Without Drips, Blobs, or Sandpaper Texture
Good news: drip free spray painting isn’t hard. You just have to resist the urge to “get full coverage in one coat.”
The Basics:
- Distance:
Hold the can about 10-12 inches from the surface.
– Too close = drips, wet blobs
– Too far = dusty, sandpaper feel
- Starting & stopping:
Start spraying just before you hit the piece, and stop just after you pass it.
Never pull the trigger while staring straight at the middle of your project unless you want a thick spot.
- Thin coats, always:
First coat should look a little wrong. Patchy, see through, “this can’t possibly work” — that’s the goal.
Two to four light coats > one heavy crime scene.
- Mind the recoat window:
Most spray paints want:
– All coats done within 1 hour, OR
– Wait 24 hours+ and then recoat
That weird “in between” window is where wrinkling, peeling, and bad adhesion happen. Read the can. The can is your boss.
Pro tip: Practice creative spray methods on a scrap piece first. If you don’t have a scrap piece, flip the project over and practice on the underside. If you skip this step, I will judge you gently from afar.
Weather: Yes, It Matters (Annoying, But True)
Spray paint is kind of a diva about conditions.
Most cans want:
- Temperature: 50-85°F (10-29°C)
- Low-ish humidity
What happens if you ignore that:
- Too cold:
– Paint comes out heavy and gloopy
– Takes forever to dry
– May never fully harden
- Too hot:
– Paint dries mid air and lands rough
– You get that gritty, sandpaper finish
- Too humid:
– Cloudy clear coat
– Sticky paint for days
If you’re painting outside:
- Summer: Aim for morning or late afternoon
- Spring/Fall: Midday is usually best
Garage or covered area? Open the door and use a fan to move air across, not straight at, the piece so you’re not just blowing dust into wet paint.
When Things Go Wrong (And How to Save the Project)
Even if you do everything right, spray paint still likes to be dramatic. Here’s how to fix the usual suspects:
- Peeling off plastic in sheets:
– Surface wasn’t clean / paint didn’t bond
– Strip as much as you can
– Wash, wipe with alcohol, use adhesion promoter
– Switch to plastic specific paint
- Orange peel / bumpy metal finish:
– You sprayed too close or too heavy
– Let it dry, sand lightly with 320-400 grit
– Recoat with lighter passes at the right distance
- Drips & runs:
– Don’t touch them wet (trust me)
– Let them dry completely
– Sand them flat and spray light coats over
- Still tacky after 48 hours:
– Coats were too thick, conditions were off, or wrong paint for the surface
– Tacky paint almost never magically “cures”
– Bite the bullet: strip or sand it back and start over
Annoying? Yes. But less annoying than living with a forever sticky chair that grabs every lint and dog hair in a 10-foot radius.
Please Don’t Poison Yourself: Basic Spray Paint Safety
Your planter is not worth a three day headache.
- Ventilation:
Work outside or in a really well ventilated space. Open door + fan pulling air out is the goal.
- Mask:
A simple respirator with organic vapor cartridges (they’re around $25) is wildly better than holding your breath and hoping for the best.
- Fire safety:
Spray paint cans are pressurized and flammable.
No candles, no open flames, no space heaters blasting right next to you.
- Overspray is sneaky:
It travels farther than you think. Cover anything within about 8-10 feet.
Overspray is basically glitter’s toxic cousin: it goes everywhere and never leaves.
Rapid-Fire FAQs
How long until I can use the thing?
- Touch dry: 20-30 minutes
- Handle: 1-2 hours
- Fully cured: 24-48 hours (longer on plastic)
If it’s a high use item (like a chair), I baby it for a couple of days.
What’s one spray paint that works on wood, plastic, and metal?
Look for “universal” or “all surface” spray paints (like Rust-Oleum Universal). They’re super convenient, but if you want the best result, dedicated formulas still win.
Why does my spray paint keep peeling?
Almost always:
- Dirty surface
- Glossy surface you didn’t scuff
- Wrong paint for the material
- Painting outside the recoat window
Bad spray jobs are usually just rushed prep in a cute color.
Now: go grab that sad garage chair, planter, or metal shelf that’s been giving you guilt stares for months.
Pick the right paint, give it a quick spa day (clean, sand, prime if needed), and spray in light coats. Your future self — the one not staring at flakes of paint on the patio — will be very, very pleased with you.