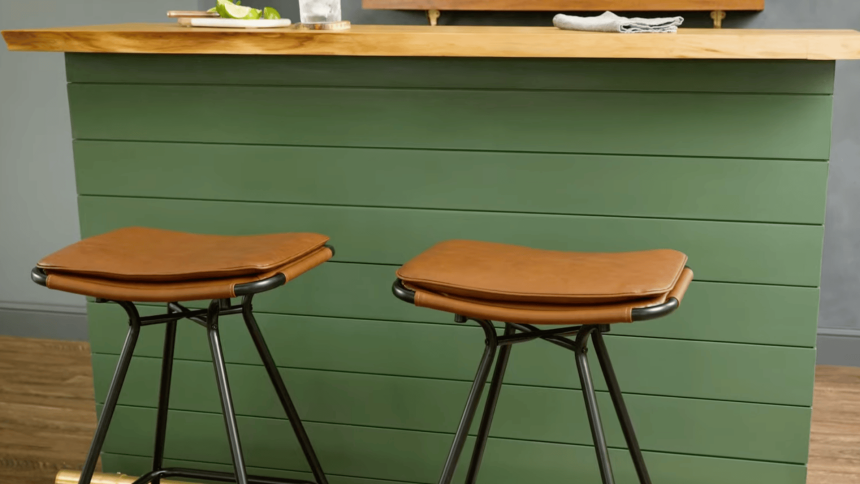
Build a DIY home bar that reflects your unique taste and craftsmanship while adding personality to your home.
With simple tools, quality materials, and a thoughtful approach, you can create a bar that feels both professional and personal.
Start with a solid base, add a striking live-edge top, and finish with smooth stain and varnish for a polished look.
Every detail contributes to a centerpiece made for hosting, relaxing, and showcasing your creativity.
Approach each step with patience and pride; the finished bar will become a timeless highlight in your home, inviting laughter, connection, and unforgettable memories.
The Reward of Personal Craftsmanship
Creating a DIY home bar is more than a project; it’s a fulfilling experience that combines creativity, practicality, and self-expression.
When you build it yourself, every design choice, finish, and layout reflects your personality and needs.
It’s cost-efficient, allows for the use of higher-quality materials, and develops valuable hands-on skills.
Beyond saving money, you’ll gain confidence and satisfaction from transforming simple wood into a stunning, functional piece.
Your finished bar becomes more than furniture; it’s a personal achievement that adds warmth, pride, and craftsmanship to every gathering or quiet evening at home.
Materials & Tools List
Build a custom DIY home bar with quality materials and basic tools. Use this checklist to stay organized and efficient.
| Materials | Tools |
|---|---|
| Live-edge wood slab (5 ft x 18 in) | Circular or miter saw |
| Aspen boards (base, dividers, trim) | Router |
| 2×4 lumber (base frame) | Biscuit joiner |
| Shiplap boards (cladding) | Nail gun |
| Wood glue | Clamps |
| Biscuits (for joinery) | Measuring tape & square |
| Oil-based varnish | Wet rag (for glue cleanup) |
| Wood stains (light, medium, red tones) | Sandpaper |
| Screws and nails | Paintbrushes & rags |
| Pre-made bar rail kit | Safety gear (gloves, goggles) |
This DIY home bar is suited to intermediate builders; expect a weekend project that adds lasting value, character, and pride to your space.
Difficulty level: moderate DIY; estimated time: one to two weekends; total cost: between two hundred fifty and eight hundred dollars.
DIY Home Bar Build Guide
Build a stylish DIY home bar with simple tools and basic woodworking, following easy steps to create a custom, professional-looking live-edge masterpiece.
Step 1: Prep and Size the Bar Top

Start with a live-edge wood slab about five feet long and eighteen inches deep. Remove the bark for hygiene, trim away cracks or curves, and sand it smooth.
Mark right angles and cut to shape; this becomes your stunning, natural bar top centerpiece.
Step 2: Build the Wine Rack
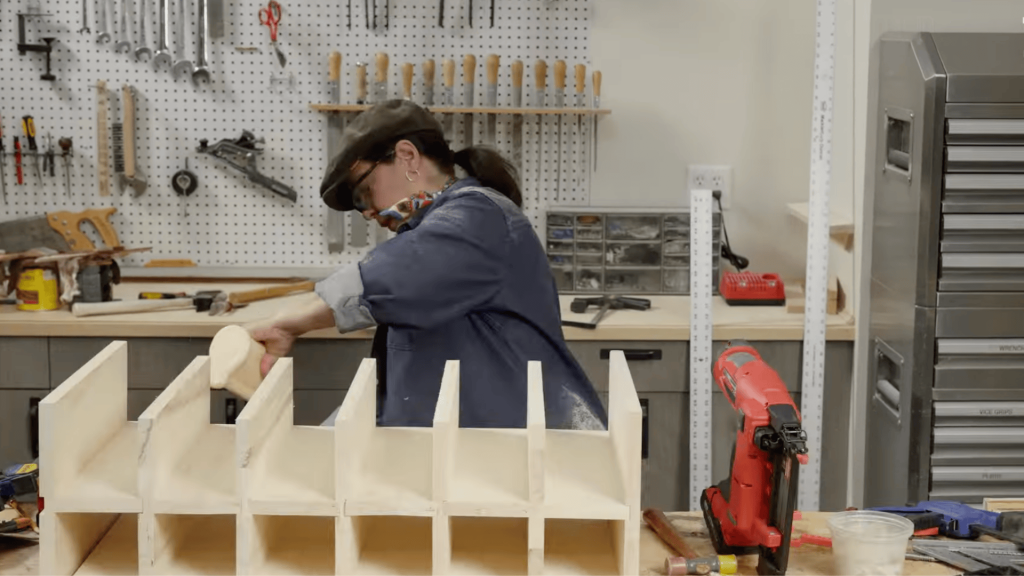
Measure space for bottles, four inches each, plus ¾-inch dividers. Use a router to create grooves for shelves, then glue and nail the pieces together.
This creates clean, even wine slots. Wipe away excess glue and let it dry before moving to the next step.
Step 3: Add Side Cabinets
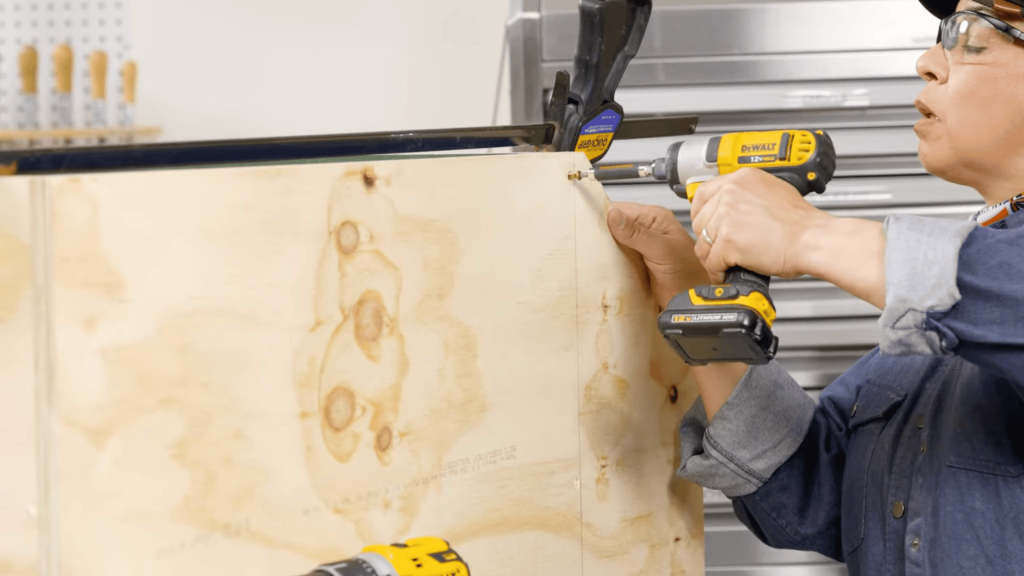
Construct two simple wooden boxes to flank the wine rack; they will serve as your left- and right-hand storage units. Use glue and nails to secure panels together.
Attach both boxes to the center wine rack to create a single, sturdy bar body from basic, repeatable shapes.
Step 4: Build the Base and Counter Structure
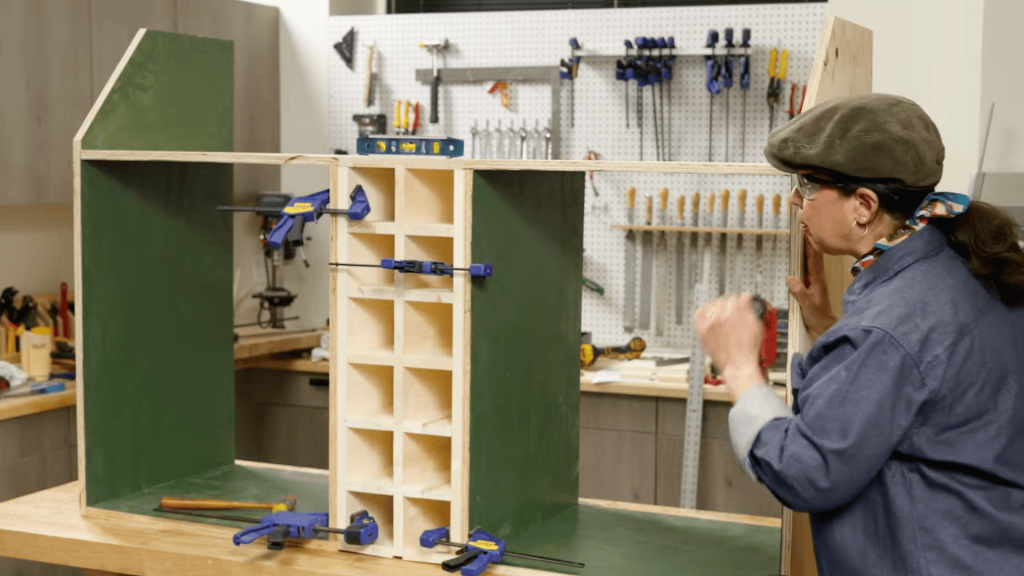
Assemble a 2×4 kick base that is 1 inch smaller than the bar body on all sides. Secure the structure to the base.
If your top needs extra width, use a biscuit joiner to connect boards, apply glue, insert biscuits, clamp, and let dry overnight for a seamless, solid countertop.
Step 5: Add Shiplap and Trim
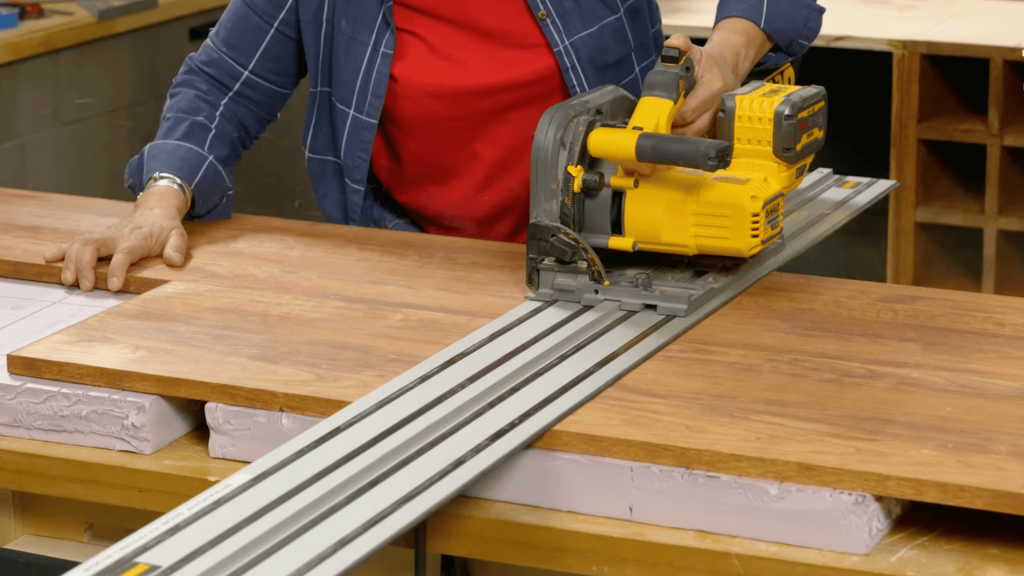
Cover the bar’s front and sides with shiplap, starting at the bottom. Cut ends at forty-five degrees for neat seams.
Add face trim around edges to hide cuts, then layer stains, light, medium, and reddish, for a rich color blend that matches the top.
Step 6: Attach Bar Top and Rail
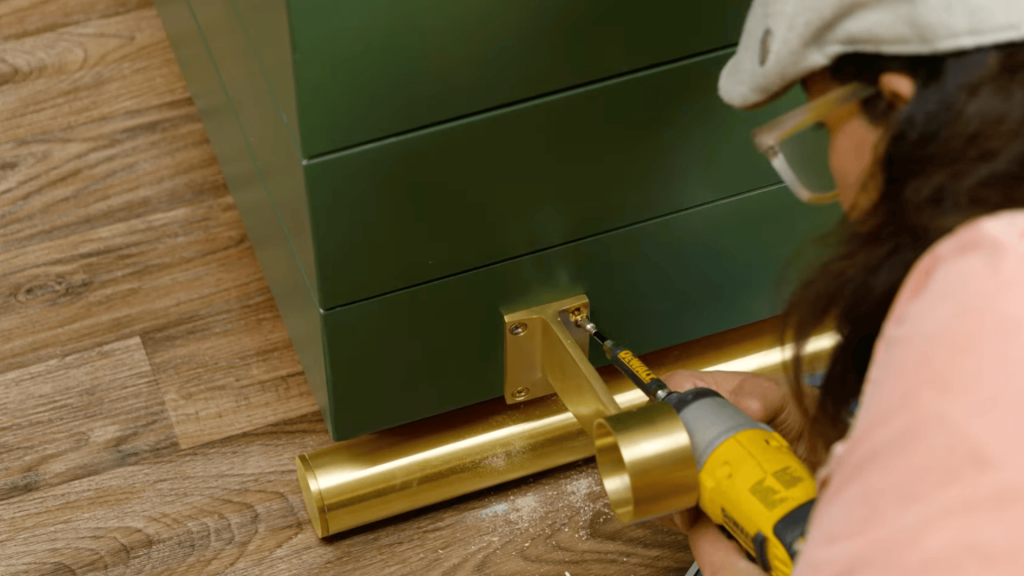
Position your finished slab and secure it from underneath with screws. Install a pre-made bar rail kit using corner blocks and straight runs.
Finish with a final coat of varnish for protection and shine. Stock your shelves, and you’re ready for happy hour!
Project Summary
| Section | Material | Key Tools | Notes |
|---|---|---|---|
| Bar Top | Elm slab | Circular saw, varnish | Sand, stain, varnish |
| Wine Rack | Aspen | Router, nail gun | 4″ spacing |
| Base | 2×4 lumber | Drill, glue | 1″ inset |
| Cladding | Shiplap | Saw, nail gun | 45° cuts |
| Finish | Stain & varnish | Brushes, rags | Blend colors |
For a detailed step-by-step visual walkthrough, watch the Family Handyman DIY Home Bar Build video for tips, techniques, and expert guidance.
Tips for Success
Before you start building your DIY bar, follow these essential tips to ensure accuracy, durability, and a professional finish.
- Keep all cuts straight; the design’s strength depends on clean, precise rectangular joints and alignments.
- Always dry-fit each component before gluing to ensure proper alignment and fit.
- Test stains on scrap wood and allow full drying between coats for consistent, even color results.
- Use multiple clamps when joining boards to maintain strong, tight bonds during drying and curing.
- Stay patient and persistent. DIY craftsmanship is more about determination than the number of tools.
By applying these expert tips, your DIY home bar project will look cleaner, last longer, and impress every guest.
Unique Types of Home Bars
Upgrade your space with creative bar designs that combine style, functionality, and personality.
These unique DIY home bar ideas suit different spaces, from compact apartments to outdoor patios, adding flair and convenience to your entertaining experience.
1. Floating Bar
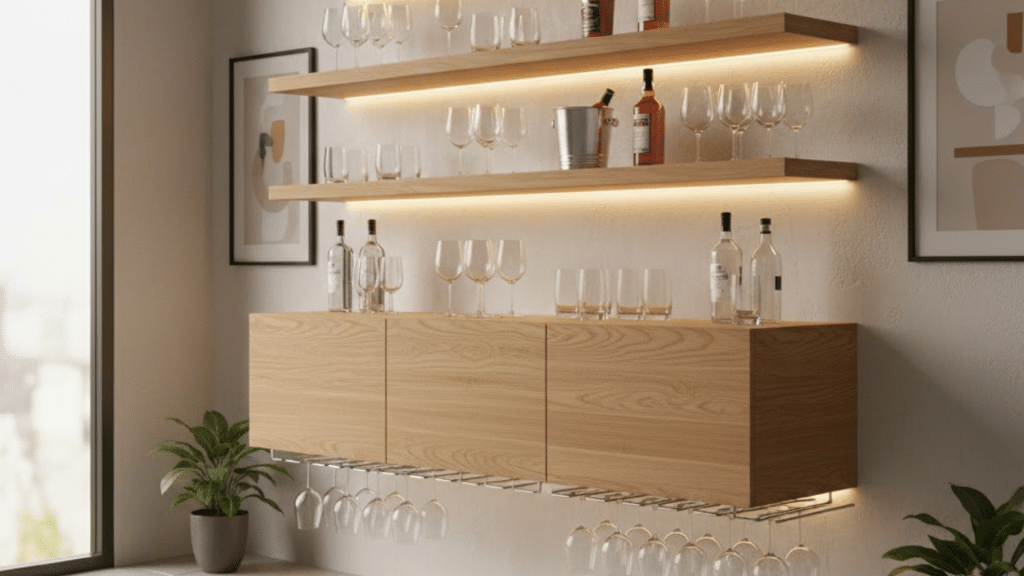
A sleek, wall-mounted design that saves floor space while offering storage for bottles and glassware. Ideal for modern homes, this setup keeps things stylish and organized without cluttering your space.
2. Convertible Bar
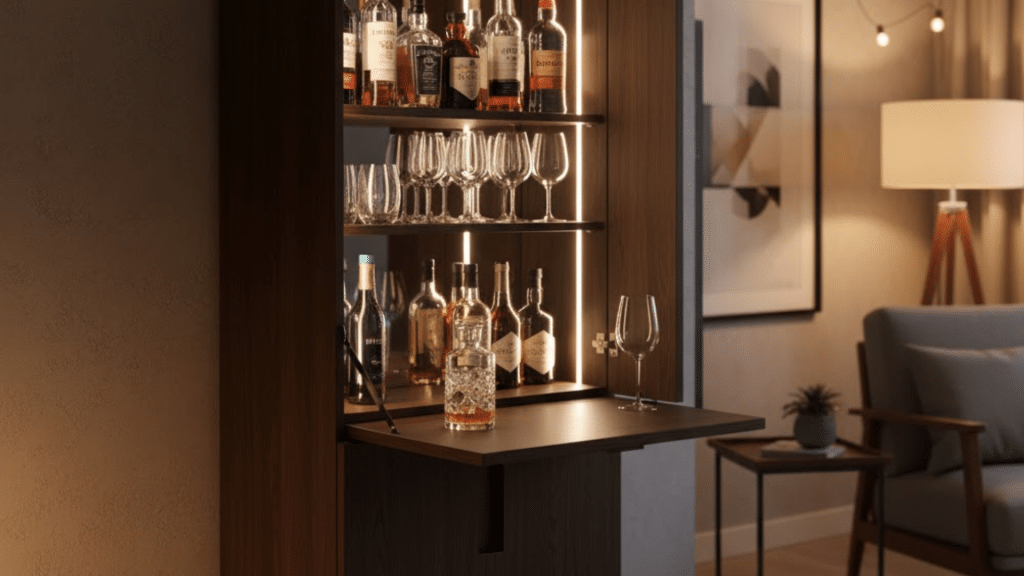
Upgrade from a table or cabinet into a functional bar. Perfect for small spaces, it provides flexibility and convenience while maintaining an elegant look when not in use.
3. Hidden Bar Closet
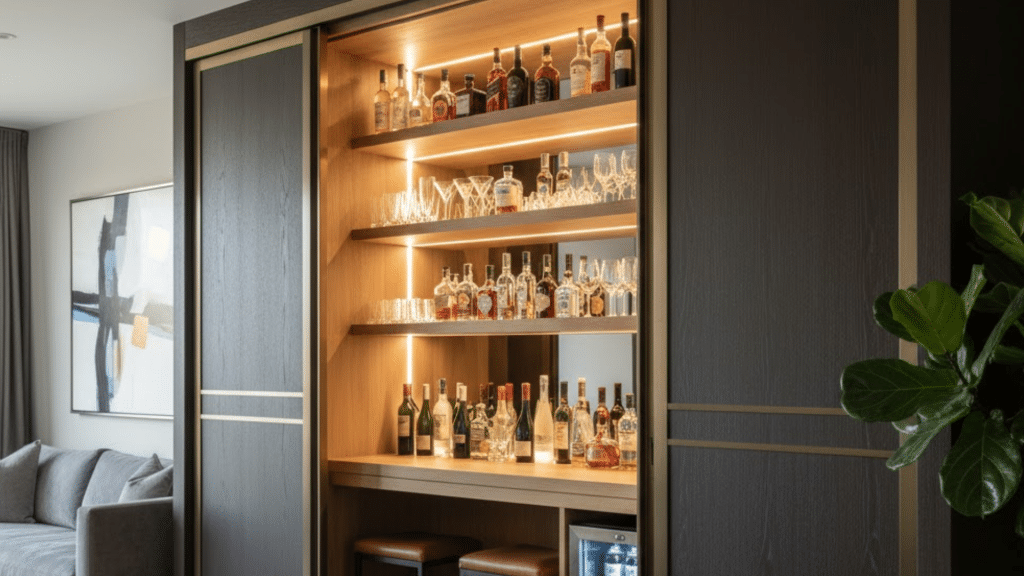
A discreet storage solution concealed behind doors or panels. Keeps your bar essentials tucked away yet easily accessible, blending seamlessly with your room’s interior design.
4. Outdoor Pallet Bar
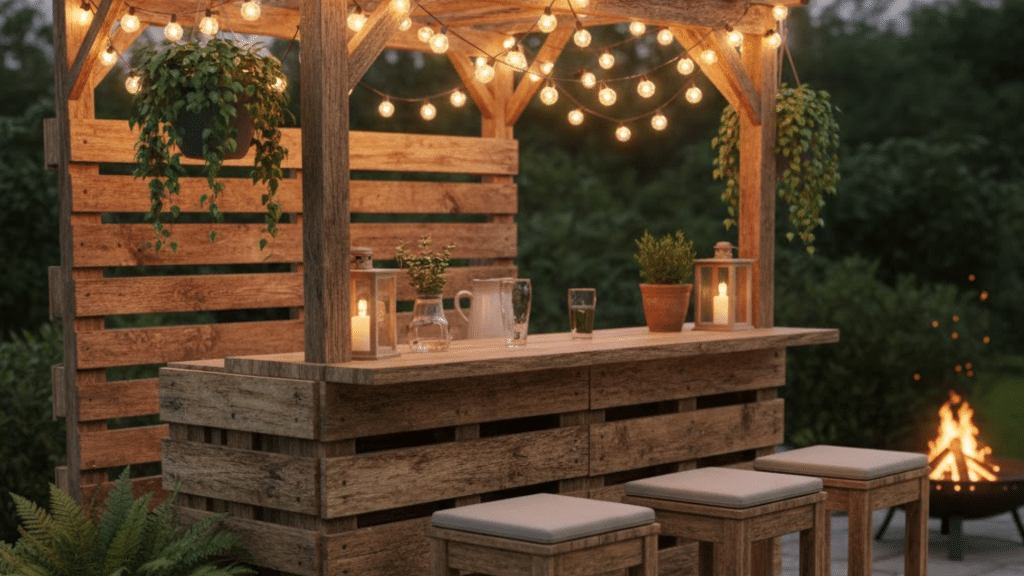
Crafted from reclaimed wood or pallets, this bar brings rustic charm outdoors. Durable, eco-friendly, and budget-conscious, ideal for backyards, patios, or summer gatherings with friends.
Essential Bar Tools for Your DIY Home Bar
Every great DIY home bar needs a few essential tools that make mixing and serving drinks effortless while adding a professional touch.
- Cocktail Shaker Set – A stainless steel shaker with built-in strainer and jigger for smooth, balanced cocktails every time.
- Muddler & Bar Spoon Combo – Ideal for crushing herbs and fruits, then stirring drinks perfectly with a long, sleek spoon.
- Mixing Glass with Pour Spout – A durable, weighted glass that ensures precise stirring and smart pouring.
- Ice Mold Set– Large sphere or cube molds that keep drinks colder longer without watering them down.
- Electric Wine Opener – Uncorks bottles effortlessly in seconds, combining modern convenience with sleek countertop style.
Equip your DIY home bar with essential tools that blend style, precision, and convenience, turning every drink into a crafted experience.
Final Thoughts
Building your own DIY home bar is a rewarding project that adds warmth, function, and personality to any space.
With patience, basic tools, and attention to detail, you can create a handcrafted centerpiece perfect for entertaining or relaxing.
From cutting the slab to fitting the bar rail, each step adds character and confidence to your craftsmanship.
Take time to enjoy the process, appreciate your results, and share your finished work proudly with family and friends.
Ready to start? Gather your tools, plan your design, and begin building your personalized bar today. It’s easier than you think and worth every moment of effort.

