

Are you tired of balancing wood on chairs when working on home projects? I know how frustrating it can be when you lack proper support.
Poor work surfaces lead to bad cuts, safety risks, and longer project times. Without the right height support, back pain becomes a constant workshop companion.
Don’t worry—you can build a folding sawhorse using basic hardware. These simple stands cost far less than store options and fold flat for easy storage in small spaces.
Follow this guide to create a sturdy, wood-friendly work surface that won’t damage your tools if accidentally hit. Your future woodworking self will thank you!
If you're interested in more woodworking projects, check out our guide on building a DIY Mudroom Bench.
Why Build a Folding Sawhorse?
A folding sawhorse solves practical workshop problems that fixed options can’t address. I’ve found them essential for various projects.
The compact design offers unique benefits for home workshops with limited space. When not in use, these sawhorses fold flat against a wall or under a workbench.
Wood provides specific advantages for different task types:
- During finish sanding, the wooden surface won’t scratch your workpiece
- For painting projects, wood doesn’t conduct heat/cold, which might affect drying
- When cutting long boards for shelving, paired wooden sawhorses keep materials level
The DIY approach allows for complete customization—make them taller for standing work or shorter for seated tasks. This flexibility isn’t available with standard store-bought options.
The cost savings are substantial—building your own typically saves 50-70% compared to commercial alternatives, while giving you a tool perfectly matched to your working style.
Best Wood for A DIY Sawhorse
When building a DIY sawhorse, the type of wood selected affects durability, weight, and cost. I’ve found that picking the right lumber makes a big difference in the final product.
| Wood Type | Pros | Cons | Best For |
|---|---|---|---|
| Pine (2×4) | Affordable, widely available, lightweight | Less durable, may warp over time | Beginners, temporary use, indoor shops |
| Douglas Fir | Strong, resists warping, good value | Heavier than pine, it can splinter | Regular workshop use, medium-duty projects |
| Cedar | Naturally rot-resistant, lightweight | More expensive, softer than other woods | Outdoor use, humid environments |
| Oak | Extremely durable, very strong | Heavy, expensive, harder to work with | Heavy-duty professional use, lifetime tools |
| Plywood (for tops) | Flat, stable, resists splitting | Not ideal for the entire structure | Sawhorse tops, work surfaces |
For most home DIY projects, standard pine 2×4s offer the best balance of cost and function. They’re cheap enough that making mistakes isn’t costly, yet strong enough for typical workshop tasks.
If you plan to leave your sawhorses outside or in damp conditions, consider cedar or treated lumber instead.
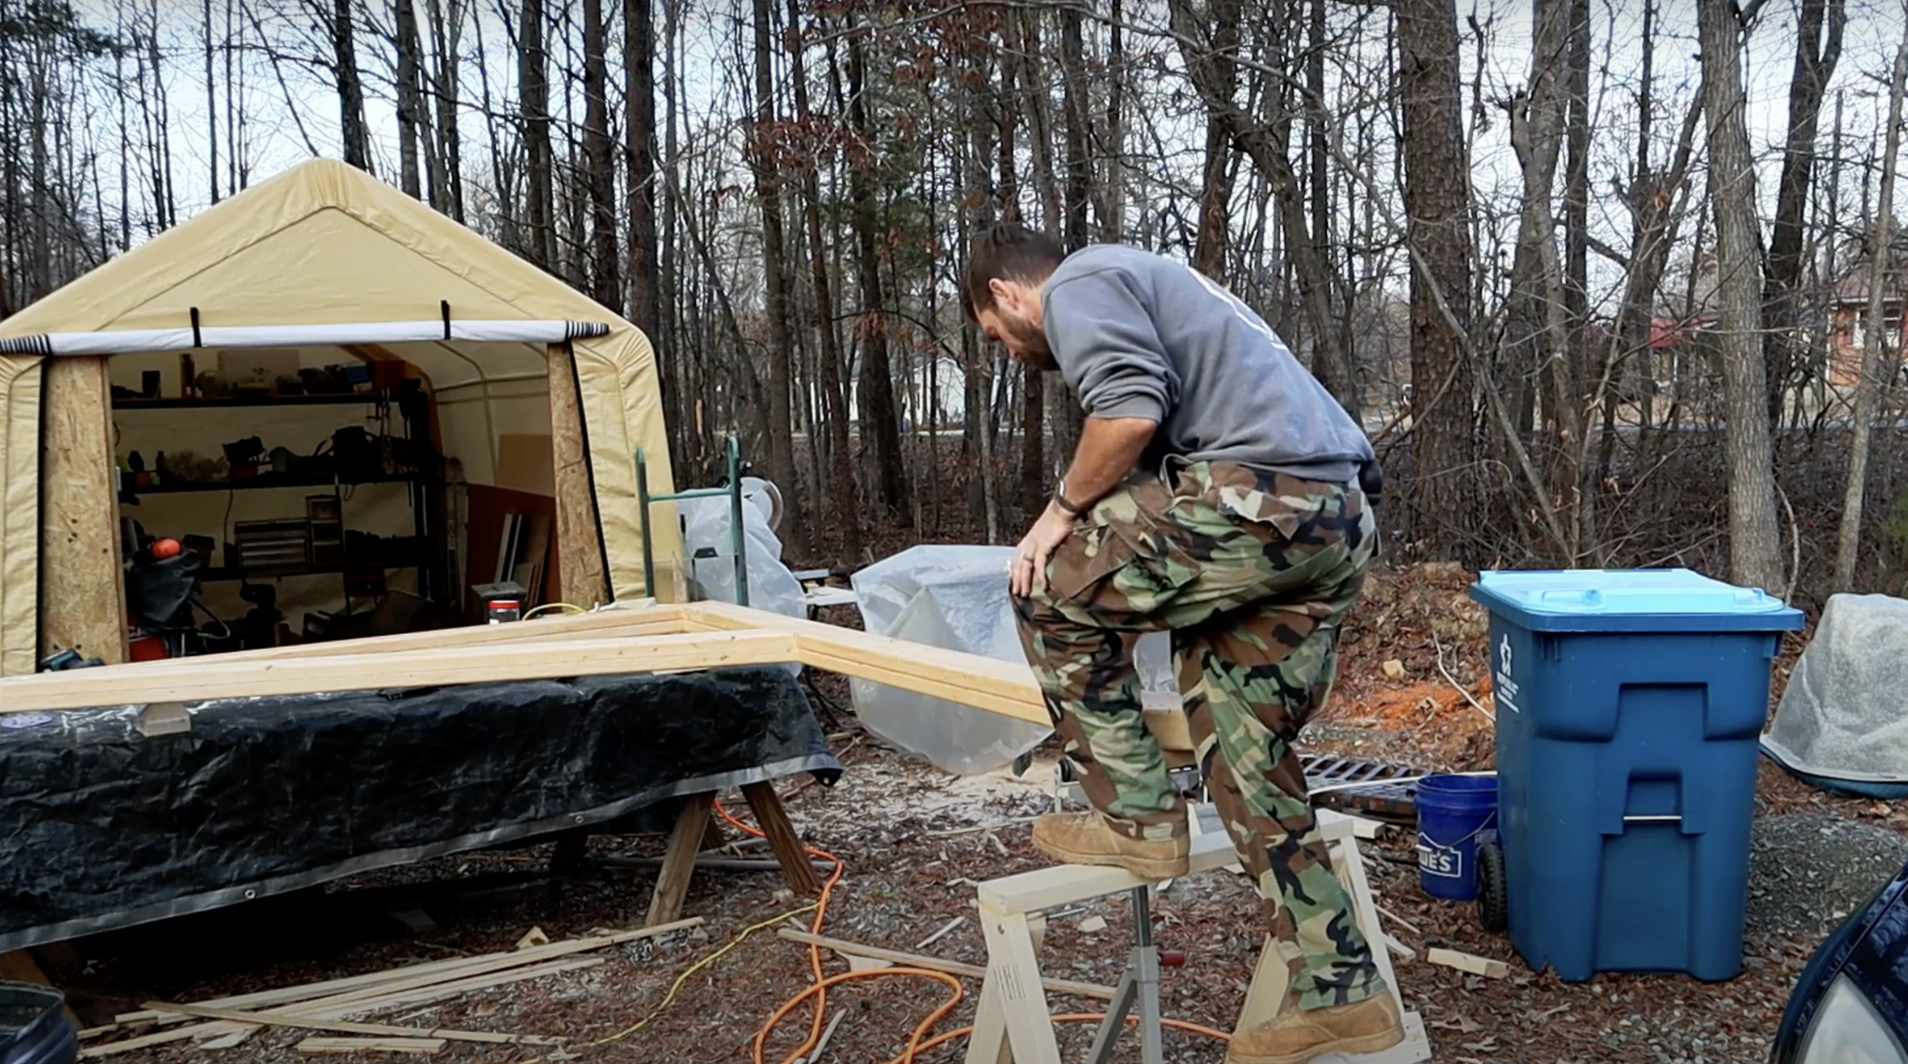
Steps to Build a Folding Sawhorse
This build takes only a few hours and creates a sturdy work surface. Follow these steps for the best results:
Materials and Tools Needed:
Before starting this project, gather these materials and tools:
| Materials | Tools |
|---|---|
| Two 2×4 wooden boards | Saw (circular or miter) |
| 4-inch carriage bolts (4) | Drill with bits |
| Nuts and washers | Measuring tape |
| Wood glue | Pencil |
| Sandpaper | Wrench or socket set |
| Sander (optional) | |
| Compass or wire (for marking curves) |
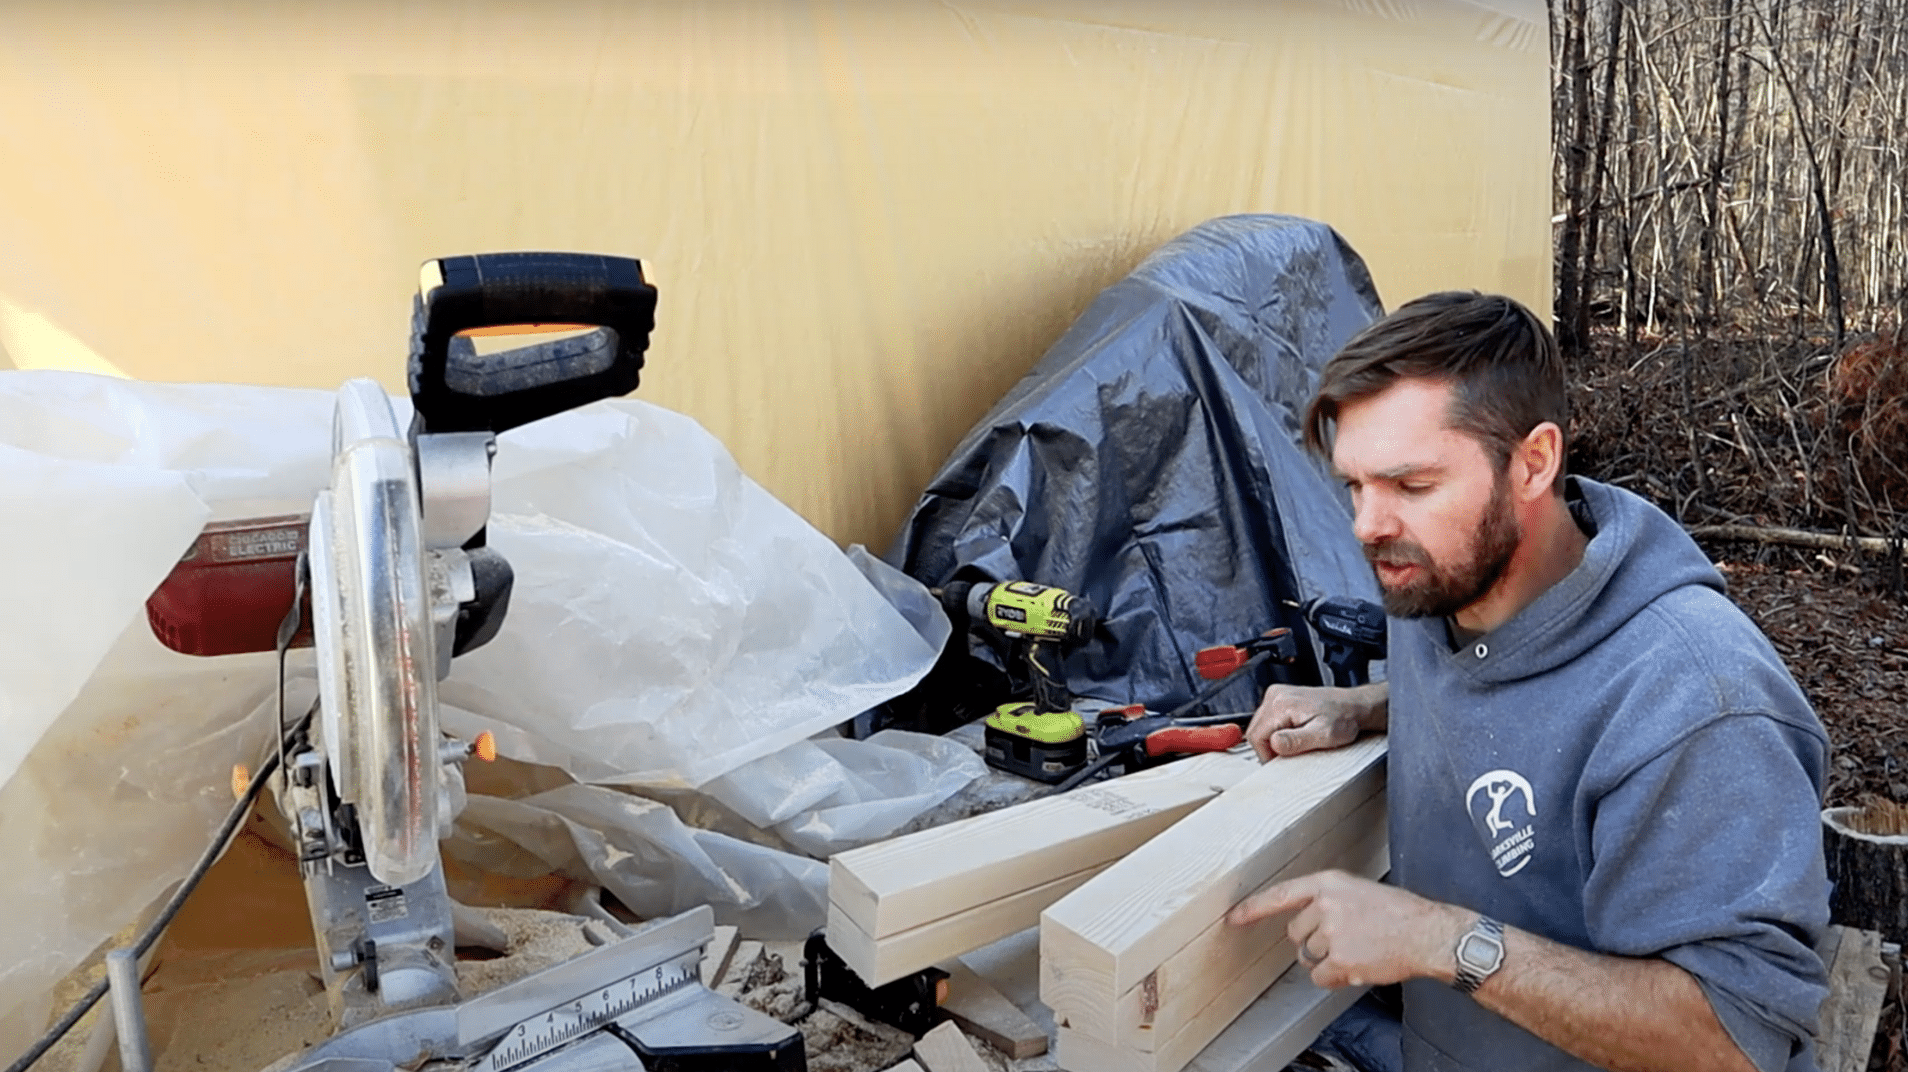
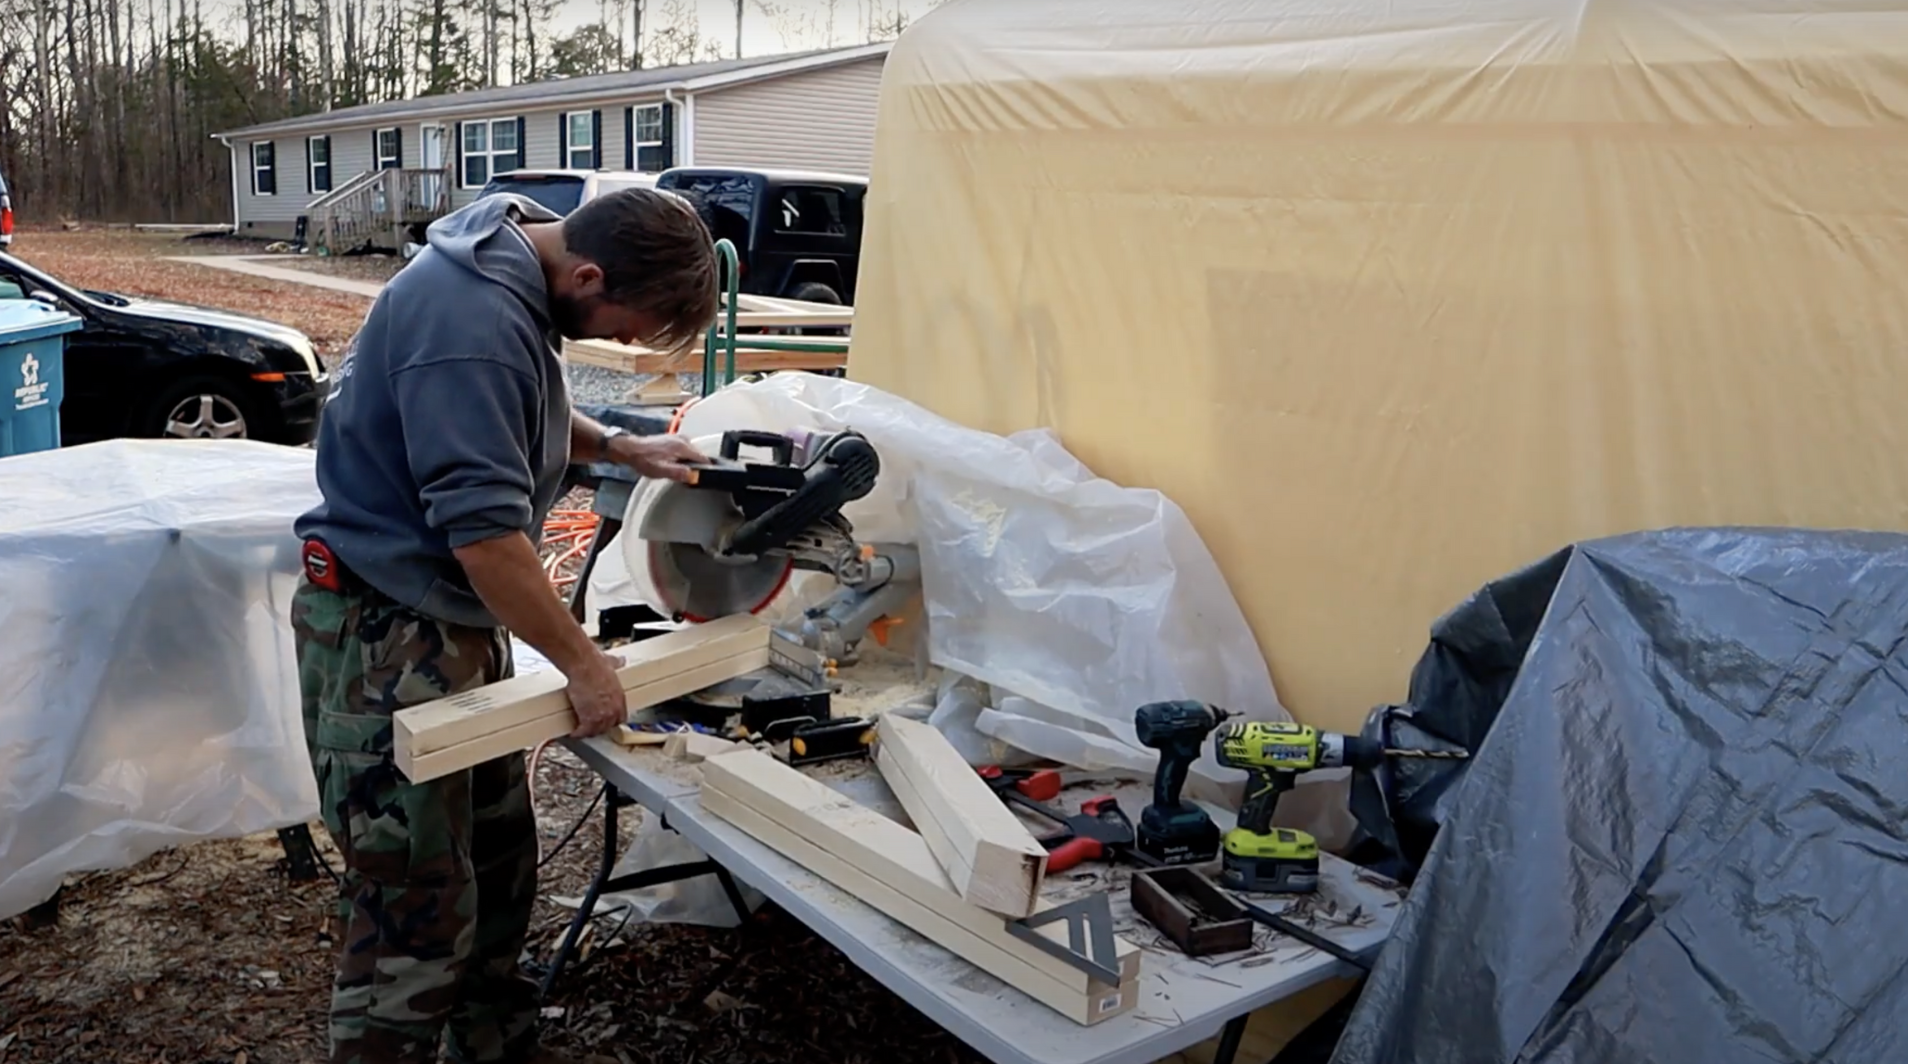
Step 1: Cut the Wood
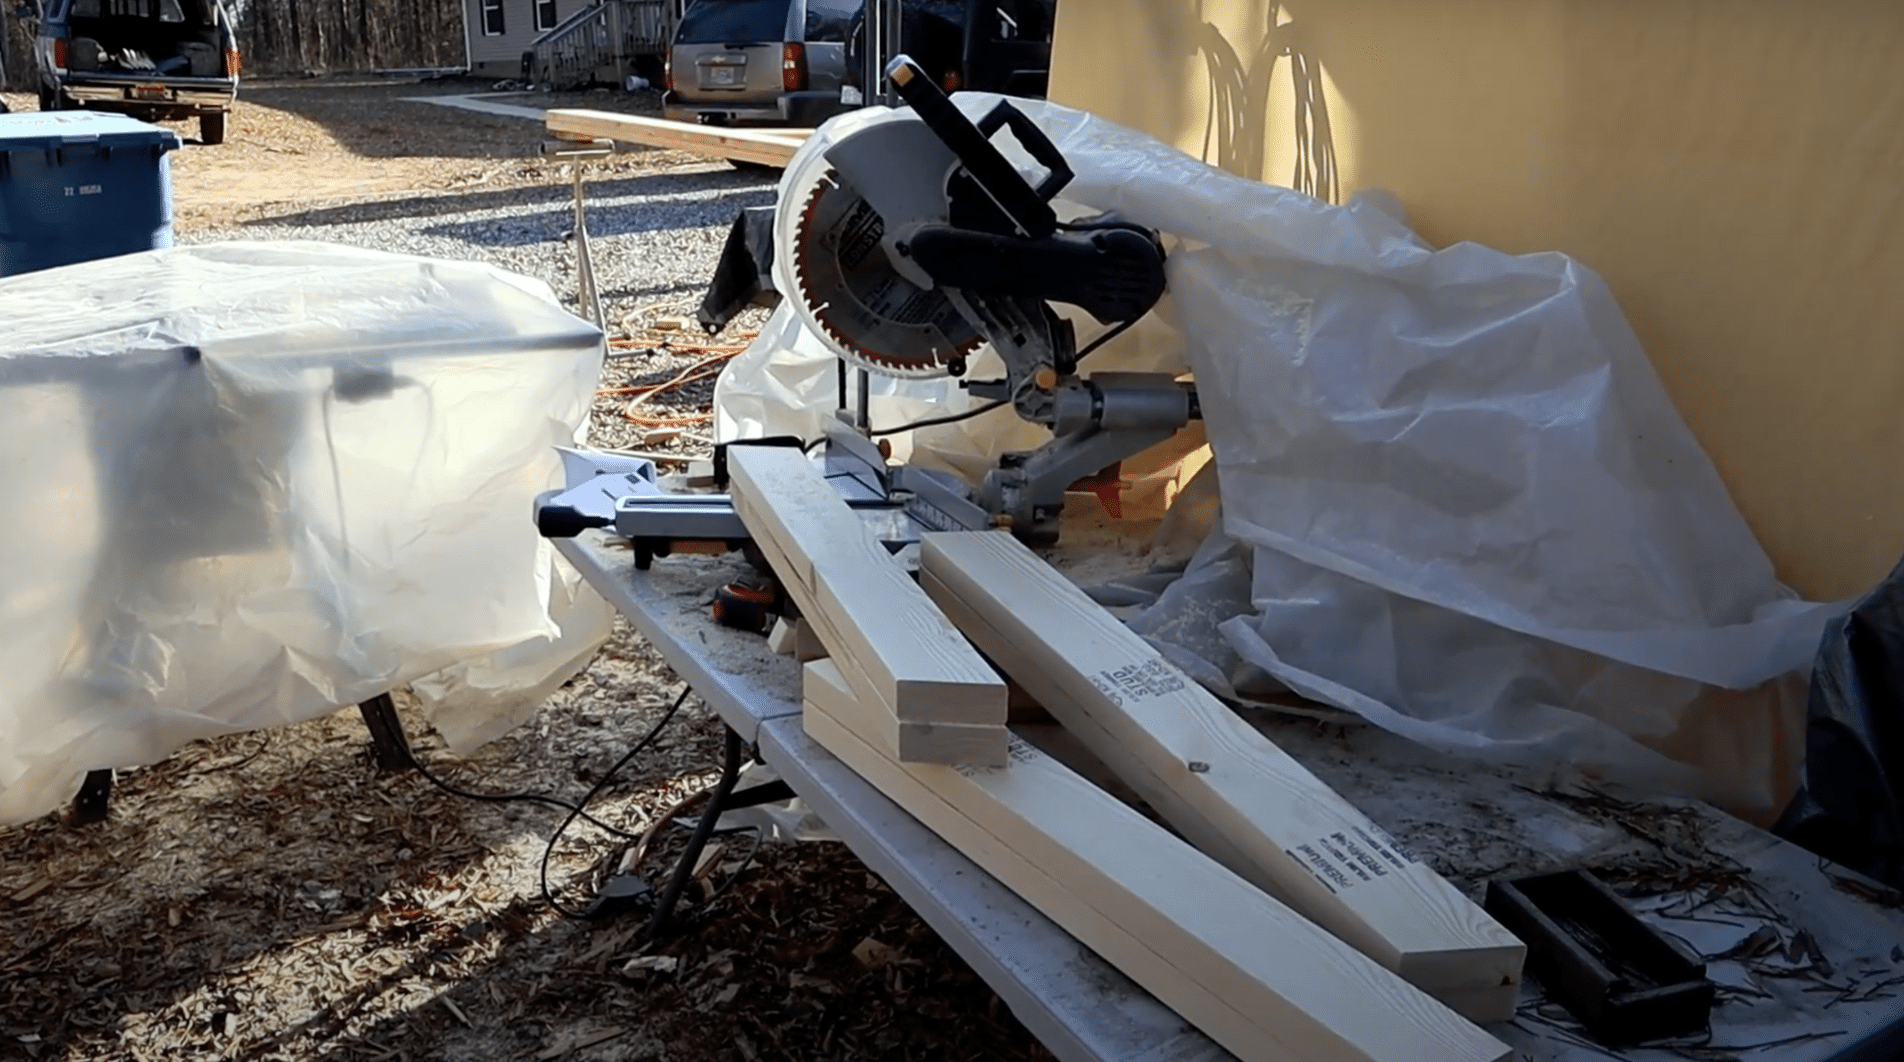
Start by measuring and marking your 2x4s. For each sawhorse, you’ll need four equal-length pieces for the legs and one longer piece for the top. Cut these pieces with a saw for clean, straight edges.
Pro Tip: Cut all pieces at once to ensure they’re exactly the same length, which helps make a stable sawhorse.
Step 2: Pair the Legs
Group your cut pieces into sets of two. Make sure they match up perfectly to create a solid base. This step makes the next steps much simpler and leads to a more stable final product.
Step 3: Mark and Drill Pivot Holes
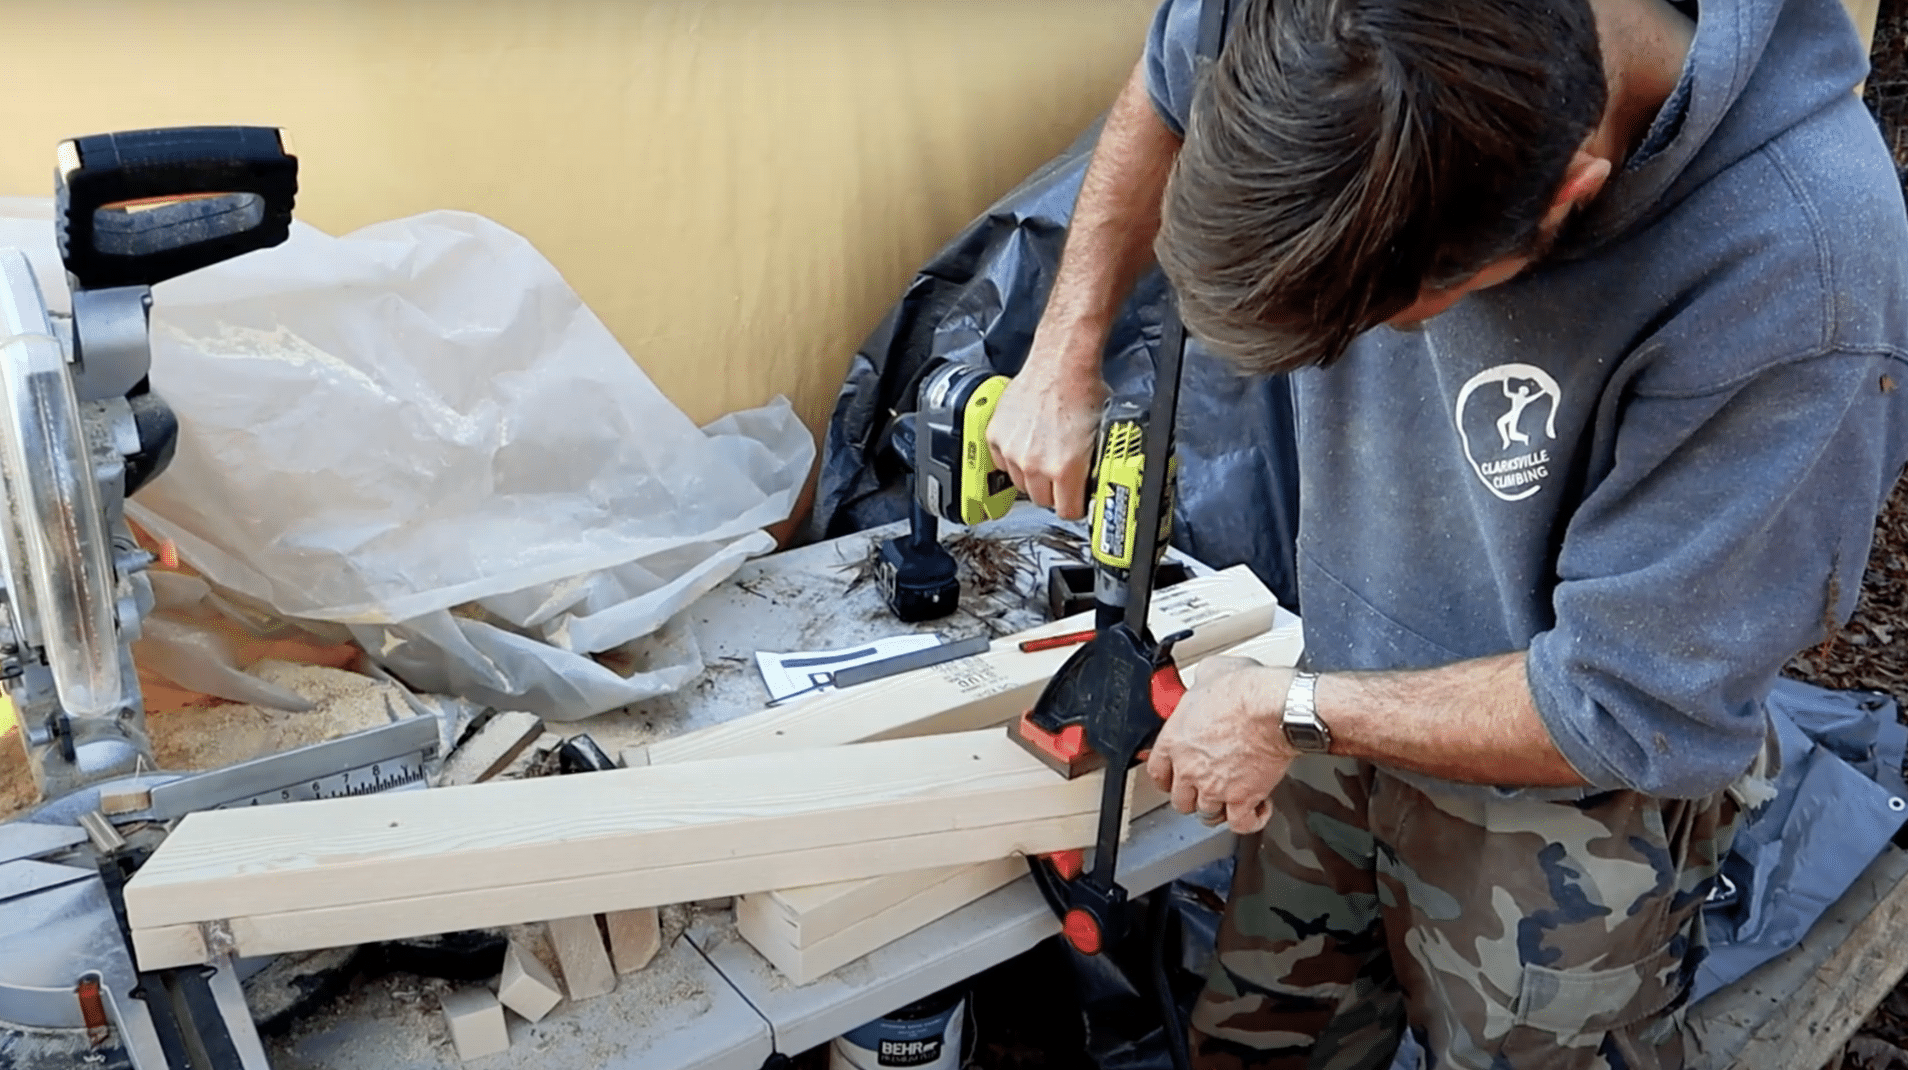
Find the center point of each leg where they will connect. Mark this spot clearly. If you don’t have a compass, use a piece of wire as shown in the transcript to mark a curve. Drill holes at these marks for your carriage bolts.
Pro Tip: Drill one hole at a time for higher accuracy if you don’t have a drill guide.
Step 4: Shape the Leg Ends
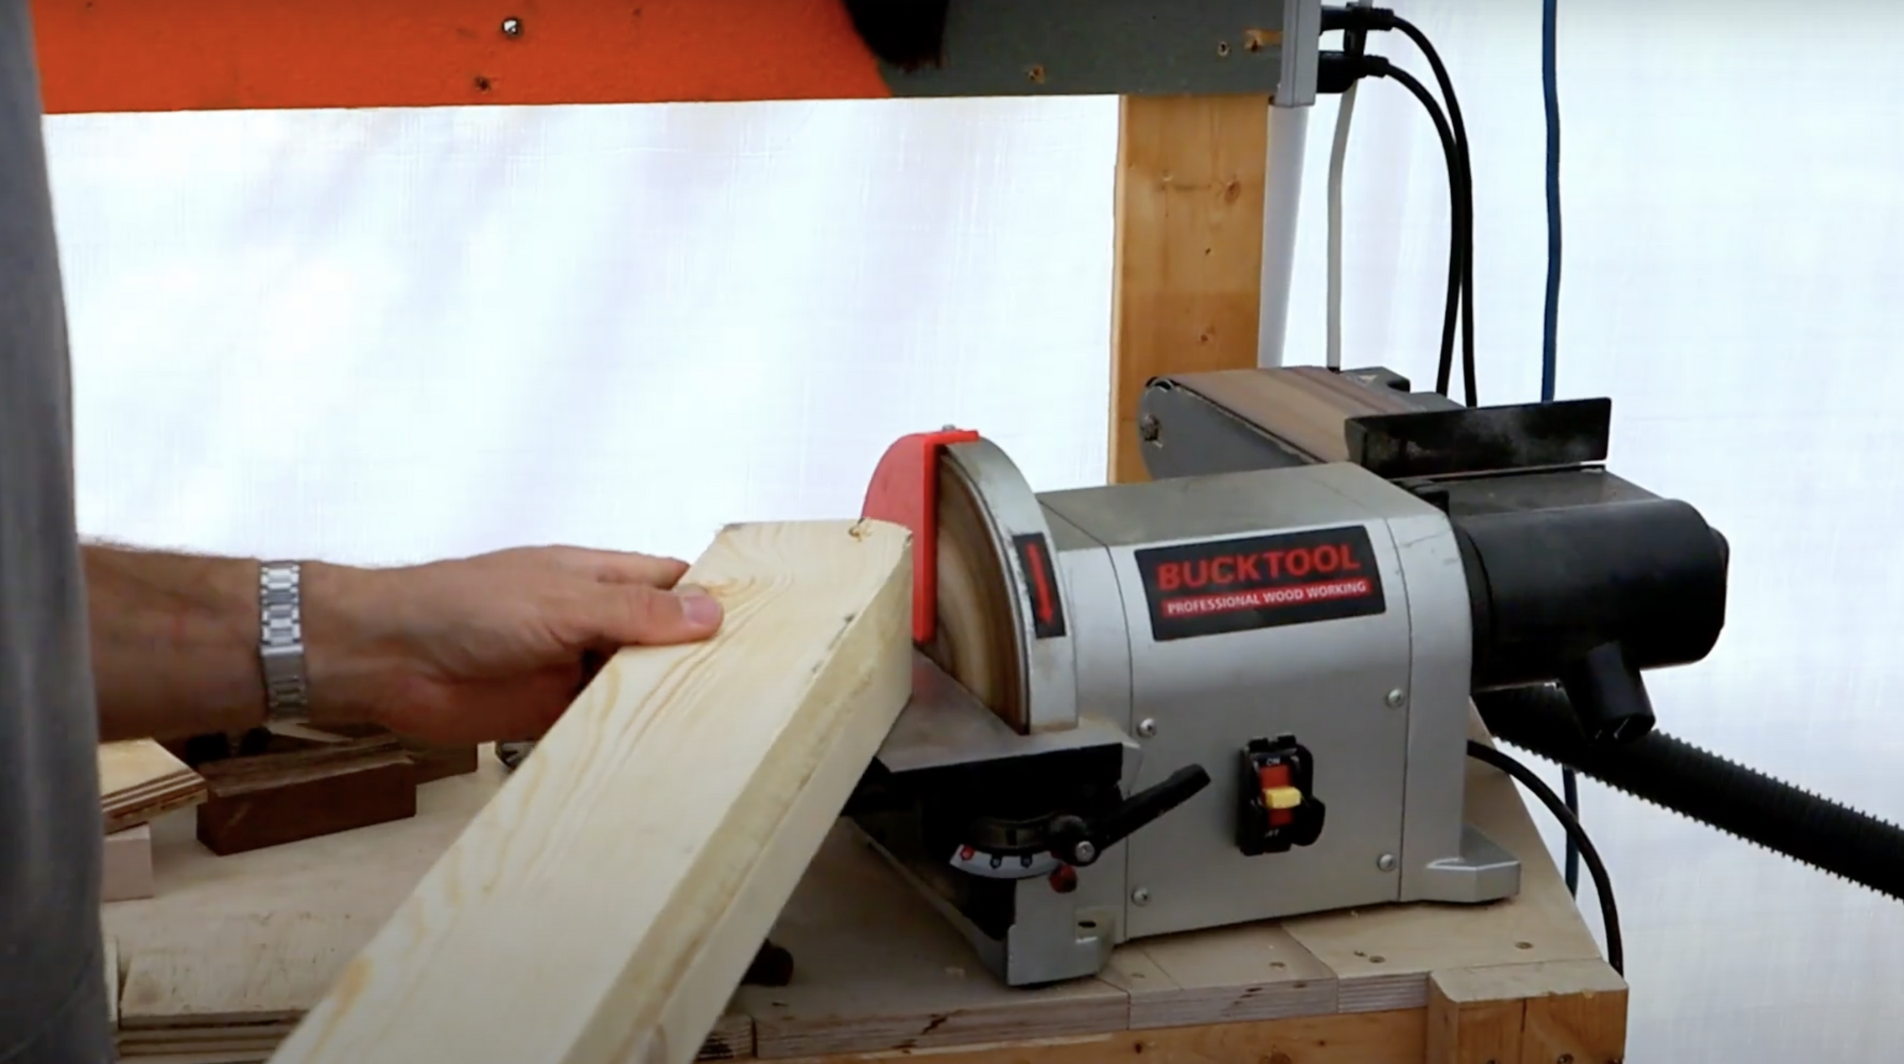
Use a saw to cut along the curve you marked on the top of the legs. This creates a rounded edge that allows the legs to fold smoothly. A bench-top sander makes this easier, but you can also use sandpaper by hand.
Step 5: Notch the Legs
Measure 3.5 inches from the top of each leg and make a small notch. This step isn’t critical but makes the final product look better and creates a more secure fit for the top board.
Pro Tip: Double-check which side needs notching before cutting to avoid mistakes.
Step 6: Assemble with Bolts and Glue

Apply wood glue to the areas where the legs join. Insert the carriage bolts through the drilled holes. Tighten the nuts until the bolt heads sink flush with the wood, then back off about half a turn so the legs can move.
Add a second nut to lock the first one in place. This creates a pivot point that’s firm but allows movement.
Step 7: Attach the Top and Test Folding
Position the top board over the notched legs and secure it. Open and close the sawhorse several times to ensure the folding action is smooth. The legs should fold out easily and lock into position when fully opened.
Step 8: Verify Stability and Make Adjustments

Test the sawhorse by pressing down on all corners when open. Any wobbling needs addressing before use. Remember that the structure will gain additional stability after the glue fully dries, so allow complete curing time.
Place a board across your sawhorses and apply pressure to simulate working conditions. If you notice unevenness, sand down the longer legs until balanced. A properly built sawhorse stands firmly when open and folds completely flat for storage.
Video Tutorial
For more tips and step-by-step guidance, check out the video tutorial that inspired this blog.
By – Climber Dad
Why a Wooden Sawhorse is Better Than Metal Alternatives?
Wooden sawhorses provide practical benefits for any workshop. I’ve found them superior to metal options for most projects.
| Feature | Wooden Sawhorse | Metal Sawhorse |
|---|---|---|
| Tool Protection | Won’t damage saw blades if accidentally hit | Can damage or dull tools on contact |
| Project Surface | Soft surface prevents scratches on workpieces | May scratch or dent finished surfaces |
| Grip | Natural texture helps materials stay in place | A smooth surface may allow items to slip |
| Customization | Easy to modify with hooks, shelves, or height changes | Limited modification options |
| Repairs | Simple to fix by replacing individual parts | Often requires complete replacement |
| Cost | Inexpensive to build and maintain | Generally more expensive |
The wood option wins in most categories, especially for home workshops where versatility matters.
Tips and Tricks for a Stronger Sawhorse
- Wait for the glue to dry completely before heavy use to gain full strength.
- Sand any rough edges to prevent splinters and wood damage.
- Apply a wood finish or paint to protect from moisture and extend the lifespan.
- Use lock washers with the nuts for a more secure connection that won’t loosen over time.
- Check and tighten bolts occasionally, as wood may shrink slightly over time.
Common Mistakes to Avoid
- Wrong Measurements: Double-check all measurements before cutting to avoid wasted wood.
- Too Tight Bolts: If bolts are too tight, the sawhorse won’t fold properly.
- Too Loose Bolts: If too loose, the sawhorse will wobble and feel unsafe.
- Skipping Glue: The glue adds significant strength to the joints.
- Cutting Notches on Wrong Side: Make sure to notch the correct side of the legs for proper fit.
Conclusion
Building your own folding sawhorse is a quick project that adds big value to your workshop. This simple design uses minimal materials while providing a solid work surface.
The key benefits include wood that won’t harm your tools, easy storage when folded, and a cost much lower than store options. Plus, the skills used in this build apply to many other woodworking projects.
What makes this design stand out is its simplicity and usefulness. With just two boards and some hardware, you have a workshop helper that will last for years.
Ready to build? This project takes just a few hours but will help with countless future projects in your workshop.
Frequently Asked Questions
How Much Weight Can These Diy Folding Sawhorses Hold?
Each sawhorse can safely support about 200-250 pounds when properly constructed. Using two together provides ample support for most home workshop tasks.
Can I Make These Sawhorses Taller or Shorter than Standard Height?
Yes, simply adjust the leg lengths during the cutting stage. Standard height is 24-32 inches, but you can customize to your preferred working height.
How Long Does It Take for A Beginner to Complete This Project?
Most beginners can complete one sawhorse in 2-3 hours, not including glue drying time. Having basic cutting tools and a drill will speed up the process.