

Those scratches on your engineered hardwood floor don’t have to be permanent.
Every day, homeowners stare down at worn floors and wonder if they should refinish or replace them entirely. The difference could mean thousands of dollars saved or wasted.
Good news—engineered hardwood can often be refinished, but there’s a catch. Not all engineered floors are candidates for this money-saving option. The secret lies in one crucial measurement that determines everything.
Without checking this first, you risk damaging your floors beyond repair. Curious about what this measurement is? Want to know if your specific floors can get a second life?
Read on to find the answers and learn exactly how to bring those tired floors back to their original beauty.
What is Engineered Hardwood Flooring?
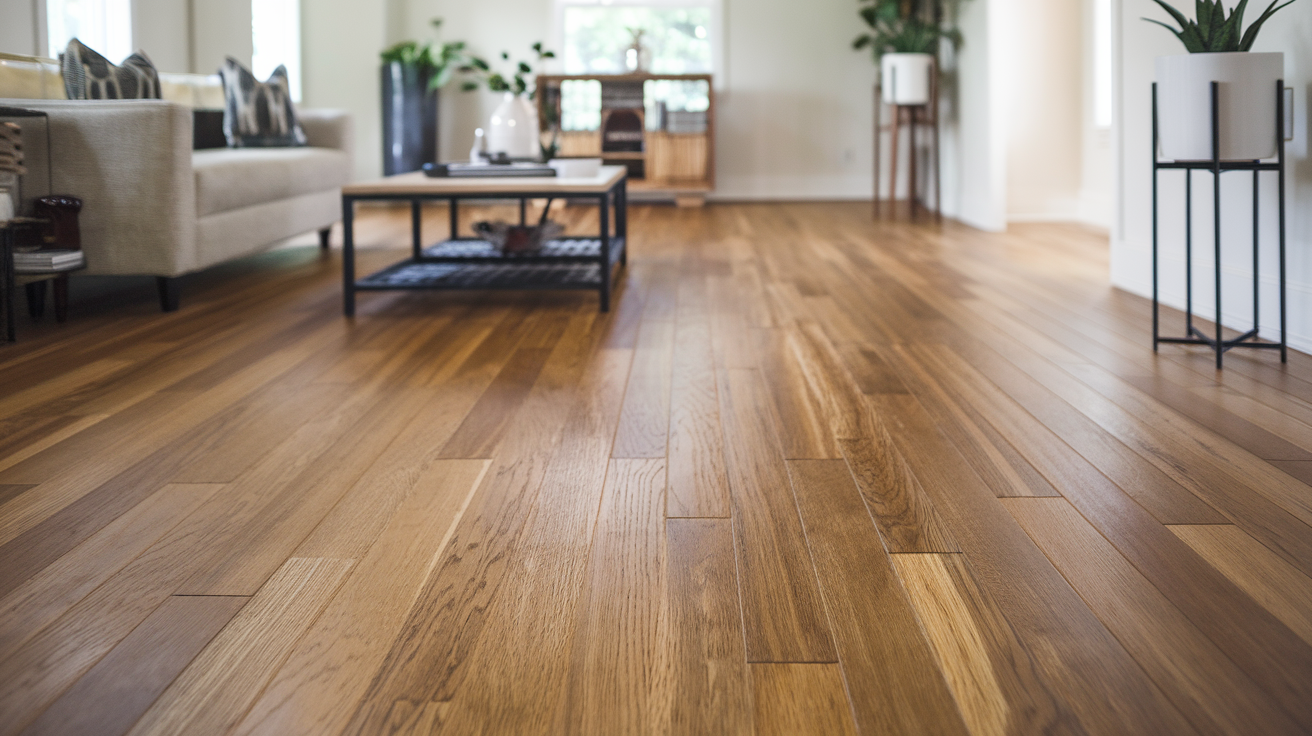
Engineered hardwood consists of a real wood veneer layer bonded to multiple layers of plywood or high-density fiberboard (HDF).
Unlike solid hardwood, which is milled from a single piece of timber, engineered hardwood’s layered construction offers stability and resistance to moisture changes.
This layered design explains why refinishing engineered hardwood requires special considerations compared to solid wood floors.
Advantages of Engineered Hardwood Floors
Before going into refinishing, it helps to understand why many homeowners choose engineered hardwood in the first place. These benefits explain its growing popularity in modern homes.
- Durability: Engineered hardwood withstands temperature and humidity fluctuations better than solid hardwood, making it less prone to warping, cupping, or gapping.
- Moisture Resistance: The plywood or HDF base layers resist moisture better than solid wood, making engineered hardwood suitable for basements and other areas where solid hardwood isn’t recommended.
- Affordability: Typically less expensive than solid hardwood, engineered options provide real wood appearance at a more budget-friendly price point.
These practical benefits make engineered hardwood worth maintaining through proper refinishing when possible.
Veneer Thickness and Refinishing Potential
Engineered hardwood can be refinished—but the possibility depends entirely on the thickness of the top veneer layer. Not all engineered hardwood is created equal when it comes to refinishing potential.
| Veneer Thickness | Refinishing Potential |
|---|---|
| 0 mm — 2 mm | Not Refinishable |
| 2 mm — 3 mm | Refinishable (1 time) |
| > 3 mm | Refinishable (2-3 times) |
The wear layer (veneer) is the critical factor. Thicker veneers can be sanded multiple times, while thin veneers may only support light refinishing or none at all.
Knowing your floor’s veneer thickness is therefore the most important piece of information before making any refinishing decisions.
How to Identify If Your Engineered Hardwood Floor Needs Refinishing?
Before beginning any refinishing project, it’s crucial to assess whether your floor is a suitable candidate for refinishing. Here’s how you can evaluate your engineered hardwood floor.
Common Warning Signs
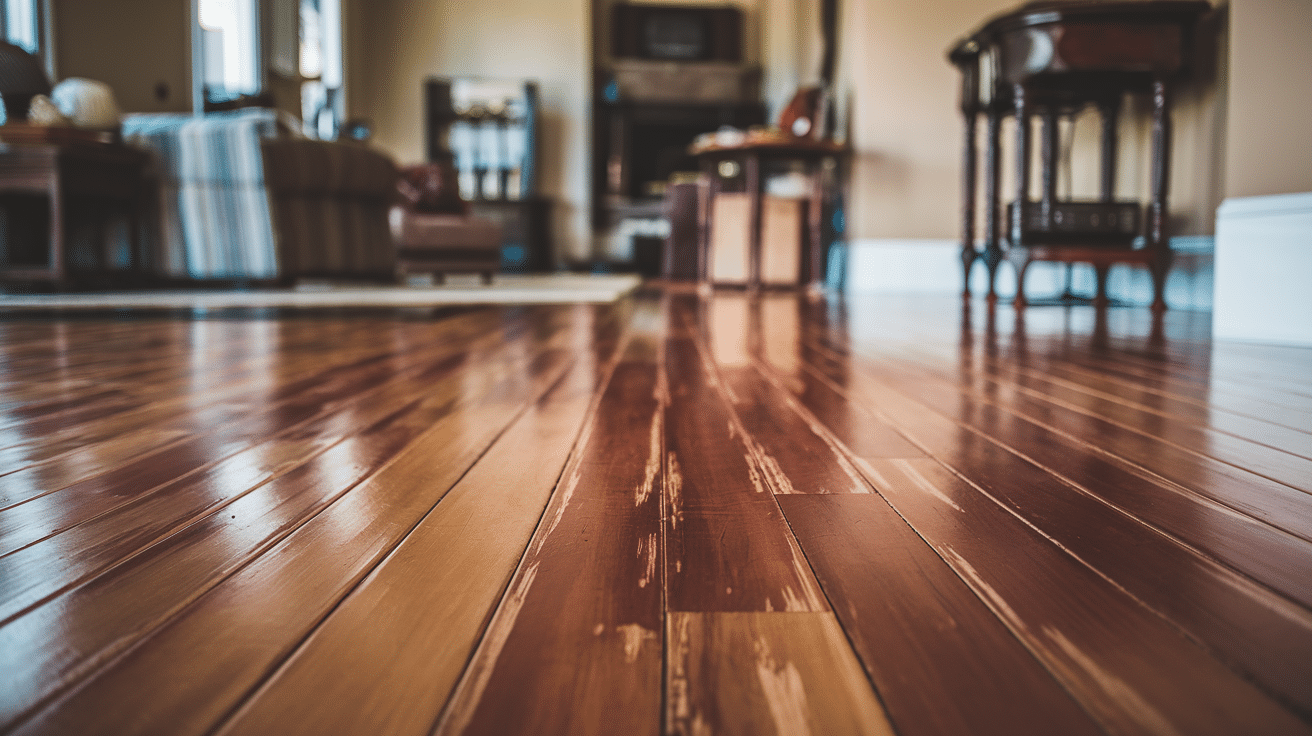
Look for visible damage to the finish, such as:
- Scratches: Visible marks that stay on the surface level
- Dents: Small indentations in the finish layer
- Discoloration: Areas that have faded or changed color
- Dullness: Floor appears lifeless even after cleaning
When to Act?
Not all wear requires immediate action. Consider refinishing when you notice:
- Scratches that haven’t gone through to the actual wood layer
- Worn patches in areas with heavy foot traffic
- Slight water damage that hasn’t warped the boards
- Persistent dullness that regular cleaning can’t fix
Catching these issues early helps you avoid more costly repairs later. Remember – check your floor’s veneer thickness first, as this determines whether refinishing is even possible.
Step-by-Step Guide to Refinishing Engineered Hardwood Floors
When you’ve confirmed your floors are refinishable, understanding the process helps ensure successful results. Here’s how professionals approach the job.
Step 1: Preparation and Protection

- Furniture Removal: Remove all furniture and wall bases, numbering the baseboards to make reinstalling them easier.
- Surface Protection: Protect the space with blue painter’s tape to avoid dust spreading into cabinets, doors, and other surfaces.
- Workspace Clearing: Clear the entire area to provide unrestricted access for the refinishing process.
Step 2: Sanding
- Drum Sander: The main tool used for sanding large areas, starting with higher grits (like 120 or 100) to avoid aggressive damage.
- Edge Sander: For areas the drum sander can’t reach, such as around walls and tight spaces.
- Grit Progression: The sanding process moves through grits, from 60 to 100, ensuring smoothness and reducing any potential drum marks.
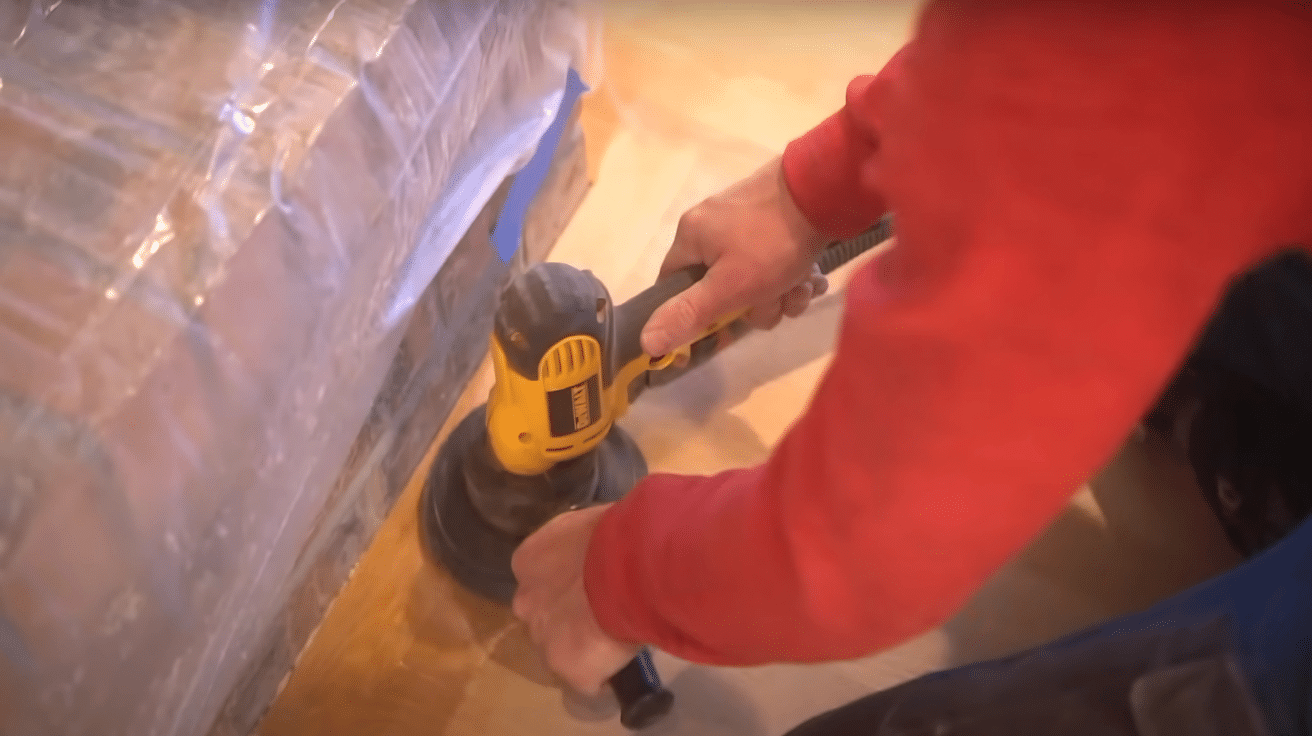
Step 3: Fine Detailing
- Random Orbital Sander: Used in tight corners or areas missed by the larger machines after initial sanding.
- Scraping: Applied in conjunction with the orbital sander for detailed finishing work.
- Protection Gear: Proper safety equipment like respirators, eye protection, ear protection, and knee pads are essential during sanding.
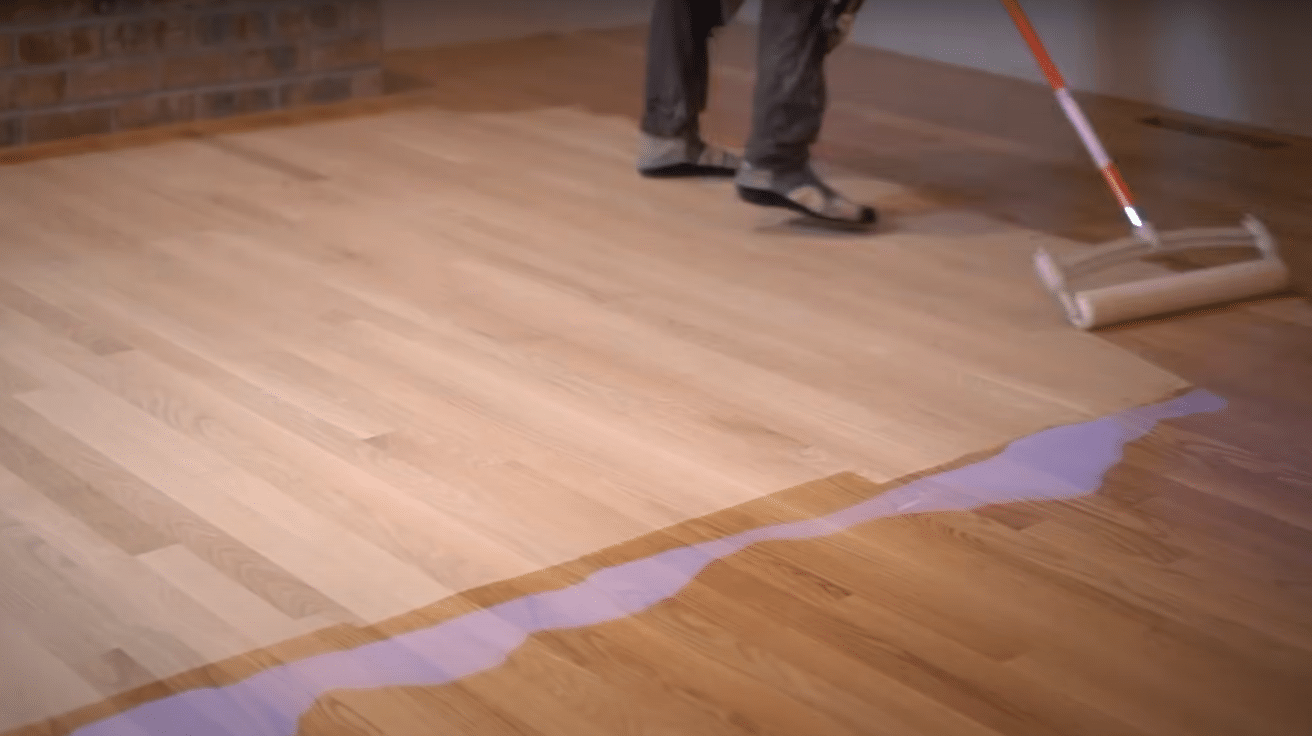
Step 4: Finishing
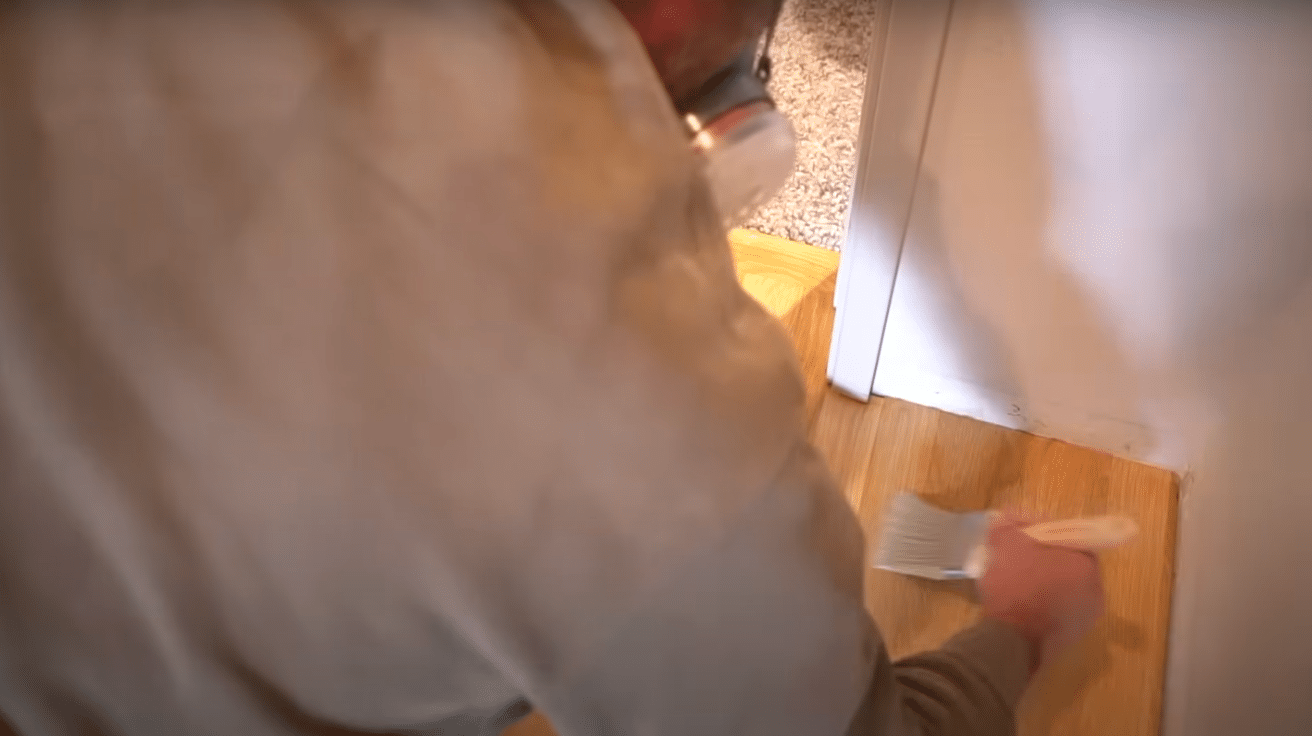
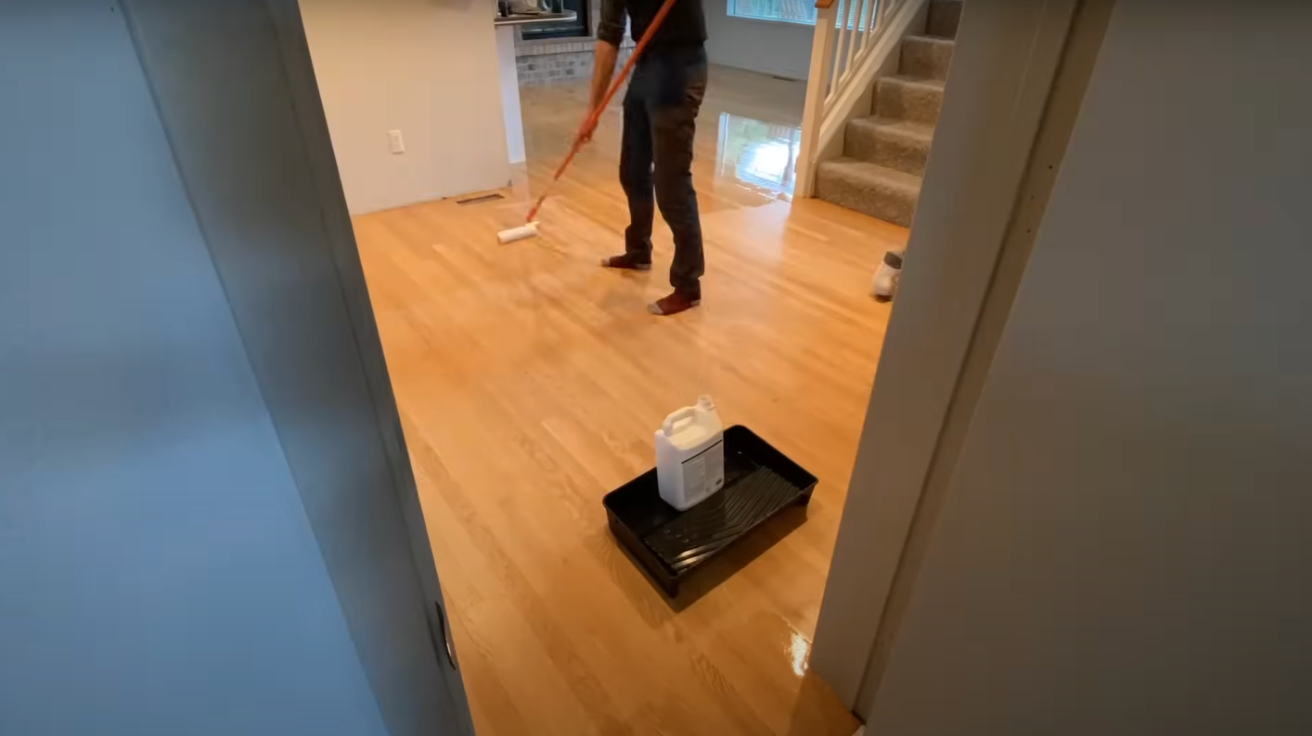
- Sealing: A sealer is applied first to ensure the wood is protected before finishing.
- Finish Application: Followed by two coats of finish like Bona Traffic HD, a waterborne finish for durability.
- Application Technique: Applying the sealer and finish evenly with a roller, making sure to back-roll to prevent puddles and streaks.
Step 5: Final Touches
- Final Sanding: Once the finish has dried, the floor is lightly sanded with high grit (240) to remove rough spots.
- Cleaning: The space is cleaned with a vacuum and tack cloth to remove all dust and debris.
- Reinstallation: Baseboards and other fixtures are reinstalled to complete the refinishing process.
Following this methodical approach helps preserve your floor’s veneer while achieving professional-quality results.
Video Tutorial
Watch this helpful video to see the step-by-step process of refinishing engineered hardwood floors by BYOT.
How Many Times Can You Refinish Engineered Hardwood?
Unlike solid hardwood, engineered floors have a finite refinishing capacity. Here’s what you should expect based on your floor’s construction.
This depends entirely on your floor’s veneer thickness.
| Veneer Thickness | Refinishing Potential |
|---|---|
| 2 mm | Usually only once |
| 3 mm+ | Potentially 2-3 times over lifespan |
Factors Affecting Refinishing Frequency
- Quality of the original installation
- Maintenance history
- Sanding technique used (aggressive vs. gentle)
- Type of finish applied
Planning your refinishing schedule with these limitations in mind helps maximize your floor’s lifespan while preserving its appearance.
Maintaining Engineered Hardwood Floors Post Refinishing
Proper maintenance is crucial for extending the life of your newly refinished floors. A consistent care routine protects your investment and significantly delays the need for future refinishing work.
Daily Care Essentials
- Use only pH-neutral, manufacturer-approved cleaners
- Wipe up spills and moisture immediately to prevent seeping
- Sweep or vacuum regularly with a soft-bristle attachment
- Place felt protectors under furniture legs to prevent scratching
Long-Term Protection Strategies
- Position area rugs in high-traffic zones, but rotate them periodically
- Establish a “no shoes” policy, especially for high heels or cleats
- Keep pet nails trimmed and clean their paws after outdoor activities
- Schedule professional maintenance coats before visible wear appears
- Control indoor humidity levels between 35-55% to prevent wood expansion
With these targeted maintenance practices, your refinished engineered hardwood floors can maintain their renewed appearance for 5-7 years before requiring another refinishing treatment.
Potential Drawbacks and Limitations of Refinishing Engineered Hardwood
Being aware of these limitations helps set realistic expectations for your refinishing project and prevents costly mistakes.
- Over-Sanding Risk: Sanding too deeply can damage or penetrate through the veneer layer, exposing the substrate below.
- Limited Refinishing: Unlike solid hardwood, which can be refinished many times, engineered hardwood has a finite number of possible refinishing cycles.
Understanding these constraints allows you to make better decisions about when and how to refinish your engineered hardwood floors.
What to Do When Refinishing Isn’t an Option?
When veneer thickness or damage prevents traditional refinishing, you still have several options to improve your floor’s appearance.
Alternative Options
- Screen and recoat (light abrasion and new topcoat)
- Spot repairs for limited damage
- Retrofit floating floors over existing engineered hardwood
Replacing Entire Floor
Sometimes, replacement is more cost-effective than attempting to refinish floors with minimal veneer thickness.
These alternatives can extend floor life or provide a fresh look when traditional refinishing isn’t feasible for your specific situation.
The Bottom Line
Ready to breathe new life into those tired floors? Before grabbing that sander, remember that veneer thickness makes all the difference between success and disaster.
Take time to check your floor’s specs—that small measurement means everything for your refinishing project.
Thin veneers demand professional help, while thicker ones give you more options. The extra care pays off with floors that look brand new without the hefty replacement cost.
Even with engineered hardwood’s limitations, smart refinishing extends your floor’s lifespan by years or even decades. The decision comes down to this: proper refinishing preserves both your floor’s natural character and your bank account.
Make the right choice, and those beautiful wood floors will continue gracing your home for many more years to come.