Painted your pressure-treated deck too soon and watched it peel within months? That mistake costs homeowners hundreds in repairs.
Pressure-treated wood needs special care before painting, or you’ll waste time and money redoing the job. Most people skip critical prep steps and end up with bubbling, cracking finishes that look worse than before.
This guide shows you exactly when to paint treated wood, which paints work best, and how to prep the surface correctly.
You’ll learn the water-drop test for checking readiness, step-by-step application methods, and maintenance tips to help your finish last for years.
Stop guessing and start getting professional results on your outdoor projects.
What is Treated Wood and Pressure-Treated Wood?
Treated wood is lumber that has been soaked in chemical preservatives to protect it from decay, moisture, and insects. The preservatives soak into the wood’s surface.
This makes it last longer in outdoor settings. You’ll find treated wood used in gardens, decks, and areas where moisture is common.
Pressure-treated wood takes this protection further. It’s placed in a vacuum chamber where preservatives are forced deep into the wood under high pressure.
This method creates stronger, longer-lasting protection than regular treated wood. For outdoor projects like decks, fences, and structural work, pressure-treated wood is the better choice.
It handles harsh weather and resists rot far better than standard treated wood.
Before You Paint Treated Wood: Key Things to Know
Before you start painting your treated wood, keep these key factors in mind. Taking the proper steps will help your paint last longer and look better.
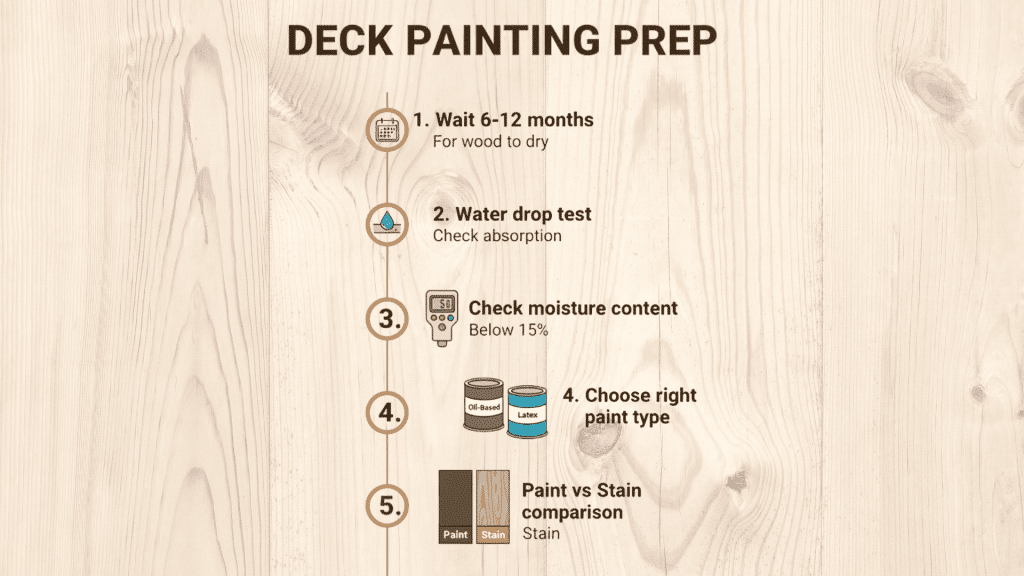
1. How Long to Wait Before Painting Pressure-Treated Wood?
You need to wait for the wood to dry completely before painting. Pressure-treated wood holds moisture from the chemical treatment process. Painting too early causes peeling, bubbling, or cracked paint.
Tip: Wait 6 to 12 months after installation. Test readiness with the water drop test. If water beads up, wait longer. If it soaks in, you’re ready to paint.
2. What Happens if You Paint Treated Wood Too Soon?
Painting wet wood creates problems that show up fast:
- Poor adhesion: Trapped moisture stops paint from sticking properly. This leads to peeling and bubbling.
- Mold and mildew: Moisture under the paint creates the perfect spot for mold growth. This damages both the paint and the wood underneath.
3. When Can You Paint Pressure-Treated Wood?
Check the moisture content first. The wood must be completely dry. Use the water drop test to confirm. When water soaks into the wood instead of sitting on top, it’s safe to paint.
4. What Type of Paint is Best for Pressure-Treated Wood?
Oil-based and acrylic latex paints both work well for pressure-treated wood. Oil-based paint gives stronger protection but takes longer to dry. Latex paint dries faster and flexes with the wood. Both handle outdoor conditions well, so choose based on your project needs.
5. Paint or Stain: Which is Better for Pressure-Treated Wood?
The choice depends on the look you want and how much upkeep you can handle:
| Feature | Paint | Stain |
|---|---|---|
| Coverage | Full coverage, hides wood grain | Shows natural wood texture |
| Color Options | Wide range of colors available | Limited to wood tones |
| UV Protection | Better protection from sun damage | Less UV protection |
| Maintenance | May chip or peel, needs touch-ups | Easier to maintain and reapply |
| Application | Sits on the surface | Soaks into wood |
| Longevity | Lasts 3 to 5 years with care | Needs reapplication every 2 to 3 years |
Best Uses for Pressure-Treated Wood
Pressure-treated wood works best for outdoor projects that face weather, moisture, and insects. Here are the most common uses:
- Decking and Patios: Its resistance to moisture and bugs makes it perfect for building outdoor decks that last.
- Fencing: This wood holds up well for both privacy fences and decorative styles over many years.
- Outdoor Furniture: Benches, tables, and garden swings stay strong and resist damage from rain and sun.
- Garden Structures: Raised beds, pergolas, and trellises handle constant outdoor exposure without rotting.
- Siding and Trim: You can use it for exterior trim and siding to get both durability and good looks.
Step-by-Step Guide to Painting Treated Wood
Ready to start your painting project? Success comes from having the right supplies and following the correct process. Here’s everything you need and the exact steps to follow for professional results.
| Tool/Material | Purpose |
|---|---|
| Paint or Stain | High-quality exterior paint or stain for outdoor use |
| Brushes and Rollers | 3-4 inch angled brush for details, roller for large surfaces |
| Pressure Washer or Scrub Brush | Clean dirt and grime with a mild detergent solution |
| Sandpaper (80-100 grit) | Smooth the wood surface for better paint grip |
| Primer | Needed for oil-based paint or older surfaces |
| Drop Cloths | Protect floors and surroundings from spills and drips |
| Painter’s Tape | Mask off areas for clean, sharp paint lines |
| Protective Gear | Gloves, goggles, and a mask for safety from fumes and splatter |
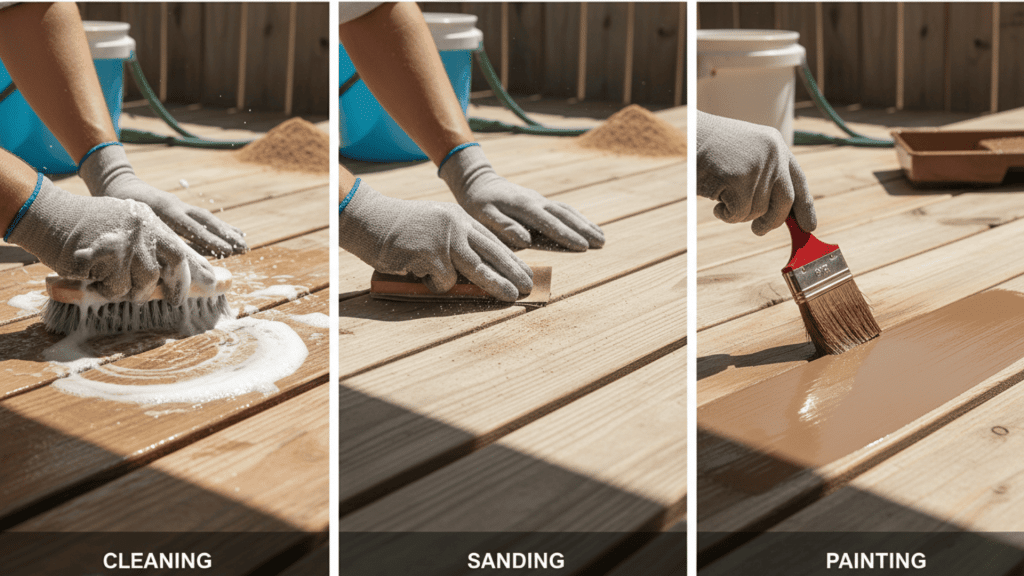
Step 1: Clean the Surface
Remove all dirt, mold, and debris from the wood surface. For large areas, use a pressure washer with mild detergent. For smaller projects, a scrub brush and soapy water work well. Let the wood dry completely before you continue.
Materials needed: Pressure washer or scrub brush, mild detergent, water
Step 2: Sand the Surface
Sand the wood lightly with medium-grit sandpaper to smooth out rough spots. This step helps paint stick to the surface better. Sanding also removes any leftover residue from the treatment chemicals.
Materials needed: Medium-grit sandpaper (80-100 grit), sanding block or electric sander
Step 3: Apply Primer (If Needed)
Apply a coat of primer if you’re using oil-based paint or working on old, weathered wood. Primer seals the wood and helps paint bond properly. Skip this step only if you’re using latex paint on fresh wood.
Materials needed: Exterior wood primer, brush or roller
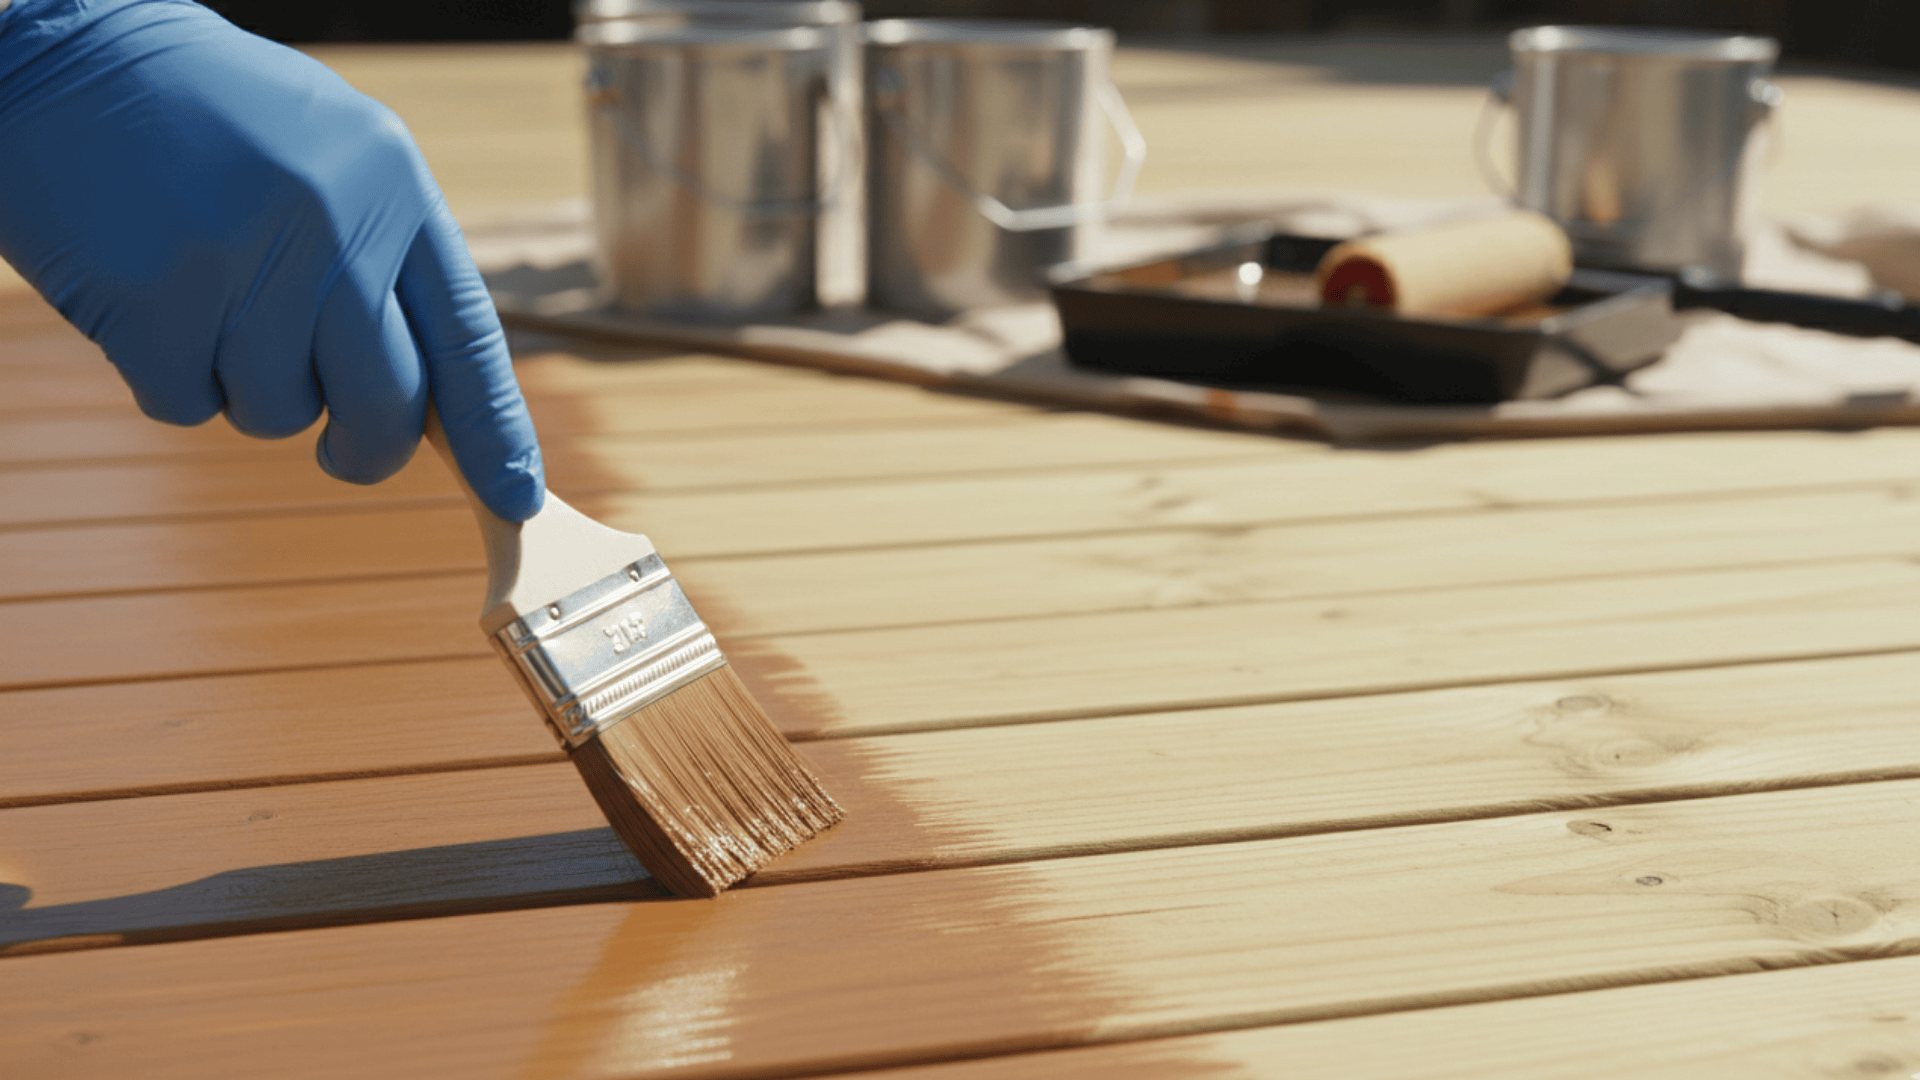
Step 4: Apply the First Coat
Use a quality brush or roller to apply your first coat of paint or stain. Work in small sections to keep coverage even across the surface. Let this coat dry fully before adding another layer.
Materials needed: Paint or stain, 3-4 inch angled brush, roller for large areas
Step 5: Allow Sufficient Drying Time Between Coats
Wait for each coat to dry completely before starting the next one. Rushing this step causes smudging and uneven texture. Check the paint can for recommended drying times based on weather conditions.
Materials needed: Time and patience (typically 4-6 hours between coats)
Step 6: Apply the Second Coat
Once the first coat is dry, add a second coat for extra protection. This layer creates a smooth, finished look that lasts longer. For best results, sand lightly between coats if the surface feels rough.
Materials needed: Paint or stain, brush or roller, fine-grit sandpaper (optional)
What Not to Do When Painting Treated Wood
Avoid these common mistakes for the best results:
- Painting Too Soon: Always wait for the wood to dry completely, or trapped moisture will cause paint to peel and bubble.
- Skipping Surface Preparation: Cleaning and sanding are must-do steps that ensure good paint grip and a smooth finish.
- Using the Wrong Paint: Choose oil-based or acrylic-latex paint made for outdoor use for lasting durability.
- Not Applying Primer: Skipping primer on oil-based paint or old surfaces leads to uneven color and weak adhesion.
- Applying Too Many Coats Too Quickly: Let each coat dry thoroughly before adding the next one for better coverage that lasts longer.
How to Maintain Painted Treated Wood
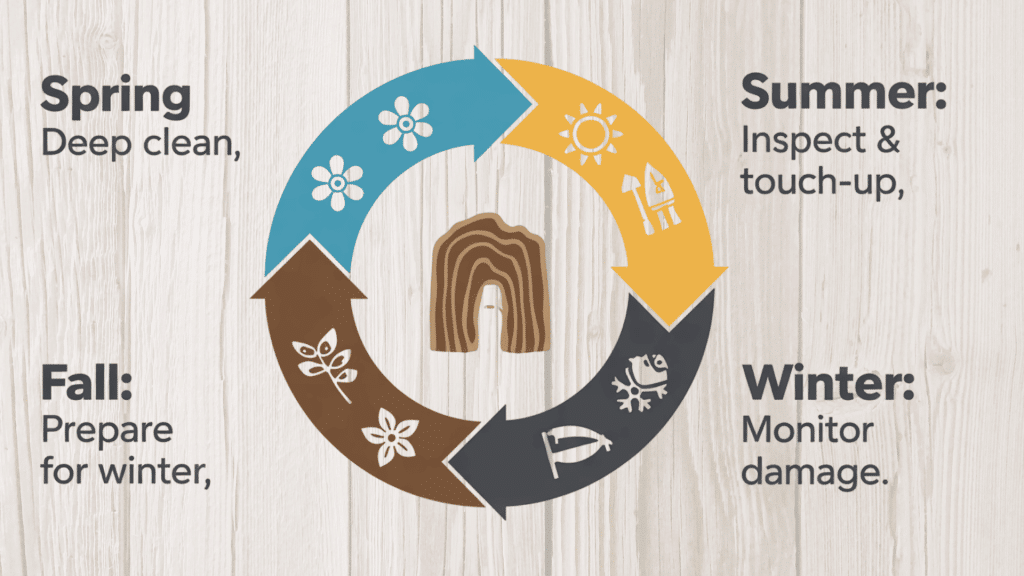
To keep your treated wood looking good and lasting longer, regular upkeep is key. Wash the wood every few months with mild soap and water to remove dirt and mold.
Check often for peeling paint, cracks, or mildew, and fix problems right away. Depending on weather conditions, plan to repaint or restain every few years.
This keeps the protective finish strong and your wood in top shape. Pay extra attention to areas that get direct sun or heavy rain, as they wear out faster.
Catching minor issues early saves you time and money on bigger repairs later.
Final Thoughts
Painting treated wood doesn’t have to be complicated when you follow the proper steps. Wait for the wood to dry completely, prep the surface well, and choose quality outdoor paint.
These simple actions save you from peeling paint and costly repairs down the road. Regular cleaning and touch-ups keep your projects looking fresh for years.
Ready to start your painting project? Use the water drop test first, gather your materials, and take your time with each step. Your patience now means better results later.
Have questions or tips to share? Drop a comment below and let us know how your project turns out!