
Your driveway cracks are getting worse. Winter’s coming fast, and you’re wondering if there’s still time to seal before the snow flies.
Many people face this exact dilemma each fall, unsure when it becomes too late in the season to properly protect their pavement.
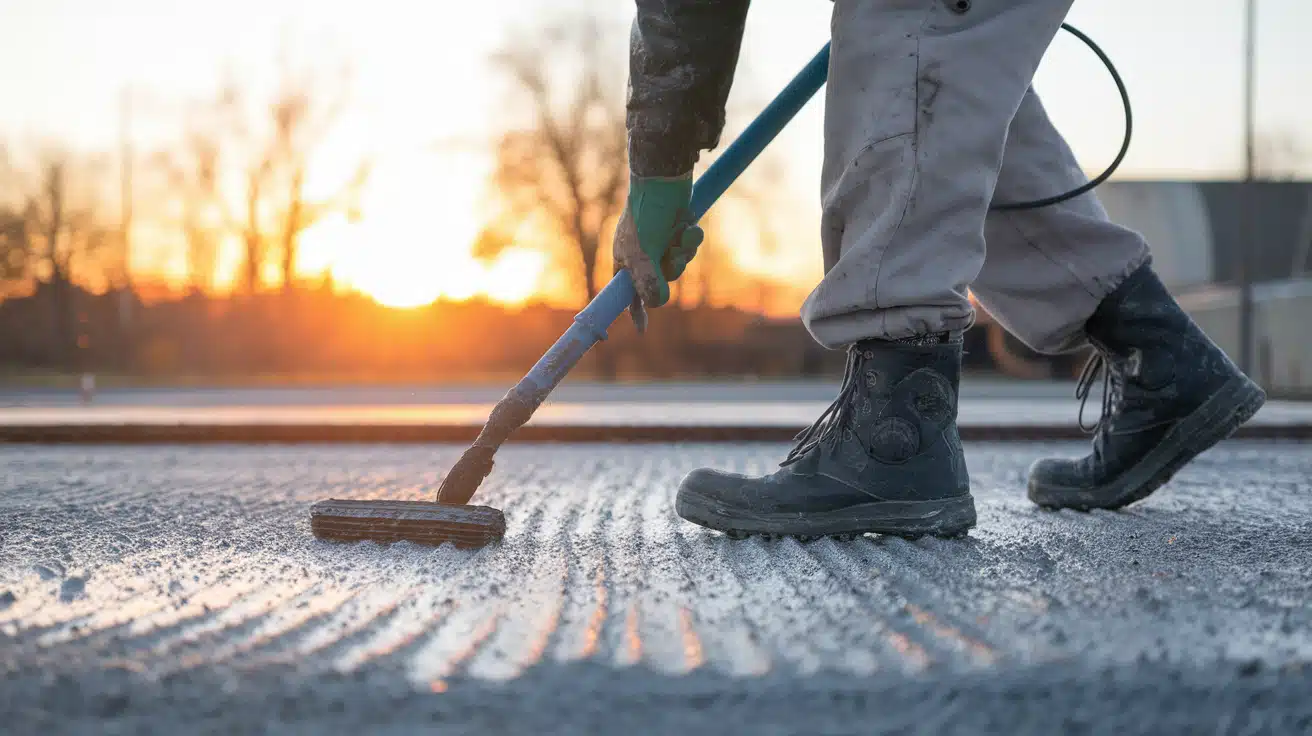
Cold-weather sealcoating isn’t impossible, but it’s challenging. Apply the sealer when temperatures are too low, and you’ll get peeling, cracking, and wasted money.
Wait too long, and winter damage costs will far exceed the cost of sealing.
This guide covers the exact temperature ranges you need, the biggest risks to avoid, and proven strategies that work when the weather isn’t perfect.
You’ll know exactly when to seal and when to wait until spring.
What Temperature Is Best for Sealcoating?
Temperature controls how well your sealcoat bonds to the pavement. Get it wrong, and you’ll face peeling, cracking, or a finish that won’t last through winter. The right temperature range creates strong adhesion and proper curing time.
- Ideal Air & Surface Temperature: Your pavement and air must reach at least 50°F during application.
- Daytime Highs: Keep temperatures above 55°F to 60°F for a full 24 hours after sealing.
- Overnight Lows: Never let temperatures drop below 45°F, as cold slows the curing process.
- Sunlight Exposure: Direct sunlight for 6-8 hours accelerates drying and yields a stronger finish.
Risks of Sealcoating in Cold Weather

Cold weather turns a simple driveway project into a potential disaster. When temperatures drop too low, your sealer can’t bond correctly with the asphalt surface. This leads to problems that show up immediately or cause headaches months later.
1. Poor Bonding
Cold surfaces prevent the sealer from creating a strong connection with your driveway. The coating sits on top instead of soaking in slightly.
Within weeks, you’ll notice peeling edges and flaking sections. Your driveway looks worse than before you started.
2. Extended Drying Time
Normal drying takes 4-8 hours in warm weather. Cold conditions can stretch this to 24-48 hours or longer.
During this time, leaves stick to the surface permanently. Footprints from family members become part of the finish. Even light vehicles can leave permanent tire marks.
3. Cracking & Weak Protection
Cold-applied sealcoat becomes brittle once it has fully hardened. The coating can’t flex with temperature changes like it should.
Water seeps through hairline cracks that develop quickly. Road salt penetrates easily, defeating the whole purpose of sealing.
4. Wasted Material & Effort
A failed sealcoat job means buying new materials in the spring. You’ll spend another weekend preparing and reapplying the coating.
The time and money invested in the first attempt are completely lost. Some driveways require professional repair before they can be sealed again.
Best & Worst Times of Year to Sealcoat
The success of sealcoating depends heavily on seasonal temperatures and daylight, making summer and early fall the best times, while late fall and winter pose the greatest risks.
| Season | Sealcoating Outcome | Notes |
|---|---|---|
| Summer | Best Results | Warm temps + long days make curing optimal |
| Early Fall | Acceptable | Works if daytime temps stay above 55°F |
| Late Fall/Winter | Risky | Cold nights and shorter days reduce bonding |
| Early Spring | Acceptable | Only if no frost and the temperatures are stable |
Tips for Sealcoating in Cooler Weather
Sometimes you can’t wait for perfect spring weather. Perhaps your driveway has developed fresh cracks that require protection before winter arrives. If temperatures hover around the minimum safe range, these strategies can help you succeed.
- Prep the Driveway Thoroughly: Remove every leaf, twig, and oil stain from the surface before starting.
- Choose Cold-Weather Sealers: Look for fast-curing formulas designed to work in temperatures as low as 45°F.
- Apply Thin Coats: Two light applications bond better than one heavy layer in cool conditions.
- Track the Forecast: Wait for a minimum 48-hour window of dry weather above 50°F.
- Avoid Shady Spots: Start sealing areas that get direct morning sunlight first.
While working around your driveway perimeter, don’t forget about the gap between your house and driveway. This small space can let water reach your foundation if left unsealed. Taking care of both your driveway’s surface and edge details provides complete protection.
DIY vs. Professional Sealcoating in Cold Weather
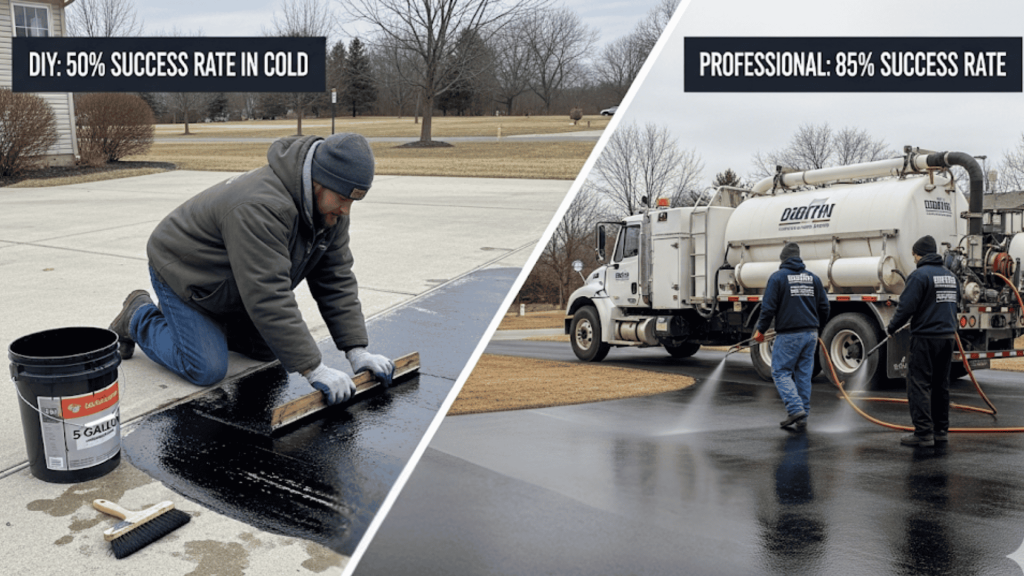
While DIY sealcoating is possible, colder temperatures make it far more challenging, which is why many homeowners rely on professionals with specialized tools and additives for better results.
| Aspect | DIY Approach | Professional Service |
|---|---|---|
| Equipment | Basic squeegee, brush | Heated tanks, spray systems |
| Weather Flexibility | Must wait for perfect conditions | Can work in borderline temps |
| Drying Time | 24-48 hours in cold | 12-24 hours with additives |
| Success Rate | 50-60% in cool weather | 85-90% year-round |
| Cost | $50-150 materials | $300-800 total job |
| Warranty | None | 1-2 years typical |
Cold weather makes DIY sealcoating projects much harder than those in summer. Your basic tools work fine in warm conditions, but struggle when temperatures drop.
Professional crews have heated application equipment and cold-weather additives that aren’t available to homeowners.
If you decide to tackle the project yourself, having the right tools and a step-by-step approach makes all the difference.
Many homeowners succeed with proper preparation, but cold weather leaves little room for mistakes. Consider your skill level and the forecast before choosing your path.
When to Delay Instead of Sealcoating
Sometimes patience saves you from a costly mistake. Skip sealcoating if daytime temperatures stay below 50°F for more than a day or two.
Any forecast showing rain, frost, or freezing nights within 48 hours means waiting is smarter.
Ground that stays wet from snow melt or lacks direct sunlight won’t dry properly, leading to poor results that waste your time and money.
Conclusion
Cold weather sealcoating can be effective, but only under the right conditions and with careful planning.
Remember the 50°F minimum rule, watch for 48-hour dry windows, and don’t rush when temperatures are borderline. A failed fall application costs more than waiting until spring.
Your driveway is a major investment worth protecting properly. If the weather cooperates, sealing now saves money on spring repairs.
If conditions aren’t right, patience protects your investment better than a rushed job. The choice you make today affects your driveway’s condition for years to come.
What’s your experience with cold-weather sealing? Share your tips or questions in the comments below; other homeowners can learn from your successes and mistakes.