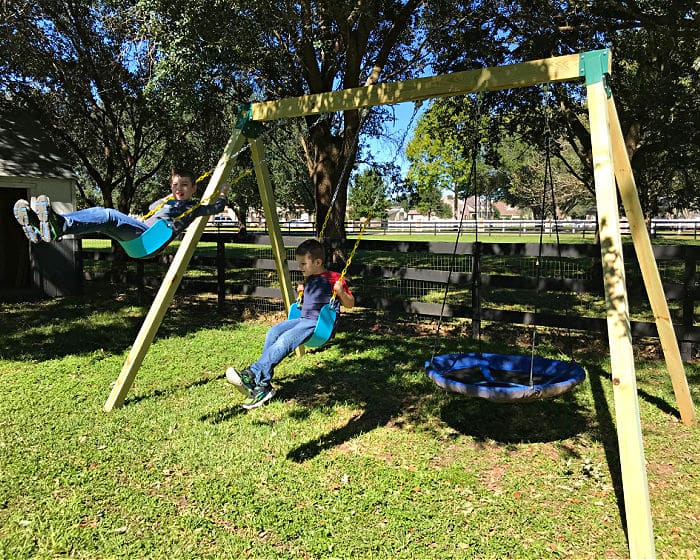

Wouldn’t you love having a DIY swing set in your backyard where you and your children can spend quality time together? Build it now. The best part about building a DIY swing set is your child can give you a hand while building and assembling, which will make him emotionally connected to the swing, and he will often use it to play. Great memories are created together! An additional plus point is the cost efficiency.
It is no herculean task to build a DIY swing set. Follow the following simple steps and other details to build your child’s dream swing set, which you can also enjoy time and again.
Before you get into building steps, it is important to collect all the requirements before you begin with the work.
Materials and Tools Needed for DIY Swing Set
Tools Required
Materials Required
- 4’*4’*8’ pressure treated lumber(4 pieces)
- 4’*6’*10’ pressure treated lumber(1 piece)
- 2’*6’*12’ pressure treated lumber(1 piece)
- A- frame metal bracket(2 pieces)
- Swing set bracket(2 pieces)
- Heavy duty swing hangers(2 sets)
- Horse glider bracket and seat(1 set)
Now, let the fun begin! Pro Tip: Start your work on a level and flat ground and in the area where you wish for the DIY swing set to be placed.
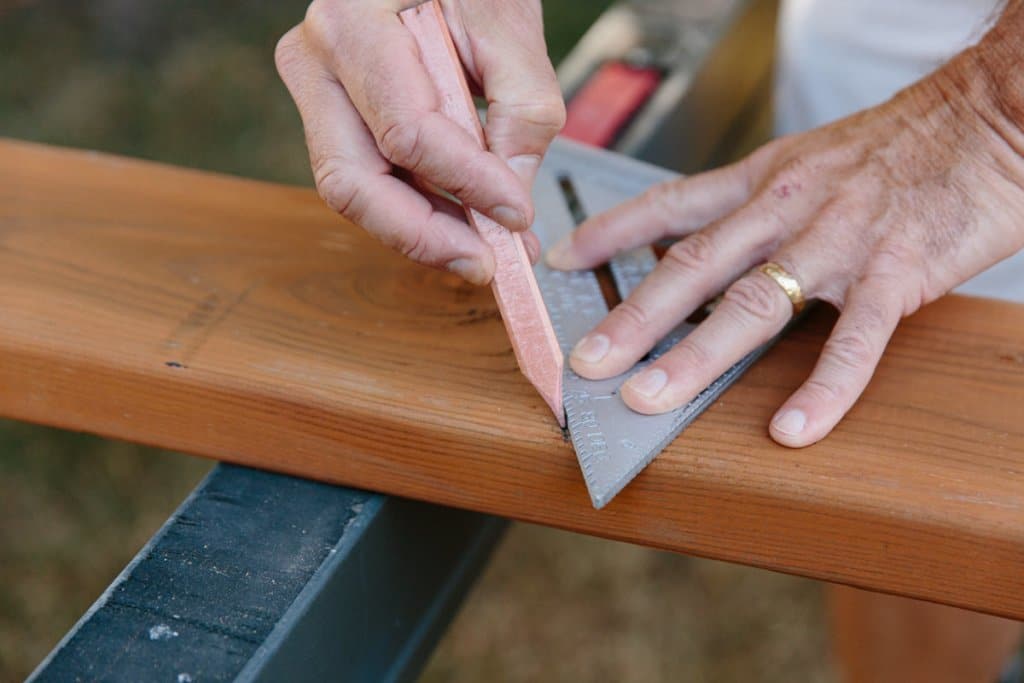
Step 1: Layout Lumber and Brackets
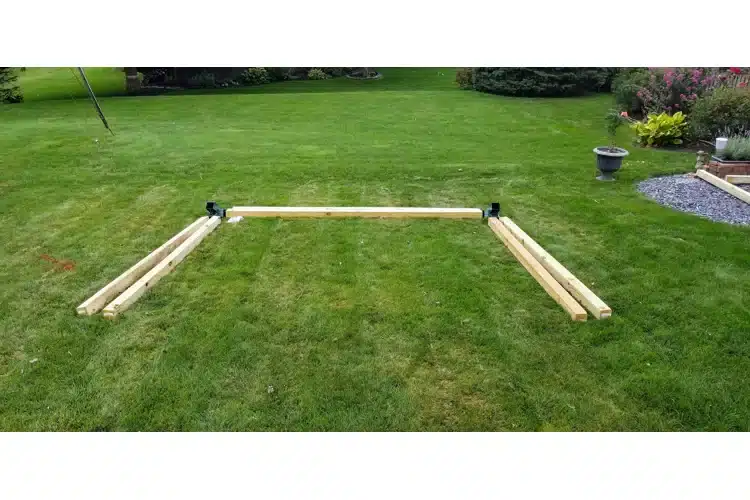
Start with the leg of the DIY swing set by laying out 4’*4’*8’ pressure-treated lumber, all four pieces, 2 on each side. Place the 4’*6’*10’ lumber at the top, which will function as the beam. And keep your drilling machine ready.
Make sure the lumber pieces that you use are of good quality because they will form the base of the swing set. Check the credibility before you start working on it. You can either go for the fancy-painted lumber or choose a plain one that you can paint later with your child’s favorite color.
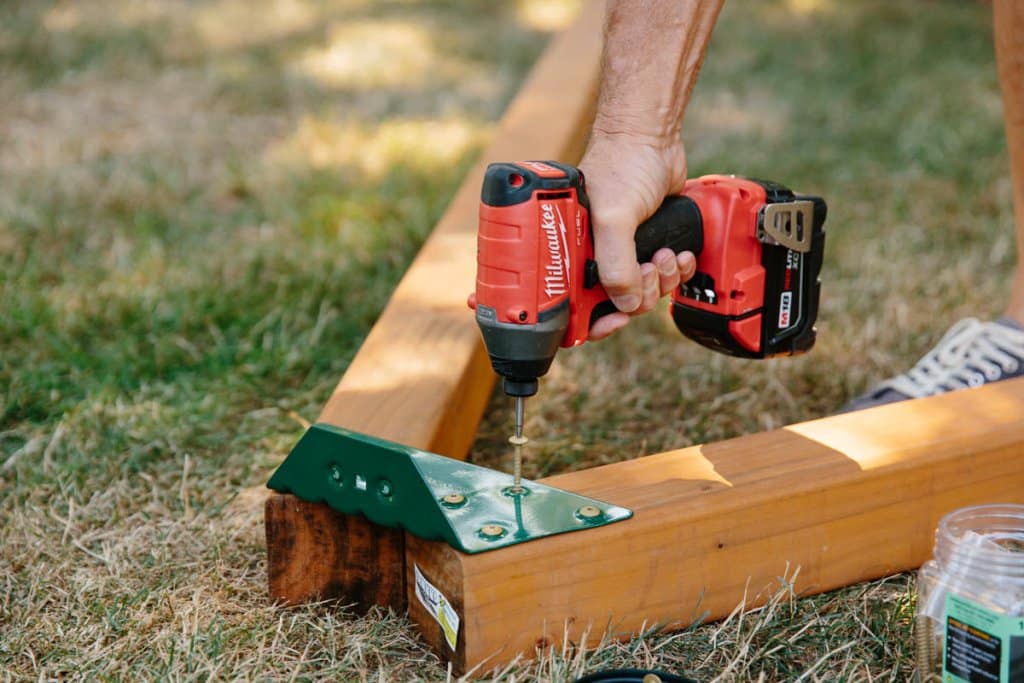
Step 2: Attach Brackets
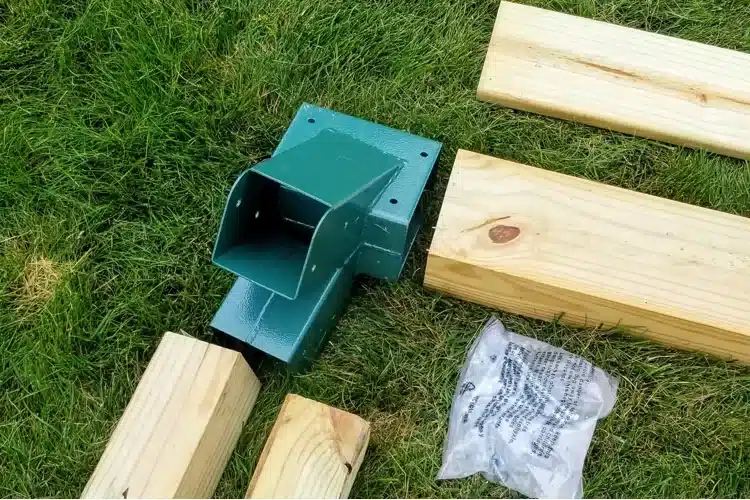
The next step requires installing and attaching brackets to the 4’*6’*10’ beam. Usually, necessary hardware comes along with the swing set brackets, which need to be screwed into the beam. However, if that is not the case, install the brackets on either side of the beam and use a hammer to knock them.
Drill about three-inch deep holes on either side of each bracket using the ¼ inch drill bit. Use the ½ inch socket/wrench to install the 3-inch lag bolts(12 pieces) supplied along with brackets. Do not forget to involve the kids and do not shy away from seeking help since the lumbers will be quite heavy.
Step 3: Attach Legs
While the structure is still laying on the ground, insert the 8 ft. 4*4’s into the brackets. Drill 4 pilot holes of about 3-inch depth on all the 4 legs using the ¼ inch drill pit and install the 16 three-inch lag bolts using the ½ inch socket. Make sure after all the lumbers and brackets are attached appropriately, your legs make an A-frame structure. Recheck for shortcomings.
Optional: Attach side supports on either side of the DIY swing set to firm its hold on the ground. Cut 2’*6’*12’ lumbers and attach them to the lower and upper ends of the set.
Step 4: Swing Hanger
An optimal safe distance is 18 inches between each swing, and thus, for every swing attachment, maintain a 16-inch distance between the hangers. Depending on the length of your beam, mark the center of the beam. From the center of the beam, measure a distance of 18 inches and mark the space for the 16-inch swing hanger on either end.
If your beam is long enough, you can very well place 3 swing hangers on the same frame. Now use the ¼ inch drill bit to pre-drill 2-inch deep holes at each mark and thread in all the swing hangers using the adjustable wrench.
Step 5: Stand the Frame
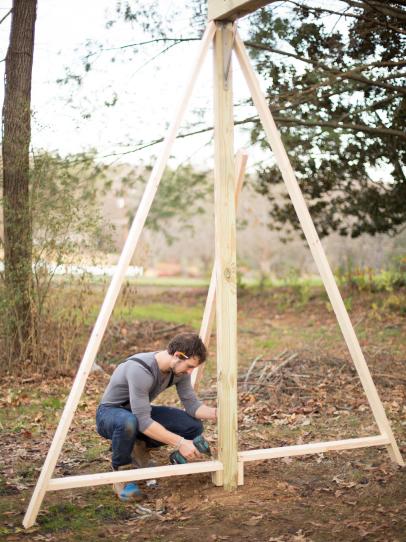
Now that the structure is ready with all the added weights of brackets and other accessories, it will require a minimum of 2 adults to lift and move the frame to the desired spot. Find a level plot of around 20 ft. X 18 ft. in your yard to fix the DIY swing set. Make sure the place is safe for the kids to play all day long.
Step 6: Safety Stakes
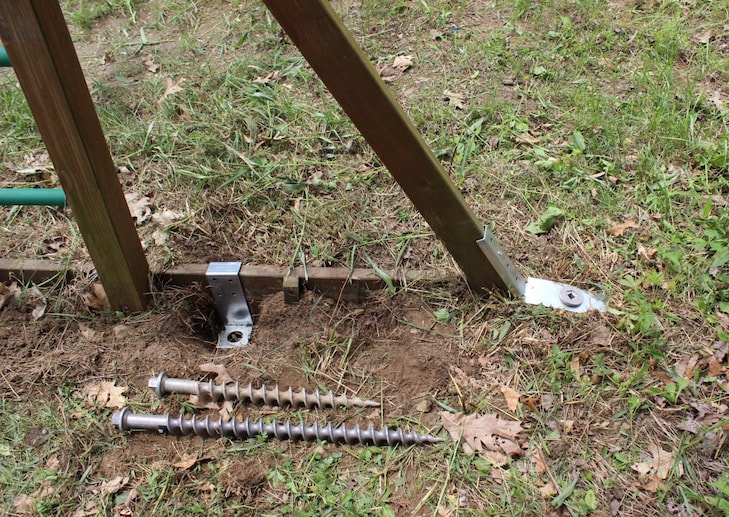
Once the DIY swing set is installed in the ground, it is important to keep it firm and intact with the ground. When it’s a matter of your child’s safety, leave no loopholes. Apart from the ¼ inch drill bit, some extra tools and materials will be required to safeguard the DIY swing set from disbalancing or uprooting.
Follow these steps to fix the swing set with the ground
- On the outside of each leg, pre-drill a 2-inch hole from the bottom up and keep it centered on the width of the leg.
- Thread in the 5/16 X 2-½ inch screw eyes to help insert the J bolts.
- Through the screw eye on each leg, hammer the 12-inch J bolt into the ground.
Your DIY swing set is ready to use. You can now accessories the swing set with your children’s favorite materials. Ask your children to pick their favorite colors and paint each swing hanger with an individual color for each kid.
Essential Tips for Efficient Workflow
Building a swing set does not involve rocket science. However, it does call for safety tips that are easy and essential both at a time. To adhere to this basic grievance, here we present to you certain helpful tips to make your work easy and efficient.
- Use a socket adaptor for drilling.
- Use a long drill bit and attach boards underneath to make it easy.
- Use nylon quality climbing rope as swing hangers.
- Customize your own swings by utilizing buckets and toy cars.
- Minimize your working space so you don’t need to carry heavy lumber to the desired location.
- Attach all the legs and beams already before standing up the structure.
- Tighten everything once they are in place.
- Use the swing once for yourself before the children enjoy the rocky road. This will help you recognize any faulty attachments while swinging.
Let your children learn the value of teamwork and help them analyze the various aspects of performing tasks. Not only will they enjoy their DIY swing set, but they will also learn valuable lessons right from their childhood.
Final Thought
DIY swing set building is a fun family experience. Arrange all the requirements before you assign the kids individual and team jobs. Let the ‘Bob the Builder’ in your child come out and witness them learning while enjoying. A DIY swing set will elevate your backward, and the neighborhood children will have a fun summer retreat with yummy cookies.
Select your plan wisely. Besides the A-frame free-stand swing set, you can also go for the tree branch swing set, the details of which, if you require, let us know in the comments.
We have discussed the detailed plan here. So, go through the details for your exclusive working project and do share your experience of how you proceeded on your journey ahead. We hope you enjoy your swing ride safely!