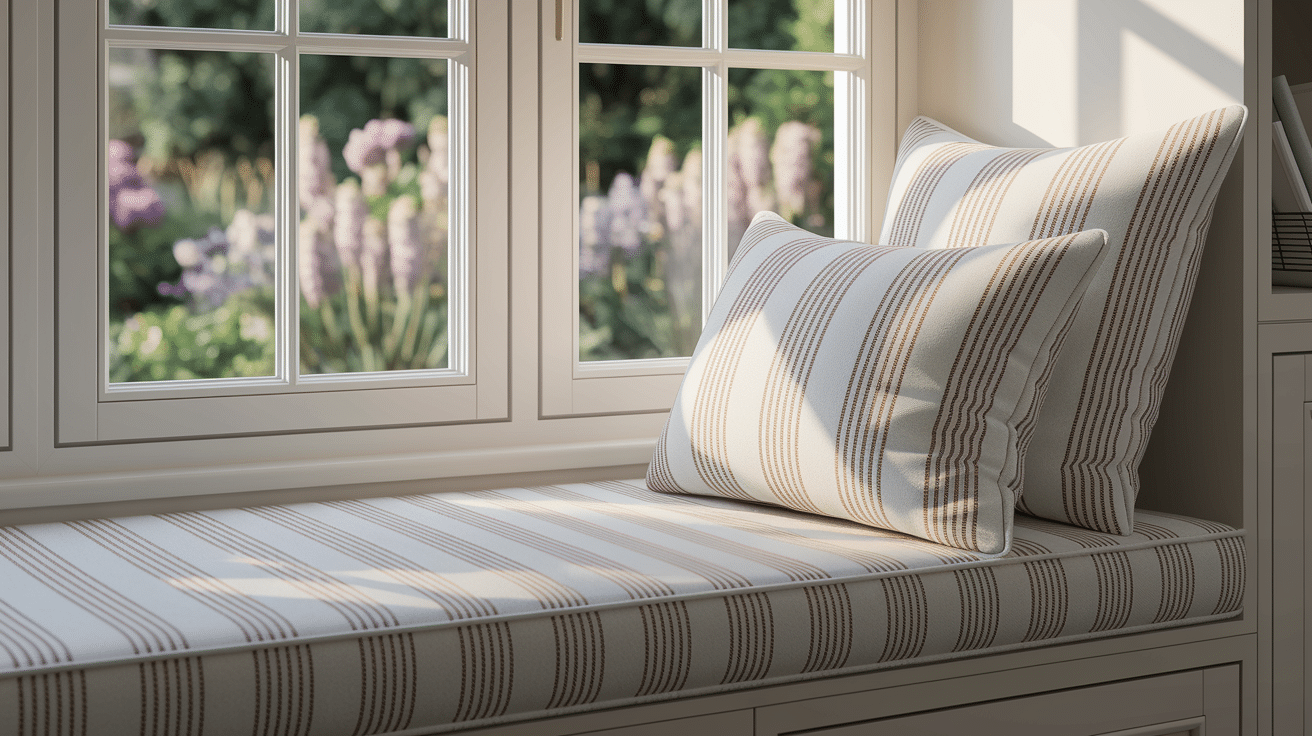

So you’ve built that dreamy window seat, but something’s missing—a comfortable cushion that makes it truly inviting!
Store-bought cushions rarely fit those custom dimensions perfectly, and custom ones can cost a small fortune.
The good news? Making your own cushion is easier than you might think.
With just a few supplies and some basic measurements, you can create a cushion that fits your window seat. No professional sewing skills needed!
This guide breaks down the process into simple steps anyone can follow.
Ready to transform that hard wooden bench into the coziest spot in your home? Let’s get started on your perfect cushion!
Materials Required
| Materials Required | Purpose |
|---|---|
| Plywood | Forms the base for the cushion |
| High-density foam | Provides cushioning and comfort |
| Batting | Adds a soft layer between foam and fabric |
| Fabric | Covers the foam and plywood to complete the cushion |
| Stapler | Secures batting and fabric to the plywood |
| Hammer | Assists in driving in staples for a secure fit |
| Scissors | Used to cut fabric and batting to size |
| Measuring tape | Ensures accurate measurements for cutting fabric |
| Sharp fabric shears | Provides clean, precise cuts in fabric |
| Hot glue gun | Seals fabric edges or other decorative trims |
Step 1: Preparing the Base
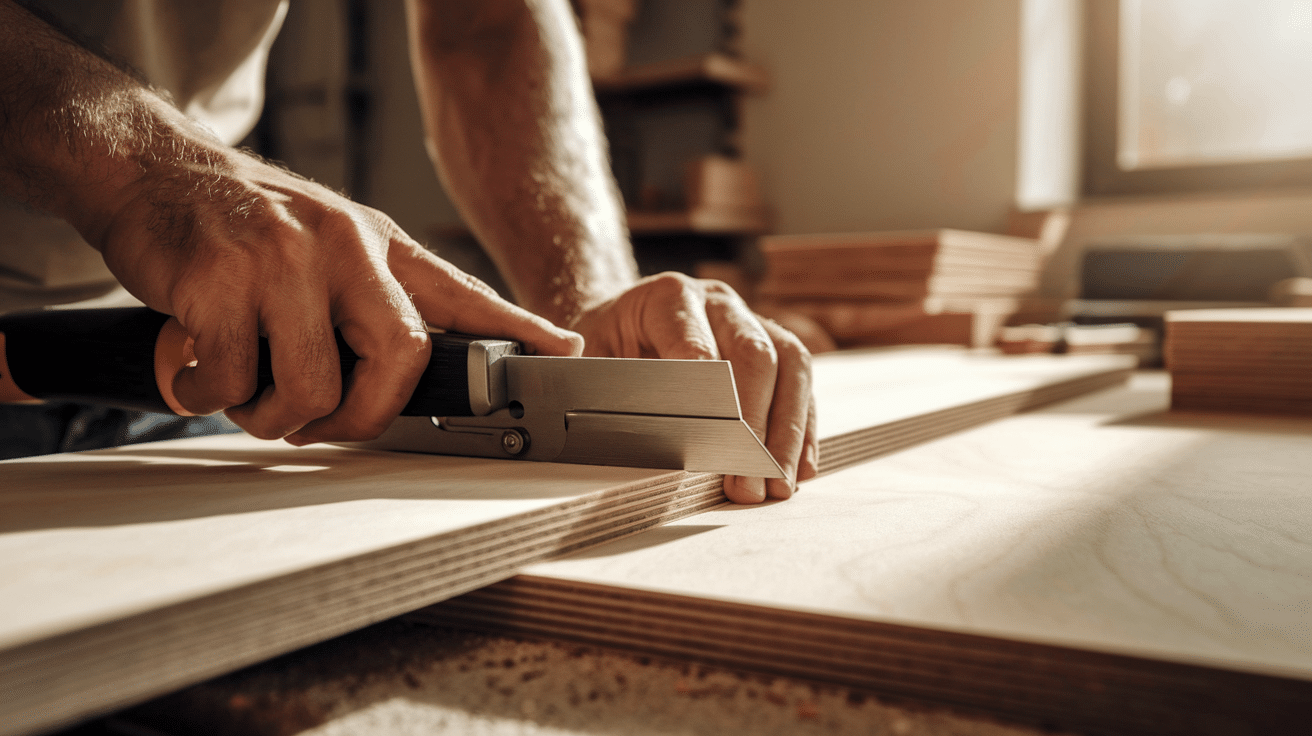
Start by cutting a piece of plywood to match the width of your bench, but keep it a few inches shallower in depth.
This prevents a harsh plywood edge from being visible through the fabric and creates a more natural, cushioned appearance.
Ensure the plywood is smooth and free of splinters to avoid damage to the fabric.
Key Considerations:
- Double-check the plywood dimensions before cutting to ensure a snug fit.
- Sand down rough edges to prevent wear on the fabric over time.
Step 2: Attaching the Batting
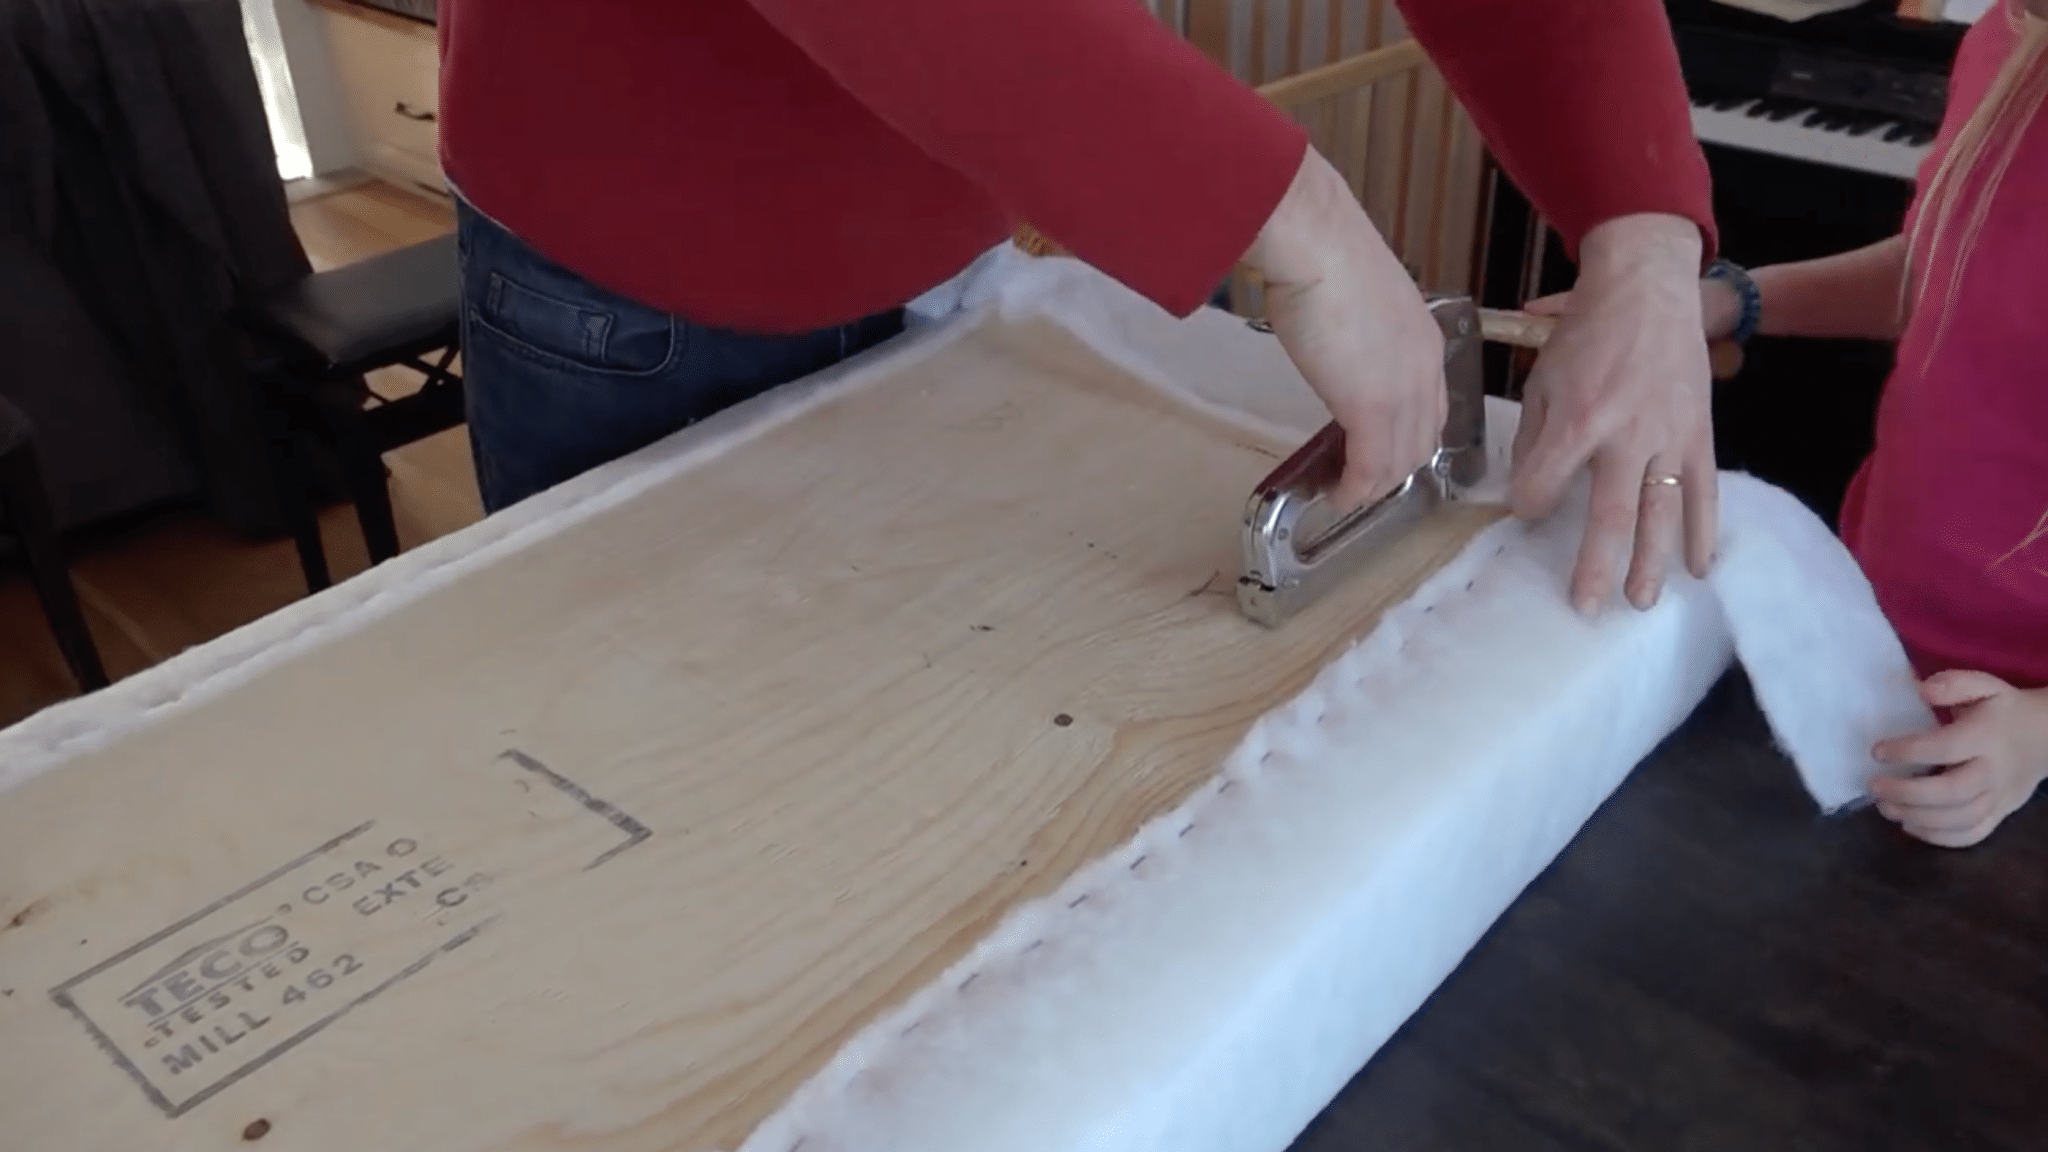
Lay the high-density foam on top of the plywood, ensuring it covers the surface completely.
Cut a piece of batting large enough to wrap around both the foam and plywood, allowing for a secure attachment.
Begin stapling the batting along each side, keeping it snug but not overly stretched.
Key Considerations:
- Avoid pulling too tightly to prevent stretch marks or misshaping the foam.
- Leave about four inches unstapled near the corners to allow for easier folding later.
Step 3: Securing the Batting at the Corners

To neatly secure the batting at the corners, pull the material up at a 45-degree angle and staple it down.
This technique ensures a clean and structured look.
Continue stapling between the initial staples to reinforce the hold, adjusting as needed for a smooth finish.
Key Considerations:
- If the staples are not fully embedded, use a hammer to press them securely into the plywood.
- Keep the front-facing area as neat as possible since it will be the most visible part.
Step 4: Wrapping and Securing the Fabric
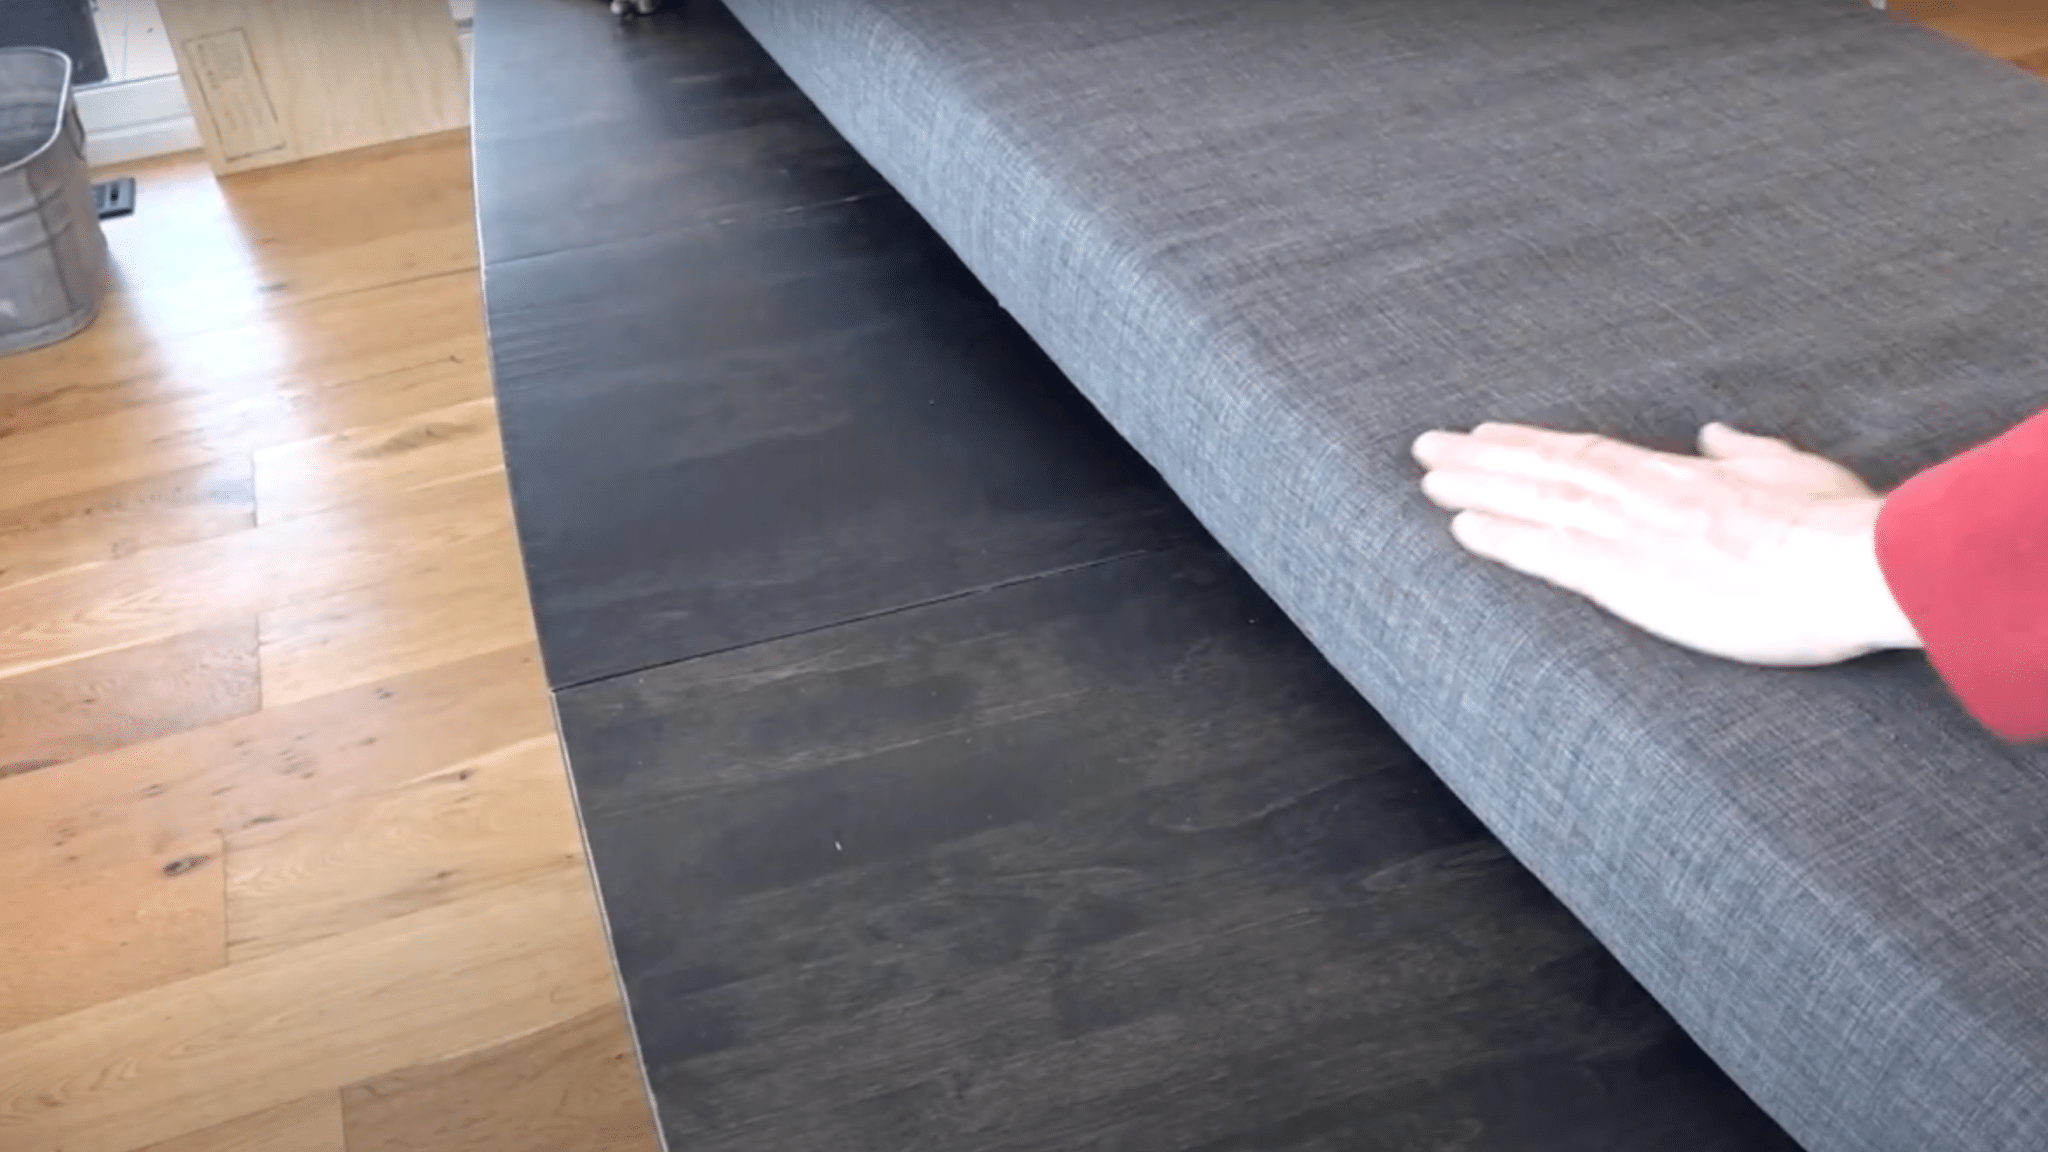
Cut the fabric so it fully covers the batting, plywood, and foam with enough excess to fold over.
Before stapling, fold the edge of the fabric inward once to create a clean finish.
Pull the fabric tight along the length of the cushion before stapling, ensuring it lays flat without wrinkles.
Key Considerations:
- Stretch the fabric firmly before stapling to prevent sagging over time.
- Trim any excess fabric after stapling to maintain a neat, professional look.
Step 5: Finishing the Corners
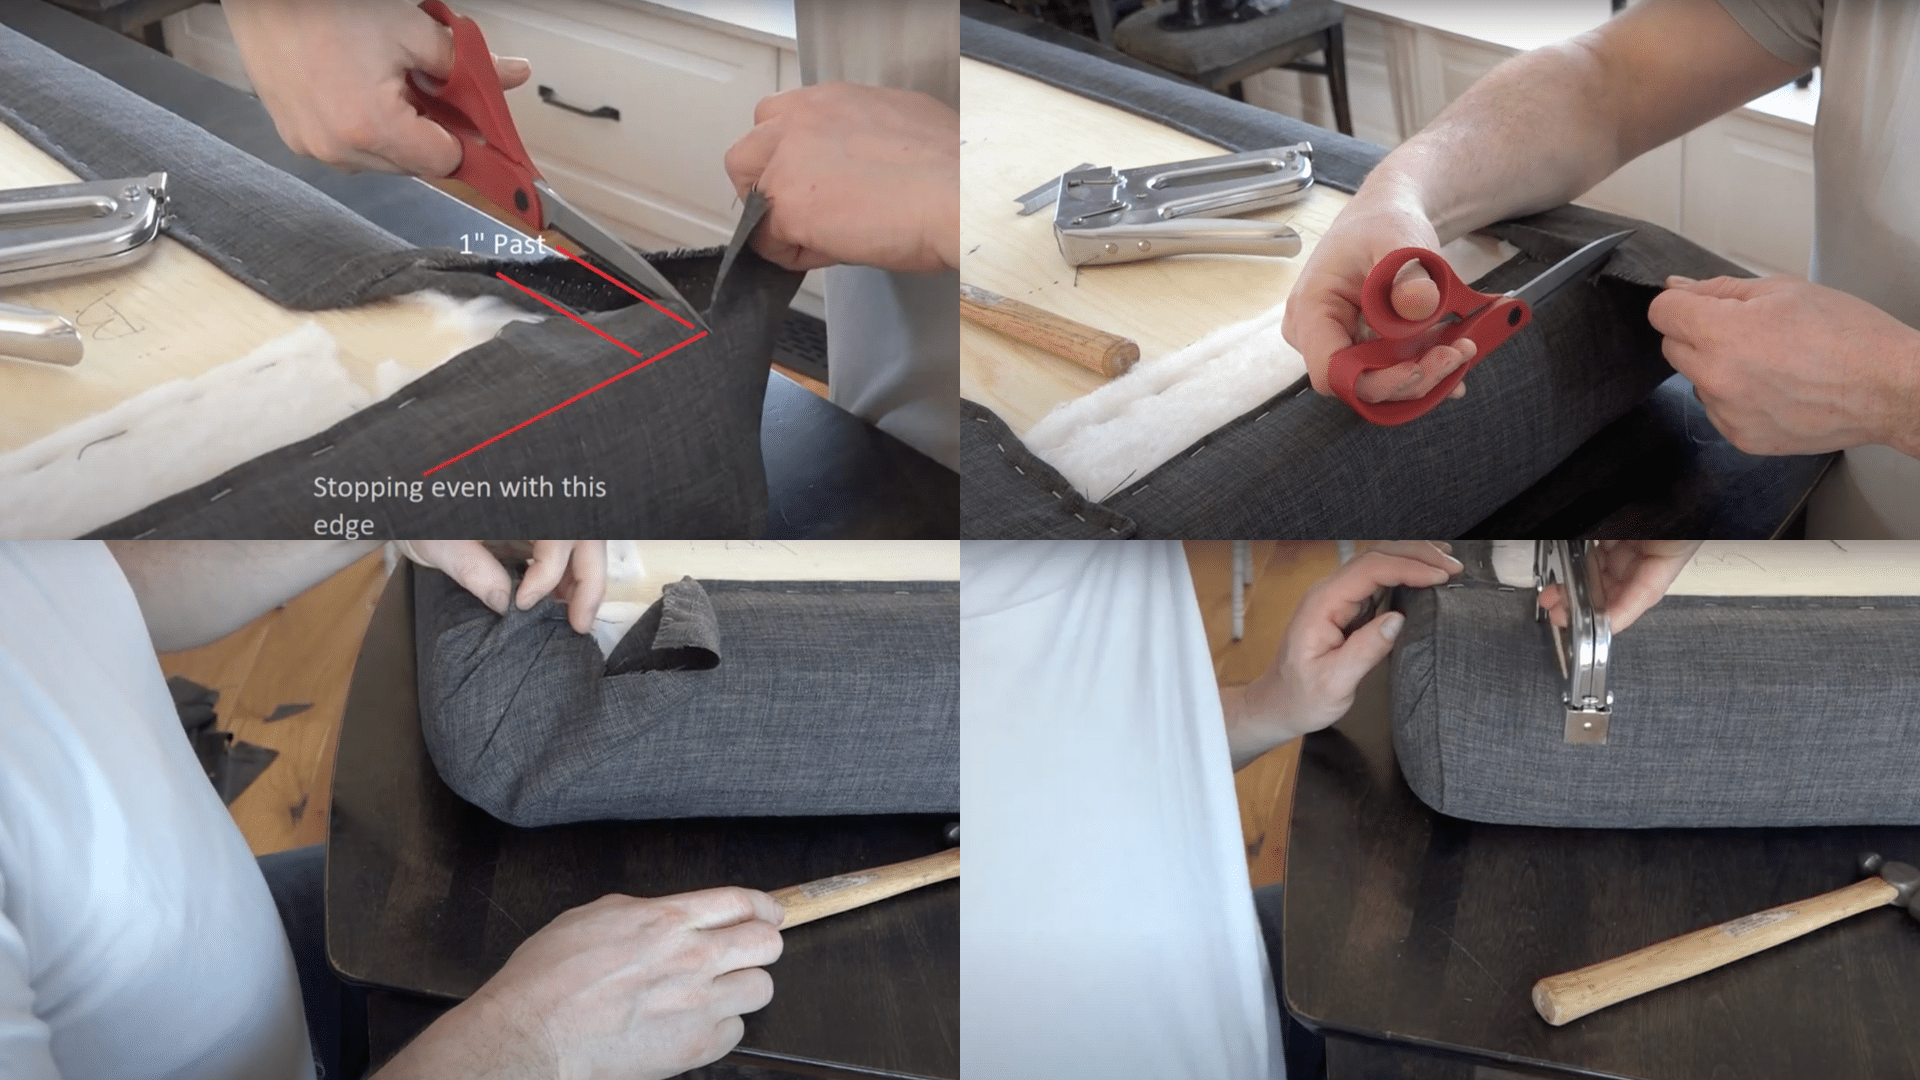
For the corners, pull the fabric straight out from the cushion and cut about an inch past the edge.
Fold the remaining fabric neatly and tuck it in before stapling, ensuring a clean and smooth edge.
This may take some trial and error, so adjust as needed for the best appearance.
Key Considerations:
- Start with the side that will be hidden to perfect the technique before working on visible areas.
- Secure each fold with multiple staples to prevent fraying or loose fabric over time.
Step 6: Final Adjustments and Inspection
Once all the fabric is secured, inspect the cushion for any wrinkles, loose fabric, or misaligned edges.
If needed, carefully remove and reposition any staples to achieve a better finish.
Lightly stretch the fabric once more to eliminate any remaining lines.
Key Considerations:
- Reinforce weak areas by adding extra staples if necessary.
- Test the cushion by pressing down on different areas to ensure even padding and durability.
DIY Window Seat Cushion Video Tutorial
For more information, check out this video tutorial by VincesDIYs
Essential Maintenance for Your DIY Window Seat
Keeping your DIY window seat looking its best doesn’t require much effort, but a little regular maintenance can help preserve its appearance and functionality.
- Dust your window seat weekly using a soft cloth, paying extra attention to corners and decorative details to prevent dust buildup.
- Clean wooden surfaces with a mild wood cleaner or a solution of warm water and dish soap to keep them looking fresh and avoid damage.
- Wipe up spills immediately to prevent staining or water damage, especially on wood finishes. A quick cleanup will save you from long-term issues.
- Tighten any loose screws or hardware every few months, as regular use can cause them to loosen over time, ensuring the structure stays sturdy.
- Apply WD-40 or household oil to squeaky hinges to maintain smooth operation and extend the life of your window seat.
- Touch up scratches or scuffs with leftover paint or stain to maintain a polished look and prevent further wear.
- Rotate cushions regularly to ensure even wear and maintain their shape, keeping them comfortable and looking neat for longer.
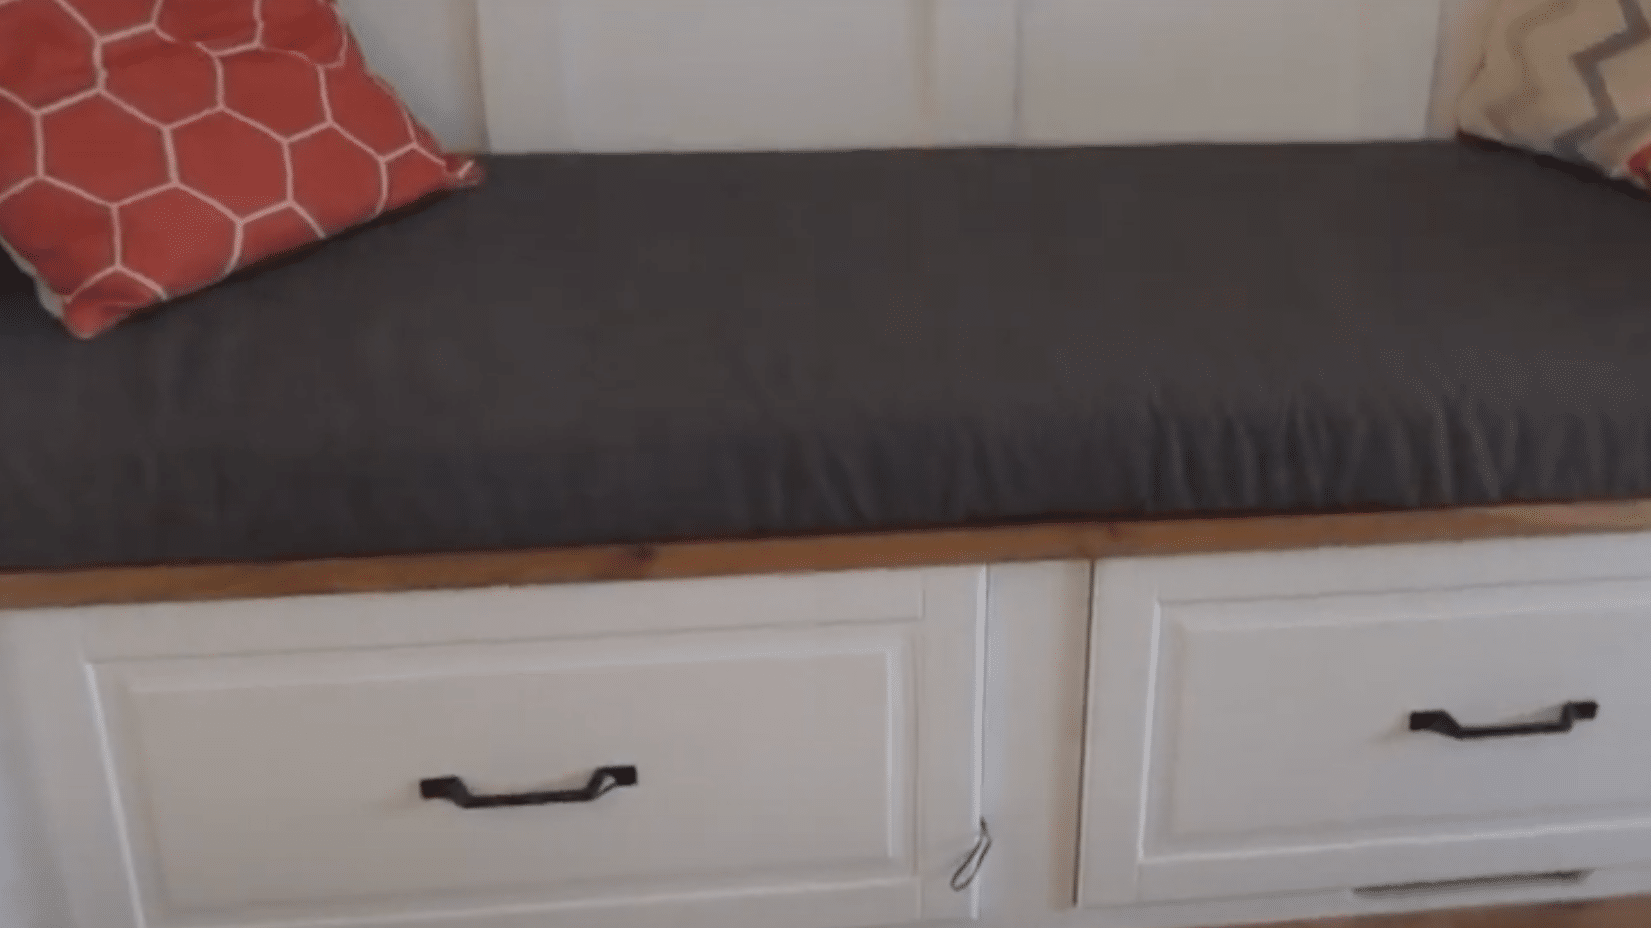
Relax and Enjoy Your Window Seat!
And there you have it—a beautiful, custom-made cushion that turns your window seat into the cozy nook you’ve been dreaming of!
Don’t worry if your stitches aren’t perfectly straight or if you had to make adjustments along the way. That’s the beauty of DIY projects—they carry your personal touch, making them even more special.
The best reward is seeing your window seat come to life, becoming that perfect spot for morning coffee, afternoon reading, or simply watching the world go by.
Remember to rotate your cushion occasionally to help it wear evenly, and spot clean as needed to keep it looking fresh.
Now go ahead—grab a book, make some tea, and settle into your newly cushioned window seat. You’ve earned this moment of comfort!