
Tired of staring at plain, boring walls that lack character and charm? Many homeowners struggle with outdated spaces that feel cold and uninviting, especially areas like laundry rooms that often get overlooked during home updates.
The good news is that you can easily add timeless appeal and architectural interest to any room without breaking the bank or hiring expensive contractors.
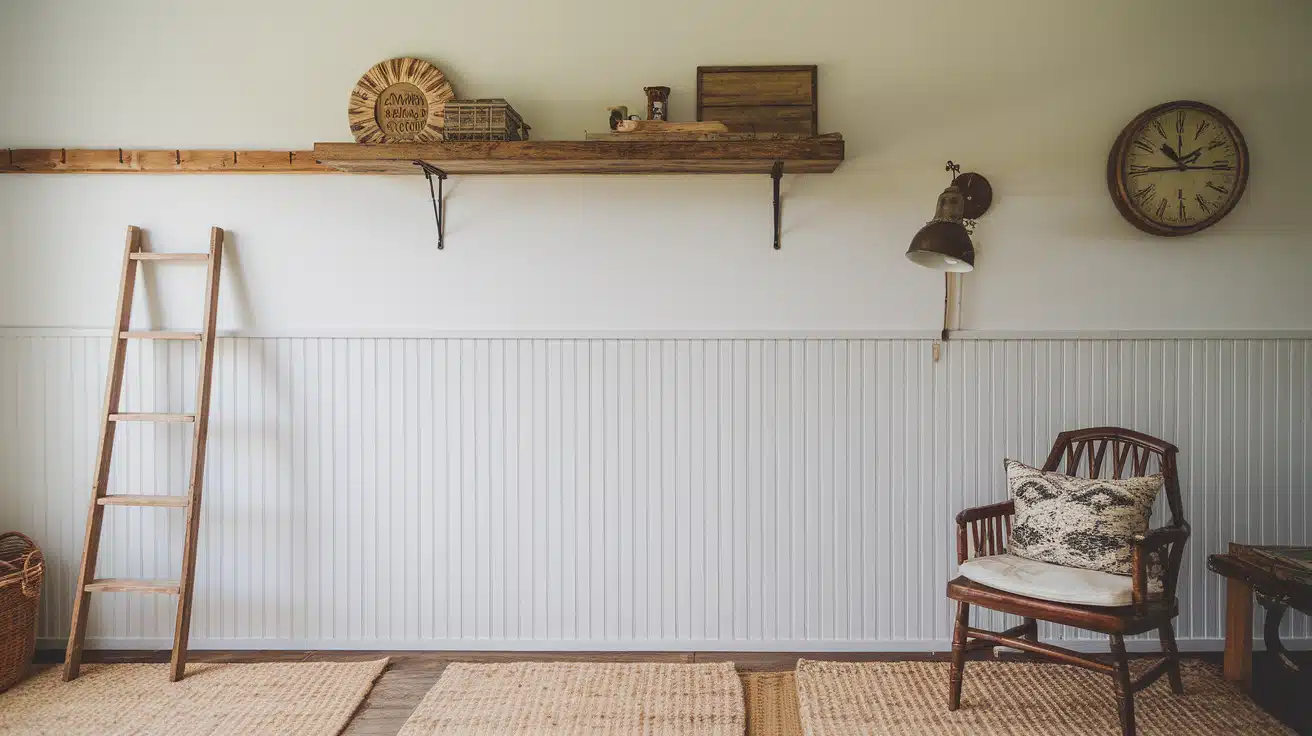
This step-by-step guide will show you exactly how to install beautiful beadboard paneling that instantly adds cottage charm and visual interest to your walls.
You’ll learn professional techniques for measuring, cutting, and installing beadboard panels, along with insider tips for achieving a flawless finish that appears to have been done by a professional.
By the end of this tutorial, you’ll have the confidence and knowledge to tackle this weekend project and create a space you’ll love for years to come.
Why Choose Beadboard for Your Home Project?
Beadboard paneling offers the perfect blend of functionality and style for modern homes. This classic wall treatment has been popular for decades because it works well in a variety of design styles, from farmhouse to coastal to cottage.
Installing beadboard is also more affordable than many other wall treatments. You can purchase pre-made panels at most home improvement stores, and the installation process requires only basic tools that most DIY enthusiasts already own.
Different Types of Beadboard Options
- Traditional Wood Beadboard
- MDF Beadboard Panels
- PVC Beadboard
Step-by-Step Beadboard Installation Guide
Change your space with ease. This step-by-step guide walks you through everything you need to install beadboard.
Tools and Materials Needed
| Tools Required | Materials Needed |
|---|---|
| Level | Beadboard panels |
| Stud finder | Construction adhesive |
| Brad nailer | Brad nails |
| Oscillating tool | 1×6 pine board |
| Putty knife | Wood filler |
| Sanding sponge | Caulk |
| Paint sprayer (optional) | Primer |
| Measuring tape | Paint |
| Pencil | Baseboard molding |
Step 1: Planning and Measuring Your Wall
Before you begin cutting or installing anything, take time to plan your project carefully.
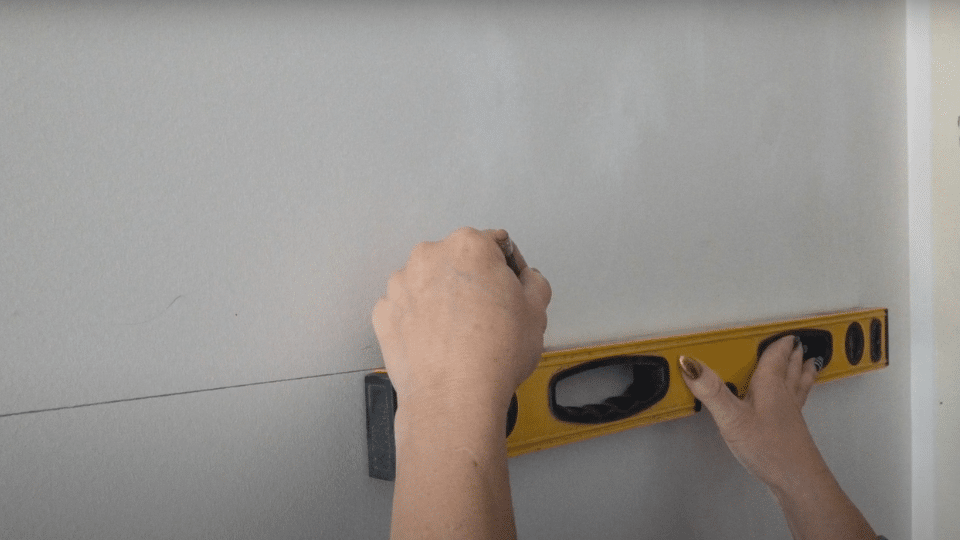
Measure the height where you want your beadboard to end and mark this line across the entire wall using a level.
This ensures your panels will be perfectly straight and aligned.
Next, locate all the wall studs using a stud finder and mark them with light pencil marks. This step is crucial because you’ll need to secure your beadboard panels directly to the studs for proper support.
Materials needed in this step:
- Level
- Measuring tape
- Pencil
- Stud finder
Instructions:
- Decide on the height for your beadboard installation
- Use a level to draw a straight line across the wall at your chosen height
- Locate all wall studs and mark their positions
- Double-check all measurements before proceeding
Step 2: Preparing Panels and Making Cuts
Measure any outlets or obstacles on your wall that will require cutouts in your beadboard panels.
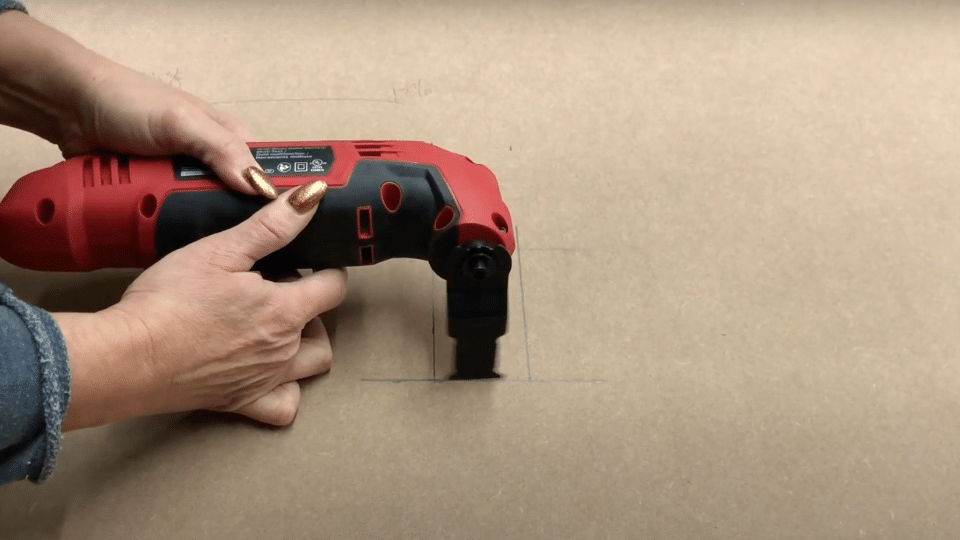
Mark the location of these cutouts on the back of your panels by measuring the distance from the wall edge to the outlet and from your marked line to the outlet boundaries.
Use an oscillating tool with a wood-cutting blade to carefully cut out the marked areas. This tool makes clean, precise cuts that will allow your electrical outlets to fit through perfectly.
Materials needed in this step:
- Beadboard panels
- Oscillating tool
- Wood-cutting blade
- Measuring tape
- Pencil
Instructions:
- Measure outlet locations and transfer measurements to panel backs
- Double-check all measurements before cutting
- Use an oscillating tool to cut outlet openings
- Test-fit panels to ensure proper outlet alignment
Step 3: Applying Adhesive and Installing Panels
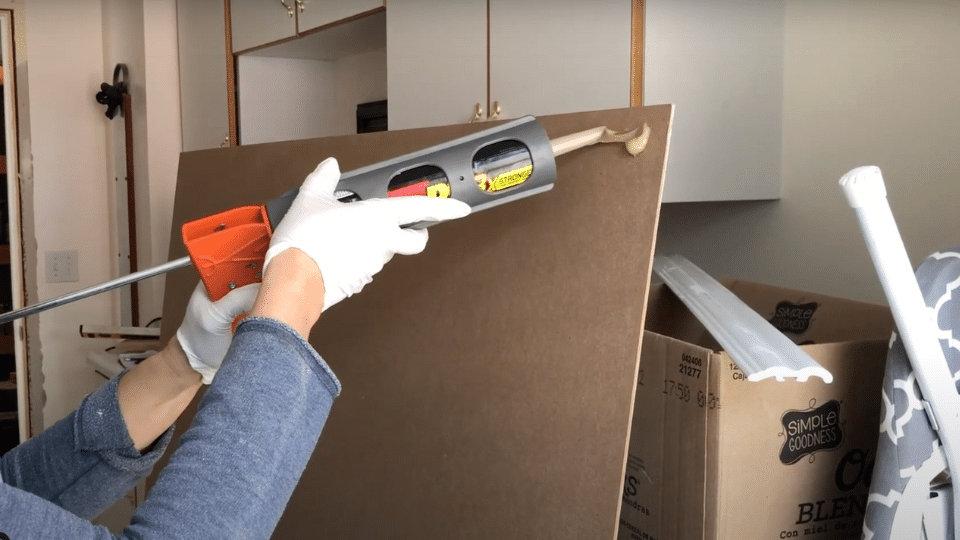
Apply construction adhesive around the perimeter of each beadboard panel, paying special attention to the edges where the panel meets the wall.
Add additional lines of adhesive across the entire back surface to ensure proper adhesion.
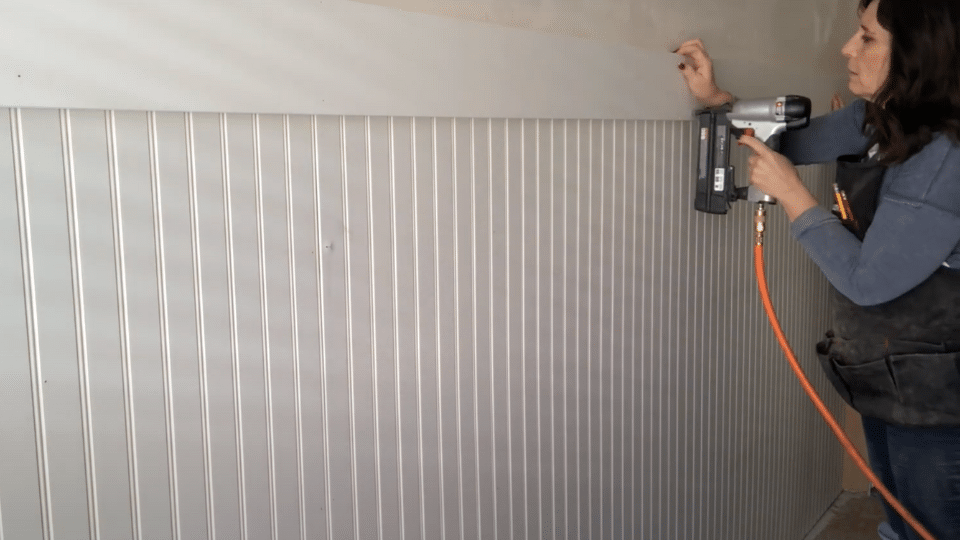
Position the first panel carefully, aligning it with your level line at the top. Press firmly against the wall and secure with brad nails at each stud location. Place nails on the flat surfaces rather than in the grooves for easier filling later.
Materials needed in this step:
- Construction adhesive
- Brad nailer
- Brad nails
- Beadboard panels
Instructions:
- Apply adhesive around the panel perimeter and across the back
- Position the panel against the wall, aligning with the level line
- Secure with brad nails at each stud location
- Continue installing the remaining panels using the same method
Step 4: Adding Top Trim and Finishing Touches
Install a 1×6 pine board along the top edge of your beadboard panels to create a finished look. This board also provides a sturdy mounting surface for hooks or other hardware, ideal for creating a mudroom feature.
For longer walls, you may need to join two boards. Cut both boards at 45-degree angles where they meet to create a clean, professional joint. Secure the trim board to the wall studs and fill any gaps with wood filler.
Materials needed in this step:
- 1×6 pine board
- Brad nailer
- Brad nails
- Wood filler
- Saw (for angle cuts)
Instructions:
- Measure and cut the top trim boards to fit the wall length
- Create 45-degree angle cuts for joining boards if needed
- Secure trim boards to wall studs with brad nails
- Fill any gaps or joints with wood filler
Video Tutorial
Special Thanks to Sunnyside Home for Providing Valuable Insights in Their Video, Which I Referenced While Creating This Guide.
Diy Beadboard Project Cost Breakdown
| Category | Details | Estimated Cost |
|---|---|---|
| Material Costs | 6–8 Beadboard Panels, Trim Boards, Adhesive, Nails, Paint | $250 – $450 |
| Tool Investment | Basic Tools (saw, Level, Caulking Gun), Optional Rentals (e.g., Paint Sprayer) | $100 – $200 |
| Time Investment | Total 2–3 Days (prep, Install, Finish); Installation Alone Takes 1 Afternoon | Time only (no Cost) |
Tips for Long-Lasting Beadboard Installation
Keep your beadboard looking beautiful and secure for years with these expert tips on durability and maintenance.
1. Choose Quality Materials
Select pre-primed beadboard panels whenever possible to Save Time and Ensure Better Paint Adhesion. Look for Panels with Consistent Groove Spacing and Smooth Surfaces.
Higher-quality materials may cost more upfront, but They Will Provide Better Results and Longer-Lasting Beauty. Check Each Panel for Warping or Damage Before Installation.
2. Proper Preparation Is Key
Take Extra Time During the Preparation Phase to Ensure Accurate Measurements and Level Installation Lines. Use a High-Quality Level and Double-Check All Measurements Before Cutting.
Mark Stud Locations Clearly and Verify Their Positions with a Stud Finder. Proper Preparation Prevents Costly Mistakes and Ensures Professional-Looking Results.
3. Caulk and Fill Carefully
Pay Attention to Caulking and Filling Nail Holes for a Seamless Finish. Use Paintable Caulk in Joints Between Panels and Where the Beadboard Meets Other Surfaces. Fill Nail Holes with Quality Wood Filler and Sand Smooth when Dry.
These Finishing Touches Make the Difference Between an Amateur and a Professional-Looking Installation.
4. Consider Your Paint Method
For Beadboard with Grooves, Consider Using a Paint Sprayer for the Best Coverage and Finish. When using a Roller, select a Small Foam Roller that Can Effectively Reach Into the Grooves.
Apply Thin, Even Coats Rather than Trying to Cover in One Thick Application. Allow Proper Drying Time Between Coats.
5. Plan for Future Maintenance
Install Beadboard in a Way that Allows for Easy Cleaning and Touch-Up Painting. Use High-Quality Paint that Can Be Easily Cleaned with Mild Soap and Water.
Keep Extra Paint for Future Touch-Ups, and Consider the Room’s Use when selecting a paint finish. Semi-gloss works well in High-Moisture Areas.
What Not to Do: Beadboard Installation Mistakes
| Mistake | Why to Avoid | Better Approach |
|---|---|---|
| Skipping Stud Location | Panels Won’t Stay Secure | Always Use a Stud Finder and Mark Locations |
| Rushing Measurements | Leads to Poor-Fitting Panels | Double-Check All Measurements Before Cutting |
| Using the Wrong Adhesive | Panels May Come Loose Over Time | Use Construction Adhesive Rated for Paneling |
| Placing Nails in Grooves | Difficult to Fill and Hide | Place Nails on Flat Surfaces Only |
| Inadequate Caulking | Visible Gaps and Unprofessional Look | Caulk All Seams and Joints Thoroughly |
| Forgetting Outlet Cuts | Panels Won’t Fit Properly | Measure and Cut All Necessary Openings First |
Beadboard Design Ideas and Inspiration
Height Variations: Traditional Wainscoting Height (36 Inches) Works Well in Dining Rooms and Bedrooms, While Taller Installations (48-60 Inches) Create Drama in Entryways and Living Spaces. Full-Wall Beadboard Makes Small Rooms Feel Larger and Adds Cottage Charm to Any Space.
Color and Finish Options: White Beadboard Remains the Most Popular Choice for Its Clean, Classic Appearance. However, Soft Blues, Greens, and Grays Can Add Personality While Maintaining the Timeless Appeal. Consider Two-Tone Approaches with Darker Lower Panels and Lighter Upper Walls.
Functional Applications: Beadboard Works Beautifully in Mudrooms with Added Hooks for Coats and Bags. Kitchen Backsplashes Benefit from Beadboard’s Easy-To-Clean Surface, While Bedroom Accent Walls Create Cozy, Cottage-Style Atmospheres.
Conclusion
Installing diy beadboard paneling is a rewarding project that can dramatically change the look and feel of any room in your home.
With the right tools, materials, and techniques, you can achieve professional-looking results in just a weekend. The key to success lies in careful planning, accurate measurements, and attention to detail during installation and finishing.
Remember that beadboard installation is forgiving for beginners, and minor imperfections can often be hidden with proper caulking and paint. Take your time with each step, especially the preparation phase, and don’t rush the finishing work.
This classic wall treatment will add lasting value and charm to your home, providing you with the satisfaction of completing a beautiful diy project.