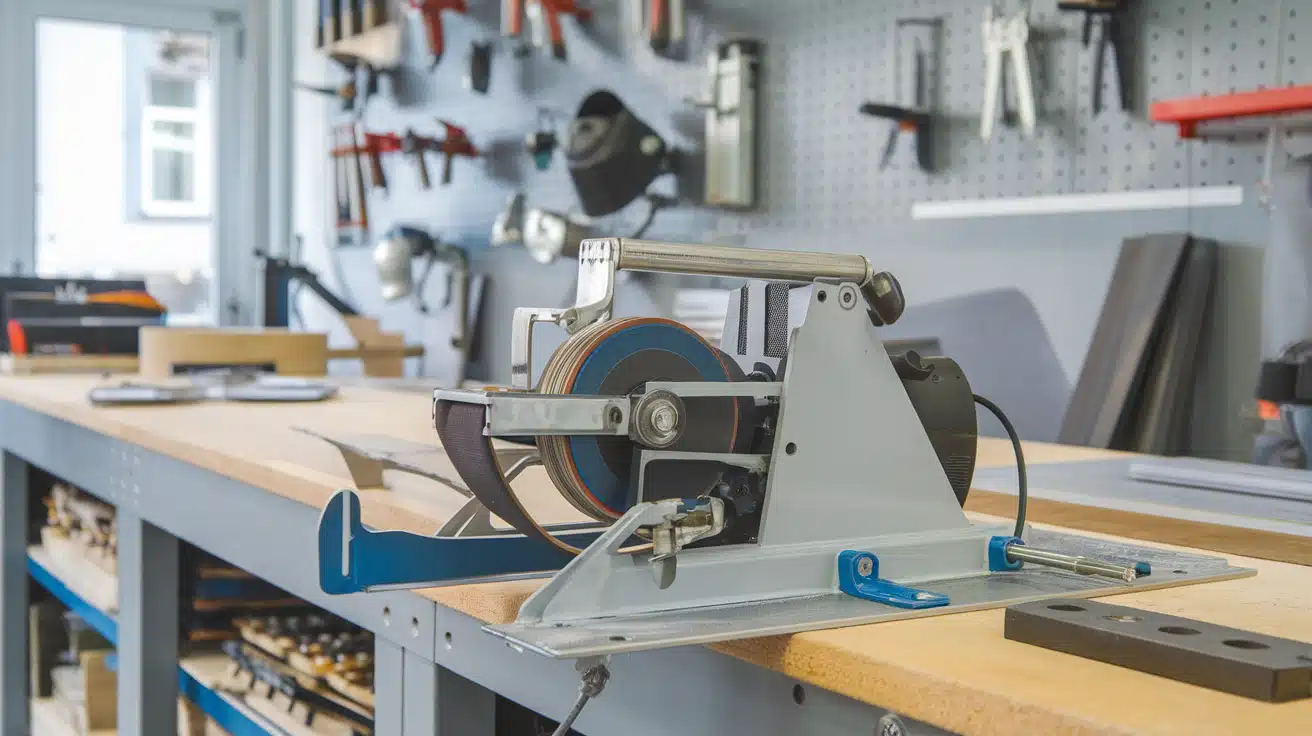
Tired of the steep prices for basic workshop tools? Building a belt grinder from scratch can save hundreds of dollars and provide a valuable skill.
Many craftspeople believe creating a belt grinder demands expert knowledge or fancy equipment. The truth is, with common materials and a free weekend, anyone can build what costs $500+ in stores.
A homemade belt grinder serves multiple functions, shaping metal, smoothing wood edges, and finishing surfaces, all with one single tool. The bonus? Understanding every part makes repairs simple when needed.
For those ready to save money while creating something truly practical, this guide shows each step of building a durable belt grinder that handles regular use without problems. The satisfaction of making rather than buying makes the effort worthwhile.
What Is a Belt Grinder?
A belt grinder uses a continuous sanding belt that moves over rollers to shape wood or metal. The fast-moving belt smooths edges and removes material quickly. This workshop tool handles multiple tasks including removing burrs, shaping materials, sharpening tools, and creating smooth finishes.
The work surface often tilts to 45 degrees for angled grinding jobs. Different belt grits allow for rough shaping or fine finishing as needed. With a simple design of rollers, motor, belt, and work surface, belt grinders offer reliability and function in many workshops.
Types of Belt Grinders
- Benchtop Belt Grinders: Compact units that sit on workbenches. These smaller grinders save space and work well for hobbyists and small workshops. The size makes them good for light to medium work.
- Floor-Standing Belt Grinders: Larger, more powerful models that stand on the floor. These offer greater stability and power for heavy-duty applications. Common in professional shops and industrial settings.
- File Belt Grinders: Narrow belt grinders with extended arms for reaching into tight spaces. These help with detailed work similar to hand filing, but with mechanical assistance.
- Combo Belt/Disc Grinders: Units that feature both a belt grinder and a disc sander. This combination provides flexibility for different sanding needs in one machine.
- Knife-Making Belt Grinders: Specifically designed for blade work. These often include features like tool rests and precise angle guides for blade bevels.
- Horizontal Belt Grinders: Grinders where the belt runs horizontally. Good for flat work and general-purpose grinding tasks.
Construction Safety
- Wear Proper Protection: Always wear safety glasses, hearing protection, and appropriate welding gear to protect against debris, noise, and sparks. Keep fire extinguishers accessible during welding operations to address any fire risks quickly.
- Tool Handling: Secure all workpieces in vises before cutting and keep fingers away from cutting edges. Use proper techniques with power tools and always unplug equipment before making adjustments.
- Electrical Safety: When wiring the motor, follow electrical codes and use properly rated components. Never work on powered electrical components, and test all connections thoroughly before final assembly.
- Workshop Setup: When using paints or solvents, work in well-ventilated spaces and keep work areas clean to prevent accidents. Ensure good lighting for detail work and store flammable materials safely away from heat sources.
Tools and Materials Required for Your DIY Belt Grinder
Essential Tools
| Tool | Purpose |
|---|---|
| Welder | Joining metal frame pieces |
| Angle grinder | Cutting and shaping metal |
| Drill and bits | Creating holes for assembly |
| Measuring tools | Tape measure, square, calipers |
| Wrenches and sockets | Fastening bolts and nuts |
| Screwdrivers/Allen keys | Assembly and adjustments |
| Clamps | Holding work during assembly |
| Safety gear | Glasses, gloves, and ear protection |
Required Materials
| Material | Purpose |
|---|---|
| Steel tubing/plates | Mainframe structure |
| Drive wheel | Transfers motor power to the belt |
| Idler wheels (2-3) | Guide and tension the belt |
| Electric motor (1-2 HP) | Powers the grinder |
| Power switch and wiring | Controls operation |
| Pulleys and V-belt | Connects the motor to the drive wheel |
| Hardware (bolts, nuts, springs) | Assembly and adjustment |
| Sanding belts (50mm wide) | Grinding surface |
| Paint | Protects metal from rust |
How to Build Your Belt Grinder: A Complete Guide
Below are the seven main steps to build your belt grinder-from initial research to final installation. Each section includes budget estimates and helpful tips from someone who’s been through the process.
1. Prepare the Frame
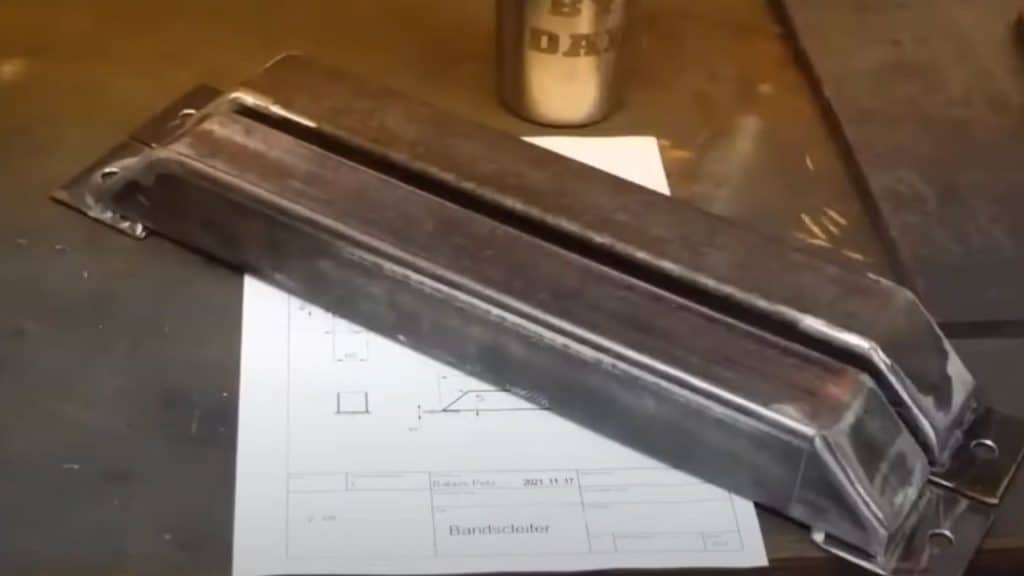
Print the detailed plans and transfer measurements to your metal sheets with precision. Use a contrasting marker for visibility on metal surfaces. Cut each piece carefully with a metal saw or angle grinder, taking time to follow your lines exactly. After cutting, file all edges smooth to prevent cuts during assembly.
Pro Tip: Apply masking tape to metal before marking. This creates better visibility for your lines and prevents marker smudging during the cutting process.
2. Assemble the Frame Components
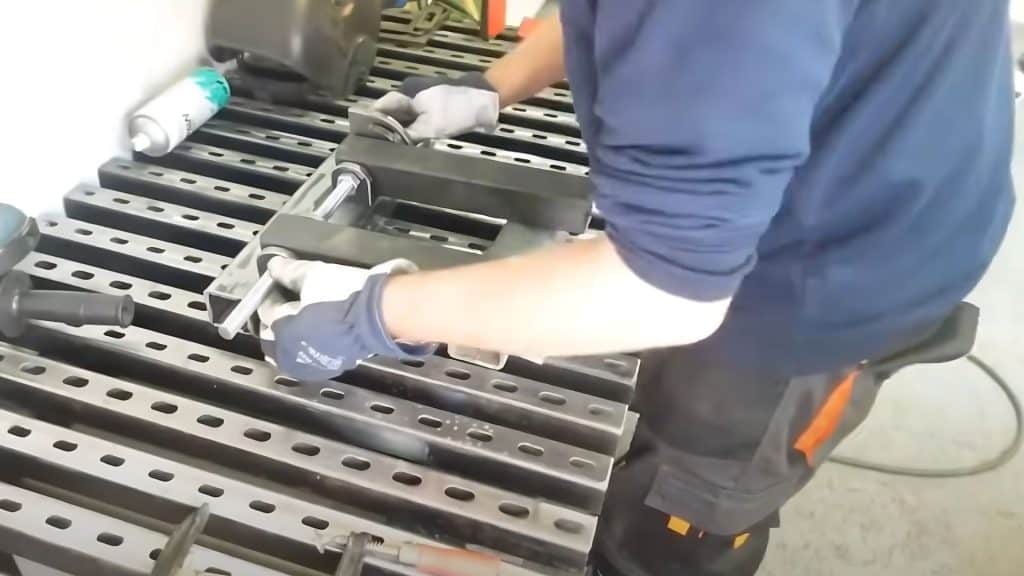
Before starting assembly, lay out all frame pieces in their proper order on your workspace. Check that each hole aligns correctly with its matching component. When attaching parts, insert bolts from the inside facing outward whenever possible.
This approach creates a smoother work surface without protruding bolt heads. Begin by tightening nuts only partially, which allows for adjustments as you connect more pieces.
Once everything is positioned correctly, add lock washers to each connection and tighten fully. Before final tightening, use a square tool to verify that all corners form proper 90-degree angles to maintain structural strength.
Pro Tip: Use thread-locking fluid on nuts in high-vibration areas. This simple step prevents components from working loose during regular operation.
3. Install the Motor
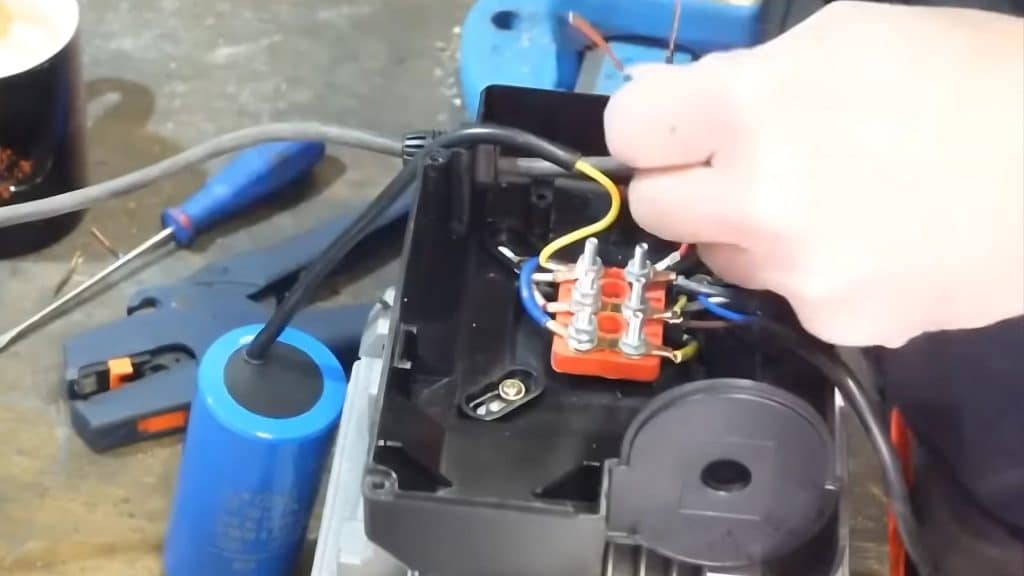
Choose a motor with sufficient power for your projects. Most home builders find that ½ to 1 horsepower motors work well. When mounting the motor to the frame, use rubber washers or vibration-dampening pads to reduce noise and prevent excessive shaking.
Take extra care to properly align the motor pulley with the drive roller to ensure smooth power transfer and prevent premature belt wear. Wire the motor according to safety standards, using proper gauge wire and connections.
Install a quality power switch rated for your motor’s amperage. Before moving forward, test the motor without belts attached to check for proper rotation and function.
Pro Tip: Install an emergency stop switch in an accessible location. This safety feature allows quick shutdown if problems occur during operation.
4. Create the Belt Tracking System
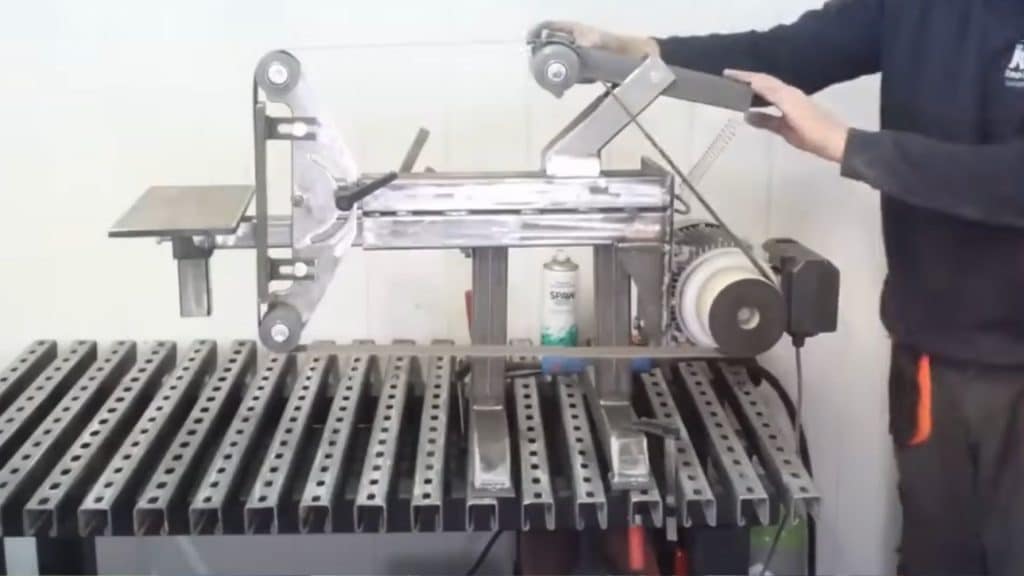
The tracking system requires one fixed roller and one adjustable roller for proper function. The adjustable roller allows you to fine-tune belt position during operation, preventing it from sliding off.
Install tension springs with the right amount of pressure to keep the belt tight without stretching it. Check that all rollers turn freely with minimal resistance and no side-to-side movement that could cause tracking issues.
Use rollers with perfectly smooth surfaces to maximize belt lifespan and grinding performance. Measure carefully to ensure your roller width matches your sanding belt exactly, any mismatch will cause tracking problems and uneven wear.
Pro Tip: Apply paste wax to roller sides, not touching the belt. This reduces dust buildup and makes maintenance easier.
5. Add the Work Surface
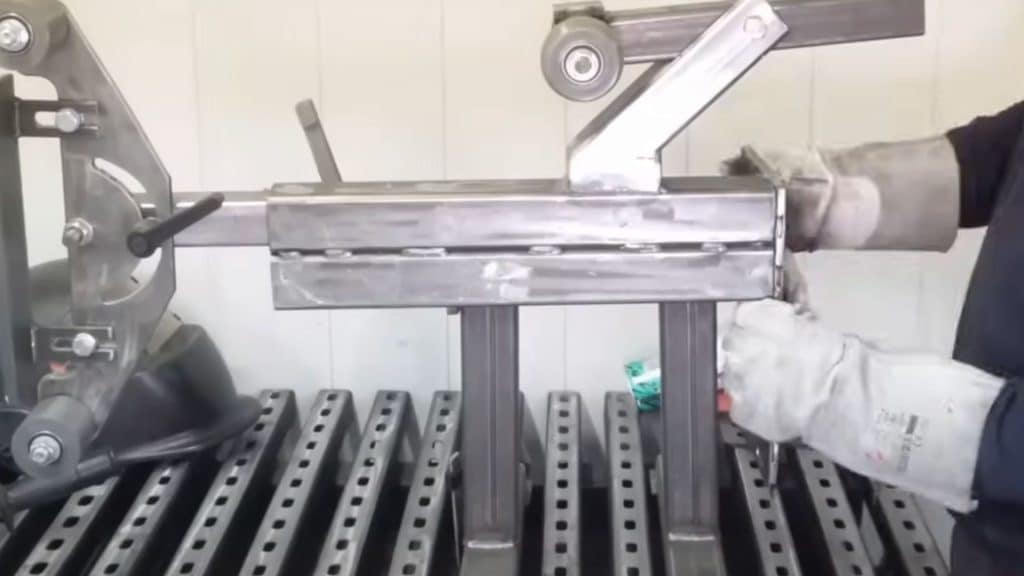
Create a strong, flat work surface using sheet metal of appropriate thickness. Add supporting braces underneath to prevent flexing when pressure is applied during grinding operations.
Construct a reliable tilting mechanism using heavy-duty hinges and a secure locking system that won’t slip during use. The surface should lock firmly at both 0 and 45 degrees for versatile grinding options.
If you plan to use jigs or guides, consider adding a standard-sized miter slot to the work surface. Keep the entire surface perfectly smooth and free of burrs to prevent your workpieces from catching or hanging up during grinding operations.
Pro Tip: Attach a felt strip along the edge nearest the belt. This fills the gap and stops small parts from falling between the table and the belt.
6. Paint and Finish
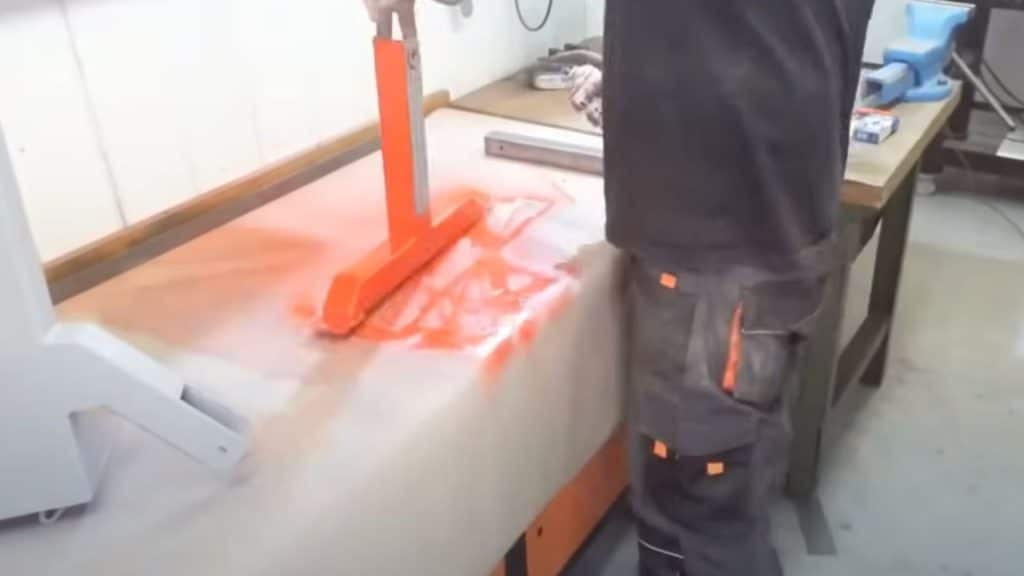
Begin by thoroughly cleaning all metal components with solvent to remove any machine oils, fingerprints, or contaminants that might prevent paint adhesion.
Apply a quality metal primer as your first step, allowing it to dry completely before adding color coats. Use multiple thin applications of spray paint rather than trying to cover everything in one thick coat, which can lead to runs and uneven coverage.
Light colors make dust and debris more visible, improving safety and cleanup. Allow a full 24-hour curing period before final assembly to ensure the paint hardens properly. Consider painting the base in a contrasting color to make edges more visible.
Pro Tip: Apply a clear protective coating to frequently touched areas. This extra protection prevents paint wear from handling and extends the finish’s life.
7. Final Testing
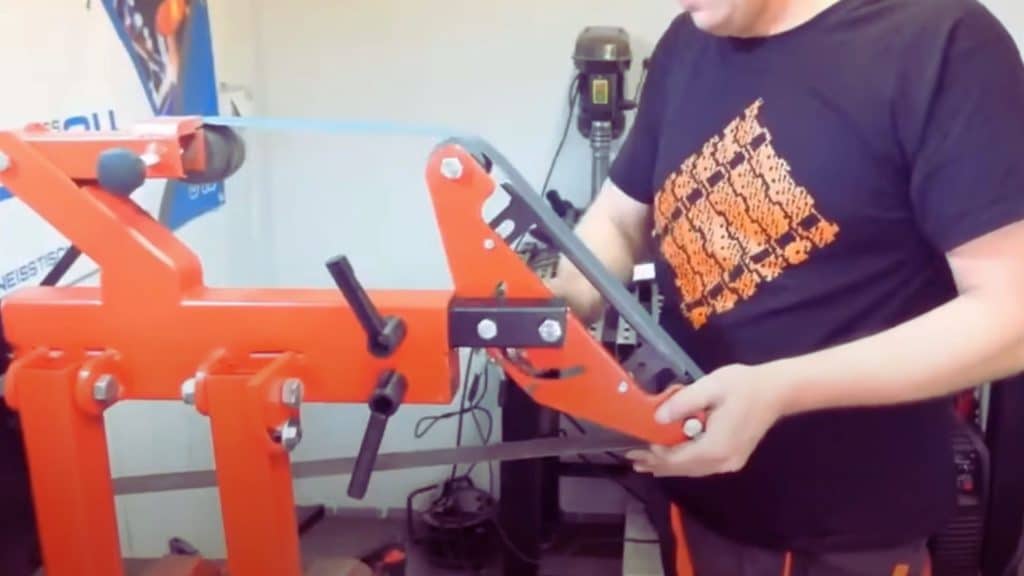
Select sanding belts appropriate for your most common grinding tasks, considering both grit size and belt material. When installing, make sure any directional arrows printed on the belt’s inner surface match your grinder’s rotation direction.
Center the belt on all rollers before starting the motor to prevent immediate tracking issues. Make necessary tracking adjustments with the motor running at its lowest speed setting.
Listen carefully for unusual sounds that might indicate misalignment or belt problems. Monitor belt condition regularly and replace when you notice signs of wear, glazing, or damage to maintain optimal grinding performance.
Pro Tip: Maintain a selection of different grit belts for versatility. Mark each belt with its grit number for easy identification when changing between tasks.
I’d like to give credit to Made by Dad for their informative video, which served as a reference for this guide.
Mistakes to Avoid when Building a DIY Belt Grinder
1. Poor Motor Alignment: Misaligned motor pulleys cause excessive belt wear and vibration. Always check alignment carefully before final assembly to ensure smooth operation and longevity.
2. Inadequate Frame Support: Weak frame construction leads to wobbling during use. Use proper steel thickness and add reinforcement braces to prevent flexing under grinding pressure.
3. Incorrect Belt Tracking: Failing to install proper tracking adjustment causes belts to slip off. Include one fixed roller and one adjustable roller for reliable operation.
4. Skipping Safety Features: Not installing emergency stops or proper guards creates dangerous situations. Always include accessible power switches and protective barriers around moving parts for safety.
5. Using Wrong Belt Direction: Installing belts backward reduces grinding efficiency and causes premature wear. Check directional arrows on belt interior and match your grinder’s rotation direction.
6. Inadequate Ventilation Planning: Poor dust collection leads to health risks and messy workshops. Plan for proper ventilation or dust collection systems before starting your build process.
Conclusion
Building a belt grinder at home offers both cost savings and learning benefits. This DIY project costs just $150-$250 compared to $500+ for store-bought models, making it an economical choice for workshops on a budget.
The completed tool serves multiple purposes, from metal shaping to wood smoothing, with a single machine. The skills gained during construction also help with future repairs and modifications.
Following the six steps outlined above, even beginners can build a durable grinder that works as well as commercial models. The process teaches valuable fabrication skills while creating a useful workshop tool.
Start with proper planning, take time with each step, and test thoroughly before heavy use. The final result? A reliable belt grinder that will serve the workshop for years to come.

