

Feeding birds brings quiet joy and a touch of nature right to your backyard.
With simple materials and a little creativity, you can make unique feeders that attract chirping, fluttering guests.
If using old bottles, pinecones, or another material, each craft invites life to your space.
It’s a relaxed, fun activity perfect for families, kids, or anyone who enjoys seeing birds soar and sing. And the best part?
You’re helping feathered friends find food while giving your garden a charming boost.
Let’s build something special, hang it outside, and enjoy the gentle company of birds alongside calm morning moments.
Why Choose to Make Your Own Bird Feeder
Building your own bird feeder is a simple, meaningful way to connect with nature. It converts ordinary materials into something beautiful and useful, offering birds a safe place to feed.
Each handmade feeder supports wildlife, reduces waste, and adds gentle life to your surroundings.
The process is calming, creative, and rewarding, perfect for any age or season.
More than a craft, it’s a small act of care that fills your garden with color, sound, and gratitude from nature itself.
Checklist for Tools and Materials
Gather everything listed below before starting your DIY bird feeder build to ensure a smooth, easy, and fun process.
| Materials | Tools |
|---|---|
| 2 flat boards or scrap wood | Pencil and compass or circular template |
| Clear plastic container with lid | Saw (hand saw or jigsaw) |
| Bolt, washer, and nut | Drill with bits |
| Small wood spacer block | Pin nailer, nails, or screws with a driver or hammer |
| Small sticks or branches | Sandpaper |
| Eye screw | Mineral spirits and rag |
| Bird seed | Safety glasses and a mask |
Once you’ve gathered everything, you’re ready to start building a sturdy, creative, and bird-friendly feeder that lasts season after season.
How to Make a Bird Feeder
Create your own durable and charming bird feeder using simple household materials. This easy project is perfect for beginners and guarantees a functional, eco-friendly design that birds will love.
Step 1: Prepare the Wooden Base and Rim
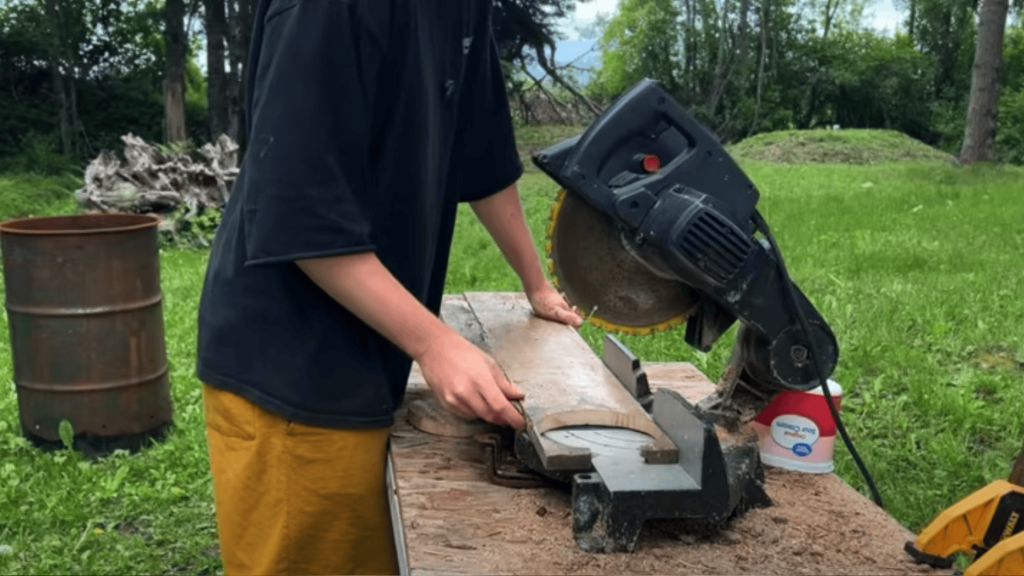
Trace two wide circles on scrap wood for the base and top rim. Cut them neatly using a saw, then smooth the edges with sandpaper.
These two disks form the feeder’s structural foundation, providing support and shape for the seed container.
Step 2: Build and Secure the Base
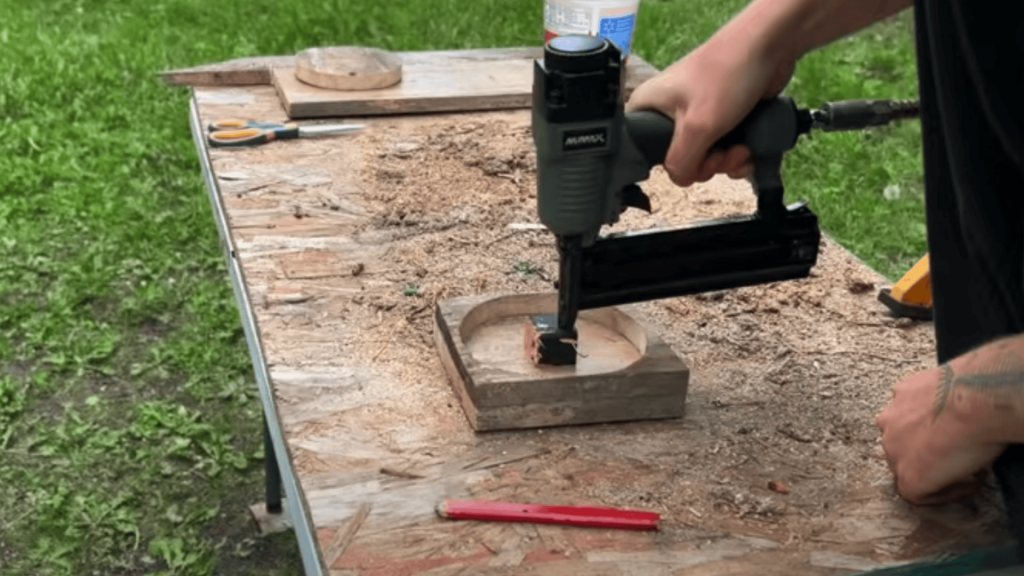
Stack the two wooden disks, one as the bottom base, the other as the upper rim—and attach them with nails or screws.
This forms a sturdy platform that will hold your seed container in place. Ensure it’s well-centered and firmly connected for stability.
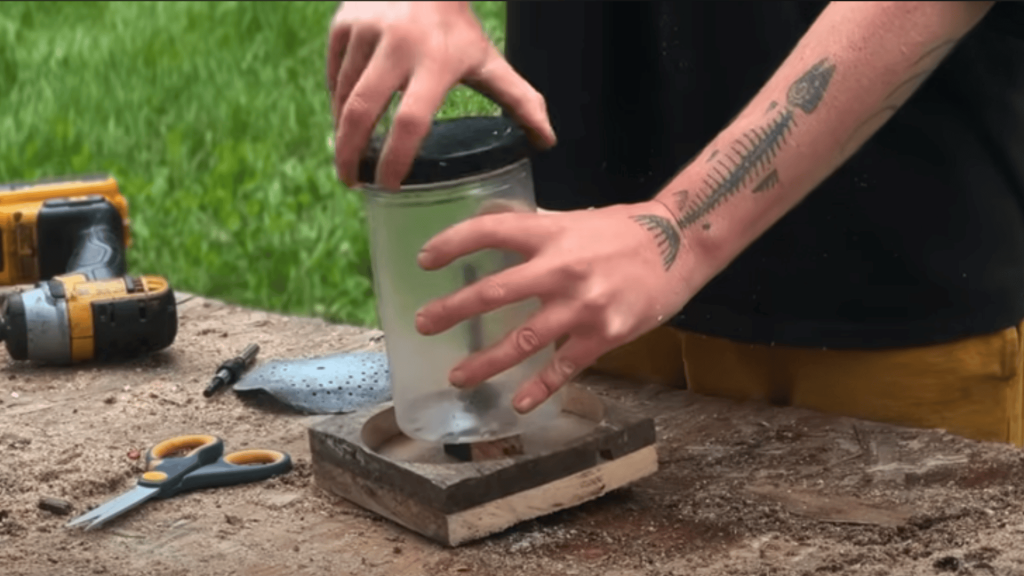
Step 3: Prepare the Seed Container

Choose a clear plastic jar or tub so you can monitor seed levels easily.
Remove any labels with mineral spirits, drill a center hole for the bolt, and make small holes around the base for seeds to flow through. Keep spacing even for consistent feeding.
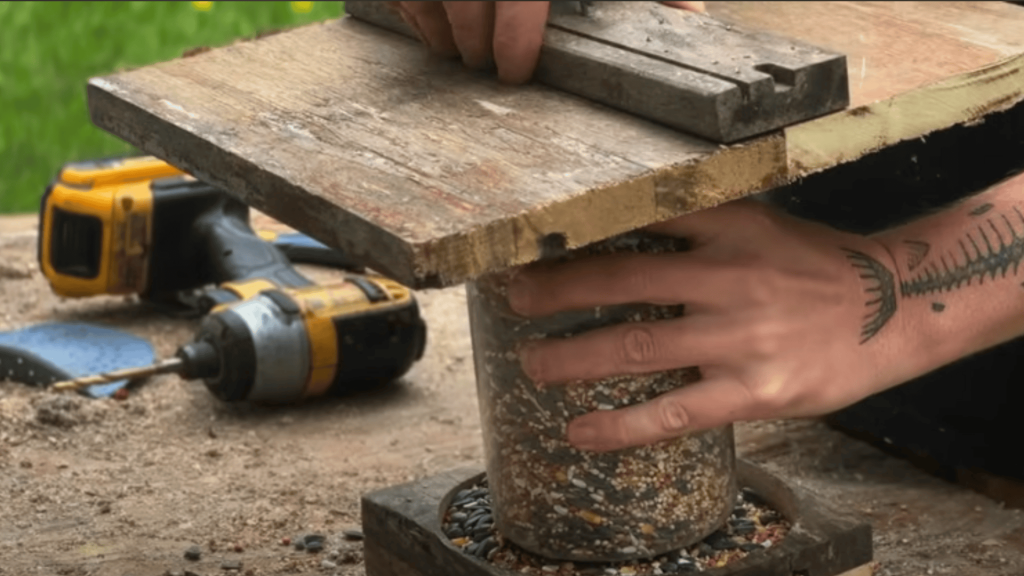
Step 4: Assemble the Feeder Structure
Attach a small wood spacer to the center of the base, then insert the bolt through the spacer and container. Add washers and tighten with a nut for compression.
This step locks all parts together, forming the main body of your bird feeder.
Step 5: Add the Top and Hanging Point
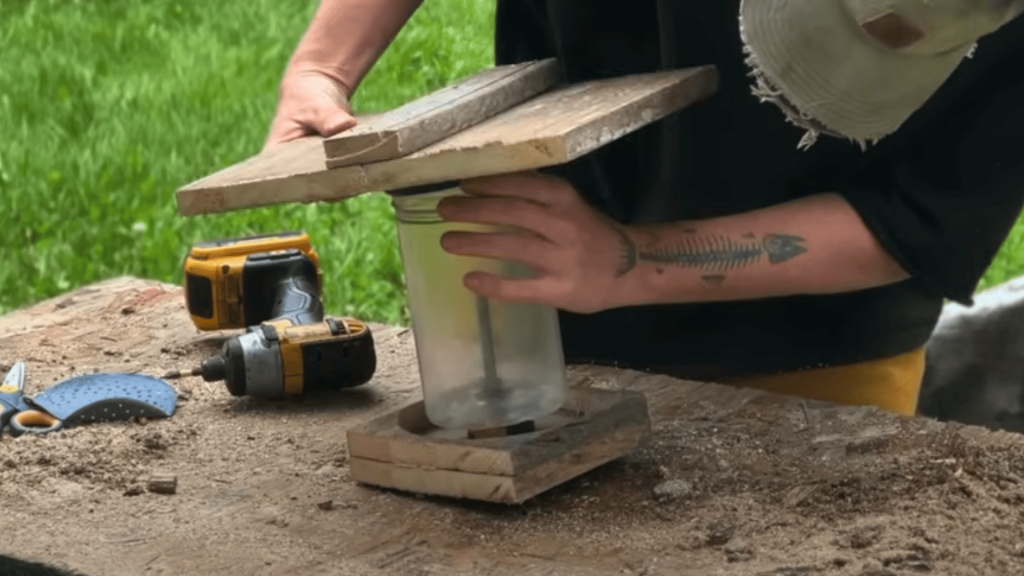
Use the container lid as a refillable top cover and attach an eye screw for hanging. Ensure the lid fits snugly but can be easily removed when adding more seed.
The overhanging top also helps protect the seed from rain and debris.
Step 6: Hang, Fill, and Enjoy
Thread a rope or wire through the eye screw and hang your feeder from a tree branch or hook.
Fill it with your chosen bird seed, test the flow, and adjust hole sizes if needed. Soon, your yard will be buzzing with feathered visitors!
This complete DIY bird feeder guide is proudly presented by Jacob Cochrane, creator of smart feeders that bring nature closer.
Optional Upgrades
Try these setup variations to make your Feeder perfectly fit your space and viewing preferences.
| Variation | Description |
|---|---|
| Wall Mount Setup | Use the wall bracket for stable views near patios or decks. |
| Tree Strap Mount | Wrap the strap around a tree for natural, hidden positioning. |
| Pole Mount Option | Fix on a pole for better height and fewer ground predators. |
| Dual-Camera Angles | Angle one camera close-up and the other wide for fuller coverage. |
| Solar Panel | Move the panel higher or sideways for maximum daily sunlight. |
Experiment with these setups to find your perfect balance of coverage, sunlight, and bird-watching convenience.
Smart Fixes & Handy Hints
Keep your DIY bird feeder working smoothly with these short, effective troubleshooting and maintenance tips.
- Seed Flow: Widen or clear holes if seeds clog or stop flowing freely.
- Over-Spill: Tape or glue a few holes if the seed pours out too fast.
- Windy Days: Hang near a trunk or use a shorter rope to minimize swinging.
- Rain Guard: Widen the top cap to shield the seed from moisture and spoilage.
- Rust Check: Replace any rusting screws or bolts with stainless steel ones.
- Clean Cycle: Rinse every 2 weeks to keep mold, debris, and bacteria away.
With these quick checks, your bird feeder stays durable, safe, and welcoming to feathered visitors all season long.
Other DIY Bird Feeders to Try
Give your backyard a lively, creative touch with these six simple bird feeders. Each idea uses easy-to-find materials and invites color, sound, and wildlife into your space.
1. Muffin Bird Feeder
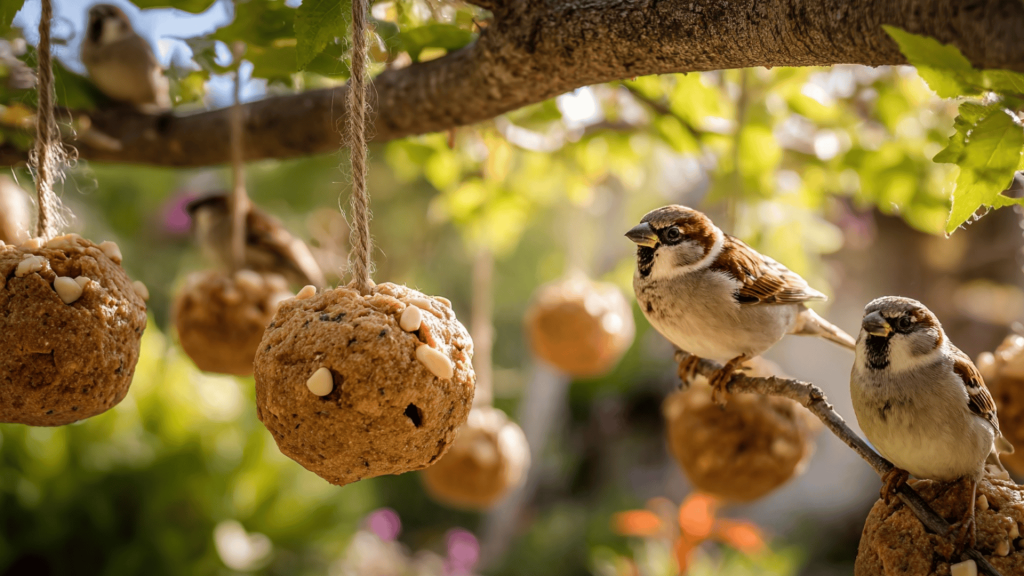
Upgrade leftover muffins into charming feeders that attract small songbirds. This project reuses old food and brings sustainable beauty to your garden or balcony.
|
Turn kitchen waste into a bird lover’s treasure, eco-friendly, fun, and perfect for cozy, chirping mornings.
2. Pinecone Bird Feeder
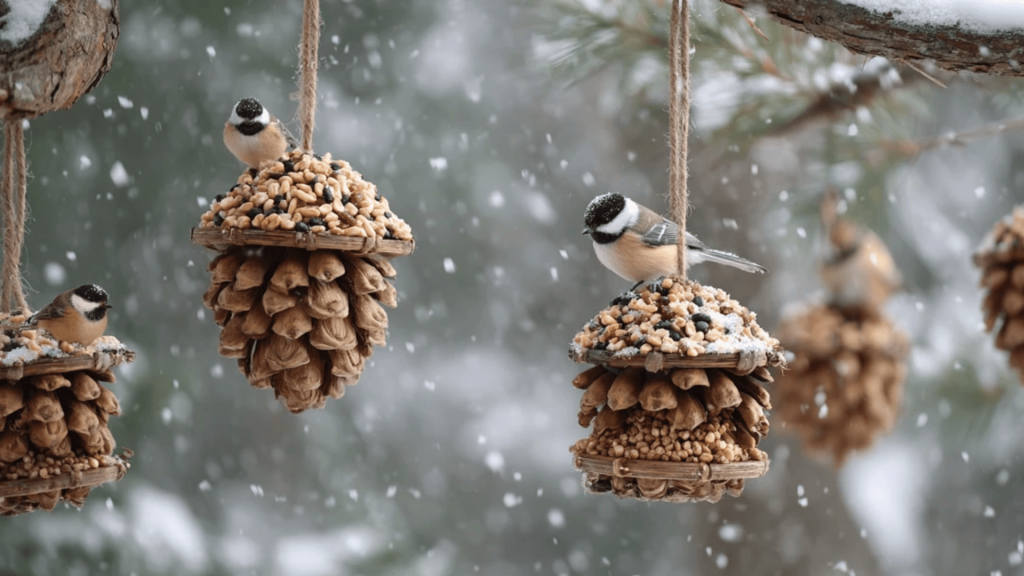
Create a rustic, nature-inspired feeder using pinecones and pantry basics. It’s simple, family-friendly, and ideal for adding warmth during chilly feeding seasons.
|
This woodland feeder invites winter birds and adds a touch of forest charm to your outdoor spaces.
3. Log Suet Bird Feeder
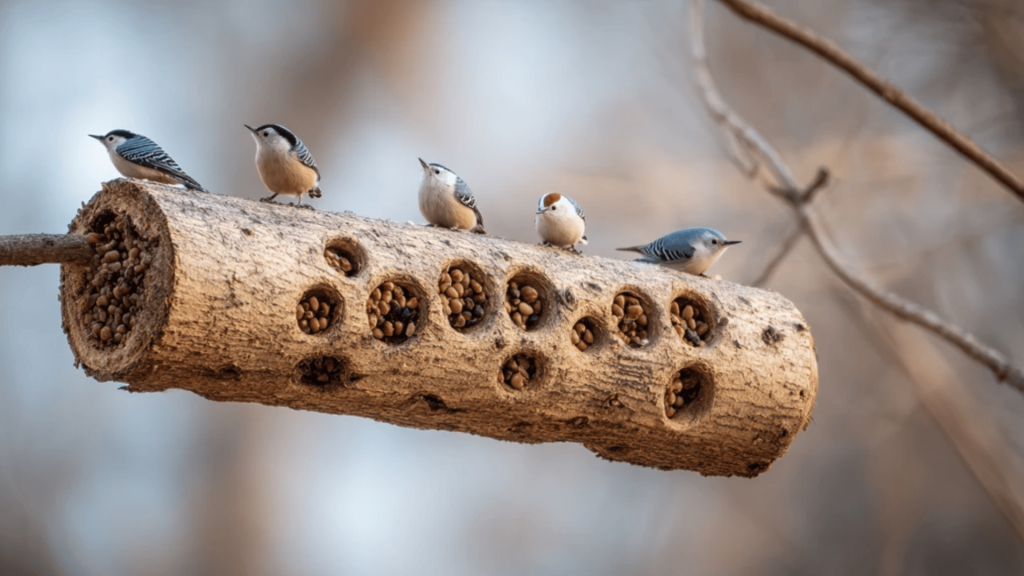
Build a durable log suet feeder that mimics natural bark feeding. This design supports woodpeckers, nuthatches, and chickadees during colder months.
|
A strong, natural feeder that endures the elements and provides rich nutrition to forest-loving bird species.
4. Bird Seed Feeder (Gelatin Shapes)
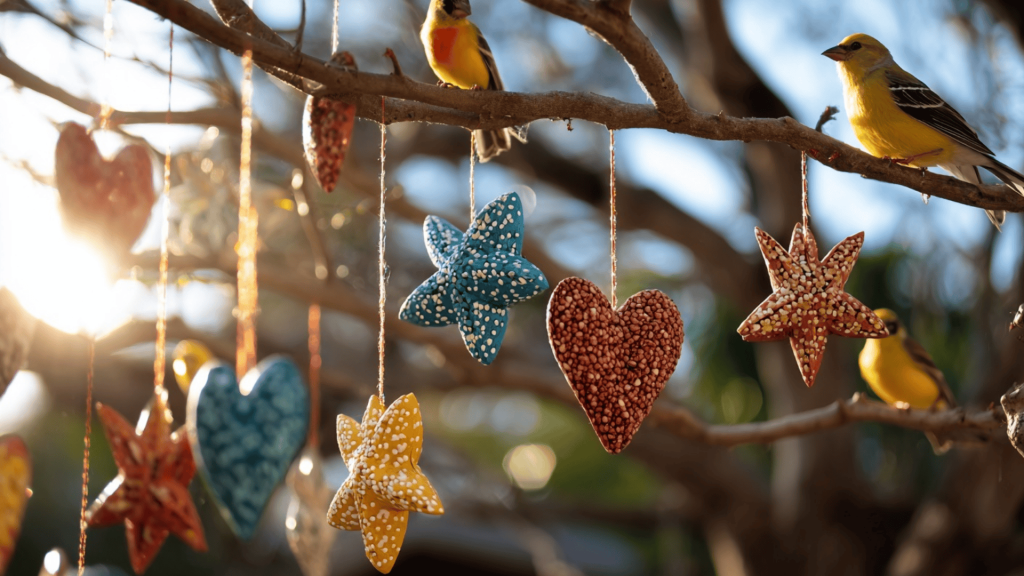
Bright, decorative, and edible, these feeders combine creativity and care. They add sparkle to branches while offering small birds an easy food source.
|
A playful, artistic design that brightens your garden and brings joy to kids and birds alike.
5. Plastic Bottle Bird Feeder
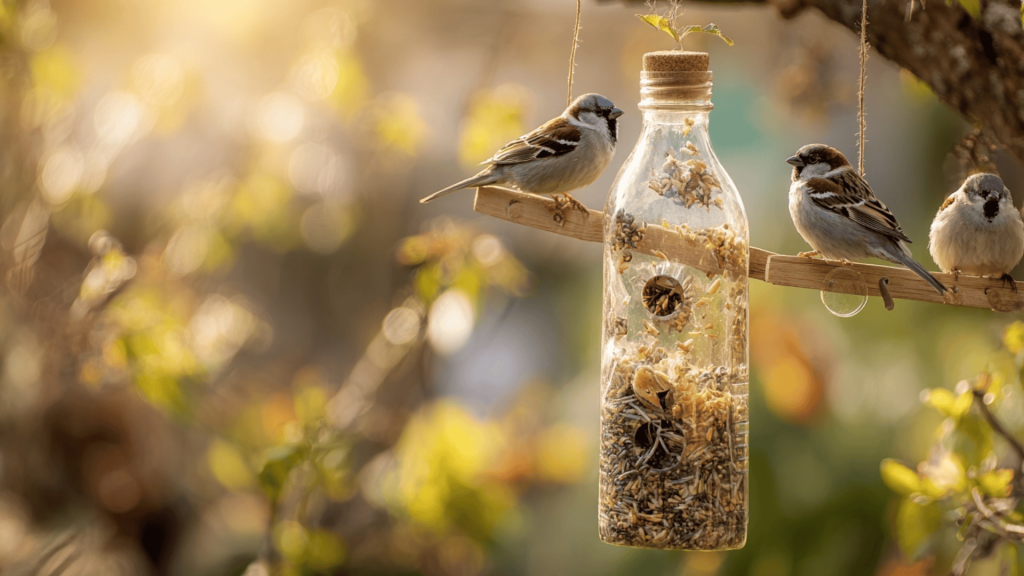
Upcycle waste into something wonderful. This feeder is practical, quick to make, and perfect for year-round feeding without extra cost.
|
Simple, sustainable, and effective, proof that creative recycling can bring nature and purpose together beautifully.
6. Teacup Bird Feeder
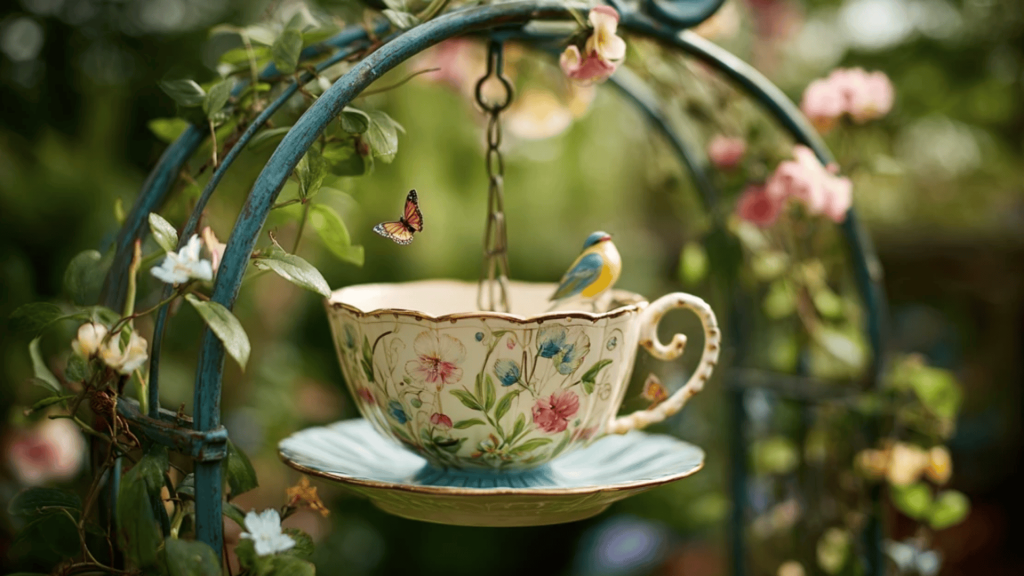
Repurpose old teacups into graceful feeders that blend effortlessly with garden blooms. It’s a unique mix of creativity, charm, and sustainability.
|
A delicate and heartwarming feeder that turns everyday items into meaningful, life-filled moments in your garden.
Final Thoughts
Creating bird feeders is a small but meaningful way to welcome nature into your daily life.
Each design, simple or decorative, adds movement, sound, and life to your surroundings.
Watching birds gather brings calm and curiosity, reminding us to slow down and appreciate small wonders.
These handmade feeders also encourage creativity and care for the environment, making every project both fun and purposeful.
So gather a few materials, find a quiet corner outdoors, and start today. Hang your feeder, listen to the first chirps, and share your experience with others.
Every feeder you make becomes a gentle invitation for nature to visit.