
Many homeowners want to add character to plain walls but find professional installations too costly. When done by contractors, wall treatments can cost thousands of dollars, making them out of reach for those on a budget.
You can create a stunning board and batten the wall for a fraction of the price. This simple home project requires basic tools and materials you can find at any hardware store.
In this step-by-step guide, you’ll learn how to measure, cut, and install a board and batten wall. We’ll cover the tools needed, material selection, proper spacing techniques, and painting tips.
With our detailed instructions, you’ll complete this project in a weekend and save money while updating your space.
Tools and Materials Needed
Tools
| Tool | Purpose |
|---|---|
| Measuring tape | For accurate measurements of walls and battens |
| Pencil | For marking cut lines and placement guides |
| Level | To ensure battens and boards are straight |
| Nail gun | For securing boards and battens to the wall |
| Dremel (for precise outlet cuts) | For making clean and precise cuts around outlets |
| Saw (for cutting wood pieces) | For cutting baseboards, battens, and trim pieces |
Materials
| Material | Purpose |
|---|---|
| 5/4 baseboards | Used as the base of the board and batten design |
| 1×4 boards for vertical battens | Forms the vertical sections of the board and batten wall |
| 1×4 top trim pieces | Finishes the top edge for a polished look |
| Nails | Secures the boards and battens to the wall |
| Wood filler | Fills nail holes and gaps for a smooth finish |
| Sandpaper | Smooths surface before painting |
| Primer and paint | It provides a durable, finished look and protects the wood |
Step-By-Step Board and Batten Wall Installation Guide
Step 1: Measuring the Wall
Get your tape measure and note the exact wall dimensions. When working with inside corners, split your measurement into two parts. Measure to a set number like 30 inches, make your mark, then measure from the opposite side to that mark.
Add these numbers for the total width. For outside corners, add 1/16 inch extra to your measurement. This allows the boards to extend slightly past the corner, creating clean joints.
Double-check all measurements before cutting any materials. Mark your planned board spacing with light pencil marks on the wall.
Step 2: Baseboard Installation
Your baseboard creates the foundation for the entire project. Position the board at the wall’s bottom and secure it with nails at a slight angle to minimize visible holes.
Place additional hidden nails throughout to ensure strong support. Focus on outside corner joints first, checking that they fit perfectly together. Drive nails from multiple directions to bring the boards into tight alignment.
Use a level to verify the baseboard sits perfectly straight along the wall.
Step 3: Vertical Board Setup
After your baseboard is secure, prepare your 1×4 vertical boards. Cut them according to your spacing plan. Use your level constantly – each board must stand perfectly straight.
For inside corners, create a ¾-inch space to maintain proper spacing. On outside corners, trim one board to 2¾ inches and pair it with a full 1×4 board.
This keeps your design balanced. Check the spacing between boards as you work to maintain consistency.
Step 4: Outlet Work
Turn off the power at the breaker before starting outlet work. Remove covers and measure carefully to the outer edges of each electrical box. Include extra space for screw heads in your measurements.
Mark these dimensions on your boards. Use appropriate tools to cut clean openings. Test fit each cut before final installation. After securing the board, reattach the outlet covers.
Double-check that outlets work properly when power is restored.
Step 5: Panel Attachment
Prepare your ¼-inch panels for installation. Set your nail gun depth correctly to avoid shooting through the material. Start securing panels in less visible areas.
Space your nails at varied intervals across the panel surface for better grip. Check that each panel sits flush against the wall before nailing. Keep panels aligned with your vertical boards.
Fill any gaps between panels and boards with appropriate material.
Step 6: Top Rail Completion
Finish your wall with 1×4 trim at the top. Begin at outside corners, ensuring tight, clean joints. Once corners are set, secure the remaining length along the wall.
Mark any needed adjustments with a pencil. Check that the top trim sits level across the entire wall. Fill nail holes and joints with wood filler. Sand smooth once dry. Your wall is now ready for paint or finish.
Video Tutorial
Check out this YouTube video for a detailed step-by-step tutorial on making a board and batten wall.
Final Touches: Filling, Sanding, and Painting
After you’ve put up all your boards, follow these steps for the best results:
Fill the Holes
- Put wood filler in each nail hole
- Wait until completely dry before moving forward
- Check that filled spots are level with the wood surface
Make it Smooth
- Use medium-grit sandpaper first
- Switch to fine-grit sandpaper for the final pass
- Wipe off all dust with a clean cloth
Prepare for Paint
- Put on a coat of primer
- Let the primer dry fully
- Sand lightly between coats if needed
Paint Application
- Pick satin or semi-gloss paint for easy cleaning
- Use a small roller for flat areas
- Apply paint with a good brush for corners and edges
- Add a second coat after the first one dries
Each step helps create a clean, finished look. Take time with these final touches – they make a big difference in how your wall looks when done.
Tips for Professional Results
1. Getting Equal Spaces
Start by marking every board position on your wall. This planning step prevents mistakes later. Make a small wooden block to keep spaces the same between boards.
A level helps ensure each board sits perfectly straight during installation. When working in corners, keep a ¾-inch space to maintain a uniform look across the wall.
2. Paint Color Options
Several color choices can transform your space. A pure white like Sherwin Williams Pure White gives rooms an open, fresh feel. Soft grays, such as Sherwin Williams Repose Gray, bring subtle contrast while maintaining a simple look.
For added character, try Sherwin Williams Shade Grown, a rich forest green that brings warmth. Benjamin Moore Hale Navy creates a bold statement with its deep blue tones.
Natural browns work well, too, with tan or beige shades, making rooms feel comfortable and inviting.
3. Avoiding Basic Mistakes
Begin with primer to help the paint stick well and look uniform. Good spacing makes a big impact, so plan your layout and measure twice. Keep checking with your level – straight boards create clean lines.
Select nails that reach deep enough into the wall for strong support. Fill gaps between boards and walls with caulk for a finished look.
Board and Batten Wall Design Ideas
1. Half-Wall Design
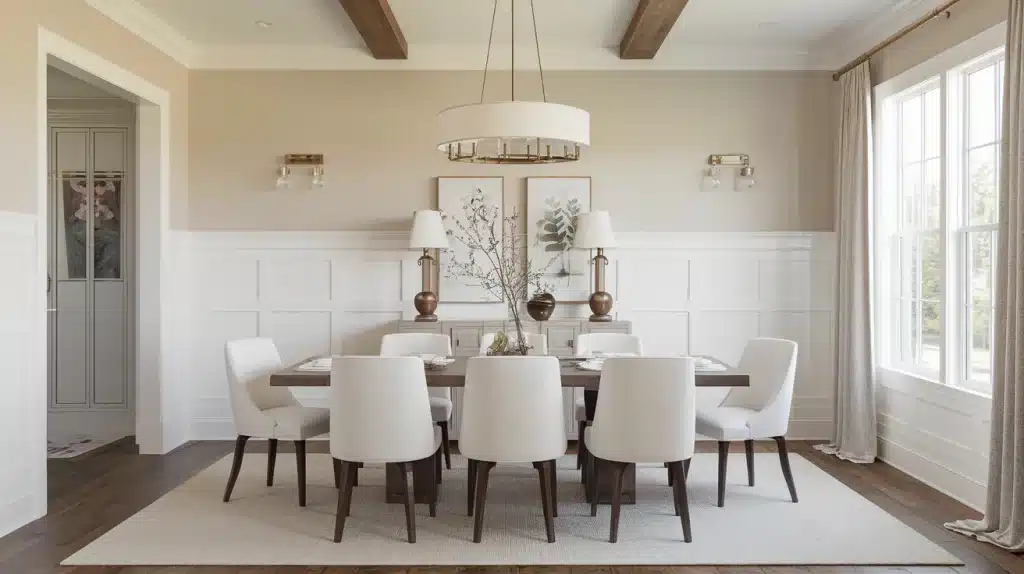
Stop the board and batten partway up your wall for a classic wainscoting effect. This style works especially well in dining rooms, hallways, and bathrooms.
Install the boards one-third to two-thirds up the wall, finishing with a chair rail on top. Paint the upper wall in light or neutral colors to contrast with the wood details below.
2. Full-Wall Design
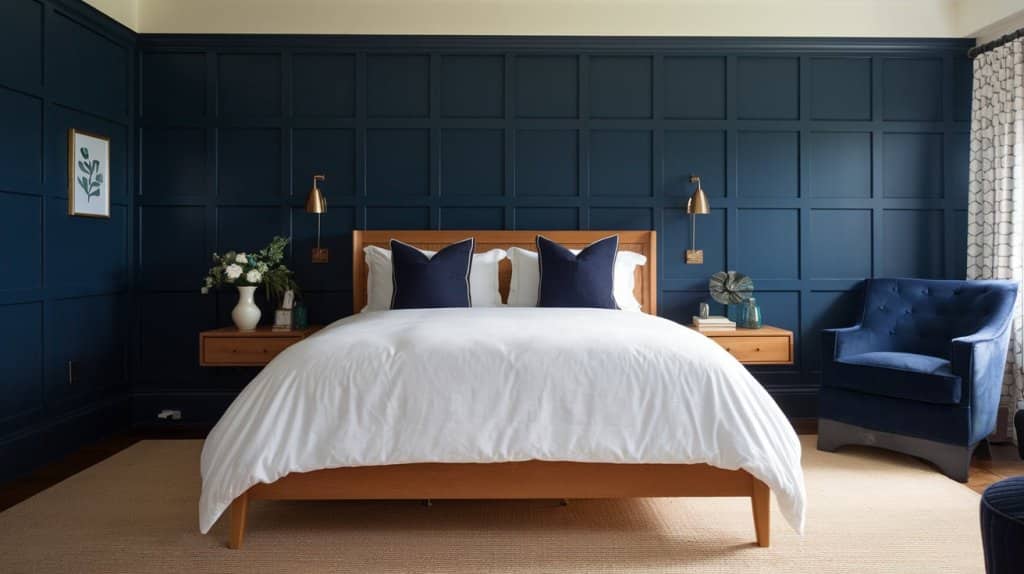
Take your board and batten from floor to ceiling to create a complete wall feature. This option fits well in bedrooms, living rooms, and entryways.
You can space the boards at equal distances for a traditional look or mix up the spacing for something different. This design adds interest to any room, including smaller spaces.
3. Paint Options
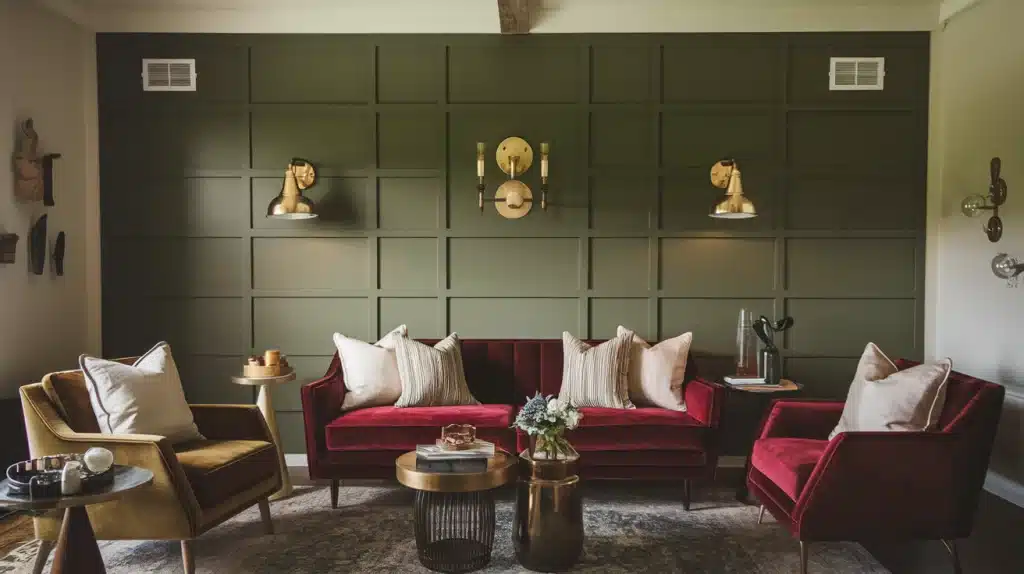
Choose colors that fit your style. Dark shades like deep green, navy, or charcoal make a strong statement in your room. Light colors such as white, soft gray, or gentle pastels help spaces feel open and bright.
Try painting the boards slightly darker or lighter than the wall space between them to show more detail. Pick a matte or satin paint finish – they look nice and last well with regular use.
Conclusion
Making your wall stand out doesn’t need to be hard or costly. A board and batten project brings real value to your home through simple steps.
From measuring your space to the final paint stroke, each part of the process helps you build something special.
You’ve learned how to create clean lines and proper spacing with basic tools and materials. This project proves that good planning and careful work lead to beautiful results.
The choice of going half-wall, full-wall, or picking specific paint colors lets you match your home’s style perfectly.
Remember that patience matters most when working with wood and walls. Take time with each step, check your measurements twice, and enjoy seeing your space change into something you’ll love for years.
