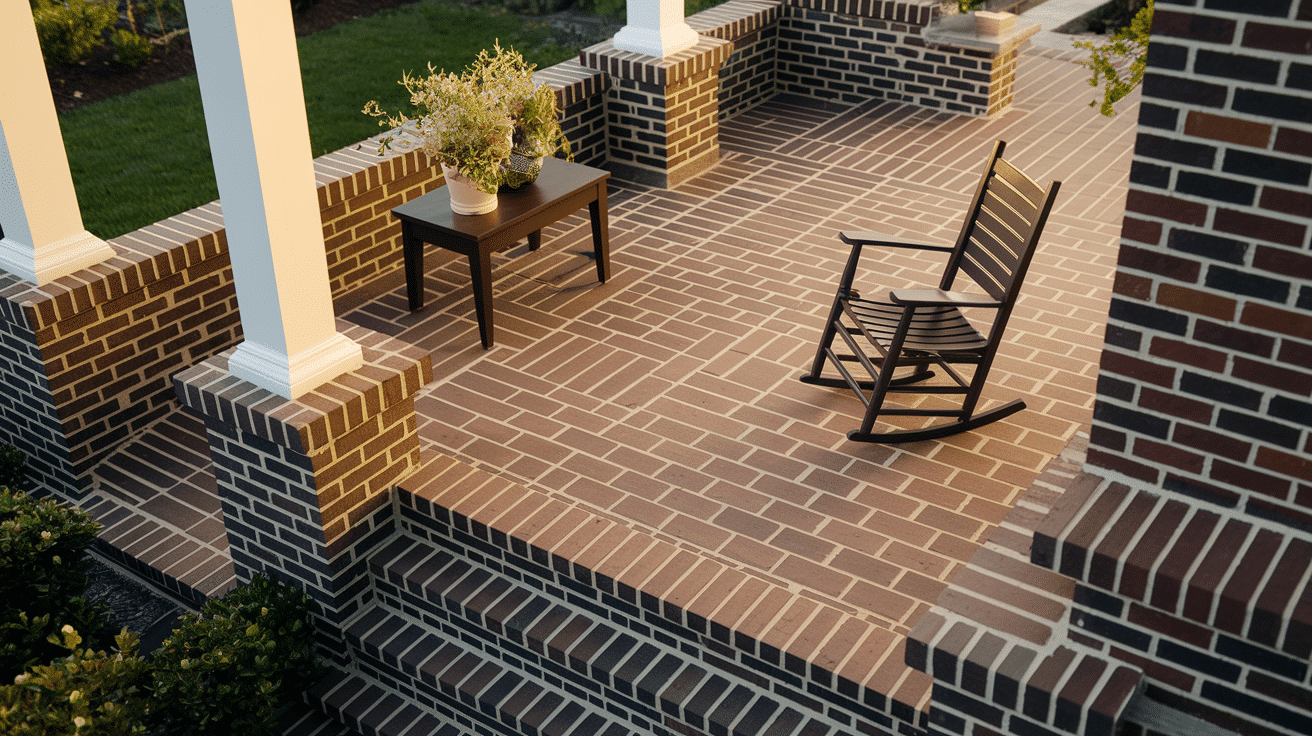

Ever stood on your plain concrete steps and thought, “This entrance could use a bit more charm”?
A brick porch might be just what you’re looking for. Building your own brick porch isn’t just for the pros. With some patience and the right tools, anyone can create a beautiful entryway to their home.
This guide walks you through each step of making a brick porch that looks like it was always meant to be there. From measuring and planning to mixing mortar and laying patterns, we’ve got you covered.
You’ll learn which mistakes to avoid, which corners not to cut, and how to make choices that will stand the test of time. Ready to roll up your sleeves and give your home a warm welcome that neighbours will notice?
Let’s turn those weekend hours into a porch you’ll enjoy for years.
Why You Should Consider a DIY Brick Porch for Your Home?
A brick porch adds lasting value to your home that few other projects can match. Unlike wood that needs regular maintenance or concrete that can crack over time, brick stands strong through decades of weather and wear.
Beyond durability, brick brings a timeless charm that works with nearly any home style, from colonial to contemporary. The variety of colors and textures lets you create a look that’s uniquely yours.
The cost savings are significant when you handle the work yourself, often cutting project expenses by more than half compared to hiring contractors.
There’s also something deeply satisfying about creating something permanent with your own hands—a daily reminder of your capability every time you come home.
Materials Needed
Before you begin your brick porch project, gather these essential materials to ensure smooth progress from start to finish:
| Item | Quantity Needed | Purpose |
|---|---|---|
| Reclaimed or new bricks | 400–500 bricks | To create the actual surface of the porch floor |
| Mortar mix | 2–3 bags (60 lbs each) | To adhere the bricks securely to the concrete slab |
| Grout mix or sanded mortar | 1–2 bags (25 lbs each) | To fill in the gaps between bricks and lock them in place |
| Wooden dowels (3/8 inch) | 20–30 pieces | Used as temporary spacers to ensure even spacing between bricks |
| Trowel | 1 | To spread and smooth the mortar evenly during installation |
| Grout bag | 1 | For squeezing grout into narrow joints between bricks cleanly |
| Brick striker tool | 1 | To smooth and compress grout lines for a clean, professional finish |
| Broom or stiff brush | 1 | To sweep excess mortar/grout and clean the finished surface |
| Bucket & sponge | 2 buckets, 3 sponges | For mixing and wiping excess mortar/grout during cleanup |
| Concrete bonding agent | 1 quart | Optional: Helps mortar stick better to the concrete base |
| Level | 1 | To keep your brickwork even and flat during installation |
| Chalk line or straightedge | 1 | To guide your brick rows and keep alignment straight |
| Safety gloves & knee pads | 1 pair each | To protect hands and knees while working on the ground |
Step-by-Step Guide to a DIY Brick Porch Makeover
Give your concrete porch a fresh new look by laying bricks directly over the surface. This step-by-step guide will help you achieve a clean, durable finish that lasts.
Step 1: Project Introduction and Planning
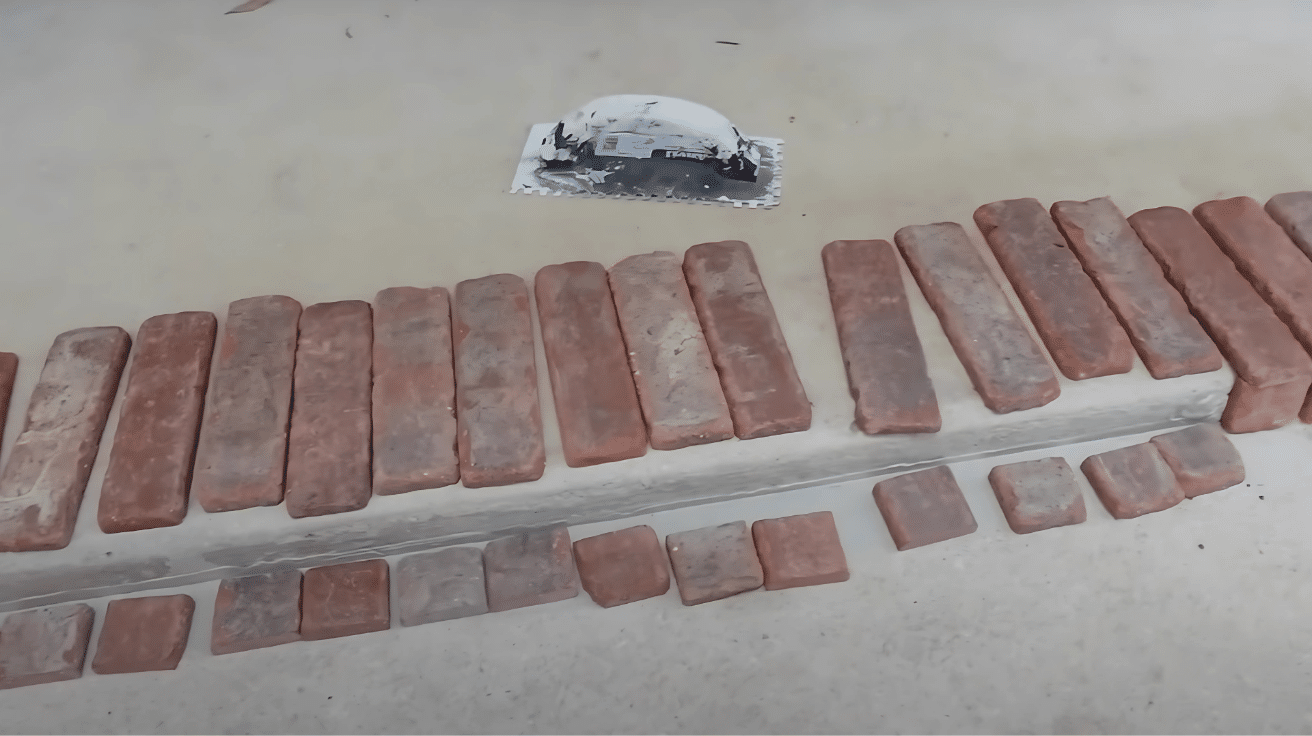
- Plan the layout and size of the brick pattern based on your porch dimensions. Measure the space to ensure that the bricks will fit without gaps or overlaps.
- Lay out the brick pattern on the ground before starting to visualize how it will look. Prepare any corner pieces needed to ensure the edges are neat and uniform.
Pro Tip: Use a chalk line to mark straight lines where the bricks will be laid for a more precise and consistent layout.
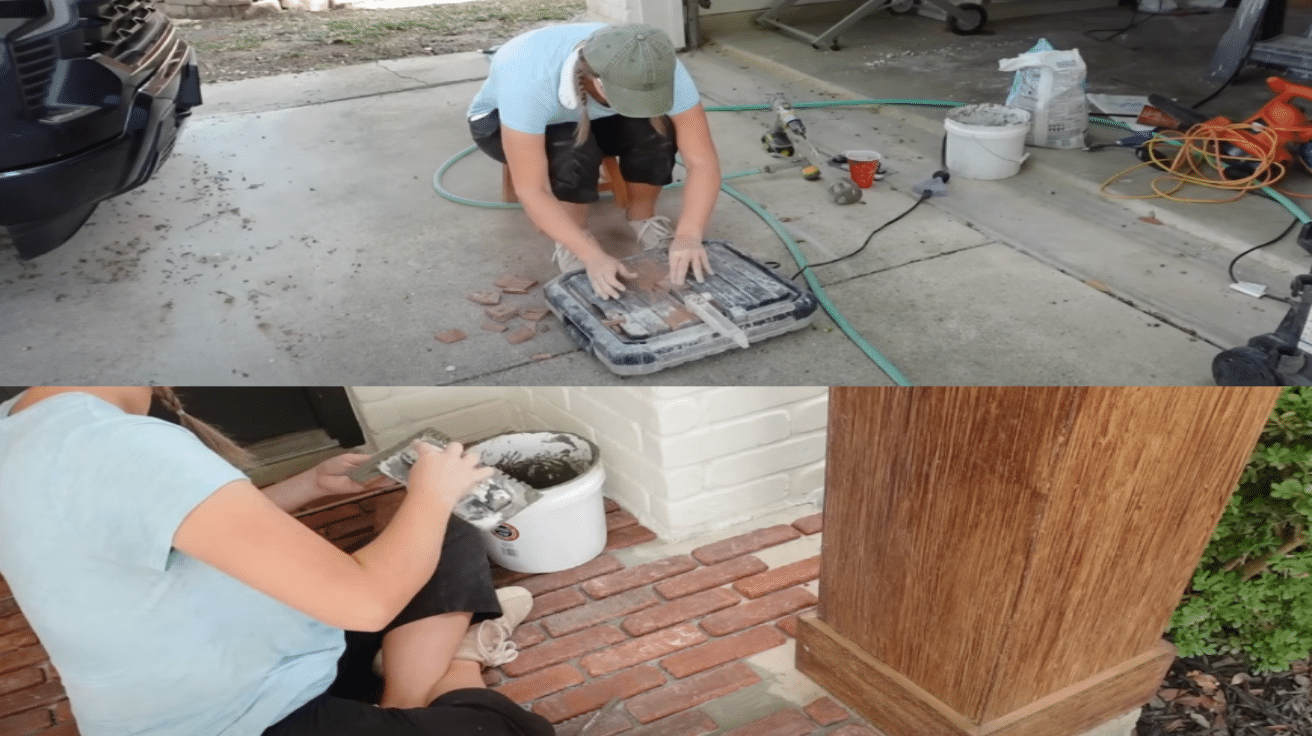
Step 2: Preparing Materials and Surface
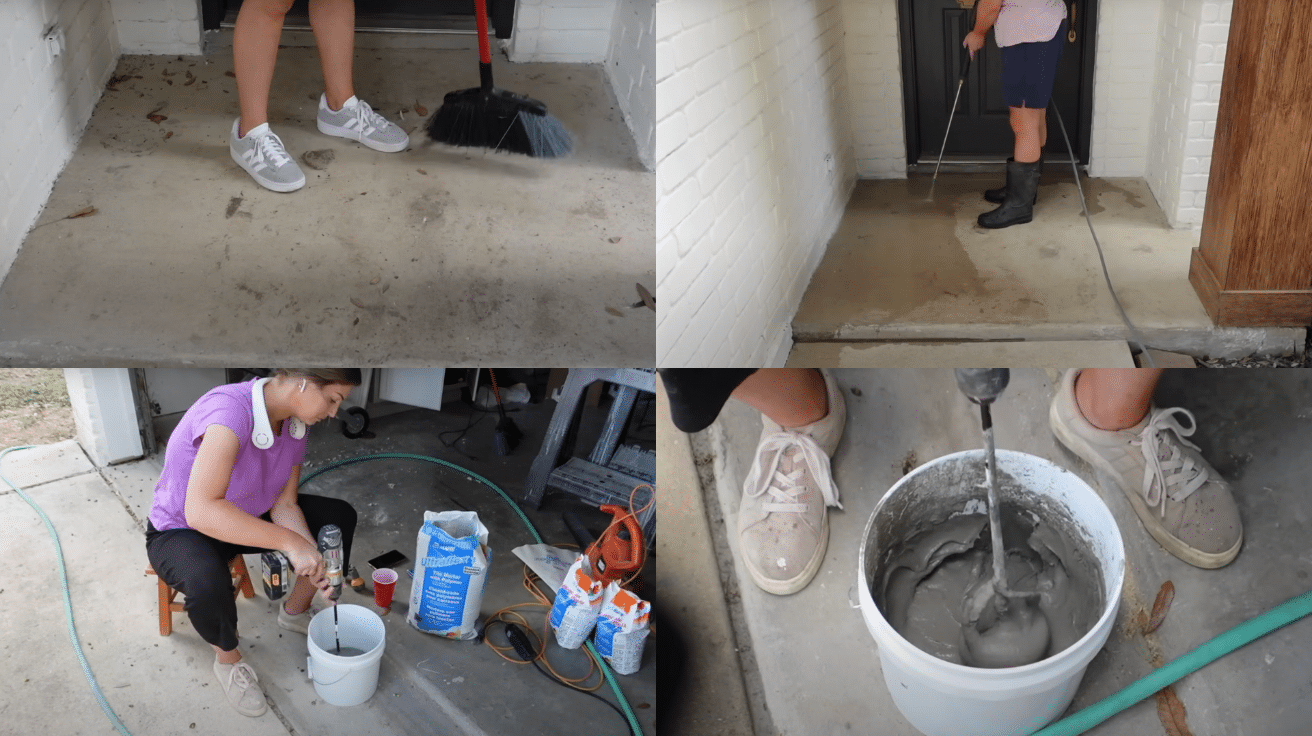
- Clean the surface by sweeping and removing any dirt or debris to ensure proper adhesion of the mortar. Wash the surface thoroughly to eliminate grease or stains that could interfere with the mortar.
- Mark the areas where each brick will go to create a guide for placement. Mix the mortar according to the package instructions, ensuring it’s the right consistency for your project.
Pro Tip: Wet the surface lightly before applying mortar to help it bond better and prevent the mortar from drying out too quickly.
Step 3: Cutting Bricks and Starting Installation
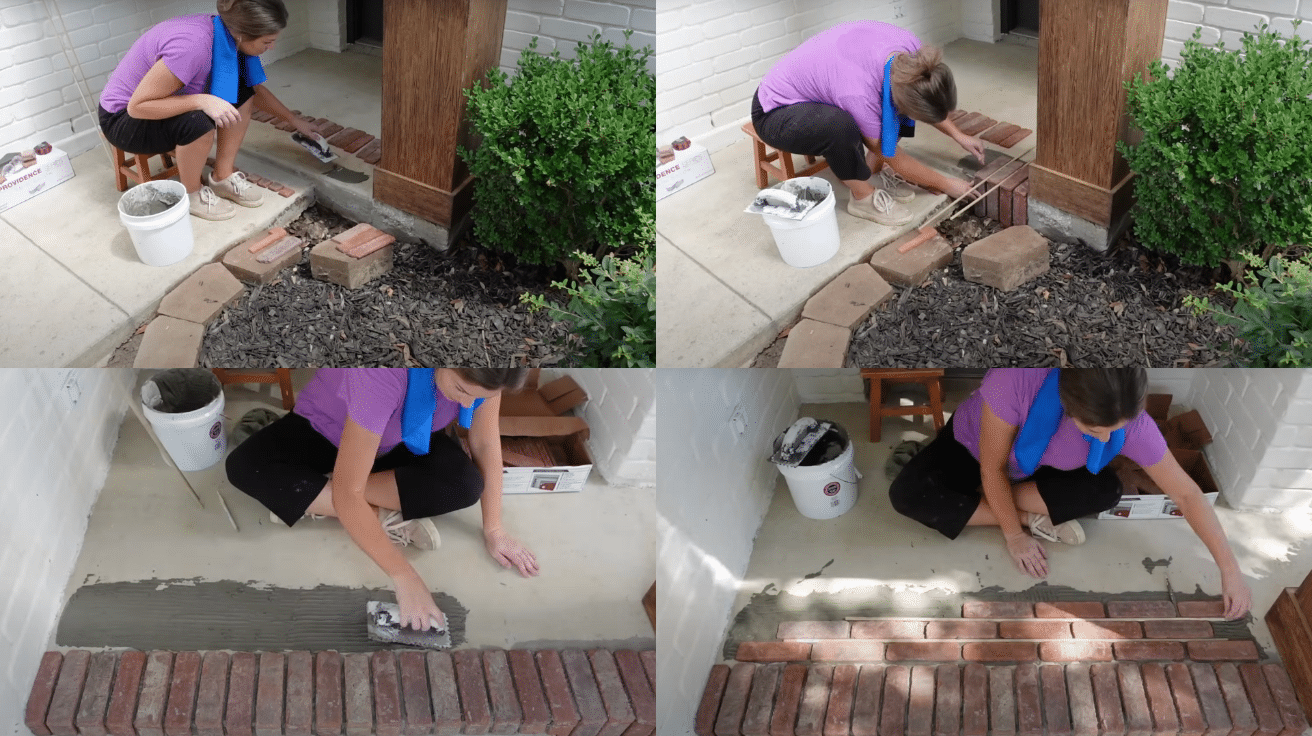
- Cut any bricks that need adjusting to fit corners or edges using a brick cutter or saw. Begin laying the bricks at the bottom of the porch, starting from one corner and working your way across.
- Apply mortar directly to the surface, then press each brick into place, making sure it’s aligned with the others. Tap each brick lightly with a rubber mallet to secure it into the mortar.
Pro Tip: Apply mortar to both the surface and the back of the brick for a stronger bond, especially for bricks that will bear weight or are near high-traffic areas.
Step 4: Grouting the Bricks
- Fill the gaps between the bricks with grout using a grout bag, ensuring each gap is fully covered. Smooth the grout using a float or sponge, pressing it firmly into the gaps and wiping off excess.
- Let the grout set slightly, then wipe off the grout haze with a damp sponge for a clean finish. Allow the grout to cure fully before cleaning the surface to avoid damaging the mortar.
Pro Tip: Work in small sections when grouting to avoid the grout drying too quickly before you have a chance to smooth it out.
Step 5: Final Touches and Clean-Up
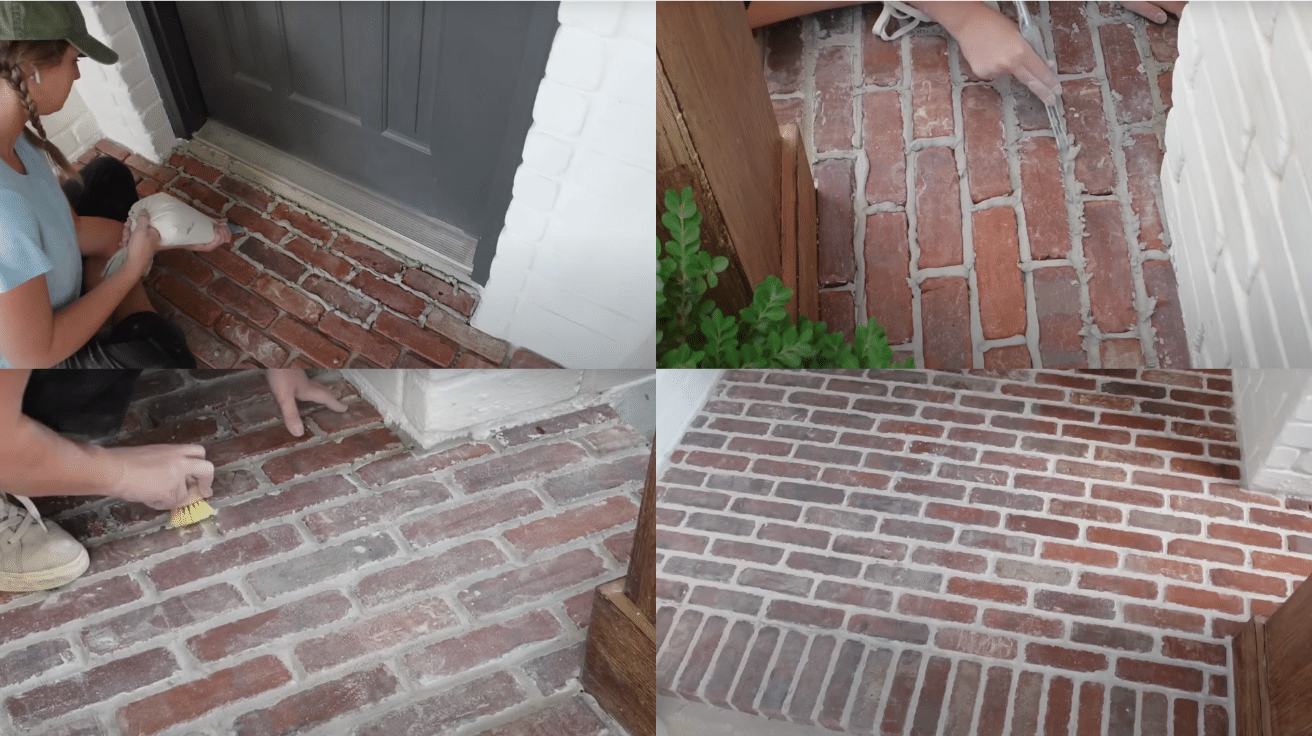
- Use a vinegar and water solution to remove any remaining grout haze from the brick surface. Inspect the installation to ensure all bricks are securely in place and no mortar has shifted.
- Touch up any areas where grout or mortar needs additional smoothing or filling. Clean your tools and the workspace thoroughly after finishing the installation.
Pro Tip: Keep a damp sponge handy throughout the process to quickly clean any excess grout or mortar before it sets, preventing hard-to-remove stains later on.
Watch How It’s Done: DIY Brick Porch Video Tutorial
For more information, check out this video tutorial by @KelseyRomitoDIY
Common Mistakes to Avoid
When working on your DIY brick porch makeover, it’s essential to be mindful of some common mistakes that can hinder the quality of the finished project. Here are some mistakes to avoid to ensure a smooth and successful process:
- Not properly cleaning the surface before laying bricks, which can cause poor adhesion.
- Using the wrong type of grout or mortar that isn’t suitable for outdoor conditions.
- Failing to check brick alignment regularly, leading to uneven gaps.
- Skipping the step of letting mortar dry fully before grouting, which can result in instability.
- Overloading the mortar between bricks, making the grout look messy or overfilled.
- Not using spacers to ensure even spacing, which affects the final look and structural integrity.
Your DIY Brick Porch Project: The Final Step
Standing back to admire your finished brick porch feels pretty special. What was once just a plan on paper is now a solid, beautiful part of your home.
Remember that first weekend when you weren’t sure if the mortar was mixed right? Look how far you’ve come. Each brick you laid has built not just a porch, but confidence in your DIY skills.
Sure, there were tough moments—maybe a few choice words when that corner just wouldn’t line up—but those challenges make the end result even more worthwhile.
Your new brick porch isn’t just about curb appeal. It’s about creating a welcoming spot for morning coffee, evening chats, and greeting friends. So grab a cold drink, take a seat on your handcrafted steps, and enjoy that satisfied feeling.