
What if one simple addition could make your curtains look professionally designed?
Plain curtains hanging straight down waste precious natural light and make windows look unfinished. Most homeowners don’t realize that this basic styling mistake is making their rooms feel smaller and darker than they should.
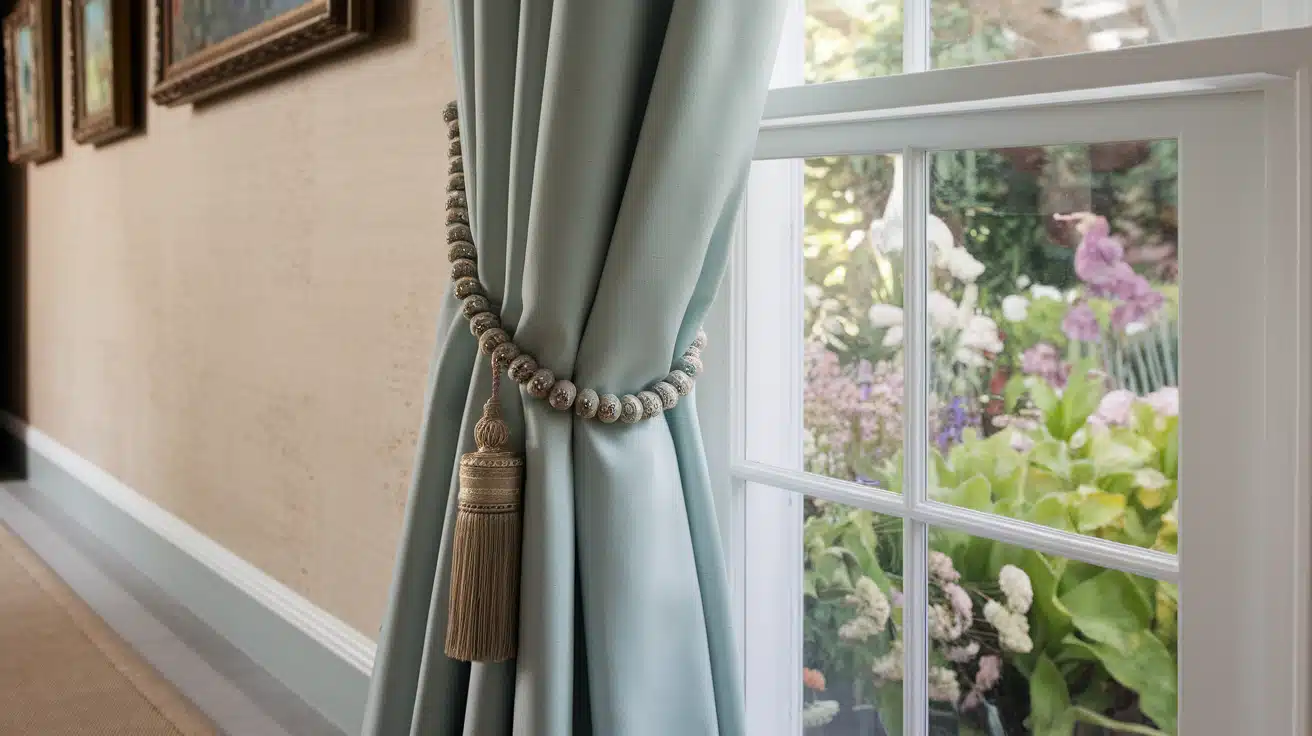
Professional decorators use curtain tie-backs to create graceful curves, brighten rooms, and add instant style to any window.
You don’t need expensive store-bought versions. With basic materials like fabric scraps, rope, or even old jewelry, you can craft custom tie-backs that look professionally made.
Ready to convert boring windows into stunning focal points? This guide shows you exactly how to make beautiful DIY curtain tie-backs, plus five creative alternatives using items you already own.
How Do Curtain Tie-Backs Upgrade Room Beauty?
Curtain tie-backs are simple accessories that dramatically improve your room’s appearance and functionality in several ways.
Visual Appeal & Symmetry
- Create elegant draping that adds graceful curves to straight curtain panels.
- Achieve visual balance and symmetry by positioning elements at matching heights on both sides.
Light Control & Space Enhancement
- Allow more natural light into the room by holding curtains away from windows.
- Make rooms appear larger and brighter by exposing more of the window area.
Decorative Coordination
- It can be made to match or complement your existing decor, fabrics, and color schemes.
- Add texture and visual interest by incorporating different materials, such as rope, fabric, metal, or beaded designs.
Practical Benefits
- Keep curtains neatly organized and prevent them from blowing around or getting wrinkled.
- Protect the curtain fabric from excessive handling and wear.
Step-By-Step Guide To Make Curtain Tie Backs
Follow these simple steps to create custom curtain tie-backs with a neat, professional look and a secure hold.
Tools Required
| Tool | Purpose |
|---|---|
| Scissors | Cuts fabric and fleece precisely; sharp scissors ensure clean edges |
| Iron and ironing board | Bonds fleece to fabric; smooths edges for a professional finish |
| Pressing cloth | Shields fabric from direct heat; prevents fleece from sticking to the iron |
| Sewing machine | Stitches fabric quickly; ensures strong, even seams |
| Pins or fabric clips | Hold fabric layers in place during sewing to avoid shifting |
| Pencil or pointed object | Pushes out corners from inside after turning to shape sharp points |
| A measuring tape or ruler | Ensures accurate cutting for uniform tie-back sizes |
Materials Required
- Fabric – Main material that forms the outer appearance of your tie-backs; choose colors/patterns to match your decor.
- Fusible fleece – Adds padding and structure to prevent tie-backs from looking flat; bonds to fabric when heated.
- Velcro pieces – Allows tie-backs to wrap around curtains and stay securely closed; easy to open and adjust.
- Thread – Holds all pieces together; choose a color matching your fabric for invisible seams.
Step 1: Cut Your Fabric Pieces
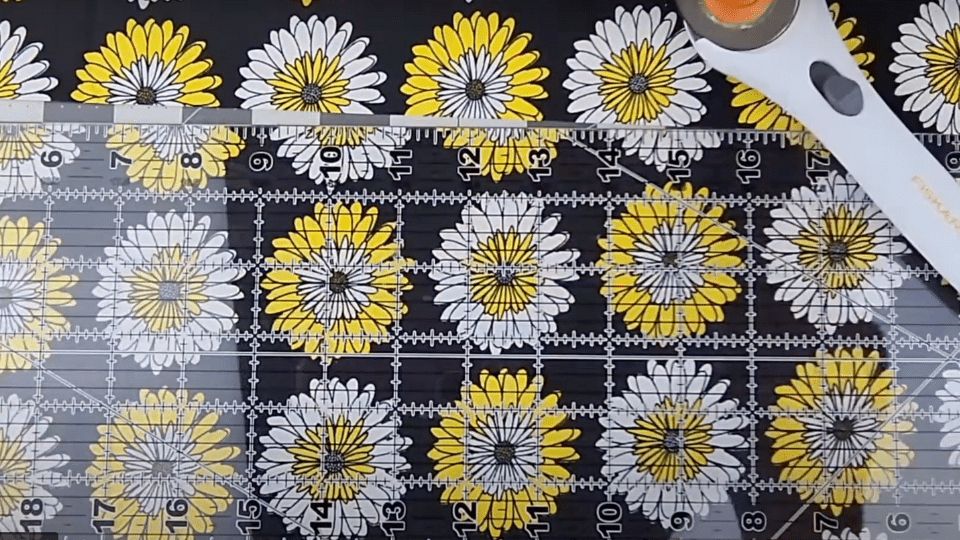
Cut two fabric pieces, each measuring 4 inches by 21 inches, for each tie-back you want to make. Also, cut one piece of fusible fleece slightly smaller than your fabric pieces.
This fleece will be placed between the fabric layers to provide structure and padding to your tie-backs.
Mistake to Avoid: Don’t cut the fleece the same size as fabric it should be slightly smaller to prevent bulk at the edges.
Step 2: Apply Fleece and Attach Velcro
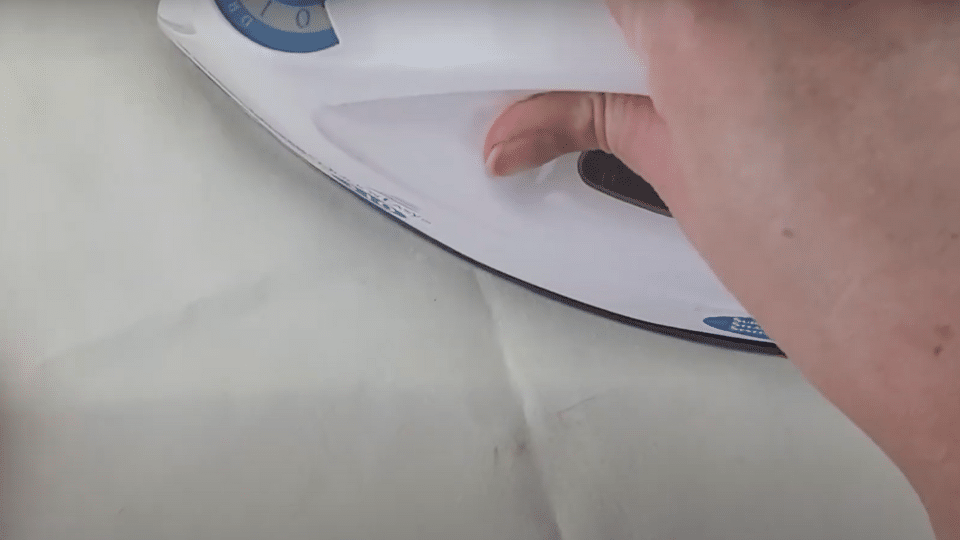
Iron the fusible fleece to the back of one fabric piece using medium heat with a pressing cloth for 10-15 seconds. Then sew the Velcro pieces to the right side of the same fabric piece.
Place one piece about ½ inch from each end, making sure to use opposite sides of the Velcro.
Mistake to Avoid: Don’t iron fleece directly without a pressing cloth, as it can melt or stick to your iron.
Step 3: Sew the Tie-Back Together
Place the fabric piece with fleece on top of the plain fabric piece, right sides facing each other. Pin or clip in place, then sew around three sides using ¼ ¼-inch seam allowance, leaving one short end open. Remember to backstitch at the beginning and end for strength.
Mistake to Avoid: Don’t sew all four sides closed you need one end open to turn the tie-back right side out.
Step 4: Trim and Turn Right Side Out
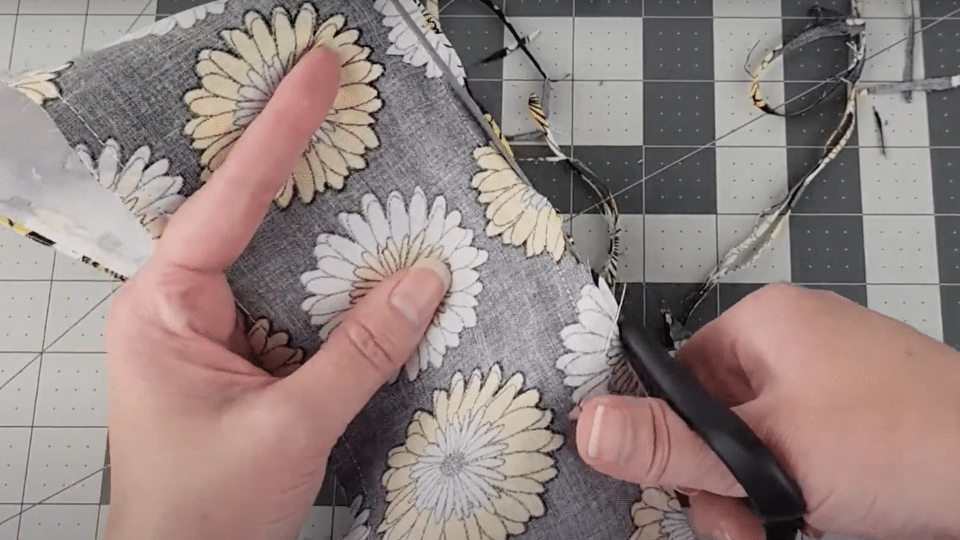
Trim excess fabric close to your stitching line, being careful not to cut into the seam. Turn the tie-back right side out through the open end. Use a pencil or similar tool to push out the corners from inside, making them sharp and neat.
Mistake to Avoid: Don’t pull too hard when turning work slowly to prevent tearing the seams or fabric.
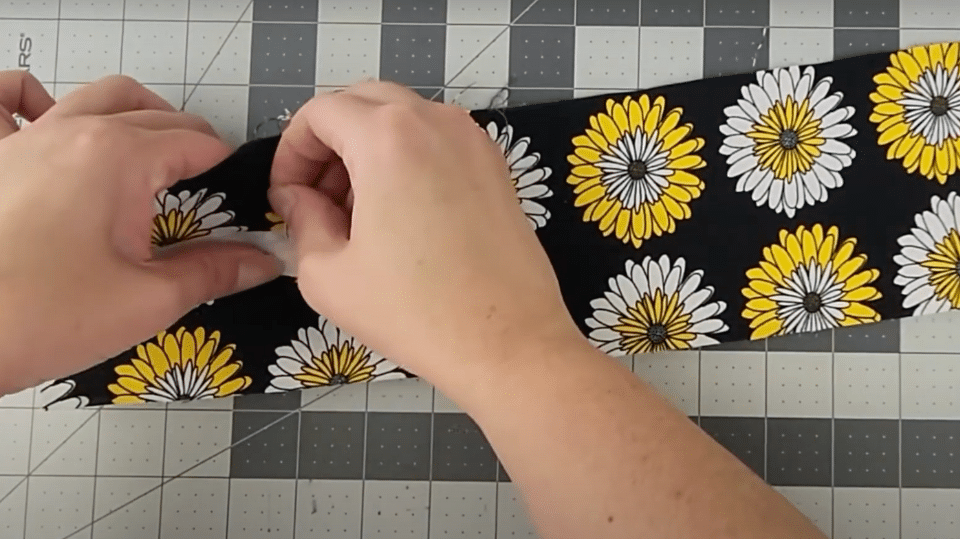
Step 5: Finish the Edges
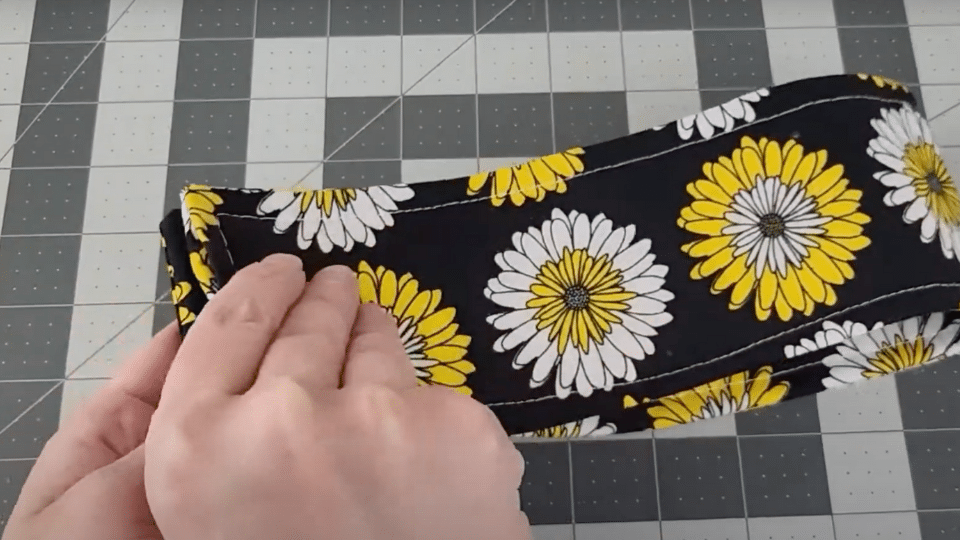
Fold the raw edges of the open end inward by about ¼ inch and pin in place. Iron the entire tie-back flat if needed.
Then, topstitch all around the whole perimeter using your sewing machine foot as a guide to keep stitching even.
Mistake to Avoid: Don’t skip the topstitching it gives a professional finish and secures the open end properly.
I want to give credit to Happiest Camper for their informative video, which served as a valuable reference for this guide.
5 Stylish Alternatives For Standard Curtain Holdbacks
Looking for creative alternatives to traditional tie-backs? Here are unique ideas that add personality and charm to your windows.
- Vintage Door Knobs & Cabinet Pulls: Convert old hardware into smart wall-mounted holdbacks. Screw vintage glass, ceramic, or brass knobs directly into the wall at curtain height. This works exceptionally well in farmhouse, vintage, or eclectic decor styles.
- Natural Rope & Nautical Knots: Use thick jute rope, hemp cord, or cotton rope for a rustic coastal vibe. Create decorative knots, such as monkey’s fists or figure-eight knots, at the ends for visual interest. Perfect for beach houses, bohemian spaces, or any room that needs a natural texture.
- Decorative Chains & Jewelry: Repurpose chunky costume jewelry, beaded necklaces, or decorative chains as glamorous tie-backs. Pearl strands work beautifully in luxury bedrooms, while colorful beaded chains suit children’s rooms or bohemian spaces.
- Fresh or Artificial Plant Stems: Use flexible branches, eucalyptus stems, or silk flowering vines to create organic holdbacks that change with seasons. Fresh lavender sprigs add fragrance, while artificial grape vines provide a lasting touch of beauty.
- Decorative Scarves & Fabric Strips: Repurpose beautiful scarves, vintage handkerchiefs, or strips of complementary fabric as soft, flowing tie-backs. Choose silk for elegance, linen for casual charm, or patterned fabrics for playful appeal.
Wrapping It Up
Making your own curtain tie-backs proves that small changes create big visual impact. These simple accessories turn ordinary windows into polished focal points while letting more light brighten your space.
The techniques you’ve learned here work for any room style or budget. From basic fabric tie-backs to creative alternatives using household items, you now have multiple options to enhance your home’s appearance without expensive purchases.
Why does this matter? Beautiful windows make your entire room feel more thoughtfully designed and welcoming. Plus, the skills you’ve gained can inspire other DIY home improvement projects.
Start with one window and see the difference for yourself. Choose whichever method appeals to you most and gather your materials today.
What creative tie-back ideas will you try first? Share your results in the comments below and inspire other readers with your window makeover success.
Frequently Asked Questions
Are Tiebacks on Curtains Old-Fashioned?
No, tie-backs remain stylish. Modern designs using rope, chains, or minimalist hardware keep them contemporary and fresh.
What Is the Rule for Curtain Tie Backs?
Position tie-backs at two-thirds height from the floor. This creates attractive draping while allowing maximum light into the room and maintaining smart proportions.
What Color Should Curtain Tiebacks Be?
Match tie-backs to the curtain fabric for a seamless look, or choose coordinating accent colors from your room’s decor. Neutral tones, such as beige or white, work universally.