
Your driveway takes a beating every single day. Rain seeps into tiny cracks, UV rays break down the asphalt, and oil stains leave permanent marks that make your home’s curb appeal suffer.
Many homeowners believe that sealing is too complicated or too expensive to handle on their own.
Here’s the truth: you can protect your driveway investment and save hundreds of dollars with just one weekend of work.
If you’re wondering whether your driveway has passed the point of no return, determining when it’s too late to seal can help you decide between maintenance and replacement.
This complete guide walks you through every step, tool, and technique needed to seal your driveway like a professional contractor.
Why Seal Your Driveway?
Sealing your driveway protects it from water damage, harmful UV rays, oil stains, and freeze-thaw cycles that cause cracks and potholes.
DIY sealing costs around $50-$100 for materials, compared to $300-$600 for professional services, making it a smart choice for saving money.
Many homeowners wait too long to seal their driveways, which leads to expensive repairs or complete replacement that could cost thousands of dollars, a mistake that turns a simple maintenance task into a major expense.
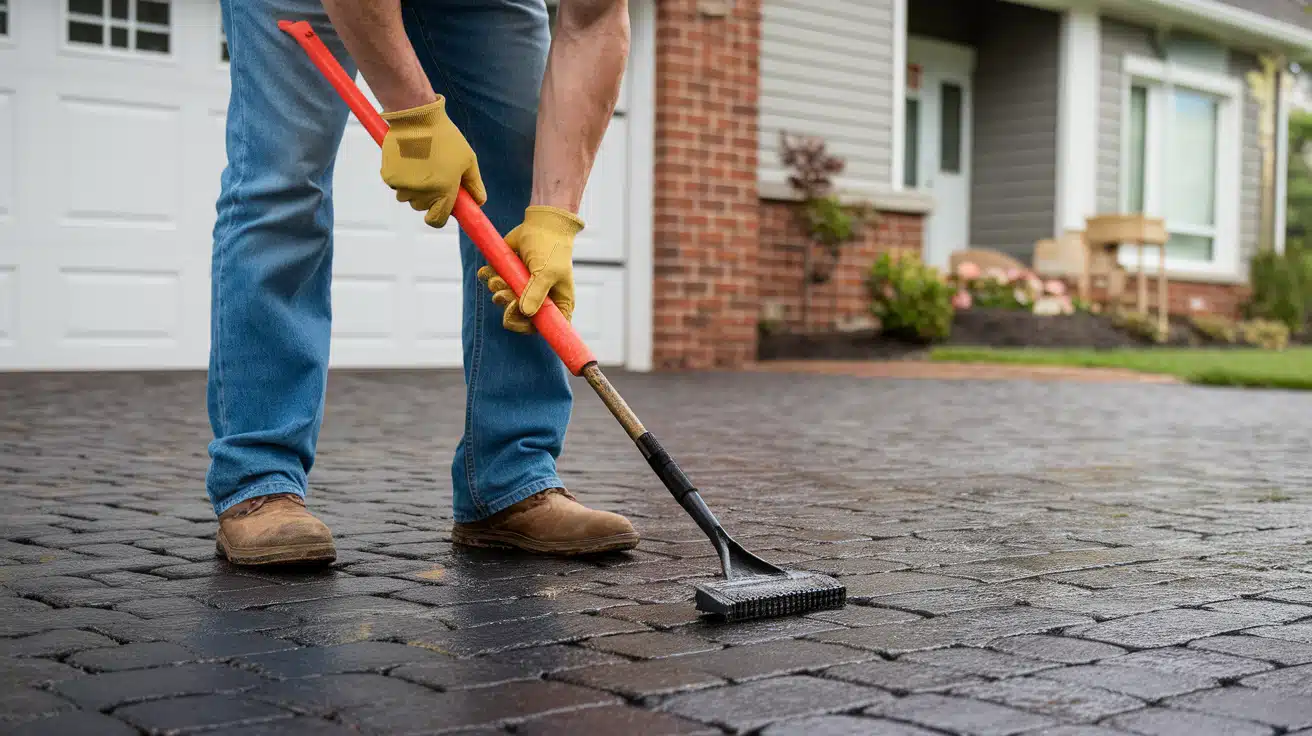
Step-by-Step: DIY Driveway Sealing
Your driveway requires regular maintenance to stay in good condition. Without proper sealing every year or two, it will crack and look worn out. These steps show you exactly how to seal your driveway like a pro in just five simple steps.
Essential Tools & Materials
| Category | Key Items | Quick Tips |
|---|---|---|
| Tools | Squeegee, stiff brush, crack filler, pressure washer, protective gear | Gloves & goggles protect against splashes |
| Sealer Types | Asphalt-based (affordable), Coal-tar (durable, chemical resistant), Eco-friendly (low-VOC) | Pick based on climate & safety needs |
| How Much | 1 gal. covers ~80–100 sq. ft. → Measure driveway (L × W) ÷ 100 = gallons needed | Buy 1–2 extra gallons for edges/touch-ups |
Step 1: Clean and Clear the Surface
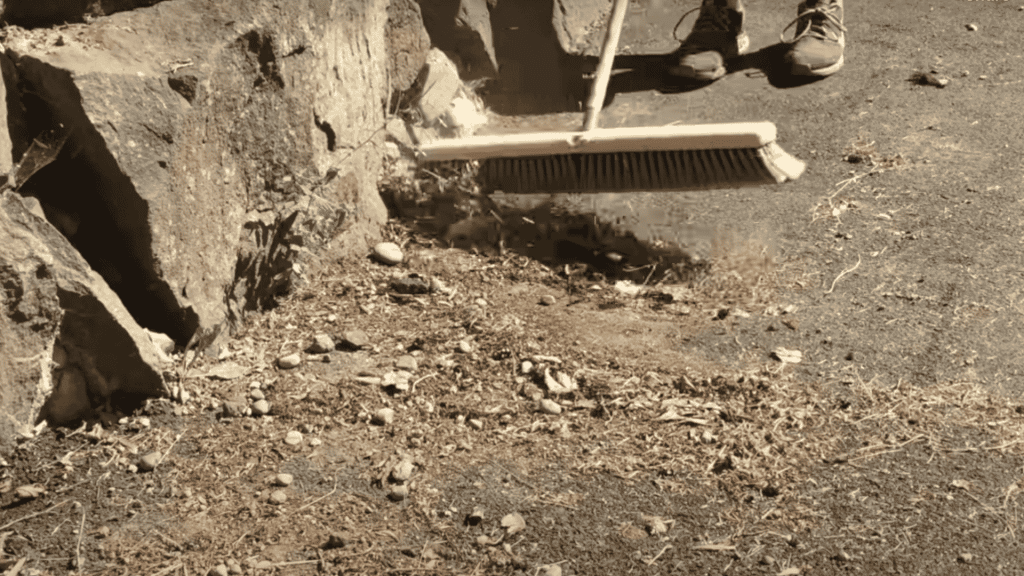
Begin by removing all debris from the surface of your driveway. Pick up rocks, leaves, and any other debris that have accumulated over time. You need a completely clear workspace before applying any products.
Next, remove any weeds or grass growing through the cracks in the asphalt. These plants can grow back through your new seal coat if you don’t remove them completely from the roots.
Materials Used in This Step:
- Work gloves
- Trash bags or a wheelbarrow
- Hand weeding tools
- Broom or leaf blower
Step 2: Apply Degreaser and Pressure Wash
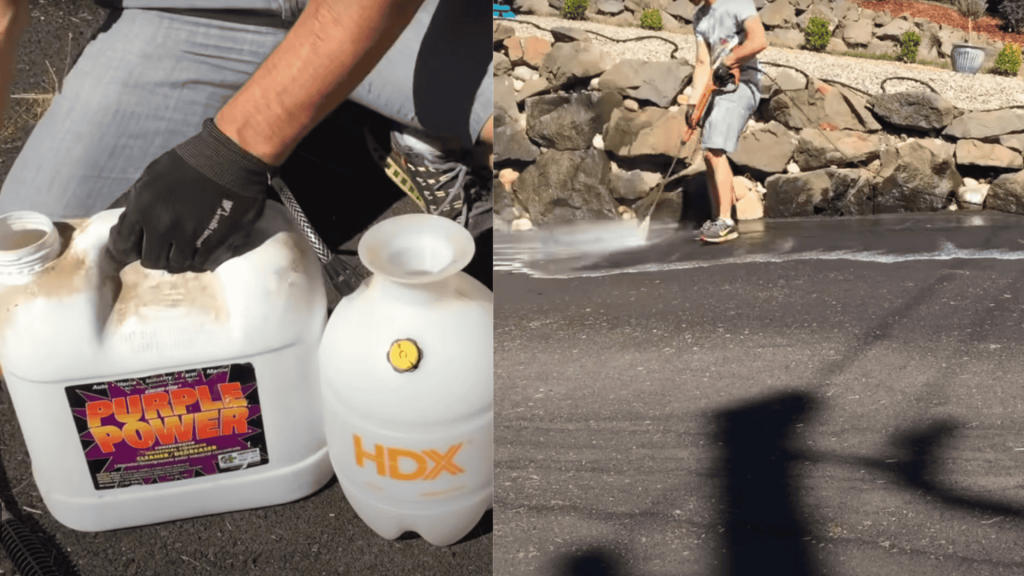
Spray industrial degreaser across the entire driveway surface. This step removes oil stains, dirt, and grime that have built up over months or years. The degreaser helps your seal coat stick properly to the asphalt.
Wait a few minutes for the degreaser to work, then use your pressure washer. Spray the entire driveway from top to bottom, removing all loose dirt and cleaning agents. Allow the surface to dry completely before proceeding to the next step.
Materials Used in This Step:
- Industrial degreaser (like Purple Power)
- Pressure washer
- Garden hose
- Safety glasses
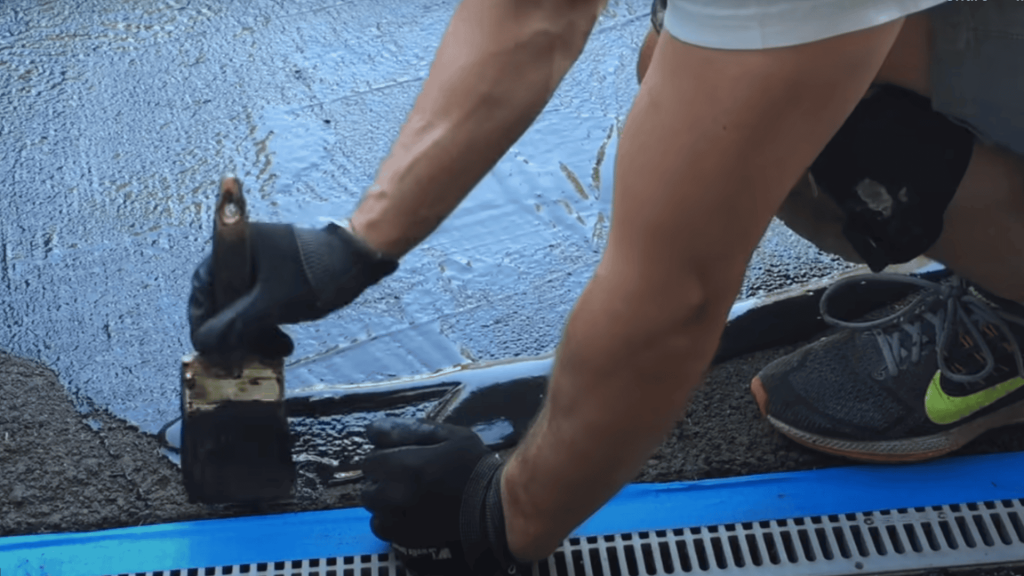
Step 3: Fill Cracks and Repair Damage

Inspect your asphalt for cracks and fill them with a suitable crack filler. Use airport-grade latex crack filler that self-levels as it dries. Pour the filler directly into each crack, ensuring it fills the opening completely.
Smooth the crack filler with a paintbrush to ensure it is level with the surrounding asphalt. This product typically dries in 48 hours, but you can apply seal coat over it after just 2 hours if needed. Don’t forget to address any gaps where your driveway meets the house foundation, as proper gap sealing techniques prevent water infiltration and structural damage.
Materials Used in This Step:
- Latex airport-grade crack filler
- Paint brush (2-3 inches wide)
- Putty knife or scraper
- Drop cloths
Step 4: Apply the Seal Coat Material
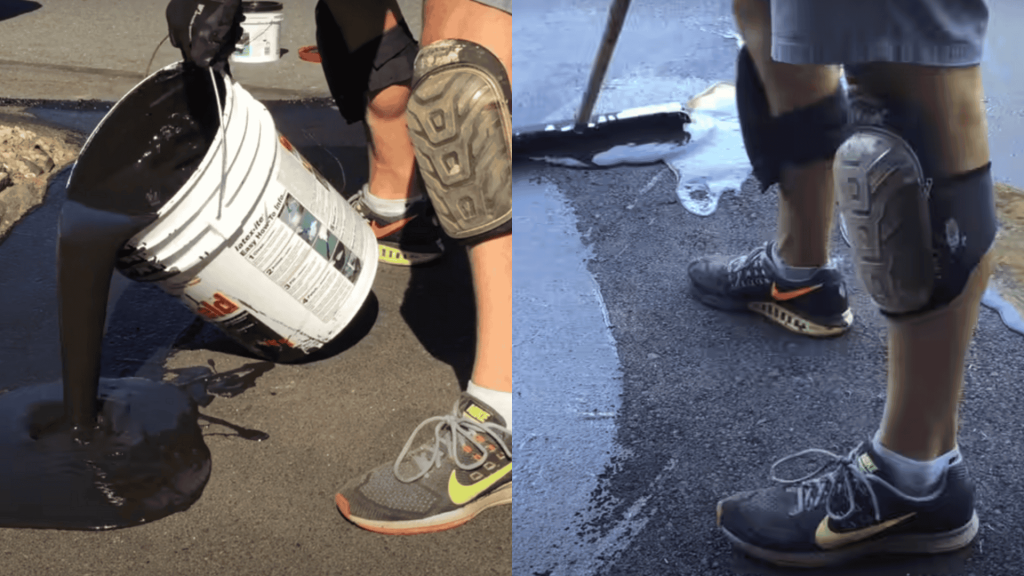
Pour seal coat material onto your driveway in small sections. Work from the top of your driveway toward the bottom, using gravity to help spread the product evenly. Don’t try to cover the entire driveway at once.
Use a squeegee to spread the seal coat in one direction. Push the material smoothly across the surface to ensure even coverage. For tight corners or edges, use a paintbrush to apply the seal coat by hand.
Materials Used in This Step:
- Seal coat product (like Ultra Shield by Latex-ite)
- Driveway squeegee
- Paint brush for edges
- Painter’s tape for clean lines
- Old clothes and shoes
Step 5: Finish and Protect Your Work
Complete the sealing process by checking for any missed spots or uneven areas. Touch up these areas with a paintbrush while the material is still wet. Remove painter’s tape before the seal coat starts to dry.
Place barriers or signs at the end of your driveway to keep people and cars away. Wait 24 hours before walking on the surface and 48 hours before driving on it. This gives the seal coat time to cure properly.
Materials Used in This Step:
- Warning signs or cones
- Rope or caution tape
- Clean-up materials
- Extra seal coat for touch-ups
Video Tutorial
I’d like to acknowledge BYOT for the insightful video, which served as a key reference in compiling this guide.
Weather-Specific Tips for Better Results
Weather conditions can make or break your sealing project. High humidity slows down the drying time and can cause the seal coat to remain tacky for days.
Rain within 24 hours will wash away your work completely, while strong winds blow dirt and debris onto your wet surface.
Working in cold weather sealcoating presents unique challenges that require special preparation and timing.
In hot, dry regions, working in smaller sections and avoiding the hottest part of the day, early morning or late afternoon, gives you the best window when temperatures are between 55°F and 85°F.
Long-Term Maintenance After Sealing
Sealing your driveway is only the first step; regular upkeep ensures it stays protected, looks fresh, and lasts for years with minimal repairs.
- Reseal your driveway every 2-3 years in moderate climates, but areas with harsh winters may require yearly sealing.
- Fill small cracks with crack filler and apply spot sealer to faded areas before they spread.
- Clean monthly with mild soap and water, removing oil stains quickly to protect your seal coating.
Final Call
Sealing your driveway yourself saves money and gives you complete control over the quality of work.
You now have all the necessary steps to complete this project safely and effectively within one weekend.
The materials cost under $100, but professional sealing runs $300-600 for the same results. Start with proper cleaning, take your time with each step, and avoid rushing the drying process for optimal results.
Your driveway will thank you with years of protection against weather damage, oil stains, and normal wear and tear.
Ready to tackle your next home improvement project? Share your sealing results in the comments below and let other homeowners know exactly how much money you saved doing it yourself!