Transform your dining experience with handcrafted cedar placemats that bring natural elegance to every meal.
These stunning conversation pieces protect your table and fill your home with cedar’s subtle, calming aroma.
Imagine impressing dinner guests with unique placemats you made yourself, each one showcasing the wood’s distinctive grain patterns.
Our step-by-step guide breaks down this weekend’s project into simple tasks anyone can master using basic tools and materials that won’t break the bank.
Following our detailed instructions, you’ll learn essential woodworking skills while creating functional art pieces that can last years.
Plus, these placemats make thoughtful gifts for special occasions.
Ready to elevate your dining table from ordinary to extraordinary? Let’s gather our supplies and start crafting!
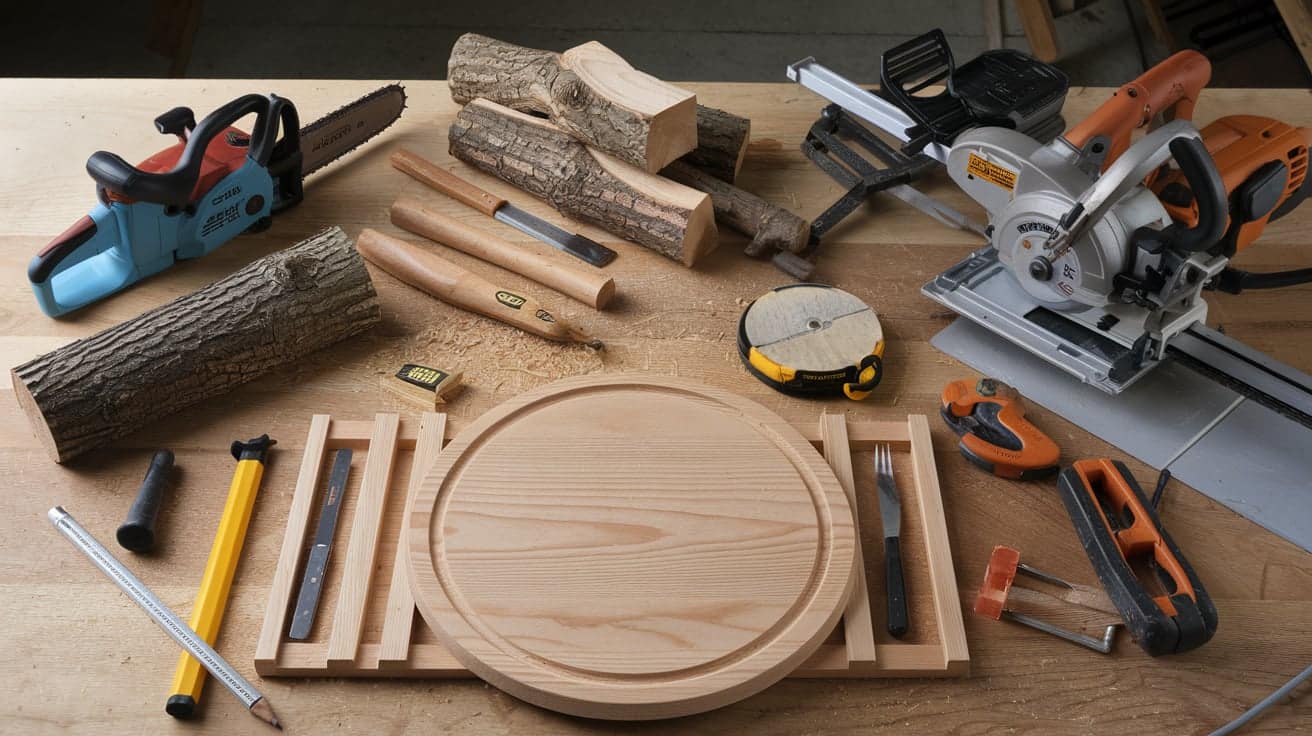
Materials Required
For a set of 4 standard-sized placemats (12×18 inches each)
|
Material |
Quantity |
Specifications |
|
Cedar Wood |
2-3 planks |
1×6 inches, 4 feet length |
|
Wood Glue |
1 bottle |
Waterproof wood adhesive |
|
Sandpaper |
4-5 sheets |
120, 180, and 220 grit |
|
Wood Finish |
1 can |
Food-safe finish or mineral oil |
|
Twine (Optional) |
1 roll |
Natural fiber, medium thickness |
|
Cork Backing (Optional) |
1 sheet |
12×12 inches per placemat |
Step-By-Step Guide to Making Cedar Placemats
Step 1: Creating Uniform Wood Sections
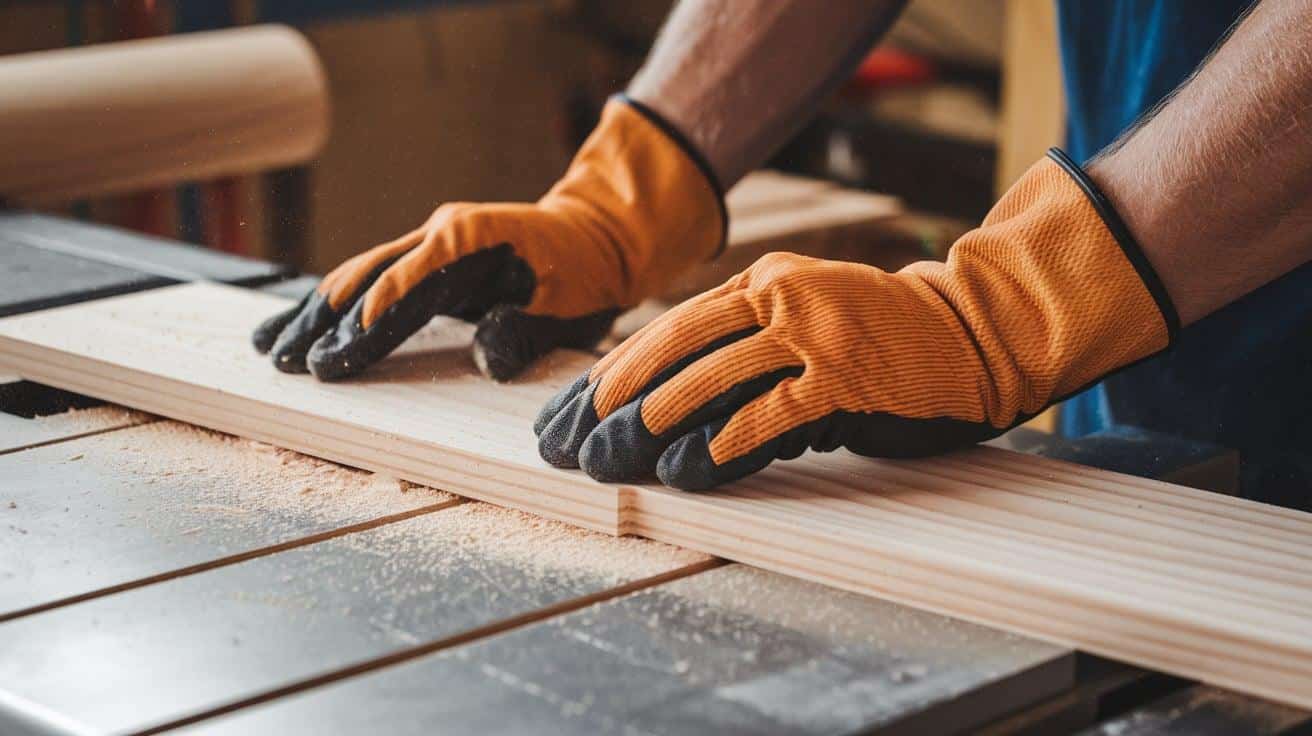
Start with premium quality wood planks, using precise measurements to create evenly sized sections. Position your cutting guide carefully and maintain steady pressure while operating your saw to ensure consistent thickness.
Keep extra pieces on hand for practice cuts or replacements. A steel ruler aids in marking precise cutting lines, while a sharp pencil ensures visible guidelines. Remember to maintain a firm grip and safe distance while operating cutting tools.
Step 2: Surface Preparation
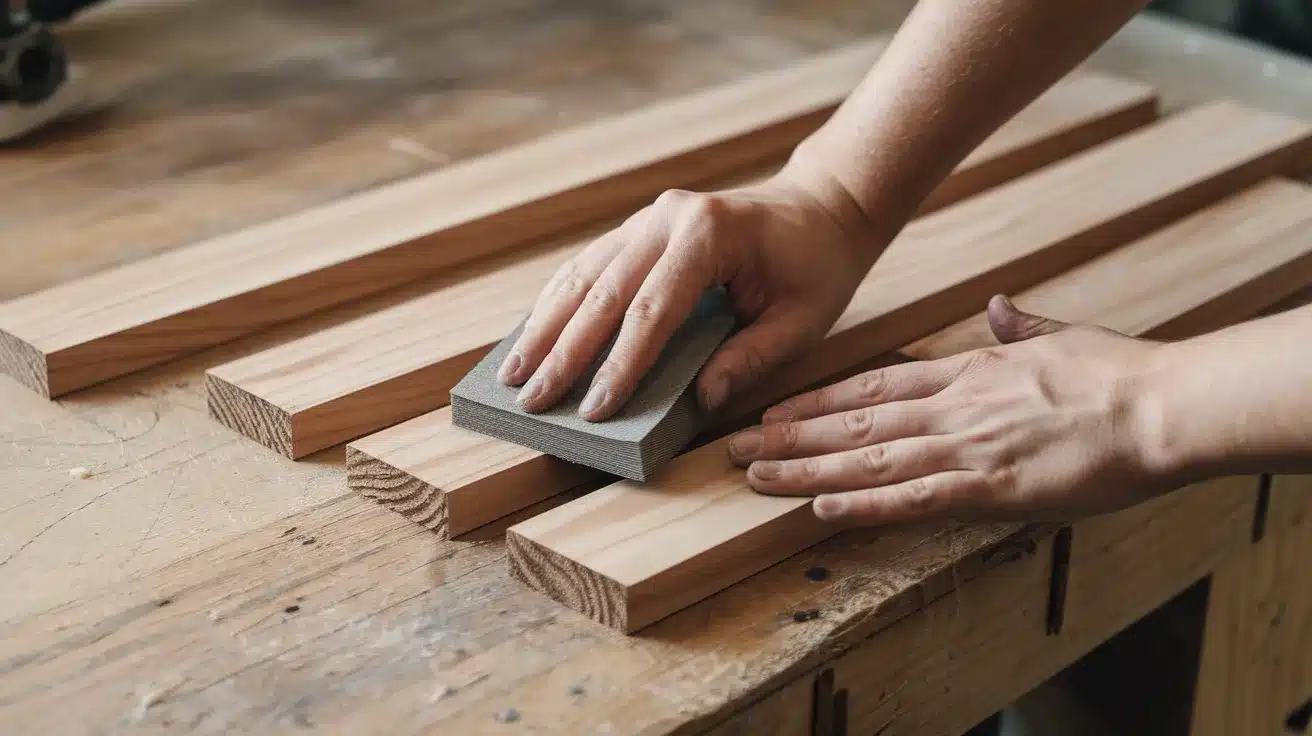
Prepare each section meticulously with progressive sanding techniques, starting with medium grit and gradually moving to finer grades.
Work in the direction of the grain to highlight natural patterns. Pay special attention to the edges and corners, creating a silky-smooth finish that’s pleasant to touch.
This careful preparation not only enhances safety but also creates an ideal surface for the finishing stages.
Step 3: Design Layout
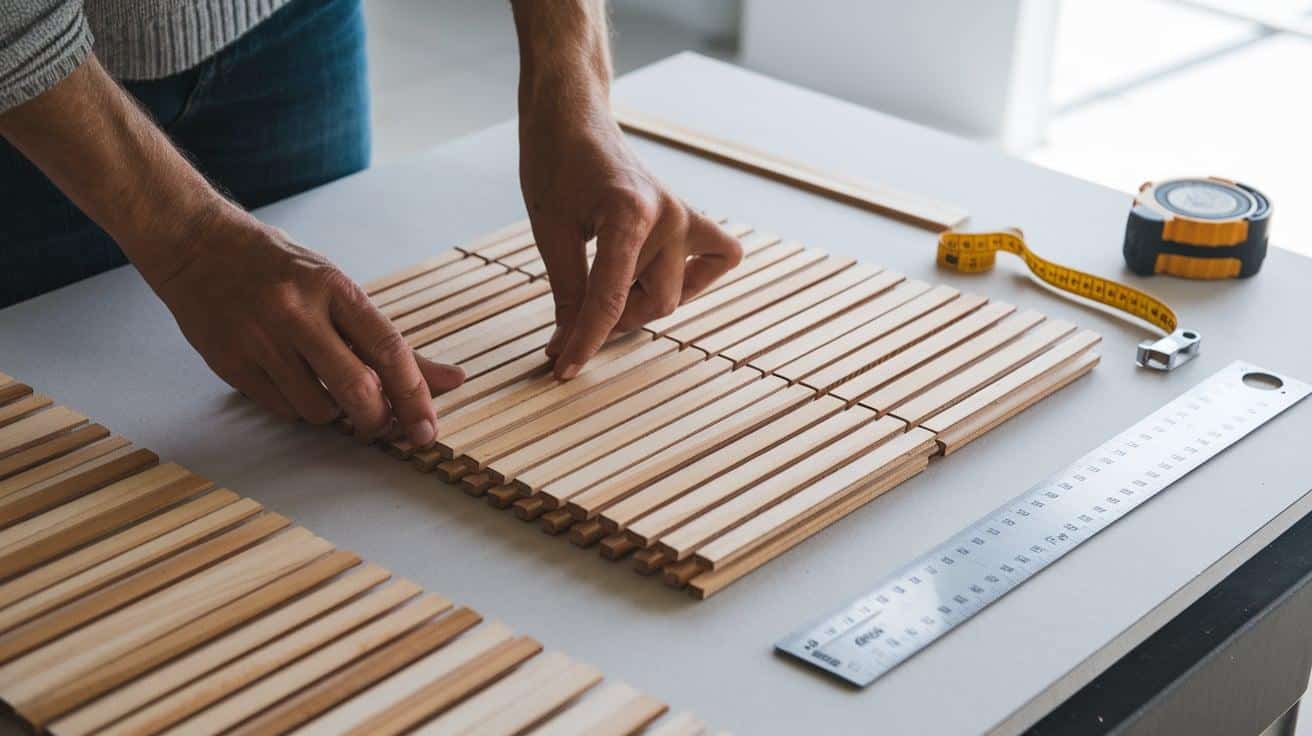
Position your prepared sections to create your preferred pattern, experimenting with different arrangements before making final decisions.
Consider how the grain patterns flow together and ensure consistent spacing between pieces. Traditional straight layouts offer timeless appeal, while diagonal patterns create visual interest.
Take time to step back and view the arrangement from different angles to ensure balance and symmetry.
Step 4: Assembly Process
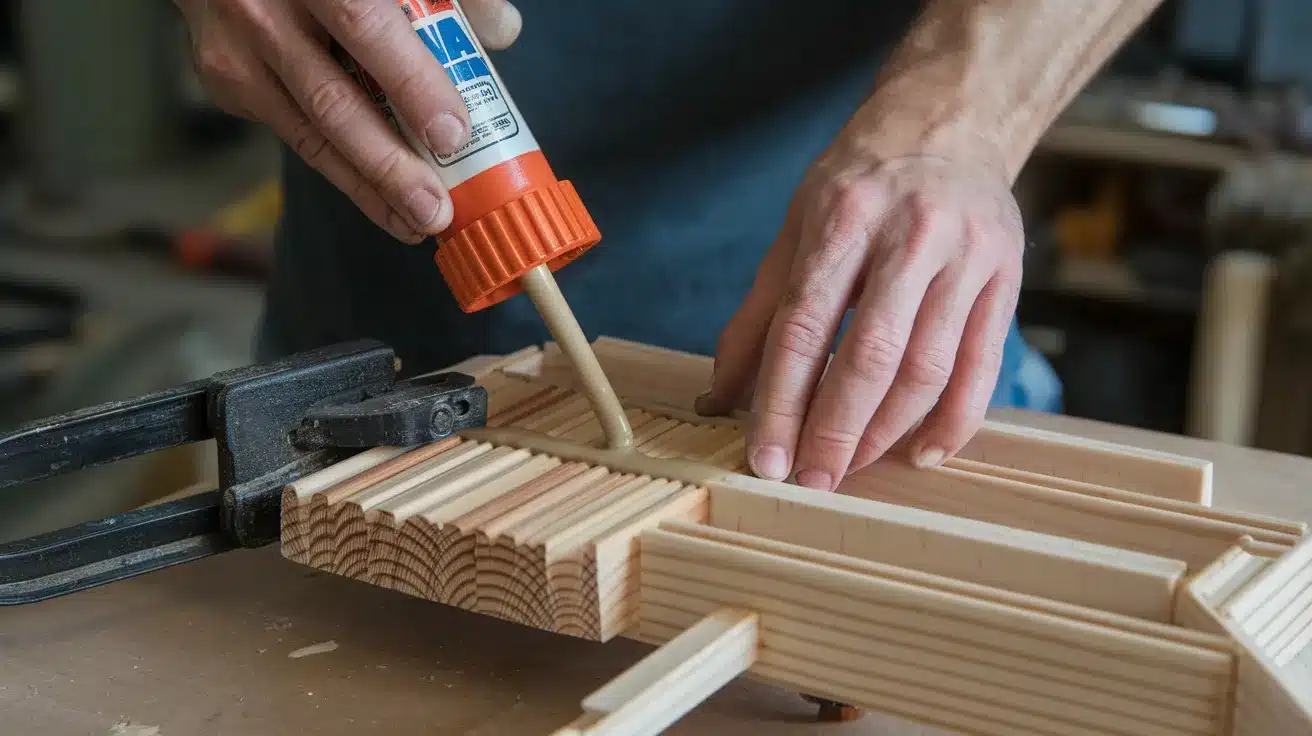
Join the sections using appropriate adhesive, applying it sparingly but thoroughly along each connecting edge. Position clamps strategically to maintain even pressure during drying.
For decorative appeal, consider adding natural fiber binding in strategic locations. Allow sufficient drying time between pressure points to ensure strong bonds, and remove any excess adhesive immediately with a clean cloth.
Step 5: Protective Coating Application
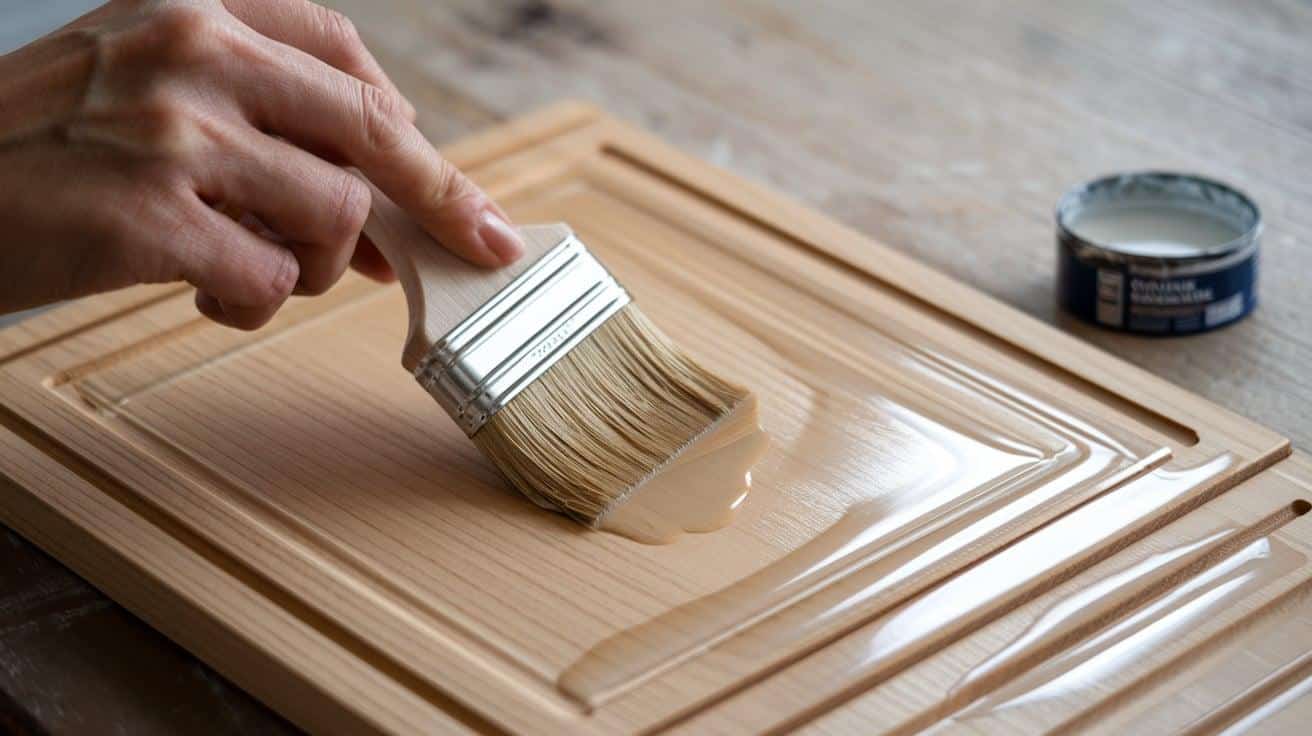
Apply your chosen protective solution in thin, even layers using smooth, overlapping strokes. Allow proper drying time between coats, lightly buffing each layer before applying the next.
Work in a well-ventilated area and maintain consistent temperature and humidity during application. This careful process ensures maximum protection while maintaining the natural beauty of your creation.
Step 6: Creative Enhancement
Add personal touches to make each piece unique, incorporating subtle patterns or distinctive markings that complement your style.
Consider adding non-slip materials underneath for practical functionality. Test different decorative techniques on spare pieces first to perfect your approach.
Create a cohesive set by maintaining consistent design elements across multiple pieces while allowing for subtle variations that showcase individuality.
Maintenance and Care for Cedar Placemats
Keep your handcrafted cedar placemats looking stunning for years to come with these essential care tips that preserve their natural beauty and extend their lifespan. A little attention goes a long way in maintaining these elegant dining companions.
1. How to Clean Your Cedar Placemats
Gently wipe your placemats with a slightly damp cloth after each use, avoiding excess moisture. Mix mild dish soap with water, lightly clean the surface, and dry immediately with a soft towel for deeper cleaning.
Never soak or submerge your placemats, which can damage the protective coating and wood. Regular dusting with a microfiber cloth maintains their pristine appearance between cleanings.
2. Preventing Warping and Cracks
Store your placemats flat in a climate-controlled area away from direct sunlight and heat sources. Maintain consistent indoor humidity levels to prevent wood movement.
Use coasters under hot dishes and wipe up spills promptly. Consider rotating your placemats regularly to ensure even exposure to environmental conditions and prevent uneven aging.
3. Refreshing the Wood Over Time
Apply a fresh coat of food-safe mineral oil or natural wax every few months to maintain the wood’s luster. Gently buff the surface with a soft cloth after application.
If the surface becomes rough, lightly sand with ultra-fine grit paper, then reapply the protective coating. This regular maintenance preserves both beauty and durability.
Creative Ways to Personalize Your Cedar Placemats
Transform your functional art pieces into unique expressions of your style!
These creative techniques will help you elevate your placemats from beautiful basics to personalized masterpieces that tell your story. Let’s explore how to make each placemat as distinctive as your signature.
Staining and Painting Options
Experiment with natural stains to enhance the wood’s inherent patterns while maintaining its organic appeal.
Consider creating subtle color variations using water-based dyes that allow the grain to show through. For a modern touch, try color blocking techniques with non-toxic paints, leaving some areas natural for contrast.
Wood Burning and Engraving Designs
Create unique patterns using basic geometric shapes for a contemporary look. Practice your design on scrap pieces first to perfect your technique.
Consider seasonal motifs, monograms, or abstract patterns. Start with simple lines and gradually progress to more intricate designs as you gain confidence.
Adding Decorative Elements
Weave natural fiber cord through pre-drilled holes for a coastal aesthetic. Incorporate decorative knots at corners or edges for added interest.
Consider adding fabric trim or natural fiber binding along edges. These elements not only enhance visual appeal but can also protect edges from wear over time.
Alternative Design Variations
Elevate your dining space with these distinctive placemat designs that blend artistry with functionality.
From sleek modern aesthetics to cozy farmhouse charm, these variations showcase the versatility of cedar while matching your unique style preferences.
1. Modern Minimalist Styles
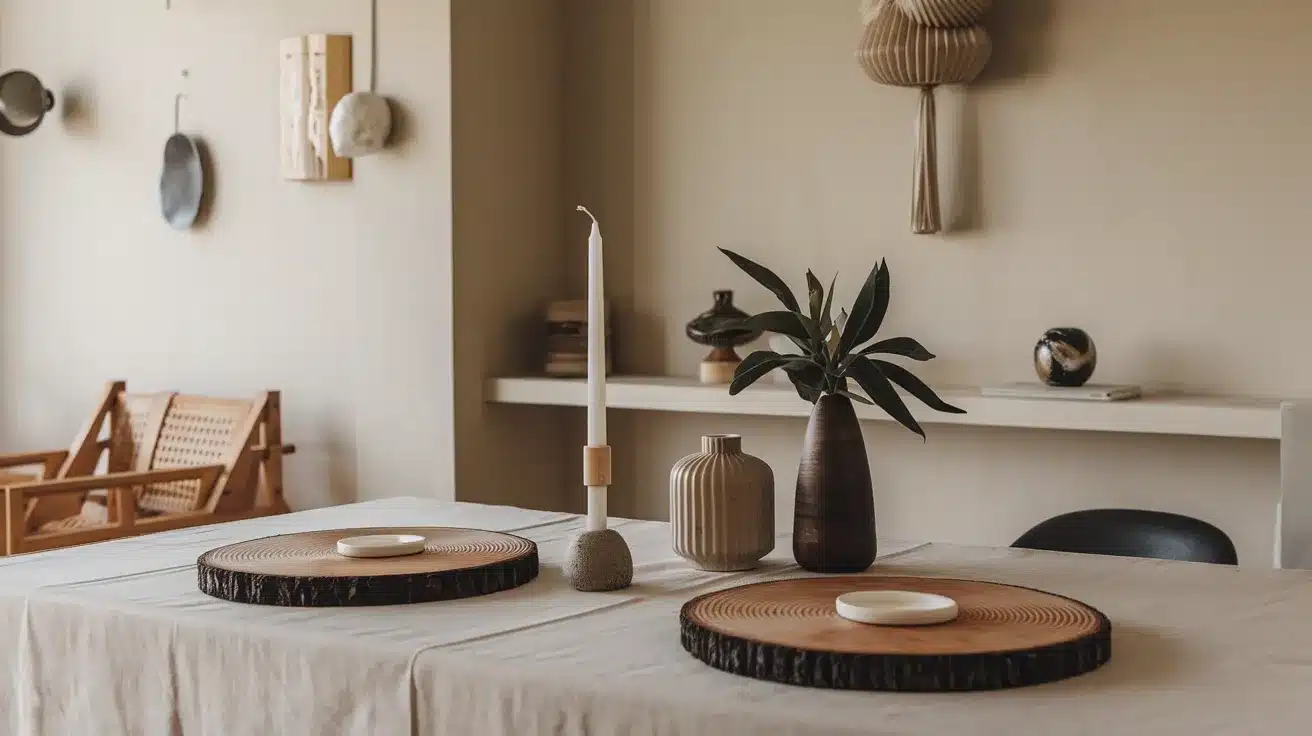
Embrace clean lines and simplicity by arranging thin strips of cedar in parallel formations, maintaining consistent spacing for a sophisticated look.
Consider incorporating subtle shifts in wood grain direction to add visual interest without overwhelming the design.
A monochromatic finish enhances the natural variations in the wood while maintaining the understated elegance that defines minimalist style.
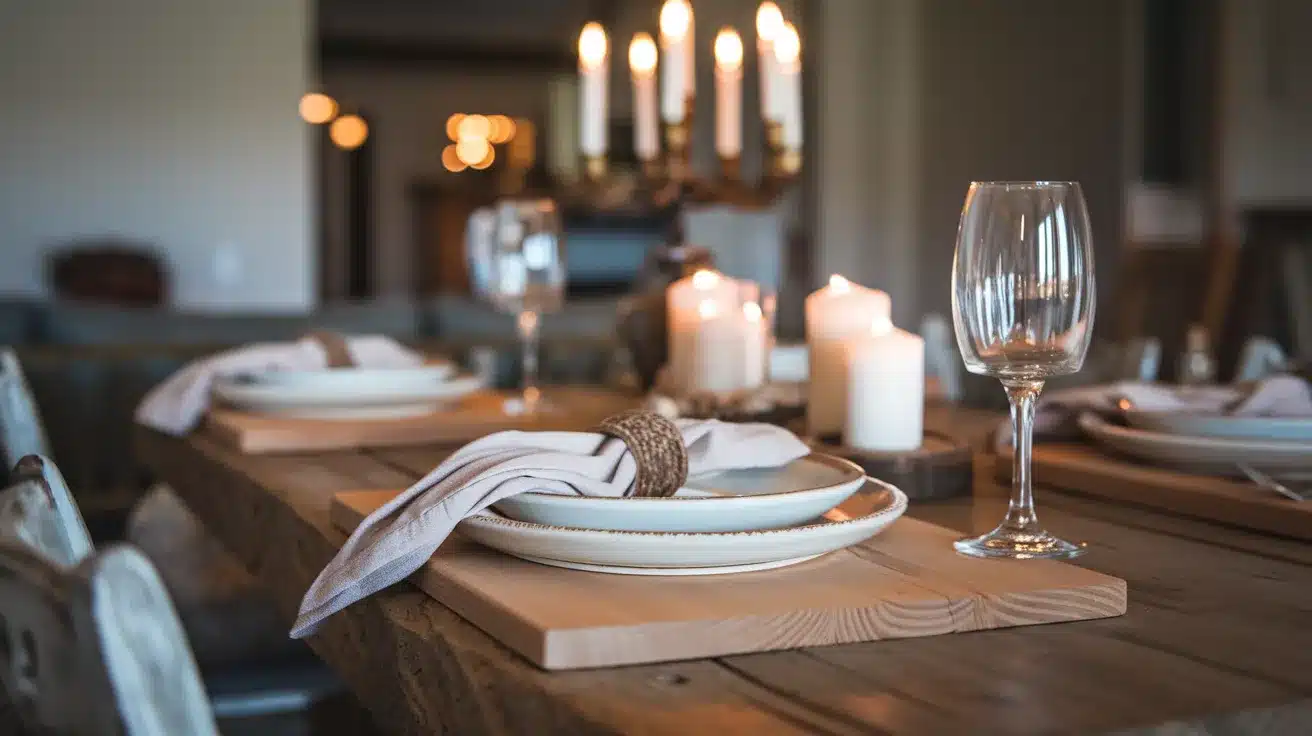
2. Rustic Farmhouse Patterns
Create depth and character by alternating wide and narrow cedar strips, celebrating natural knots and grain patterns.
Mix different wood tones by varying the application of natural oils, creating a weathered appearance that fits perfectly in country-inspired settings.
Consider adding crosspieces at the ends for an authentic barn door aesthetic that brings warmth to your dining space.
3. Contemporary Geometric Layouts

Transform traditional placemat design by arranging cedar pieces in dynamic chevron patterns or diamond formations. Experiment with asymmetrical layouts using varied strip widths to create bold, modern statements.
Consider incorporating contrasting wood grains in hexagonal or triangular arrangements for eye-catching visual impact. Each piece becomes a unique artistic expression while maintaining its practical function.
Conclusion
Crafting natural placemats brings a sense of accomplishment beyond the dining experience. Each piece tells its own story through unique grain patterns and personalized touches, creating lasting memories with family and friends.
These handmade creations not only protect your table but also showcase your craftsmanship and creativity.
By following this guide, you’ve learned valuable techniques that translate into other woodworking projects.
Whether you choose classic designs or add personal flair, your placemats will develop a rich patina over time, becoming more beautiful with each passing year.
Remember that caring for your handcrafted pieces preserves not just the wood but also the time and dedication you invested in creating these distinctive dining accessories that enhance your home’s natural charm.
