
Are you also bored of looking at scratched, worn-out stairs every day?
I totally get it, those ugly treads are probably making you cringe every time you walk up or down. Here’s the thing: you don’t need to drop thousands on a contractor or completely replace them.
I’m going to show you exactly how to refinish your stairs like a professional, even if you’ve never touched a sander before.
This isn’t some complicated project that requires years of experience. With the right approach and tools, you can change those beat-up stairs into stunning focal points that add serious value to your home.
Ready to turn heads with your handiwork? Let’s get your hands dirty and make those stairs the envy of your neighborhood. But before even starting the work, let’s find out why stair refinishing even matters.
How to Refinish Stairs Easily at Home?
Remake your worn stairs into beautiful, safe surfaces with this complete step-by-step process. This guide covers everything from initial preparation to final finishing touches.
Follow these proven methods to achieve professional results while saving thousands on replacement costs.
Tools Needed
| Tool | Purpose |
|---|---|
| Random orbital sander | Main sanding on treads |
| Square palm sander | Corner and detail work |
| Oscillating tool | Hard-to-reach spots |
| Sanding sponge | Manual detail sanding |
| Nylon/polyester brush | Applying finish and paint |
| Spackle knife | Wood filler application |
| Paint strainer | Smooth paint consistency |
| Vacuum cleaner | Dust removal |
| Fans | Ventilation and drying |
| Brad nailer | Installing trim pieces |
| Caulking gun | Sealing gaps |
Materials Needed
| Material | Use |
|---|---|
| Sandpaper (60-220 grit) | Progressive sanding |
| Wood filler | Repair holes and damage |
| Water/oil-based polyurethane | Protective finish |
| Wood stain (optional) | Color enhancement |
| White trim paint | Risers and stringers |
| Masking tape | Surface protection |
| Caulk | Gap filling |
| Shoe molding/trim | Cover gaps |
| Tack cloth/microfiber towel | Dust removal |
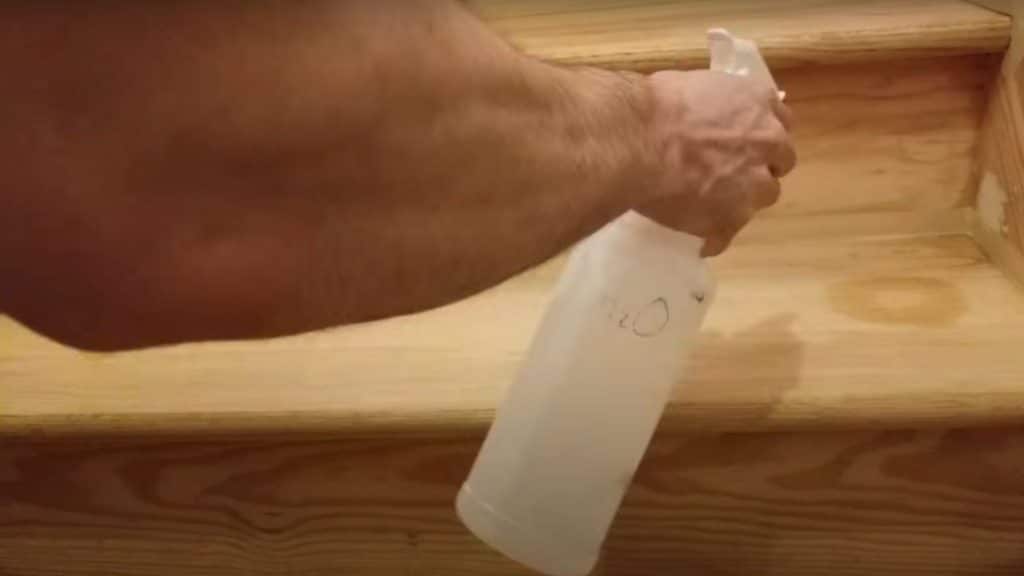
Step 1: Prepare and Clean

Remove all nails, tack strips, and screws from stairs. Sweep or vacuum all debris completely. Clear the area of furniture and dust.
Set up proper ventilation with fans. Gather all tools, including sanders, brushes, and safety equipment, before starting work.
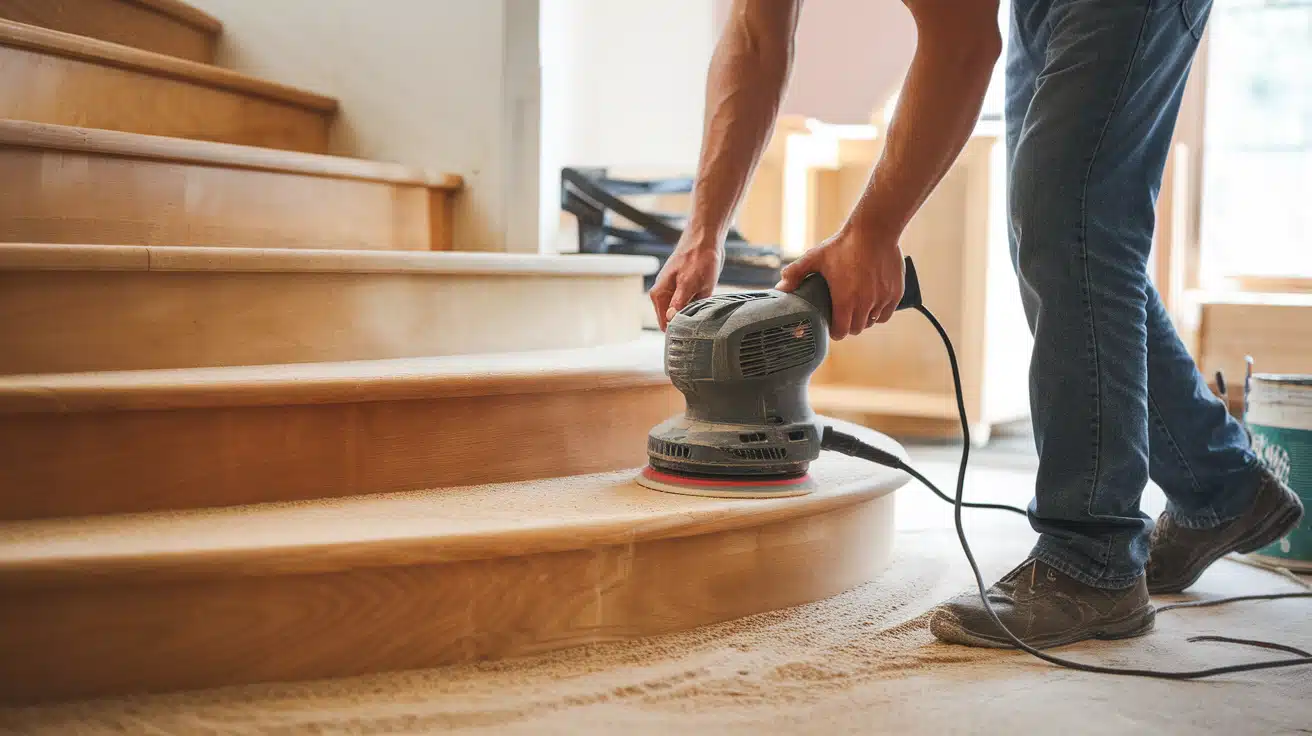
Step 2: Sand the Surfaces
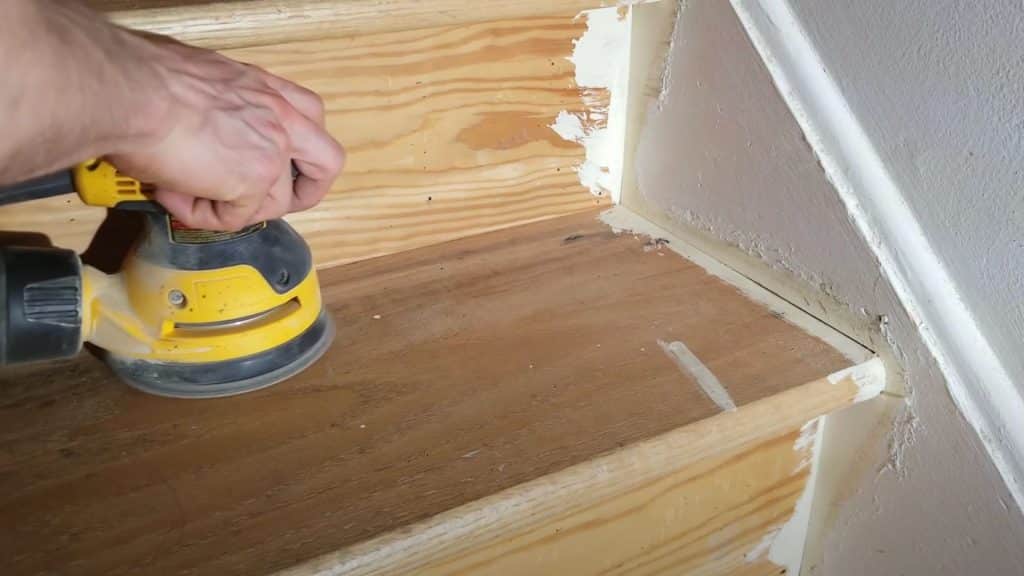
Start with 60-grit sandpaper for damaged wood or 120-grit sandpaper for good-condition stairs. Sand treads, risers, and stringers systematically.
Use an orbital sander for the main areas, a palm sander for the corners, and a sanding sponge for the detailed spots. Always sand with the grain direction.
Step 3: Progress Through Grits
Move through progressively finer sandpaper grits: 80, 120, then 150-grit. Vacuum thoroughly between each grit change.
This removes scratches from previous sanding and creates a smooth surface. Check for missed spots and ensure even coverage across all surfaces.
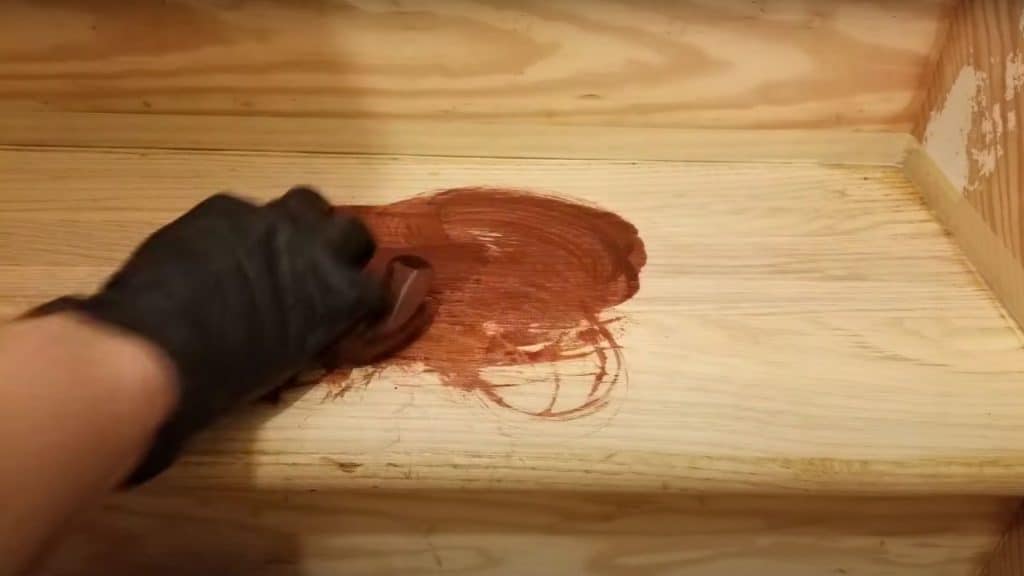
Step 4: Fill and Repair
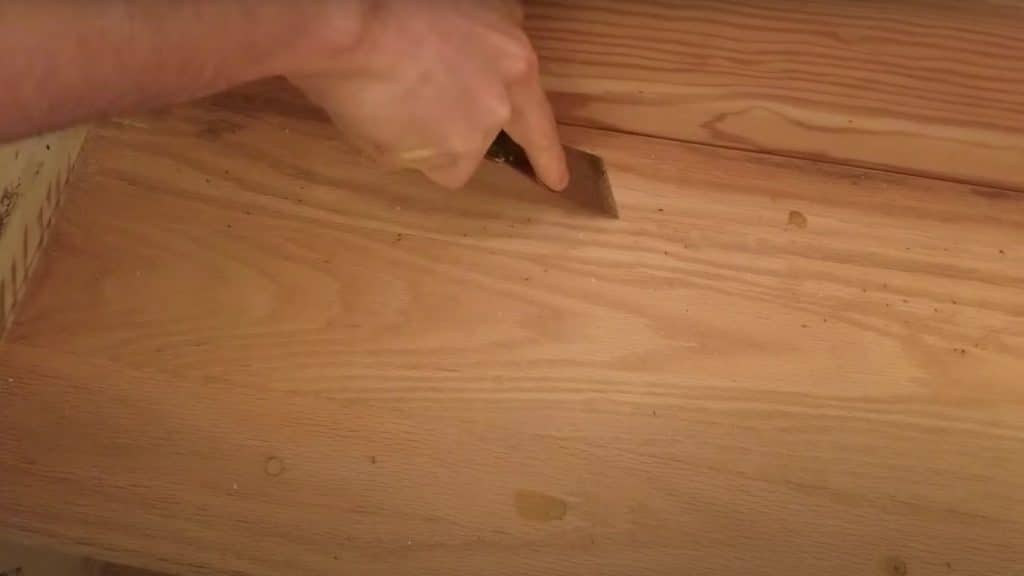
Apply wood filler to holes, gouges, and damaged areas using a spackle knife. Let dry completely according to the manufacturer’s instructions.
Sand-filled areas are smoothed with 150-grit paper. Vacuum all dust and wipe clean with a microfiber cloth before proceeding.
Step 5: Apply Stain (Optional)

Mask edges with tape to protect areas you’ll paint. Apply pre-stain wood conditioner if needed. Apply stain evenly with a brush or a cloth, following the wood grain.
Wipe excess immediately. Allow 24-48 hours to dry completely before applying the finish.
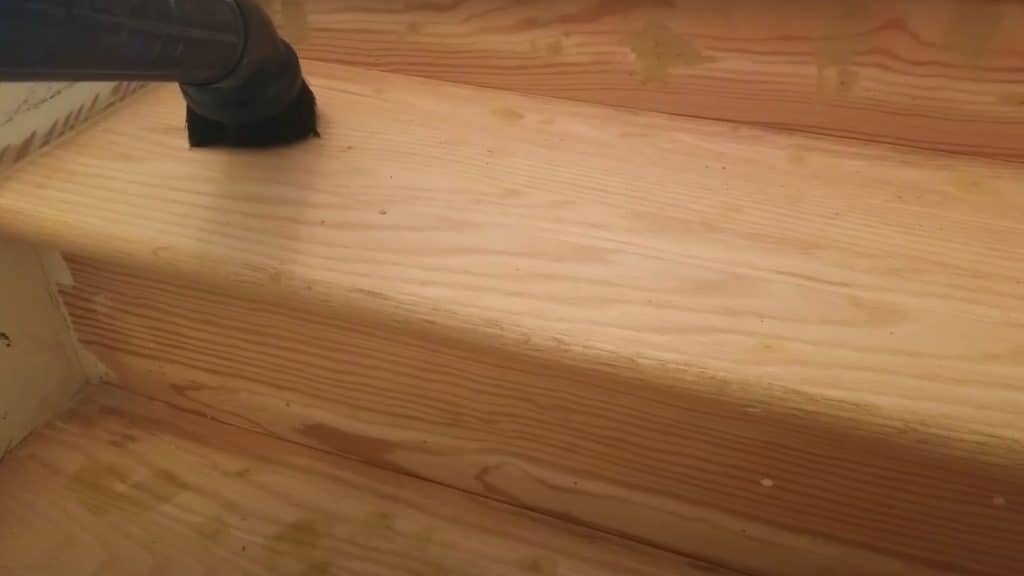
Step 6: Apply Finish Coats
Use water-based or oil-based polyurethane finish. Apply thin, even coats with a quality brush. Work systematically to avoid brush marks.
Allow proper drying time between coats. Apply 2-3 coats for durability. Maintain airflow with fans during the drying process.
Step 7: Paint Trim and Final Details
Mask stair treads with tape. Apply caulk to gaps where the trim meets the stairs. Paint risers and stringers with quality trim paint.
Remove the tape while the paint is slightly wet. Install shoe molding or trim pieces to cover gaps. Clean up and inspect final results.
Step 8: Test Stain Drying
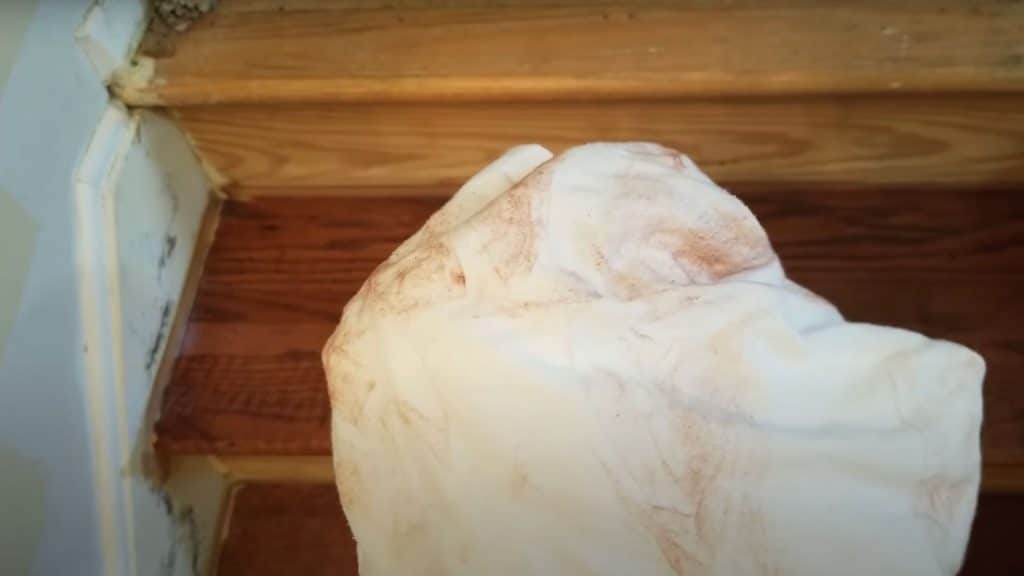
After applying the stain, test drying by wiping with a cloth every few hours. Red oak takes longer to dry and may continue bleeding stain.
Wait 24-48 hours minimum. Apply fans for better airflow. Don’t rush this step, or finish won’t adhere properly.
Step 9: First Finish Coat Application
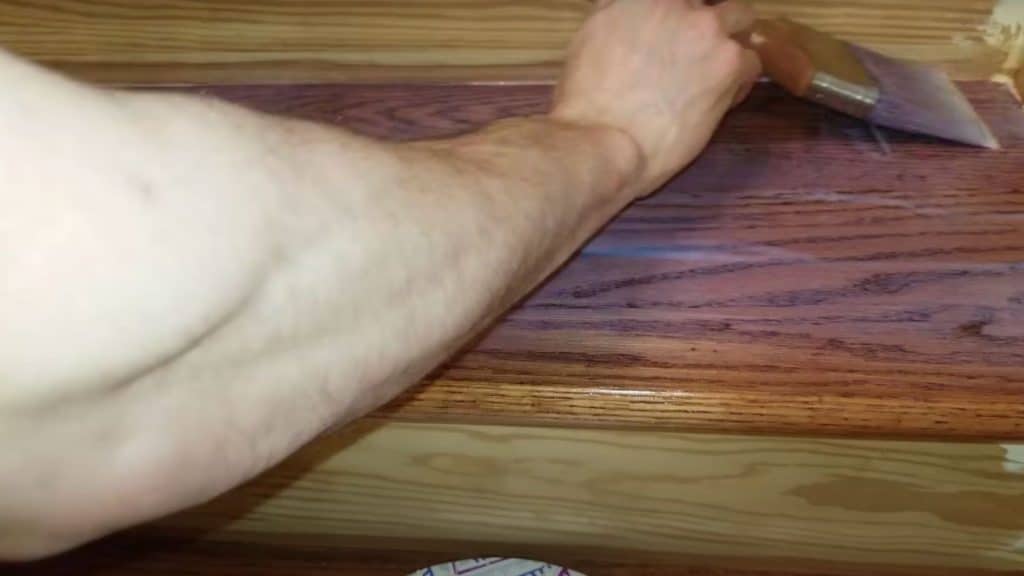
Apply a thin, even coat of polyurethane using the quality brush. Work systematically from one end to the other. Don’t overload the brush or create puddles.
Make finishing passes to remove brush marks. Maintain consistent airflow with fans during the entire drying process.
Video Tutorial
I’d like to give credit to Game of Life for their informative video, which served as a reference for this guide.
Cost Breakdown for Stair Refinishing Project
Refinishing stairs yourself offers significant savings compared to hiring professionals. Here’s what you can expect to spend on materials and supplies for a standard 13-step staircase project.
| Category | Cost Range |
|---|---|
| Sanding supplies & sandpaper | $40-65 |
| Wood filler & repair materials | $18-35 |
| Polyurethane finish & stain | $52-93 |
| Paint & brushes | $35-60 |
| Trim pieces & hardware | $35-70 |
| Miscellaneous supplies | $27-45 |
| Tool rental (if needed) | $40-80 |
| Total DIY Cost | $247-448 |
| Professional Cost | $1,200-2,500 |
| Your Savings | $953-2,253 |
DIY stair refinishing costs under $450 in most cases, while professional installation runs $1,200-2,500.
You’ll save at least $950 by doing the work yourself, plus gain valuable skills and the satisfaction of completing a major home improvement project with your own hands.
Maintenance Tips for Long-Lasting Stair Finish
- Regular Cleaning: Sweep stairs daily and mop weekly with wood-safe cleaner to prevent dirt buildup and surface scratches.
- Use Protective Mats: Place runners or mats on high-traffic areas to reduce wear and protect the finish from daily use.
- Control Moisture: Keep humidity levels between 30-50% and clean spills immediately to prevent water damage and warping issues.
- Avoid High Heels: Discourage wearing stilettos or cleats on stairs as they create dents and gouges in the wood surface.
- Annual Inspection: Check for loose boards, worn finish, or damage each year and address issues before they become major problems.
- Recoat When Needed: Apply a fresh polyurethane coat every 3-5 years, depending on traffic, to maintain protection and appearance levels.
Conclusion
Looking at your stairs now feels different, doesn’t it? You’ve learned exactly how to transform those beat-up treads into stunning focal points. The best part? This entire project costs under $450 when you do it yourself.
That’s at least $950 less than hiring professionals. Plus, you gain valuable skills and stairs that look professionally finished.
Remember to take your time with sanding and respect those drying times. Your patience pays off with beautiful stairs that last for years.
What are you waiting for? Grab your sander this weekend and start transforming those worn stairs. Drop your questions in the comments below, and share your before-and-after photos once you’re done!
Frequently Asked Questions
Is It Better to Strip or Sand Stairs?
Sanding is usually better than stripping for stairs. Sanding is safer, easier to control, and removes old finish while smoothing the wood surface effectively.
What Is the 25 Rule for Stairs?
The 25 rule for stairs states that the sum of one tread depth plus two riser heights should equal 24-25 inches for comfortable, safe stair climbing.
What Is the Best Tool to Sand Down Stairs?
A detail sander or mouse sander is best for stair sanding. It handles corners, edges, and tight spaces effectively while providing good control and maneuverability.