

Do you struggle to find outdoor furniture that fits your space and budget? Many homeowners face this problem every season. Patio sets from stores often cost too much and come in limited styles and sizes.
Building your own outdoor sectional solves these common issues. You’ll save hundreds of dollars while creating seating that perfectly matches your space. This simple project requires basic tools and materials from any hardware store.
In just a weekend, you can build comfortable outdoor seating that will last for years. This guide walks you through six clear steps to build your own outdoor sectional.
You’ll learn which materials work best, how to assemble the frame, and tips for adding the perfect finishing touches. Get ready to create an outdoor space that friends and family will love gathering in all summer long.
What is an Outdoor Sectional?
A DIY outdoor sectional is a custom-built seating area for your yard or patio. It consists of connected seating units that form an L or U shape. You can build it with basic tools and materials from any hardware store.
These sectionals offer comfy spots for family gatherings, quiet reading, or outdoor meals. Unlike store-bought options, your handmade piece fits your exact space and style needs.
Why Build Your Own Outdoor Sectional?
Building your own outdoor sectional saves you money. Store-bought sectionals cost hundreds or thousands of dollars. Your DIY version might cost just a fraction of that price. Plus, you get to pick the exact size for your space.
No more furniture that’s too big or small for your patio. You control every part of the design when you build it yourself. You choose the wood type, the finish color, and the cushion style.
Want storage space under the seats? You can add it. Need a specific shape to fit an odd corner? You can build it. The choices are yours alone. Making something with your hands brings true joy. Each time you sit on your sectional, you’ll feel proud knowing you built it.
Friends will ask where you bought it, and you’ll smile as you tell them you made it yourself. This sense of pride lasts far longer than the project itself.
Tools and Materials Needed for DIY Outdoor Sectional
| Essential Tools | Materials |
| Drill | Weather-resistant wood (cedar, teak, pressure-treated lumber) |
| Saw (circular or miter) | Outdoor screws and bolts |
| Measuring tape | Wood glue |
| Screwdriver | Outdoor paint or sealant |
| Sandpaper or an electric sander | Outdoor cushions and fabric |
| Clamps | Optional: Casters for mobility |
Step-by-Step DIY Outdoor Sectional Guide
Follow these simple steps to build a sturdy, stylish outdoor sectional that perfectly fits your space and style—no advanced skills required!
Step 1: Plan and Design Your Sectional
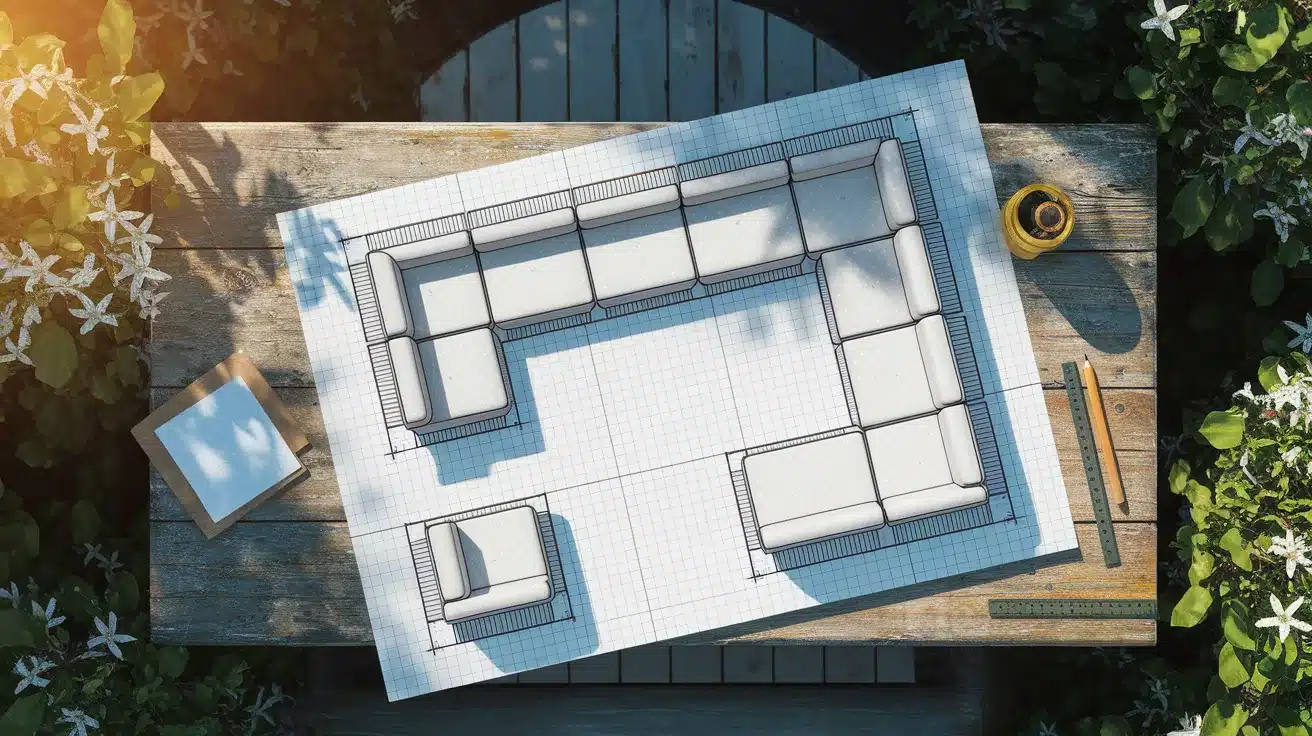
Start by choosing the shape that fits your space best. L-shapes work well for corners, while U-shapes create cozy conversation areas. Draw a simple sketch with exact measurements of your patio area. Mark where the sectional will go and how much walking space you need around it.
Materials needed: Graph paper, pencil, measuring tape, ruler
Pro tip: Take photos of your space and mark the dimensions directly on the photos.
Step 2: Cut the Wood Pieces
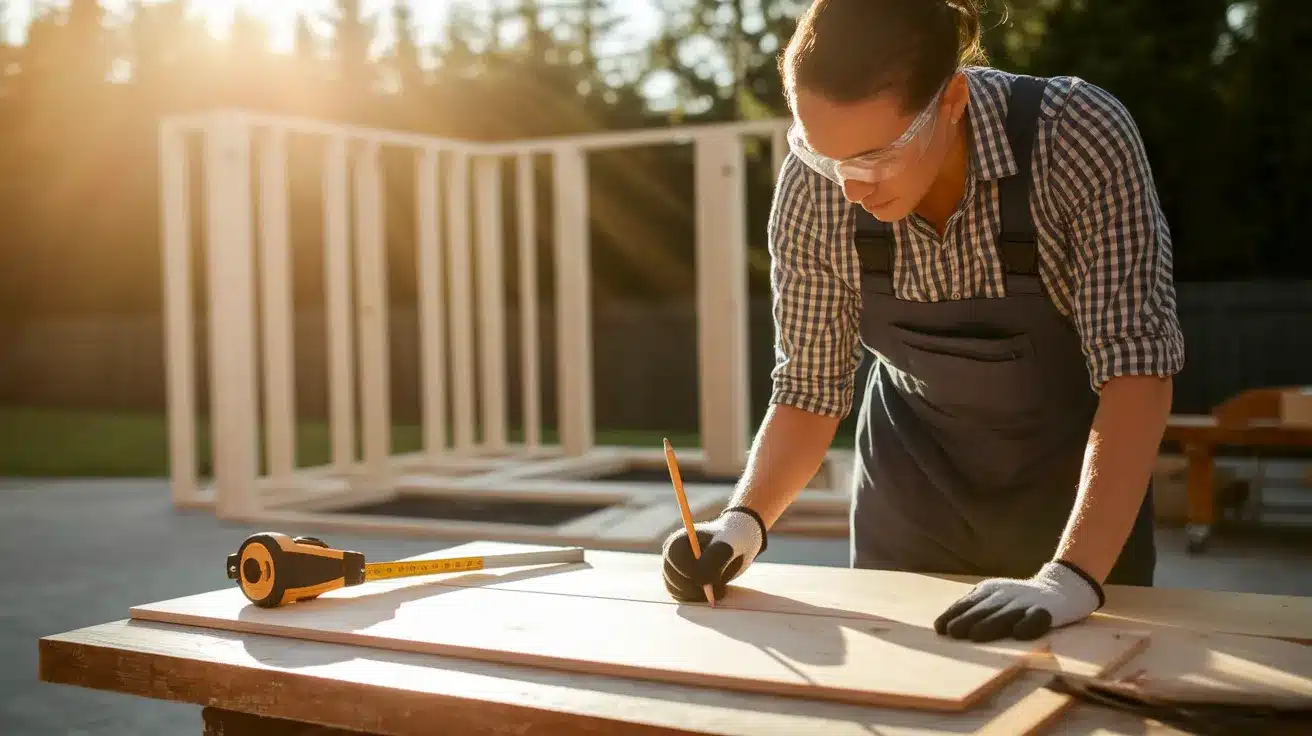
Using your plan, make a list of all the wood pieces you’ll need. Measure each piece twice before cutting to avoid mistakes. Always wear safety glasses and gloves when cutting wood. Keep your fingers away from the blade and work in a well-lit area.
Materials needed: Wood (cedar or treated pine), measuring tape, pencil, saw, safety glasses, gloves
Pro tip: If you don’t have a big saw, ask your local hardware store to cut large pieces for you.
Step 3: Assemble the Frame
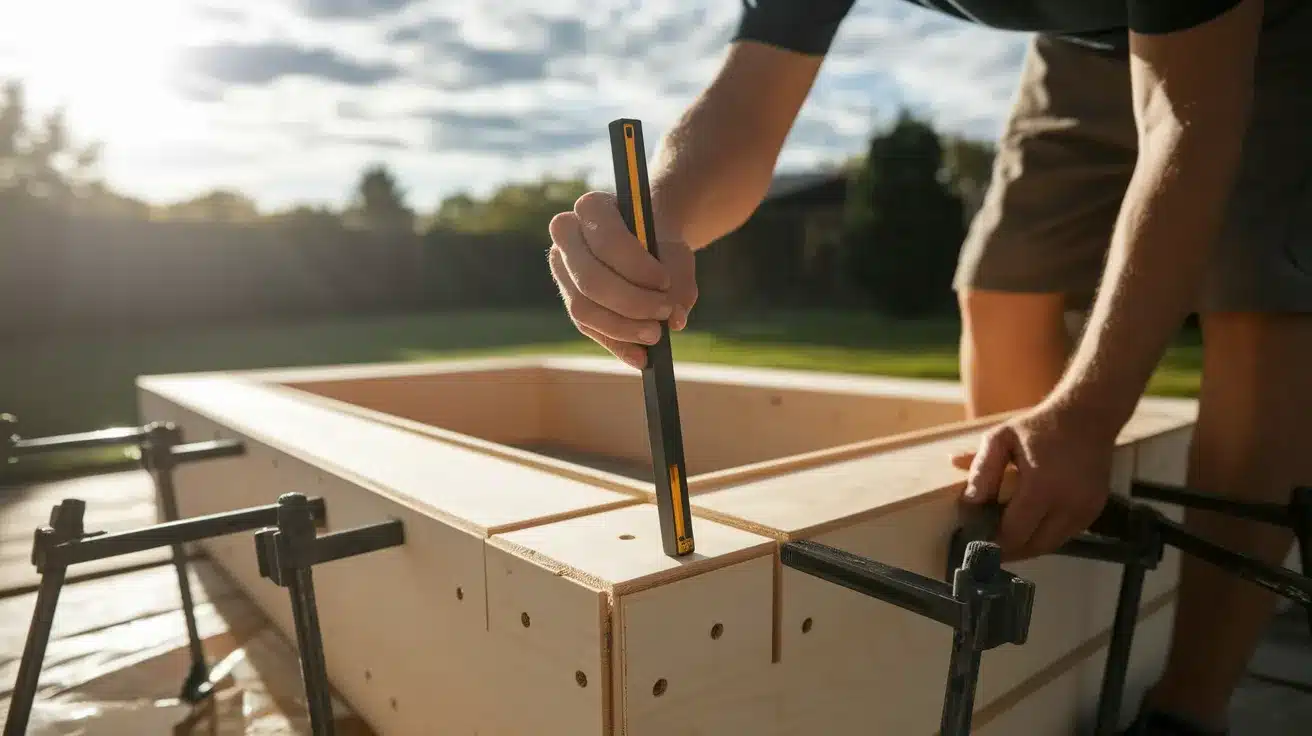
Build the base frame first using the longest pieces. Lay them out on a flat surface and check that corners are square. Use wood glue on all joints before adding screws for extra strength. Let the glue dry for at least an hour while the clamps hold everything in place.
Materials needed: Wood pieces, wood glue, screws, drill, screwdriver, clamps, carpenter’s square
Pro tip: Pre-drill holes for screws to prevent the wood from splitting.
Step 4: Build the Seat and Backrest
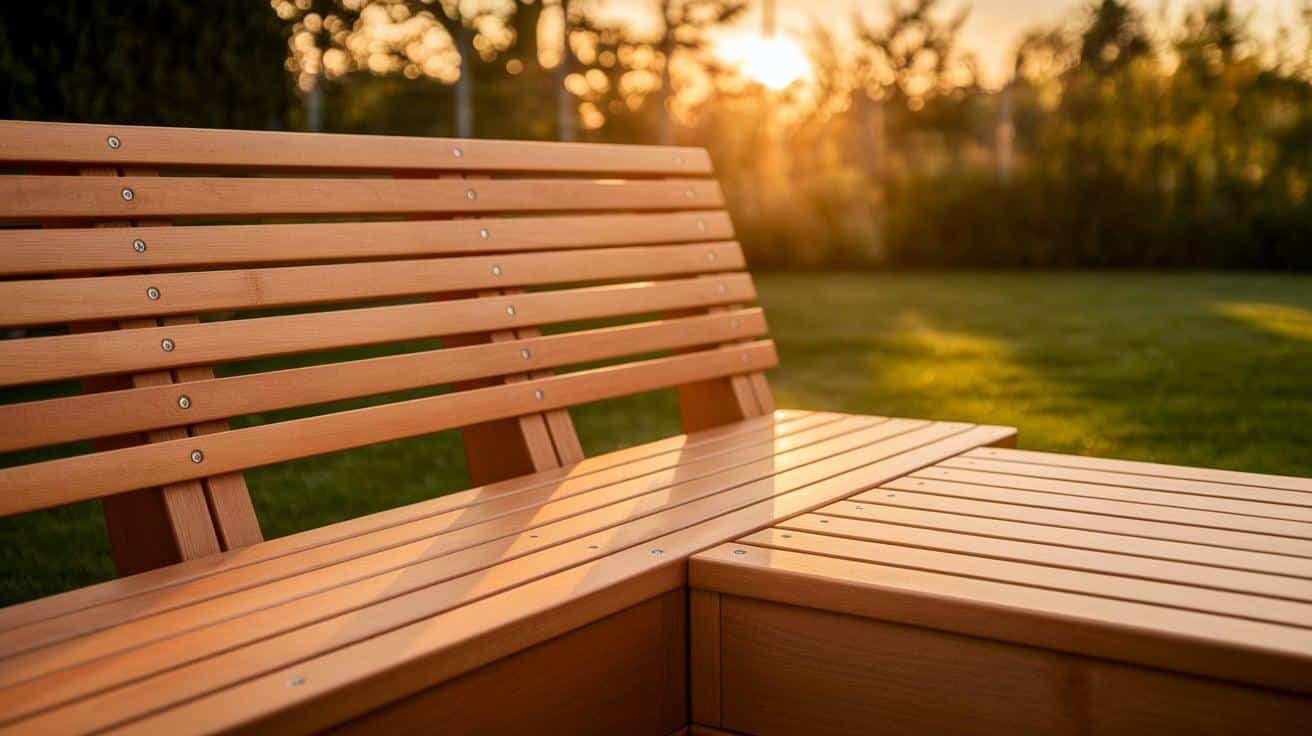
Attach wooden slats across the frame with small gaps between them for water drainage. Build the backrest at a slight angle (about 15 degrees) for comfort. Make sure all edges are smooth and all screws are countersunk below the wood surface.
Materials needed: Wood slats, screws, drill, screwdriver, level, measuring tape
Pro tip: Use spacers between slats to keep the gaps even.
Step 5: Sand, Paint, and Seal
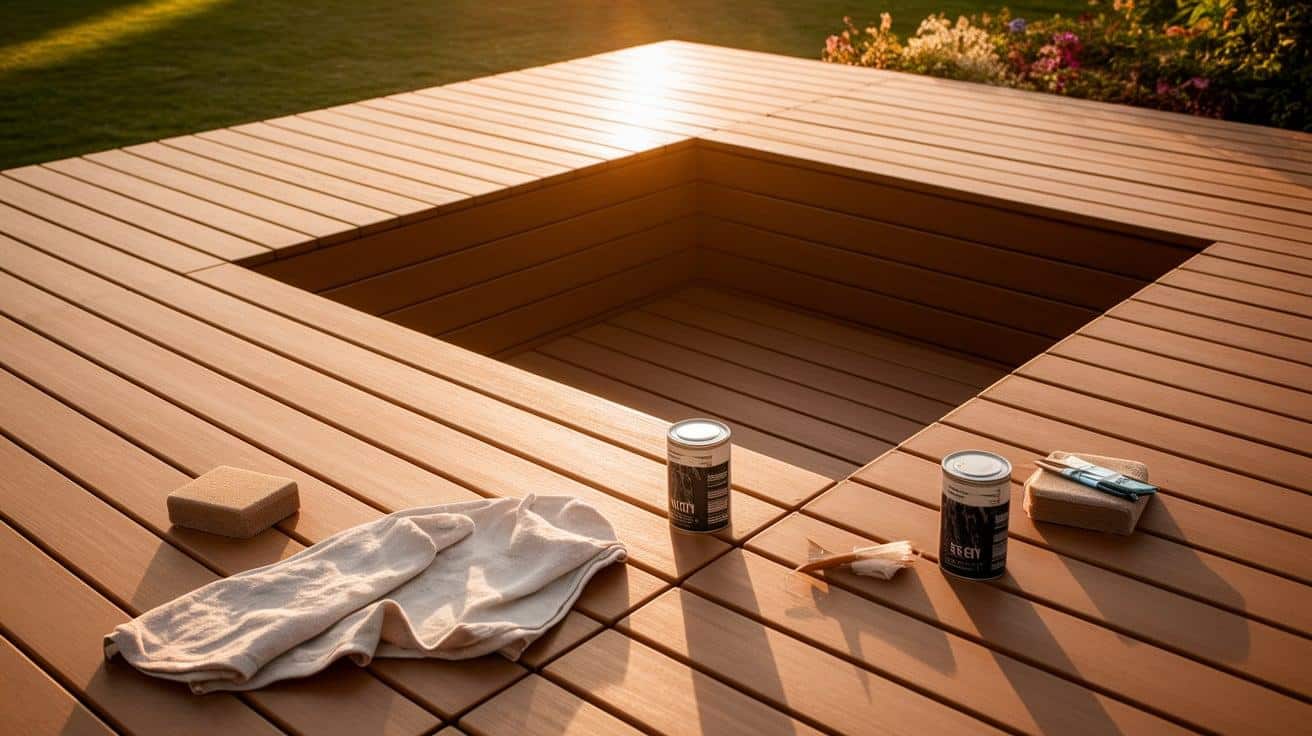
Sand all surfaces until smooth, working from rough to fine sandpaper. Wipe away all dust before painting or sealing. Apply at least two coats of outdoor sealant or paint, following the product instructions. Let each coat dry fully before adding the next one.
Materials needed: Sandpaper (coarse, medium, fine), sanding block, clean rags, outdoor paint or sealant, paintbrushes
Pro tip: Sand in the direction of the wood grain for the smoothest finish.
Step 6: Add Cushions and Final Touches
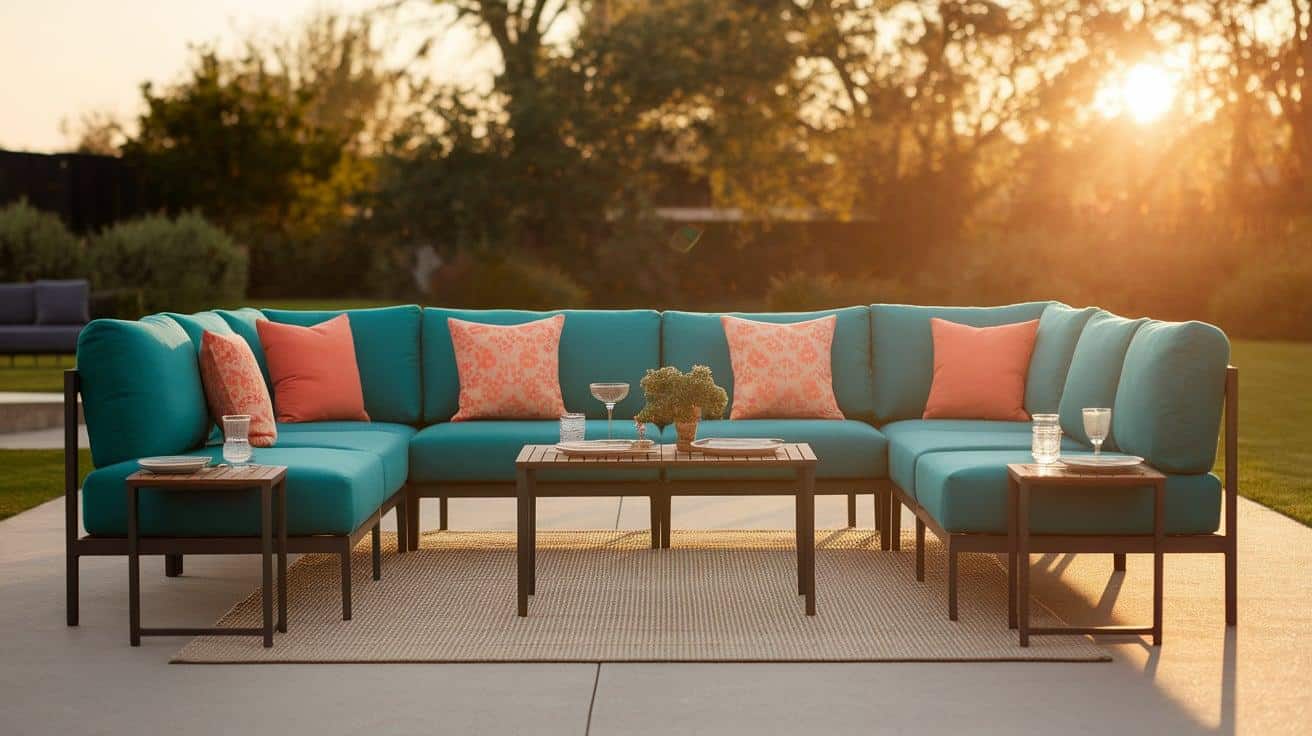
Measure your sectional carefully before buying or making cushions. Look for foam and fabric that can handle sun and rain. Place your main cushions first, then add smaller pillows for comfort. Consider adding small tables at the ends for drinks and snacks.
Materials needed: Outdoor cushions, weather-resistant fabric, throw pillows, outdoor rug (optional)
Pro tip: Store cushions in a deck box when not in use to extend their life.
Video Tutorial
I’d like to give credit to Paris Karnes for their informative video, which served as a reference for this guide.
Customization Ideas for Your Outdoor Sectional
1. Built-in Storage Solutions
Turn the space under your seats into useful storage areas. Build hinged tops that lift to reveal spaces for cushions, toys, or gardening tools. You can also create pull-out drawers that slide from the front of each seat section.
These hidden spots keep your patio clean and items safe from rain. For easier access, add small handles to lids or drawer fronts. Weather-tight seals help keep contents dry during sudden showers.
2. Coffee Tables and Side Tables
Add a matching coffee table to complete your outdoor living room feel. Build it at the same height as the seats or slightly lower for easy reach. Side tables at each end give guests spots for drinks and snacks.
Some clever designs allow tables to slide under seats when not needed. You can also build corner tables that fit into the angles of L-shaped sectionals. These tables can double as extra seats when you have many guests.
3. Lighting and Drink Holders
Make your sectional more useful after sunset with built-in lights. String lights along the back edge or install small solar lamps on posts at the corners. Some DIYers add strip lights under the seat edge for a soft glow at night.
Cup holders cut into the arms or small tables prevent spills on cushions. You can make these from PVC pipe sections, tin cans wrapped in fabric, or carved wood circles. These small touches make your outdoor time more fun and stress-free.
Conclusion
Creating your own outdoor sectional brings many benefits to your home and life. You save money compared to store-bought options while getting furniture that fits your exact space.
The simple materials and steps make this project easy for most homeowners to complete. The time you spend building your sectional pays off in years of outdoor enjoyment.
Each time you relax on cushions you selected and a frame you built, you’ll feel good about your work. Your family will have a cozy spot for summer evenings, and guests will be impressed by your skills.
Ready to start your project? Gather your measurements, pick up your supplies, and set aside a weekend. By Monday, you could be sitting on your very own custom outdoor sectional. What will you build next?
Frequently Asked Questions
How Much Weight Can a Diy Outdoor Sectional Hold?
Most DIY sectionals can hold 300-400 pounds per seat when built with 2×4 lumber and proper bracing.
Can I Use Pallets to Build My Outdoor Sectional?
Yes, pallets make good bases for sectionals if you sand them well and check for chemical treatment stamps.
How Do I Winterize My Outdoor Sectional?
To extend its life, cover your sectional with a waterproof tarp or move it to a shed during the winter months.
What Type of Screws Work Best for Outdoor Furniture?
Use stainless steel or coated deck screws to prevent rust and ensure long-lasting joints in all weather.