

Tired of hearing voices bounce around the room like a ping-pong ball every time during recording?
Most people think building professional acoustic treatment costs hundreds of dollars and requires advanced woodworking skills. But creating studio-quality sound-absorbing panels using basic tools and materials from the local hardware store is entirely possible.
In just one weekend, noisy, echo-filled rooms can be converted into clean recording spaces that rival those of expensive commercial studios. These panels will deliver the crisp, professional sound that every home studio needs.
This guide provides a step-by-step instruction on how to build these panels, using simple supplies that won’t break the bank.
Let’s get started.
Why Use Sound Absorbing Panels?
Sound-absorbing panels serve several vital purposes in home recording, mixing studios, and regular living spaces. Here’s why they’re essential.
1. Eliminate Echo and Reverberation
Bare walls, ceilings, and hard surfaces bounce sound waves around the room, creating echo and unwanted reverberation. This makes it difficult to hear music, dialogue, or recordings.
Sound-absorbing panels trap these reflected sound waves, providing a cleaner and more controlled acoustic environment.
2. Improve Audio Recording Quality
When recording vocals, instruments, or podcasts, unwanted room reflections get captured along with your intended sound. This creates a muddy, unprofessional recording.
Acoustic panels eliminate these reflections, allowing you to capture clean, direct sound that sounds professional and polished.
3. Better Mixing and Monitoring
Studio monitors and speakers need accurate sound reproduction to make good mixing decisions. Room reflections interfere with what you’re hearing from your speakers.
Sound panels help you hear your mix more accurately by reducing false acoustic information that can lead to poor mixing choices.
4. Reduce Noise Between Rooms
Sound-absorbing panels help prevent sound from traveling through walls to other rooms.
This is especially important in apartments, shared spaces, or home studios where you don’t want to disturb others while recording or mixing music.
Step-by-Step Guide To DIY Sound Absorbing Panels
Build your acoustic panels with simple tools and clear, step-by-step instructions for professional sound treatment at home.
Tools Required
| Tool | Purpose |
|---|---|
| Saw | Cuts wood to exact measurements for proper fit and a professional look. |
| Drill with bits | Makes pilot holes to prevent splitting; drives screws securely. |
| Screwdriver | Tightens screws to ensure strong, stable joints. |
| Staple gun | Attaches fabric quickly and tightly to the frame. |
| Utility knife | Trims excess fabric neatly for a clean, finished look. |
| Pencil | Marks accurate cutting and drilling points. |
| Measuring tape | Ensures precise measurements and correct frame dimensions. |
Materials Required
| Material | Purpose |
|---|---|
| 1×3 Pine wood | Builds the sturdy, warp-resistant frame. |
| 2×8 construction screws | Firmly joins wood pieces for lasting stability. |
| Landscaping fabric | Contains insulation fibers, allowing sound to pass through. |
| 16″ Rockwool insulation | Absorbs sound to reduce echo and reverberation. |
| Bed sheet fabric | Decorative outer layer; adds containment and visual appeal. |
| Picture hanging hardware | Mounts panels securely on walls. |
| Gloves and long sleeves | Protect skin from itchy insulation fibers. |
Step 1: Cut the Wood Frame
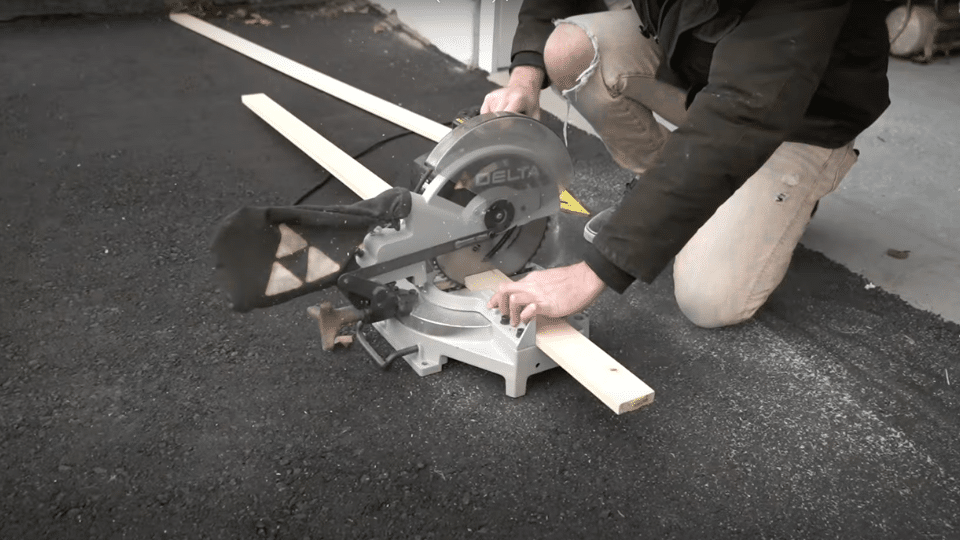
Cut your 1×3 pine boards into the specific sizes required. For each panel, you need two 47-inch pieces for the sides and two 17-inch pieces for the top and bottom.
Check each board for warping by looking down its length before cutting. If you don’t own a saw, most lumber stores will cut the wood to your measurements for free.
Safety Note: Always wear safety glasses when cutting wood and double-check measurements before making cuts.
Step 2: Build the Frame
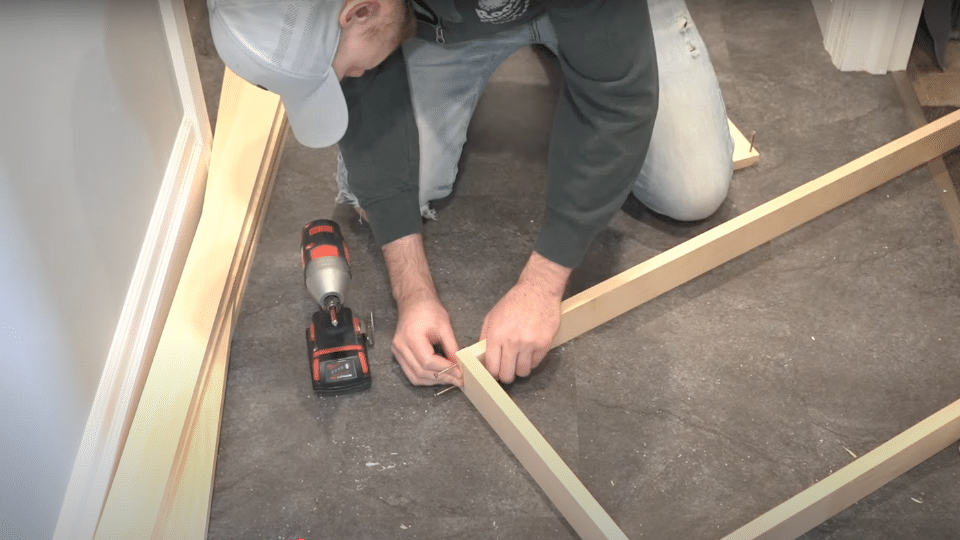
Pre-drill holes at each end of your wood pieces to prevent splitting. Set screws partially into the wood beforehand to make assembly easier.
Connect the 17-inch pieces between the 47-inch pieces to form a rectangular frame. Use two screws at each corner for strength. Work on a flat surface to ensure your frame stays square.
Quality Check: Make sure all corners are tight and the frame sits flat without rocking.
Step 3: Add the Back Mesh
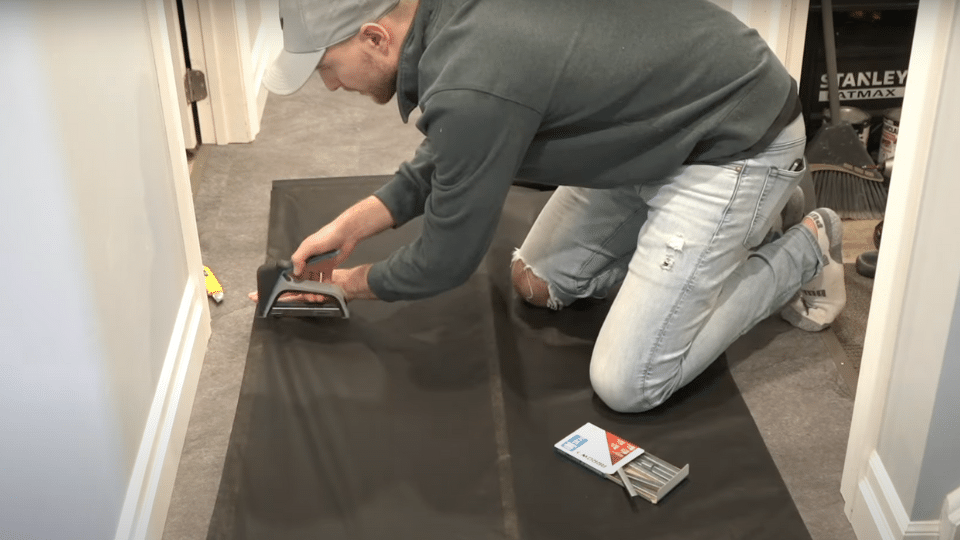
Stretch landscaping fabric over one side of your frame and staple it around all edges. Pull the fabric tight enough to avoid wrinkles, but don’t overstretch it.
This mesh will hold the insulation inside the panel. Trim excess fabric with a utility knife, cutting just outside the staple line for a clean, finished look.
Installation Tip: Start stapling from the center of each side and work toward the corners for even tension.
Step 4: Seal with Front Mesh
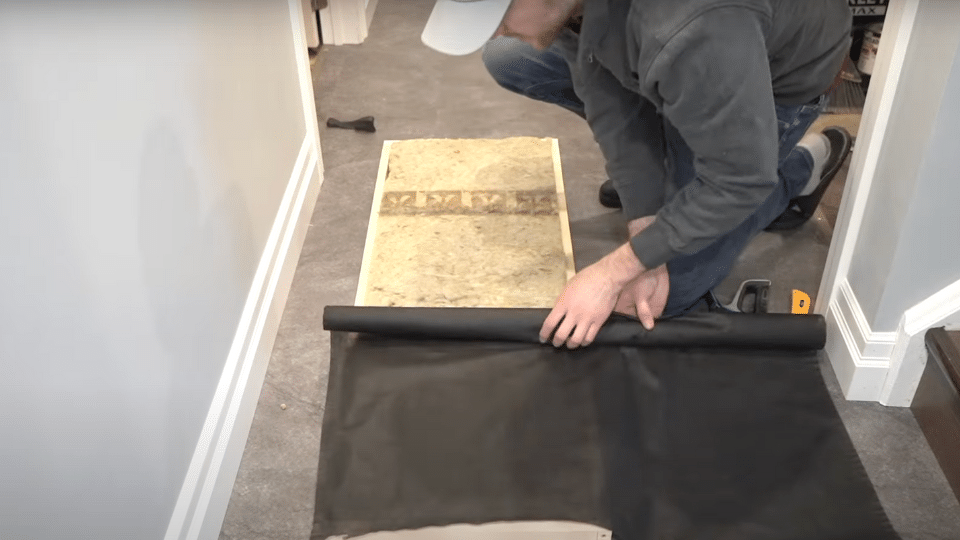
Cover the insulation with another layer of landscaping fabric and staple it around the frame edges. This creates a sealed chamber that keeps all insulation particles contained.
Pull the fabric tight over the insulation and trim excess material. Your panel now has a professional-looking flat surface ready for the final fabric covering.
Finishing Touch: Ensure no loose fabric edges remain that could create buzzing sounds later.
Step 5: Apply Final Fabric Cover
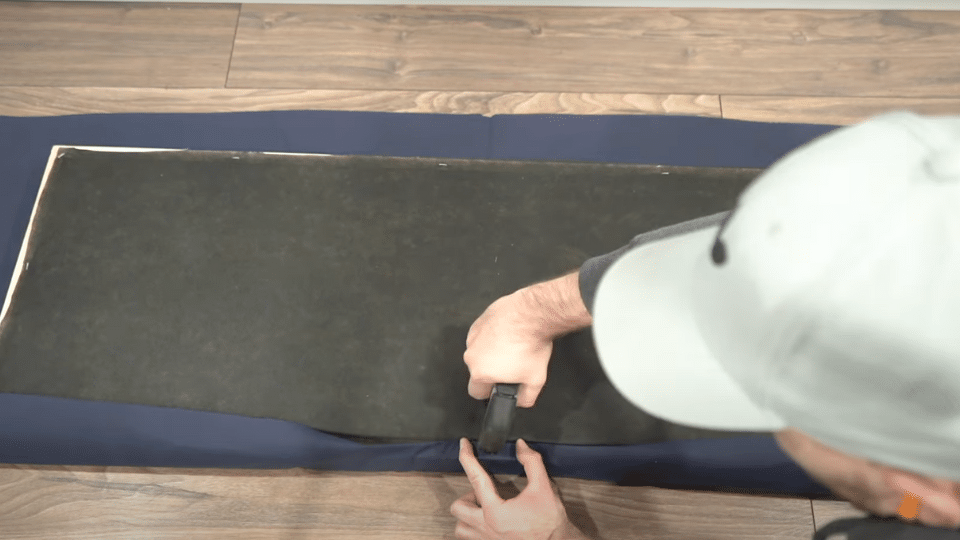
Center your panel on the bed sheet fabric and fold the edges over the back. Start by stapling opposite sides, pulling tight as you work.
For corners, fold like wrapping a gift, create triangular folds, and staple securely. Pull out any wrinkles by stretching the fabric toward the frame edges before final stapling.
Appearance Tip: Take time with corner folds as these determine the professional look of your finished panel.
Step 6: Mount Your Panels
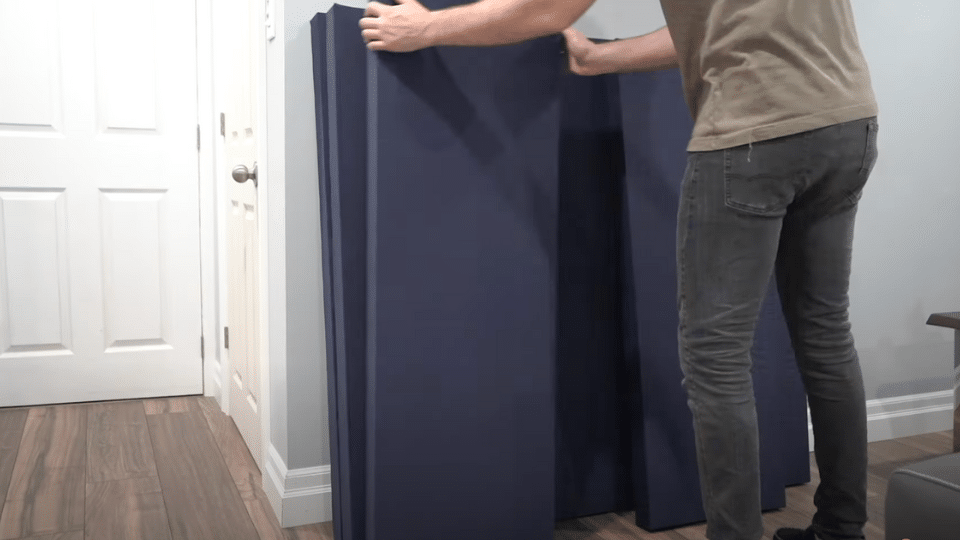
Attach picture hanging hardware to the back of each panel. These acoustic panels are lightweight, so standard picture hangers work perfectly.
Place panels at ear level around your room, focusing on the first reflection points, the spots where sound bounces off walls directly to your listening position for maximum acoustic improvement.
Placement Guide: Space panels evenly around the room rather than clustering them all in one area for balanced sound treatment.
Video Tutorial
I would like to give credit to Alex Emrich | Audio Edges for their informative video, which served as a valuable reference for this guide.
Common Mistakes When Using Sound Absorbing Panels
Even well-built sound-absorbing panels can underperform if not used correctly. Avoid these common mistakes to ensure your acoustic treatment delivers the clarity and balance you’re aiming for.
1. Covering Every Wall Surface
- Mistake: Many people think more panels equal better sound, so they cover entire walls with acoustic treatment.
- Solution: Cover only 20-30% of your wall space. Focus on the first reflection points and problem areas rather than treating every surface. Leave some natural room sound for a balanced acoustic environment.
2. Placing Panels in the Wrong Locations
- Mistake: Putting panels randomly around the room or only behind speakers without considering where the sound reflects.
- Solution: Find the first reflection points by sitting in your listening position and having someone move a mirror along the walls. Where you see your speakers in the mirror is where the panels should go.
3. Mounting Panels Directly Against Walls
- Mistake: Attaching panels flush against the wall surface without any air gap behind them.
- Solution: Mount panels 2-4 inches away from the wall using spacers or furring strips. This air gap significantly improves the panel’s ability to absorb lower frequencies.
4. Ignoring Corner Treatment
- Mistake: Only treating flat wall surfaces while leaving room corners completely untreated.
- Solution: Install bass traps in room corners using thicker materials or specially designed corner panels. This controls low-frequency buildup, which causes the most significant acoustic problems.
5. Buying Panels That Are Too Thin
- Mistake: Purchasing 1-2 inch thick panels to save money or because they look sufficient.
- Solution: Use panels that are at least 3-4 inches thick for effective treatment across the frequency spectrum. The extra thickness is worth the investment for proper acoustic control.
Conclusion
Building DIY sound-absorbing panels changes home recording spaces without the need for expensive studio equipment. These panels eliminate echo, improve recording quality, and create professional acoustic treatment using simple materials from hardware stores.
Remember the key points: use proper thick insulation, place panels at first reflection points, and avoid covering entire walls. Quality construction, featuring pine frames and rockwool insulation, delivers studio-grade results at a fraction of the cost of commercial panels.
Begin with a few panels strategically placed around the room. Test the acoustic difference before adding more panels. The investment in time and materials pays off immediately, yielding cleaner recordings and improved mixing accuracy.
Ready to build acoustic panels? Share your results in the comments below.
Frequently Asked Questions
What Material Absorbs Sound the Best?
Rockwool and fiberglass insulation are the most effective at absorbing sound. Dense materials, such as mass-loaded vinyl, also effectively block sound transmission.
What Materials Are Bad for Soundproofing?
Hard surfaces, such as concrete, glass, metal, and tile, reflect sound waves instead of absorbing them, making rooms more echo-prone and noisy.