
You want beautiful wall lighting, but store prices make you pause. Many homeowners face this same problem every day. Wall sconces can cost hundreds, yet often look basic and lack personal style.
A DIY wall sconce solves these common lighting issues. By making your own light fixture, you save money while creating something that perfectly fits your space. This guide will show you how to craft a wall sconce from simple materials with basic tools.
In the following sections, you’ll learn the exact steps to plan, build, and install your own wall sconce. We’ll cover everything from choosing your design to safely connecting wires. You’ll discover how to add your personal touch and properly mount your creation.
Let’s build something that lights up your home and your creative spirit!
What is a DIY Wall Sconce and Why Make One?
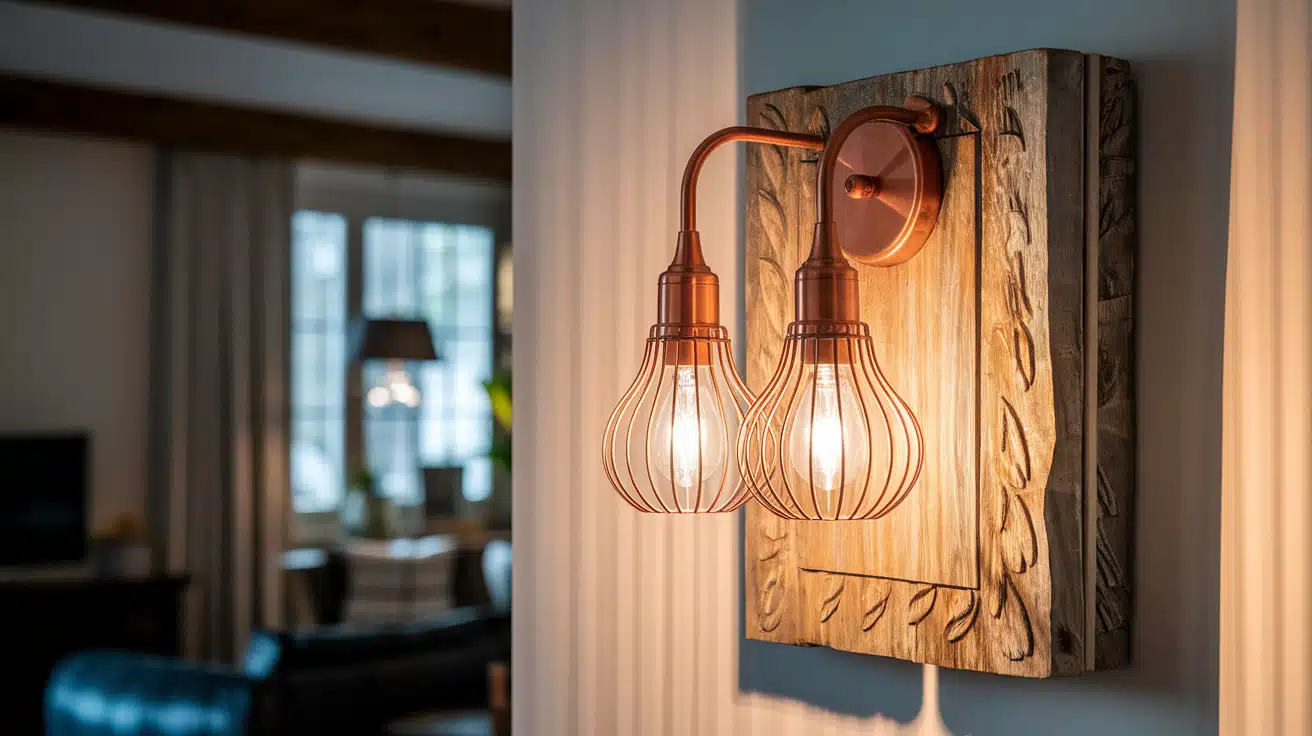
A wall sconce is a light fixture attached to a wall that sends light up, down, or in both directions. Making your wall sconce puts you in control of your home lighting. You save money compared to store-bought options that often cost too much.
You can match your exact style needs with shapes, colors, and materials of your choice. Wall sconces add soft lighting that creates mood and warmth in any room. They can highlight artwork, create a cozy reading spot, or add charm to blank walls.
The best part? You feel good each time you see something you made with your own hands.
Tools and Materials Needed for DIY Wall Sconce
| Category | Items |
|---|---|
| Tools | Drill, Screwdriver, Wire Stripper, Pliers, Measuring Tape, Level |
| Materials | Wooden/Plastic Base, Light Socket, Wiring, Bulb, Mounting Hardware |
| Optional Items | Paint, Fabric Shades, Glass Shades, Decorative Hardware |
Step-by-Step Instructions to Make Your Wall Sconce
Follow these simple step-by-step instructions to create a beautiful and functional DIY wall sconce that will brighten up any room with your personal touch.
1. Plan and Design Your Wall Sconce
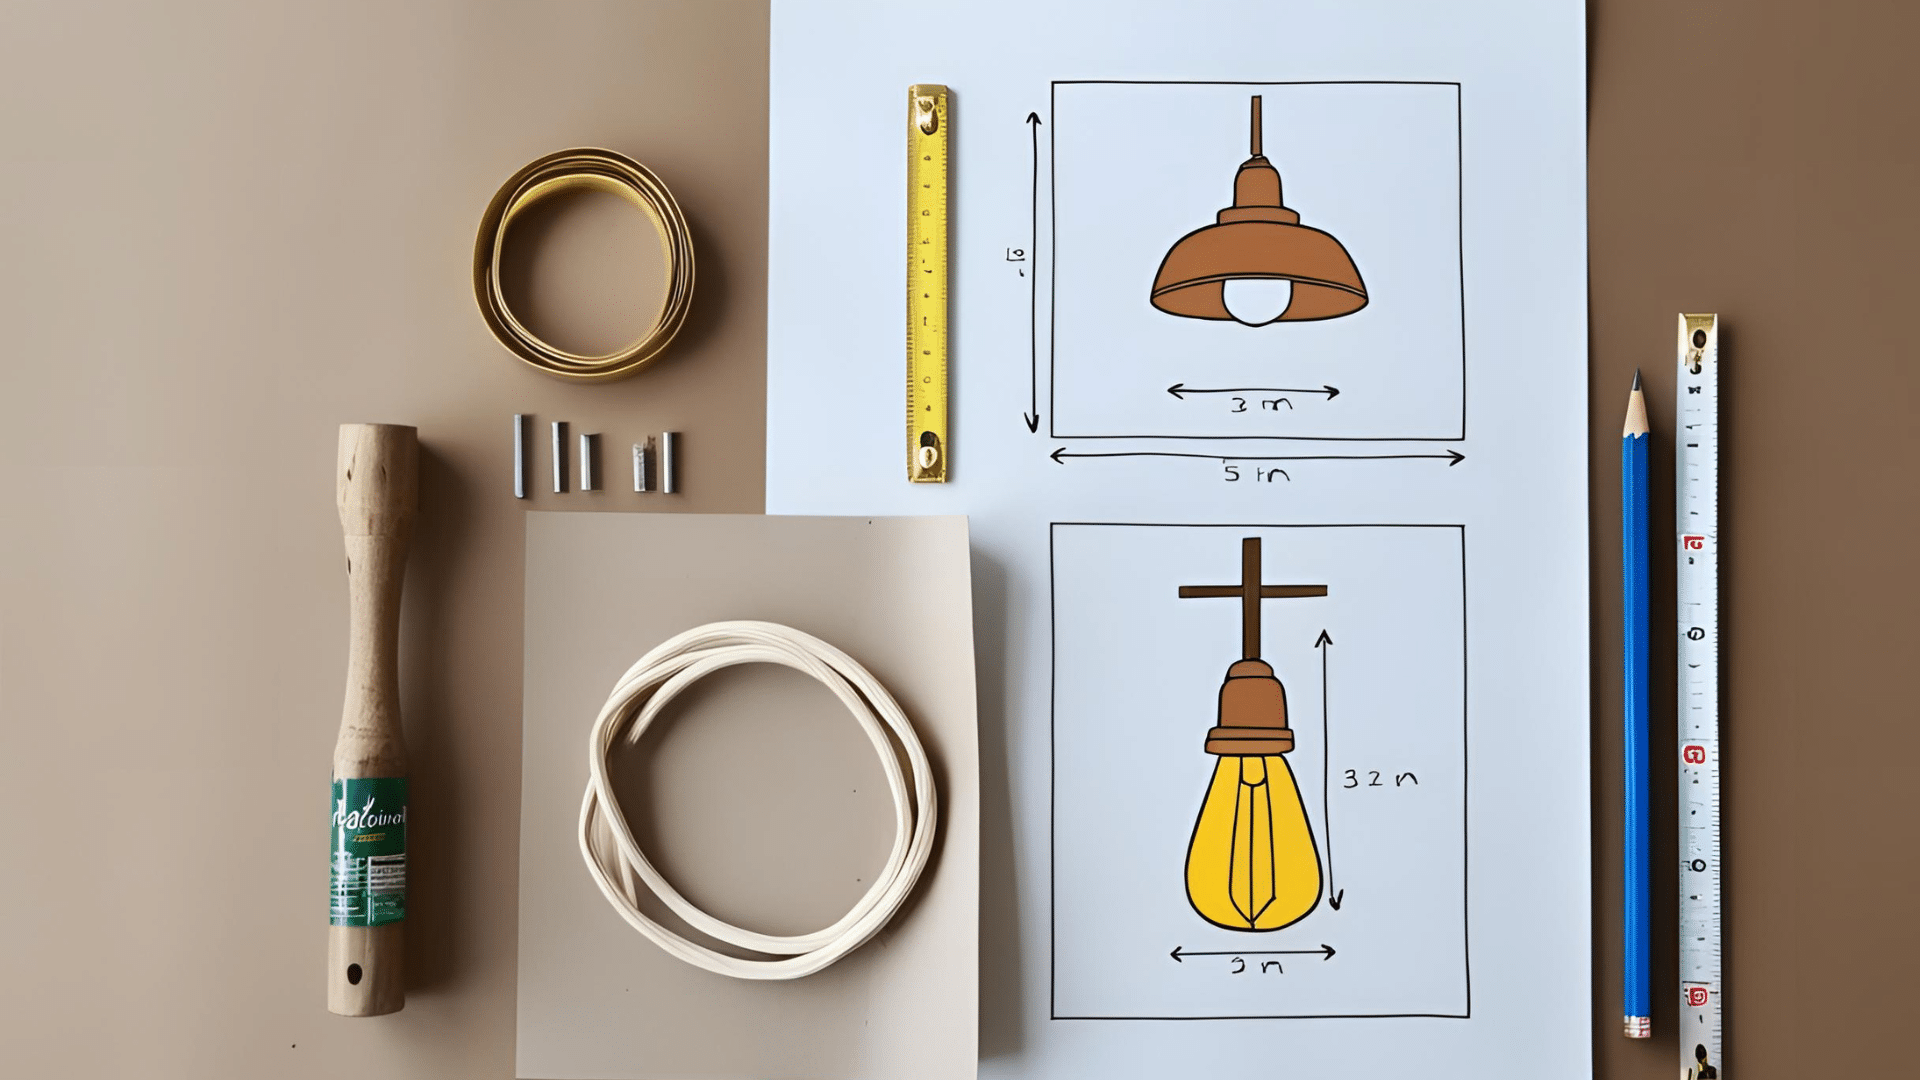
First, pick a style that fits your home look – modern, rustic, or simple. Measure your wall space to decide the right size. Draw your idea on paper with exact sizes marked. This plan will guide all your next steps.
Materials used: Pencil, paper, measuring tape, ruler
2. Gather and Prepare Your Materials
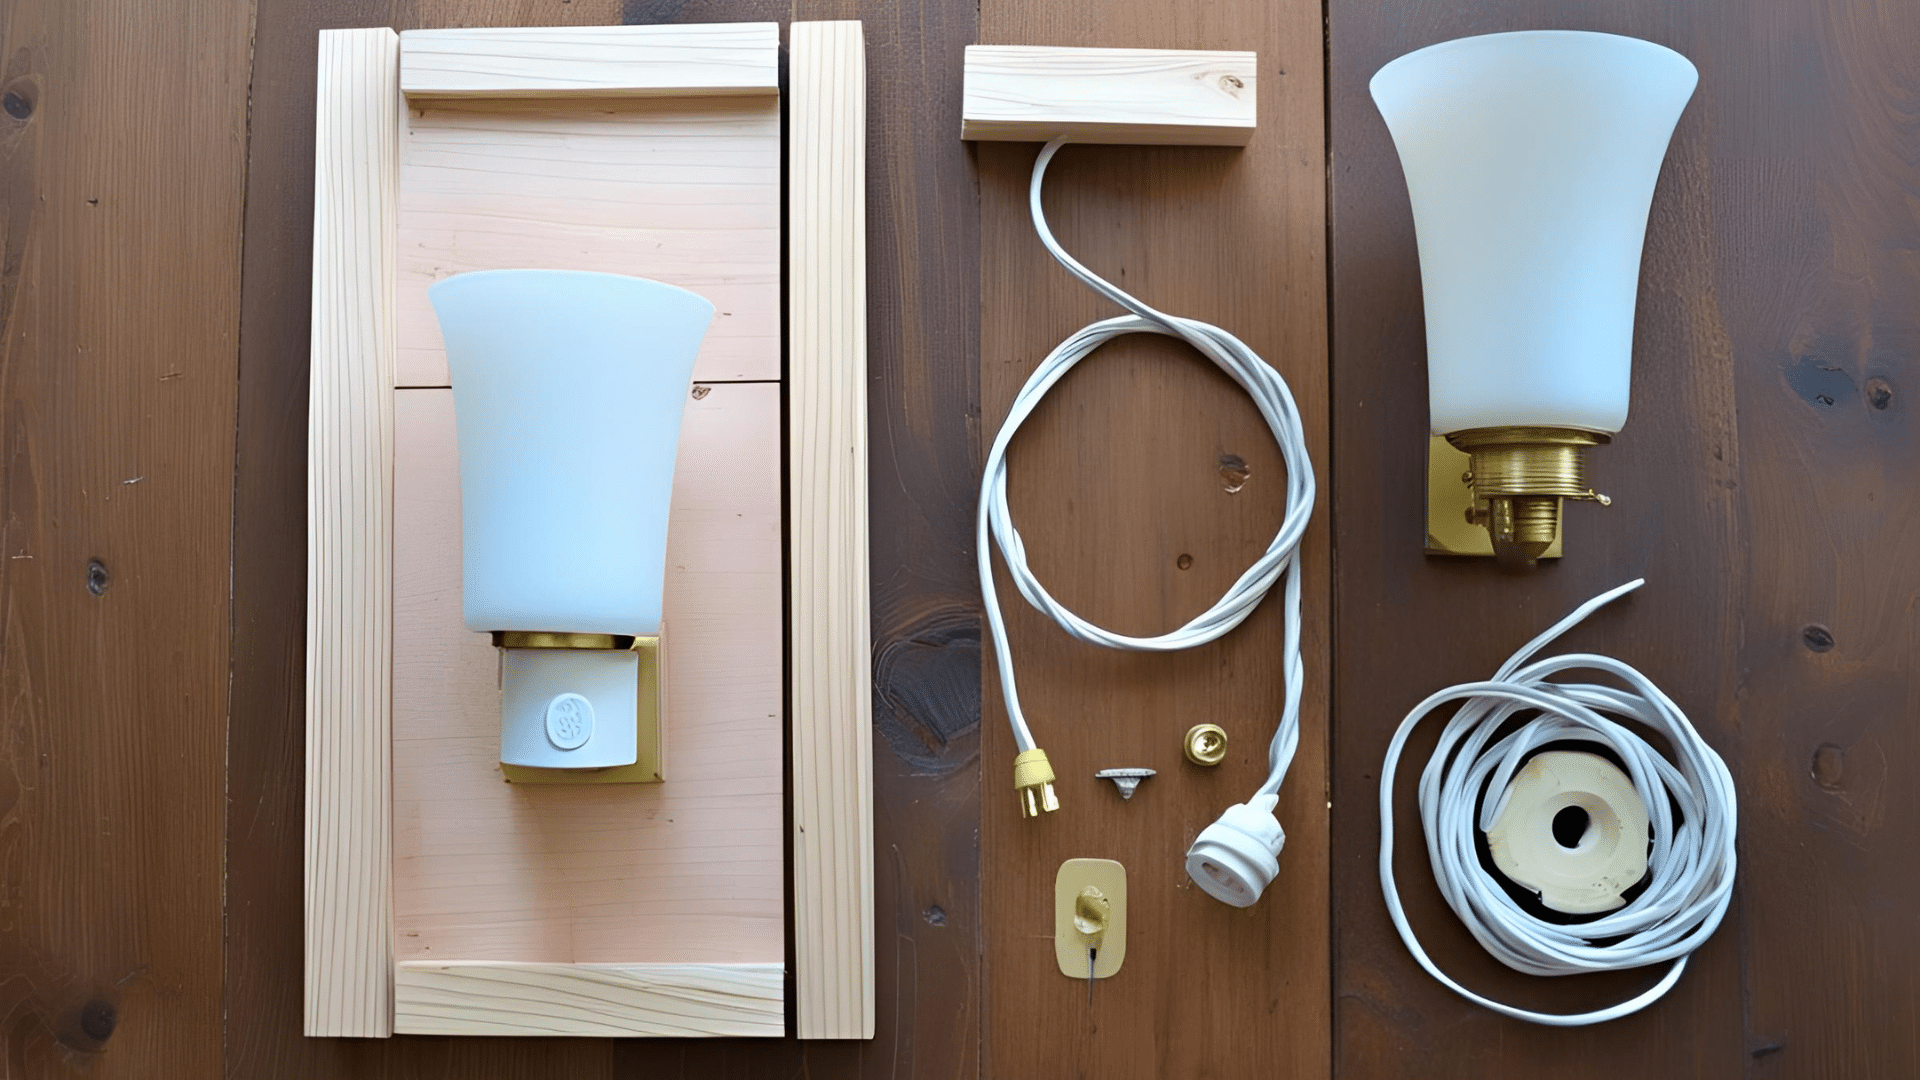
Buy or find all the needed items before you start. Cut your wooden base to the size from your plan with a saw. Sand edges until smooth. Mark spots for the light socket and wire path.
Materials used: Wood or plastic sheet, saw, sandpaper, pencil, ruler
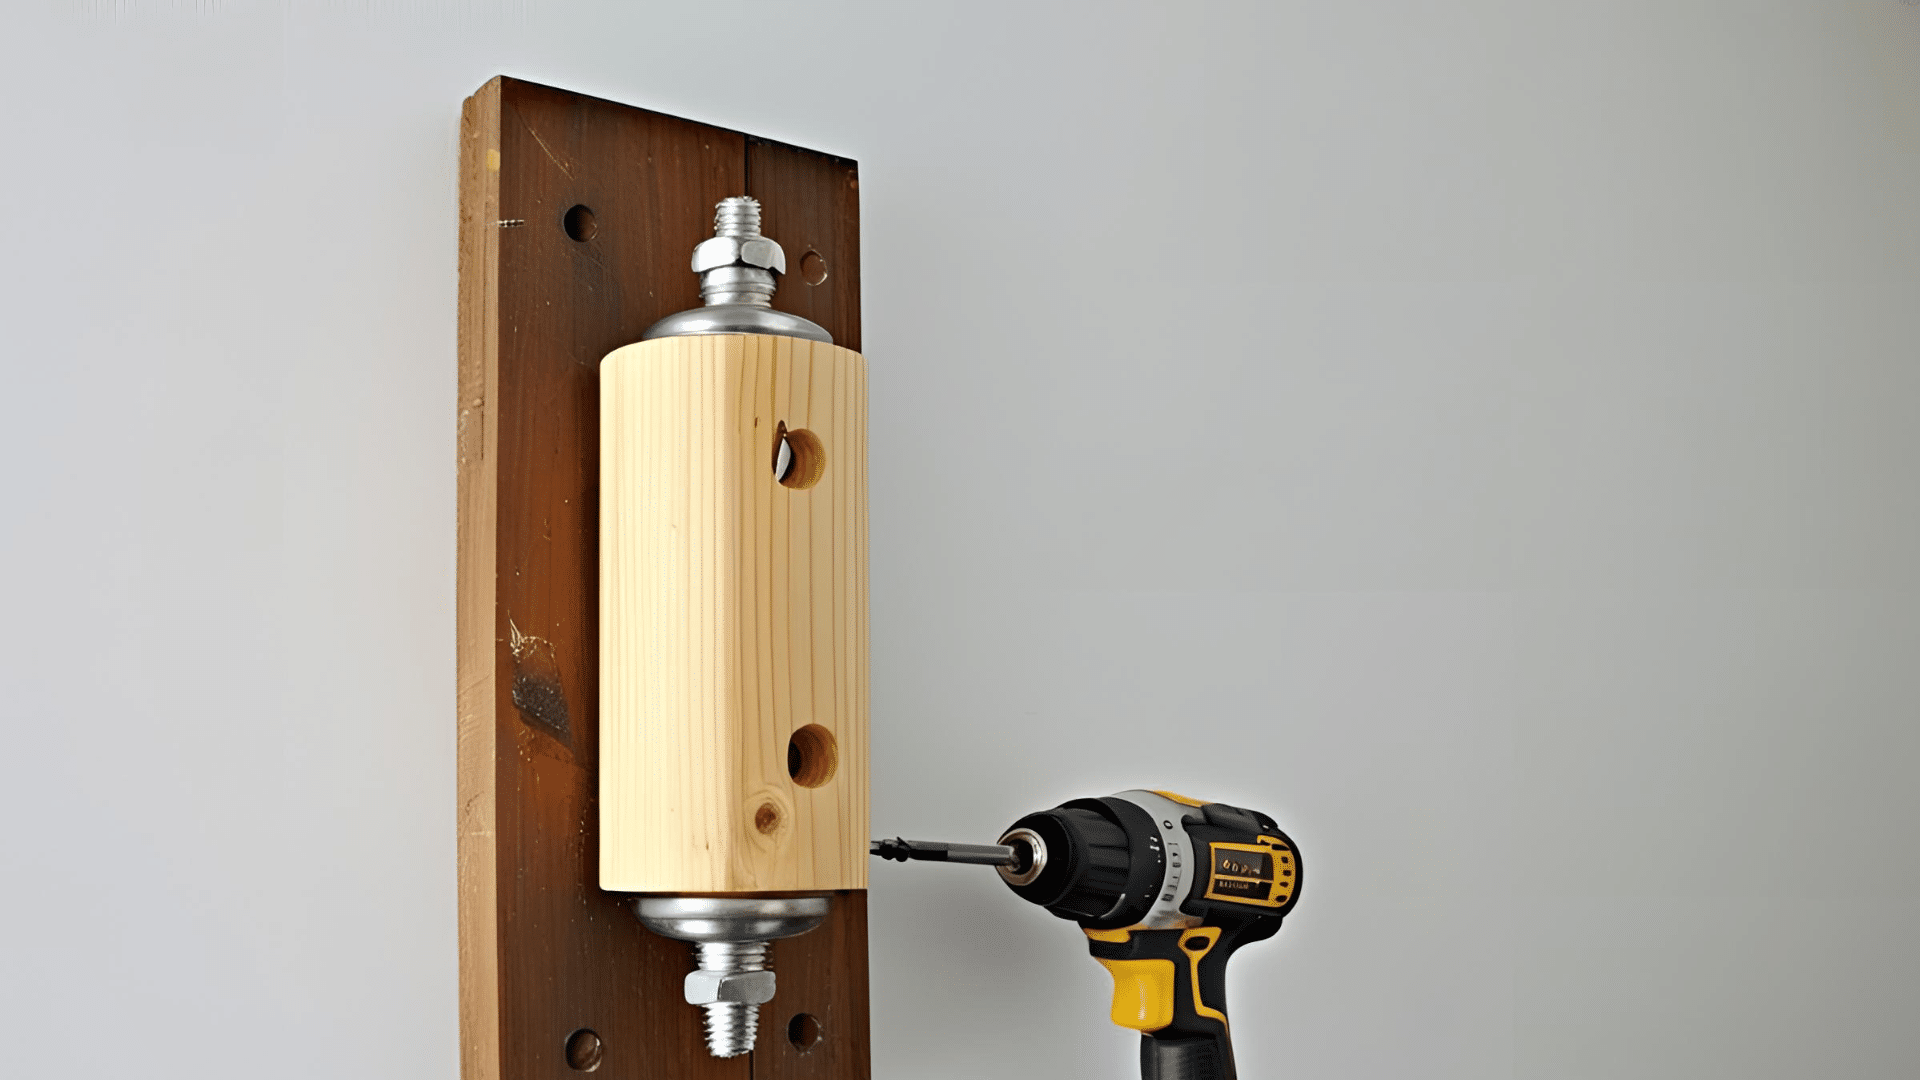
3. Assemble the Sconce Base and Electrical Components
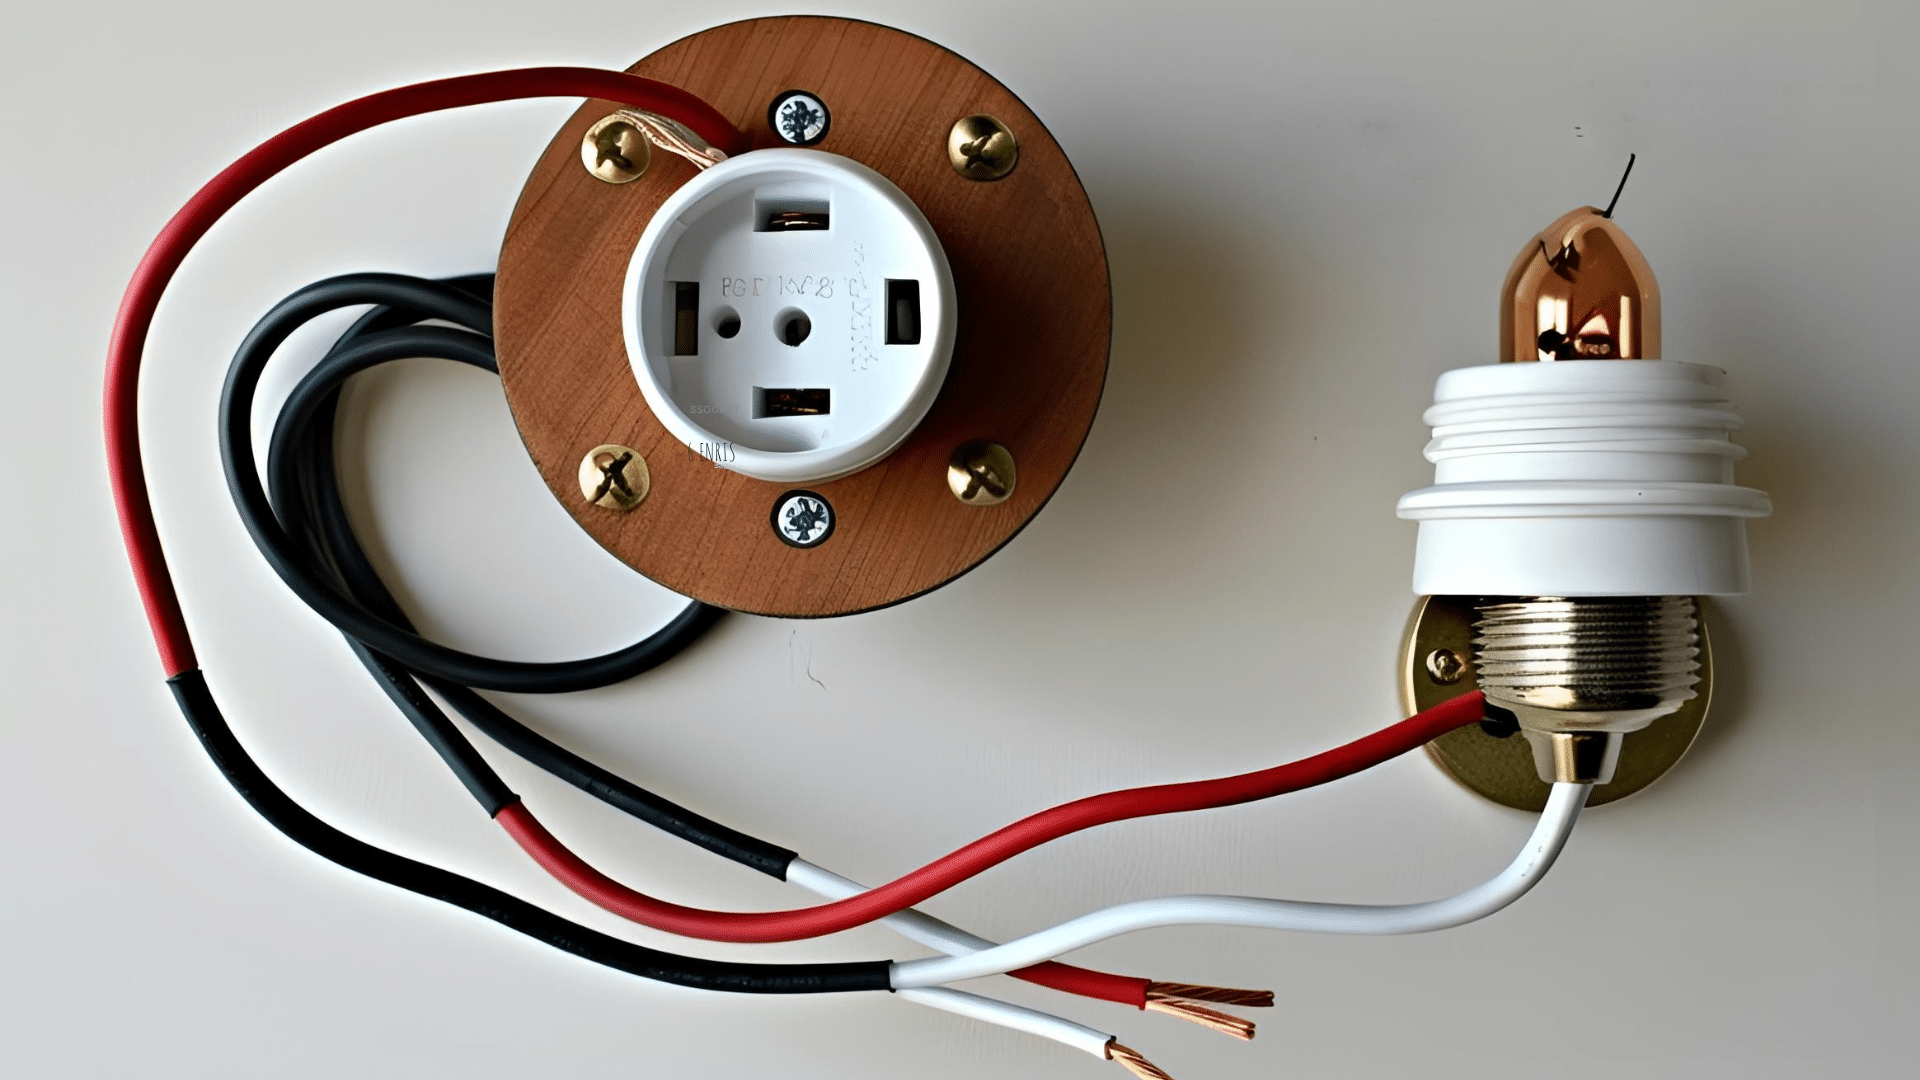
Drill a hole in your base for wires to pass through. Attach the socket to the base with screws. Connect the black wire to black, the white wire to white, and the ground wire to ground. Wrap joins with electrical tape.
Materials used: Light socket, wires, electrical tape, wire nuts, screwdriver, drill
4. Add Decorative Elements
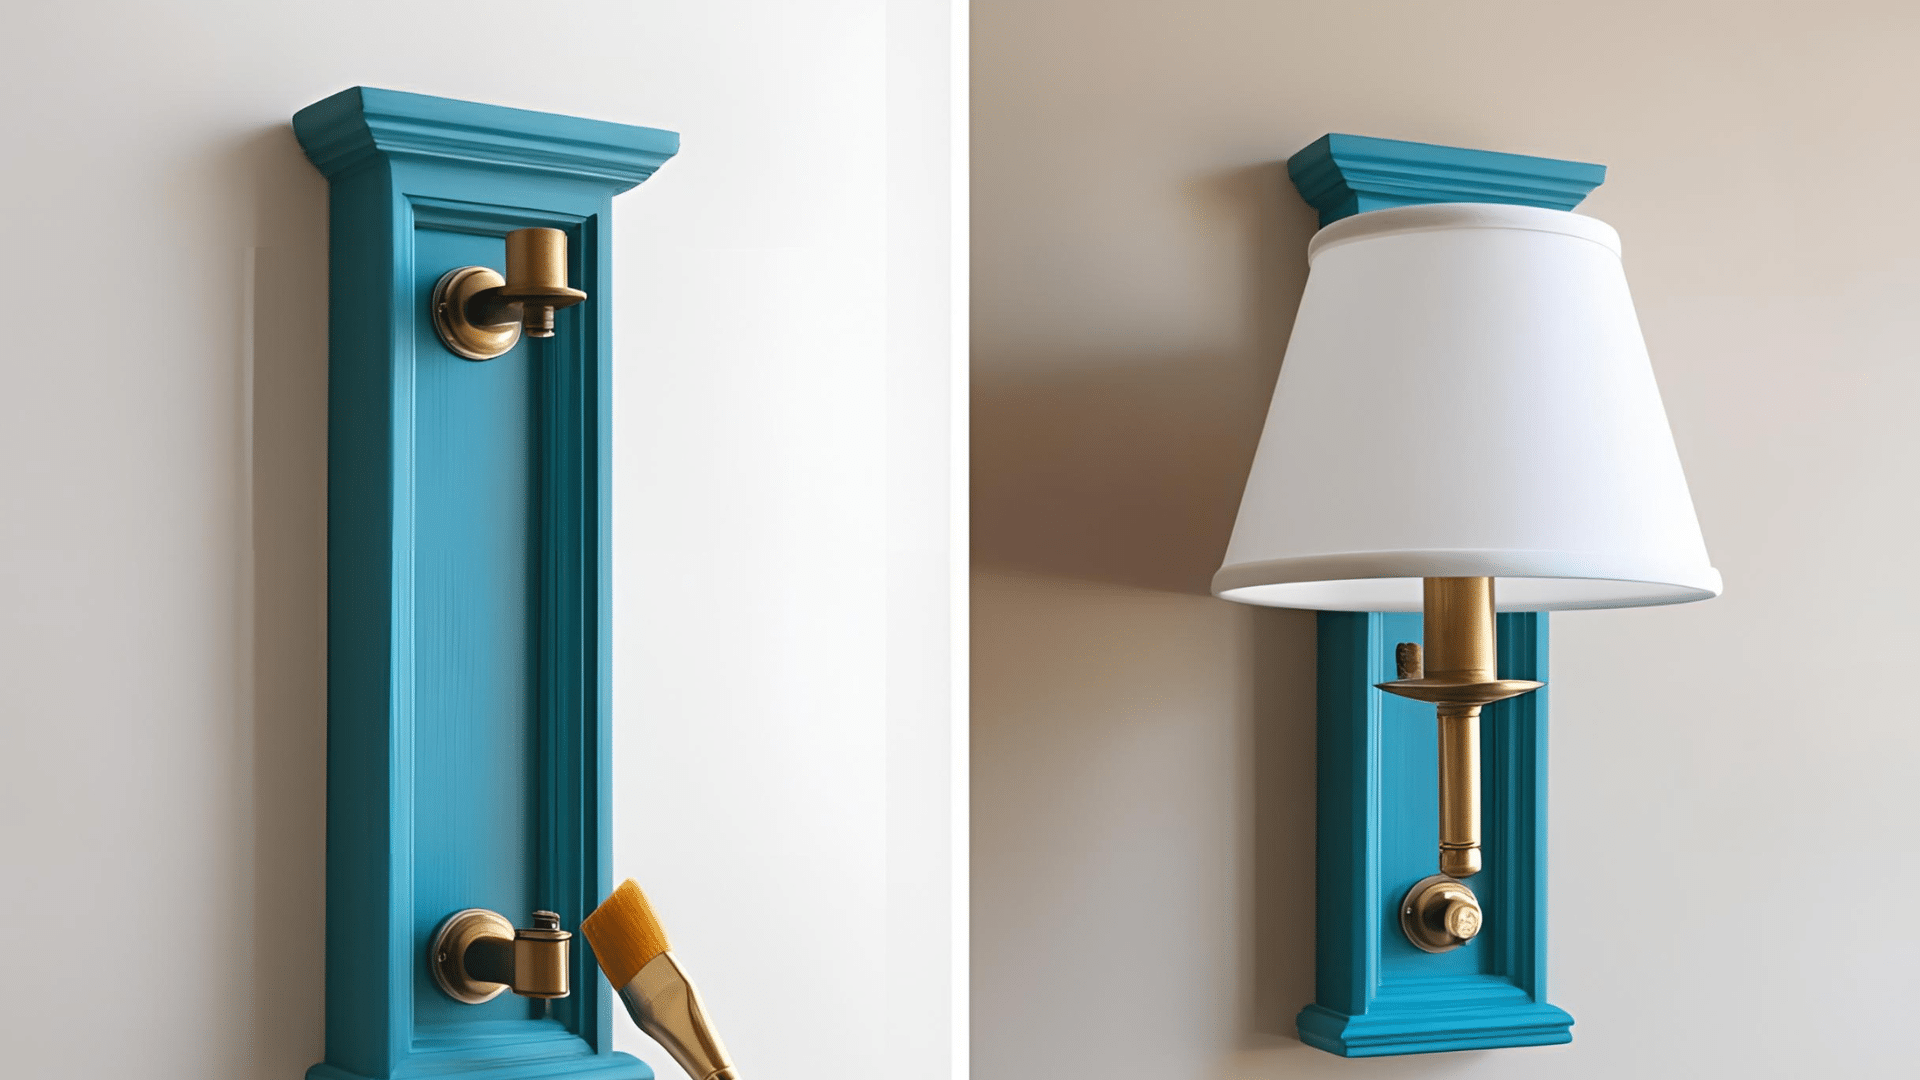
Paint your base with a color that works in your room. Let it dry fully. Add a lamp shade, glass cover, or other items to make it look better. Keep it clean and neat.
Materials used: Paint, brush, shade or glass cover, glue or mounting hardware
5. Mount the Wall Sconce
Find wall studs or use wall anchors for strong support. Mark the spot with a pencil. Drill holes for screws. Attach the base firmly to the wall. Make sure it’s level before final tightening.
Materials used: Stud finder, pencil, level, drill, screws, wall anchors
6. Test Your Wall Sconce
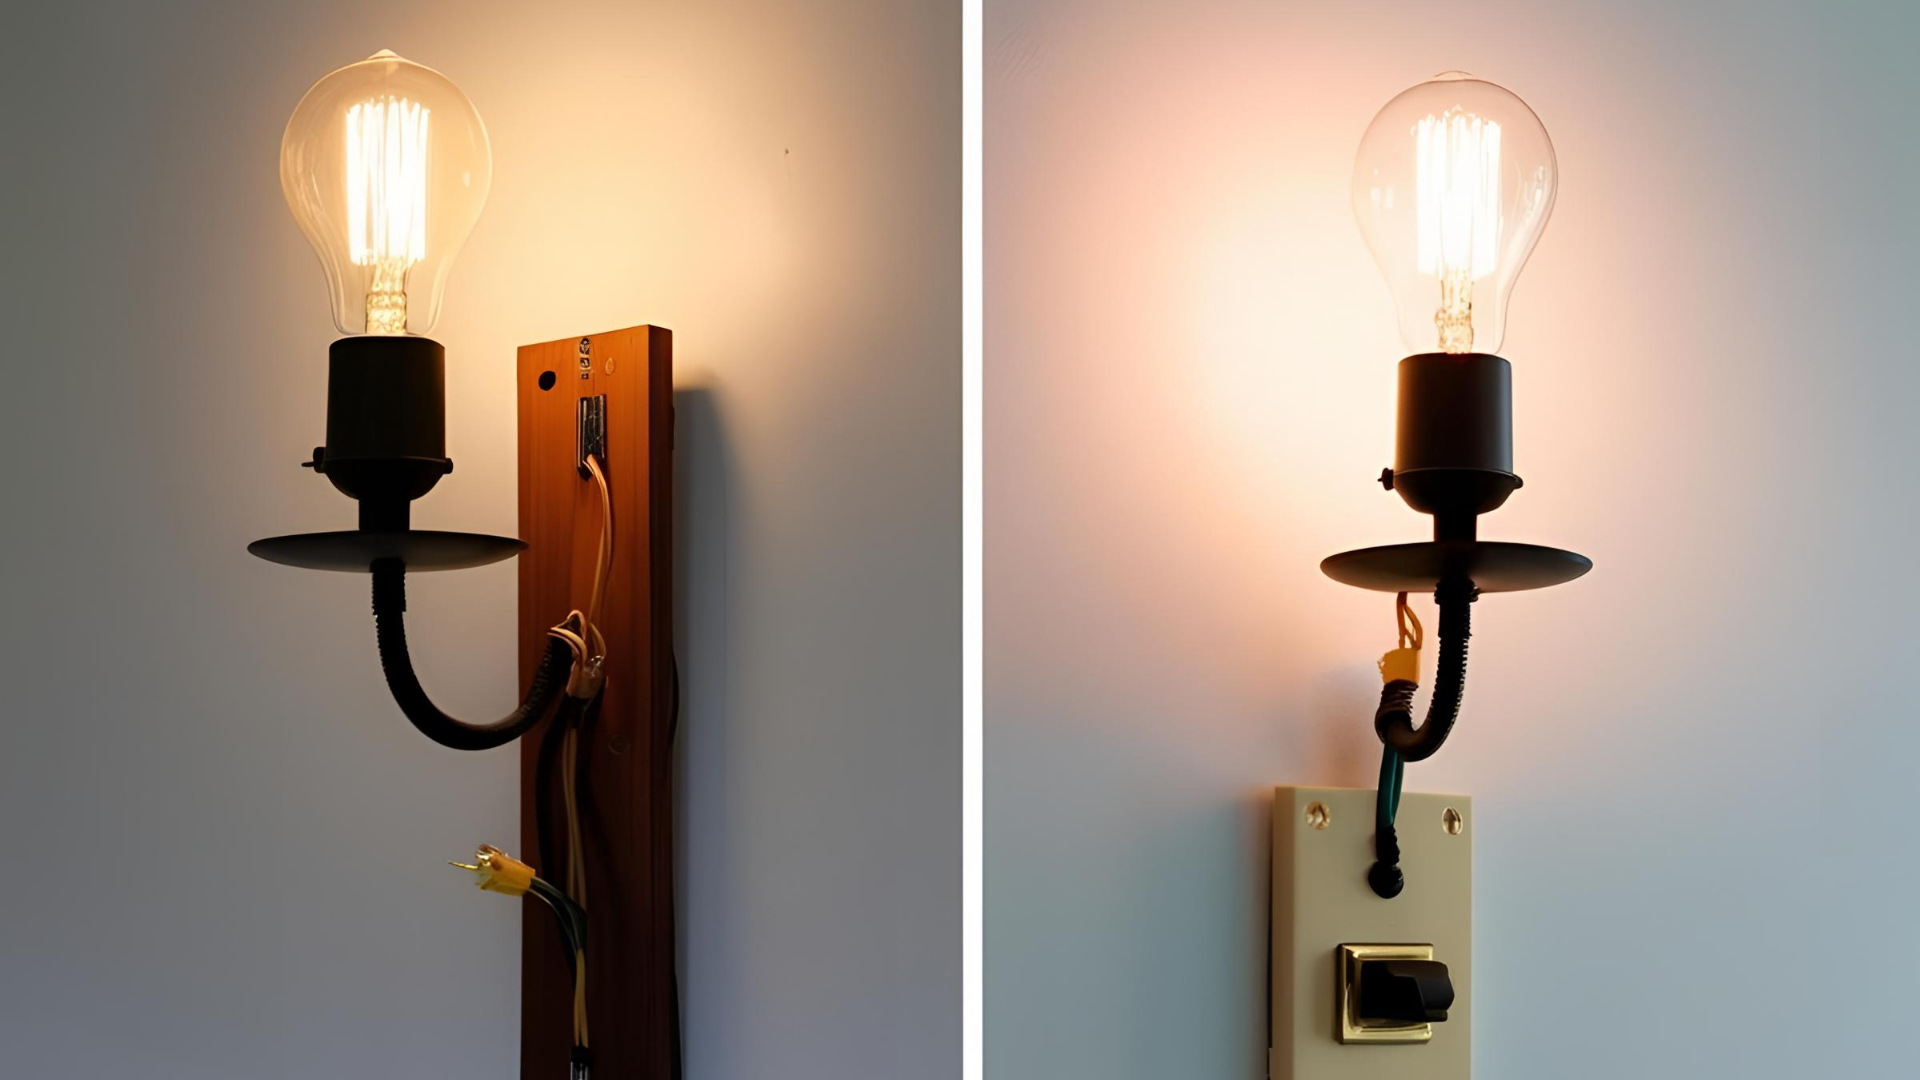
Add a light bulb to your new sconce. Turn the power back on at your breaker box. Test the light with a switch. Check for any loose parts or heat issues. Enjoy your new wall light!
Materials used: Light bulb, circuit tester, screwdriver
Video Tutorial
Special thanks to TheSorryGirls for providing valuable insights in their video, which I referenced while creating this guide.
Safety Tips for DIY Electrical Projects
- Always turn off the power at the circuit breaker box before touching any wires.
- Use tools with rubber handles to prevent shock risks.
- Check twice with a circuit tester to confirm power is off before working.
- Never work on electrical projects when floors or hands are wet.
- Learn your local building codes for proper wiring requirements.
- Wear safety glasses to protect your eyes from wire clippings.
- Keep children and pets away from the area during electrical work.
- Use wire nuts and electrical tape for all connections to prevent shorts.
- Don’t overload your circuit with too many fixtures.
- Take photos before disconnecting anything to help with reassembly.
Creative Ideas for Customizing Your DIY Wall Sconce
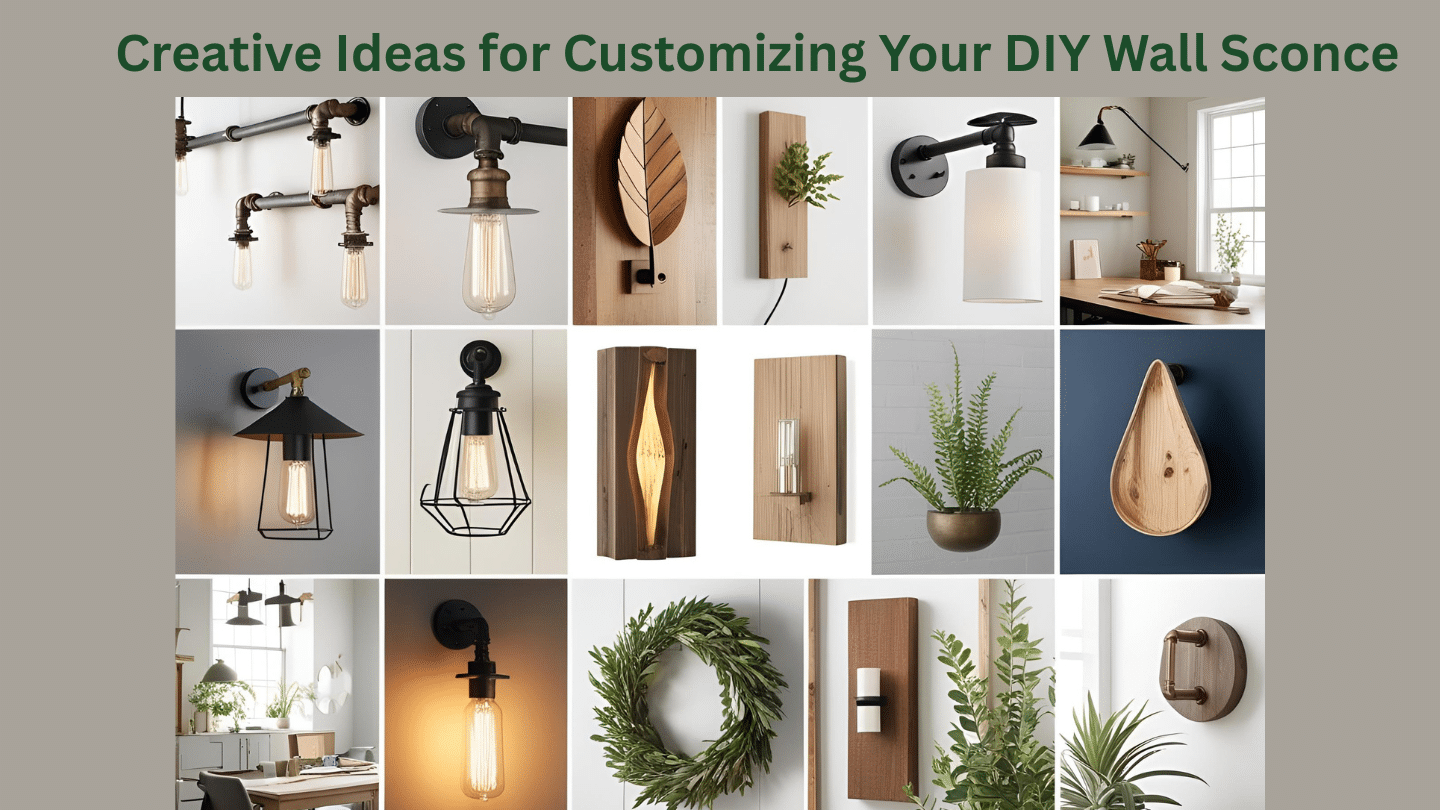
1. Using Reclaimed Materials
Old wooden fence boards make great rustic sconce bases with unique wear patterns. Metal pipes from plumbing projects can form modern wall light frames. Old glass bottles cut in half create one-of-a-kind shades with color and texture.
Window shutters can be cut and reshaped into charming wall light holders. These found items add story and character to your lighting.
2. Adding Smart Bulbs or Dimmers
Install color-changing smart bulbs to shift the room mood with phone apps. Add a simple dimmer switch to control light levels for different times of day. Voice-control options pair with home systems for hands-free lighting changes.
Timer features can set your sconces to turn on at sunset for a warm welcome home. These tech touches make your handmade fixture work harder.
3. Seasonal or Themed Decorations
Switch lamp shades to match holiday colors for quick seasonal updates. Add small clip-on items to the base that match current holidays. Change the bulb color to match seasons – warm white for fall, cool white for winter.
Use clear bulbs in summer, frosted in winter for subtle seasonal shifts. Small tweaks keep your lighting fresh all year.
Troubleshooting Common Issues in DIY Wall Sconces
| Issue | Possible Cause | Solution |
|---|---|---|
| Light flickering or not turning on | Loose wiring or a faulty bulb | Check and tighten wiring; replace bulb |
| Loose mounting | Improper installation or weak anchors | Re-secure with proper screws and anchors |
| Bulb compatibility | Using the incorrect bulb type or wattage | Use the recommended bulb type and wattage |
Conclusion
Making your own wall sconce brings light to your home in more ways than one. You now have a fixture that fits your exact needs and style. The money you saved can go toward other home projects or treats.
The skills you gained through this project will help with future DIY tasks. Working with basic tools, simple wiring, and design choices builds useful knowledge. Each time you flip the switch, you’ll feel a sense of joy from what you created.
We hope this guide helped you build something both useful and beautiful. Your walls now have a personal touch that store-bought items can’t match. Try making another sconce with different materials or for another room. Small changes can create fresh looks each time.
What light project will you try next? Share your finished sconce with friends – you might just help them start their own DIY plan!
Frequently Asked Questions
How Long Does a Diy Wall Sconce Project Typically Take?
Most people finish their wall sconce in 2-4 hours, not counting paint drying time.
Can I Make a Wall Sconce without Any Wiring?
Yes! You can use battery-powered puck lights or flameless candles for a no-wiring option.
What’s the Best Bulb Type for a Homemade Wall Sconce?
LED bulbs work best as they stay cool, use less power, and last many years.
Do I Need to Follow Specific Rules when Placing Wall Sconces?
Mount them 60-72 inches from the floor and 6-12 inches from mirrors or artwork for best results.