

A plain drill press is sufficient, but it’s challenging to prevent wood from spinning or sliding when drilling. I’ve been there, trying to hold a piece steady while lowering the bit, only to have it move at the last second. Frustrating, right?
I promise, adding a simple table with a fence makes all the difference: no more spinning wood or off-center holes. Your work stays in place, and you get clean, precise results every time.
In this guide, I’ll walk you through straightforward steps to build a drill press table that won’t break the bank.
You’ll learn how to create a sturdy surface, add T-tracks for holding parts, and design a fence system that keeps everything perfectly aligned.
Steps to Start Your Drill Press Table DIY
Making a drill press table needs some planning. First, gather these tools and materials to start your DIY project:
| Materials | Tools Required |
|---|---|
| 3/4-inch plywood (for a 24×15 inch table + fence pieces) | Table saw |
| Hardwood strips for edging (maple recommended) | Jigsaw |
| T-track strips (for table and fence) | Router with straight bit |
| T-bolts, washers, and knobs | Drill and bits |
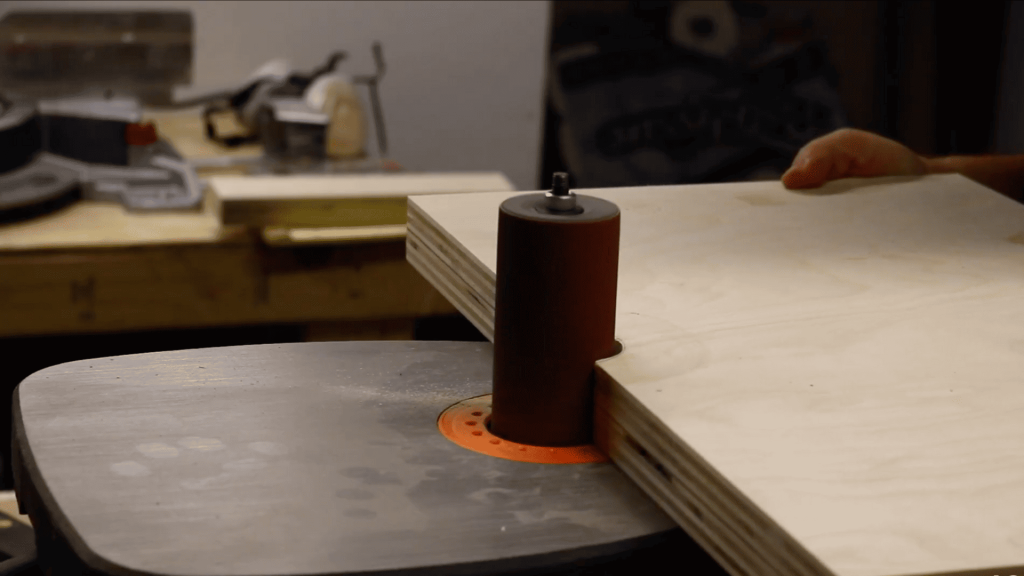
| Threaded inserts | Spindle sander (or sanding block + sandpaper) |
| Wood glue | Measuring tools |
| Screws | Clamps |
| Sandpaper |
Step 1: Cut the Main Table Surface
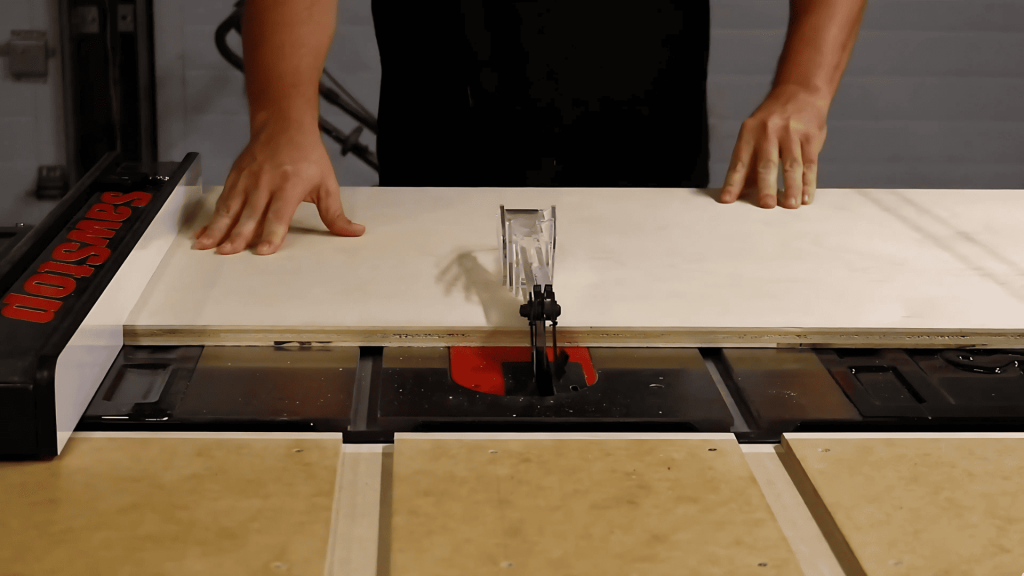
Start by measuring and cutting a piece of 3/4-inch plywood to about 24 inches wide by 15 inches deep. Mark the spot on the plywood where your drill press column will be located. Take your jigsaw and cut a notch at the back of the table to fit around the column.
Once cut, sand all the edges until they feel smooth to the touch. Make the table big enough to support your work, but not so large that it becomes hard to use.
Step 2: Make Room for the Hand Crank
Place your cut table on the drill press to check the fit. Look for where the hand crank hits the bottom of the table and mark this spot clearly.
Use your saw to cut out a 4 inch-wide by 1 inch deep section from the bottom of the table at this marked area. This cutout will allow you to raise and lower the drill press table without any issues. Sand the cut area smooth to finish.
Step 3: Create the Fence
For the fence, cut two pieces of 3/4-inch plywood to form an L-shape. The long piece should run the full width of your table, while the tall piece should stand about 3-4 inches high.
Cut a small notch in the fence to fit around the drill press column just like you did with the main table. Glue the two fence pieces together at a right angle and secure them with screws to form a strong L-shaped fence.
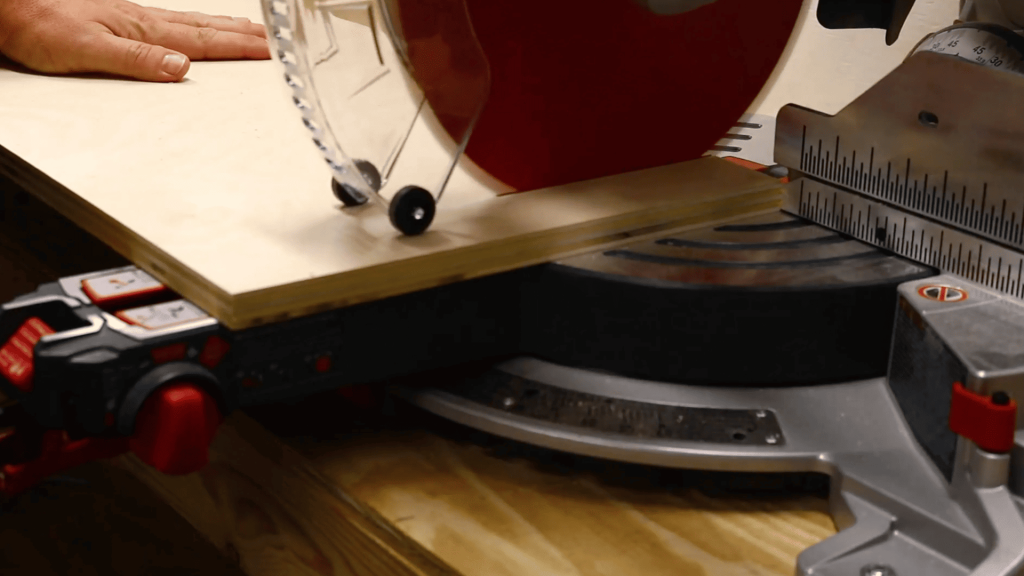
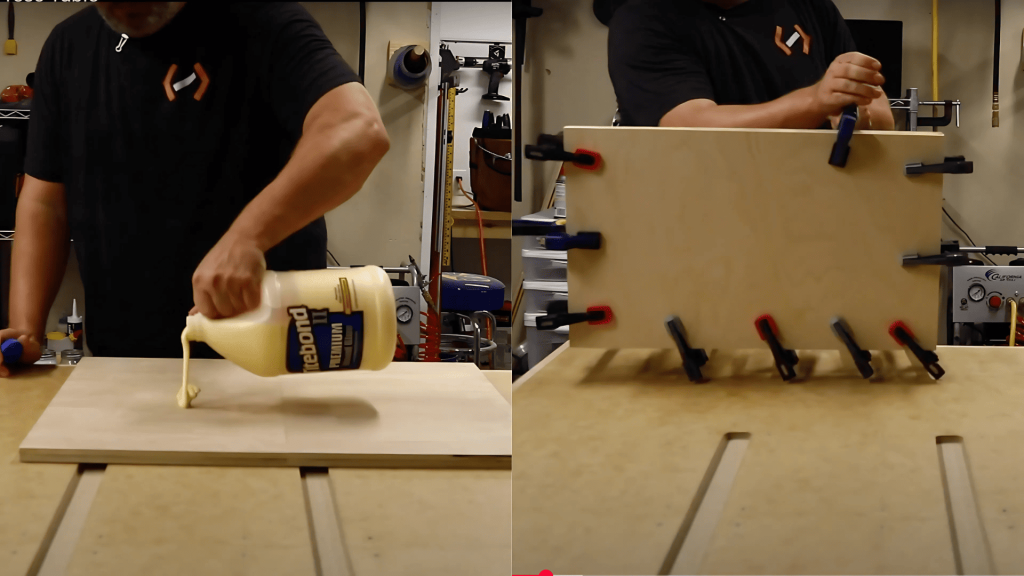
Step 4: Add Hardwood Edging
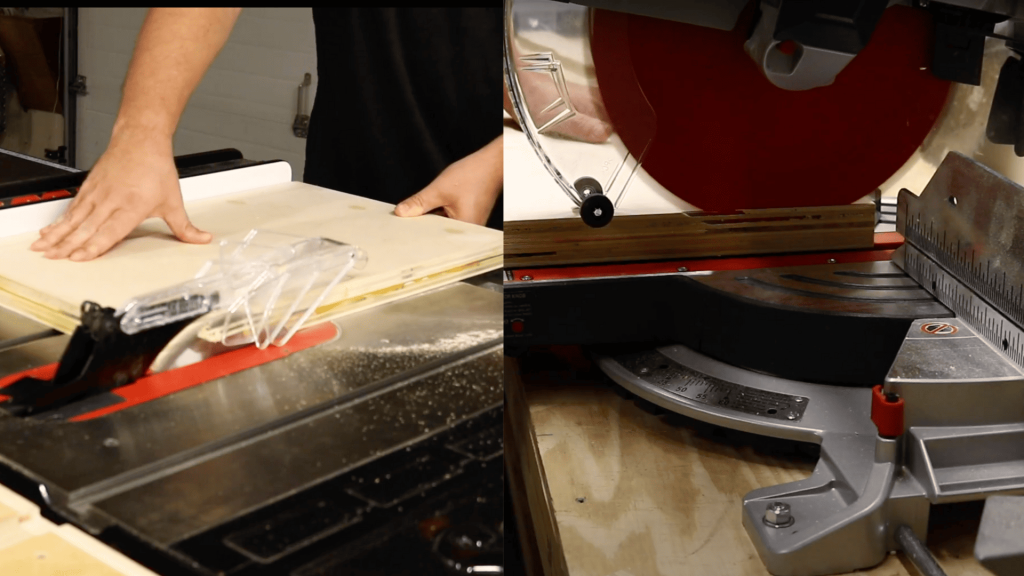
Cut strips of hardwood (maple works well) to frame the edges of your table. These strips should match the thickness of your plywood for a clean look. Apply wood glue to the edges of the table and press the strips in place.
Use clamps to hold them firmly while the glue dries. After the glue sets, sand the edges until they sit flush with the table surface for a smooth finish.
Step 5: Make a Replaceable Insert Area
Drill a hole in the center where your drill bit will come down through the table. Use a router to create a 5×5 inch square recess around this hole. Make this recess deep enough to hold a replaceable insert that will sit flush with the tabletop.
Cut a piece of thin plywood to fit exactly in this recess. For best results, place the insert area off-center from the drill bit. This smart design lets you rotate the insert to get four uses before you need to make a new one.
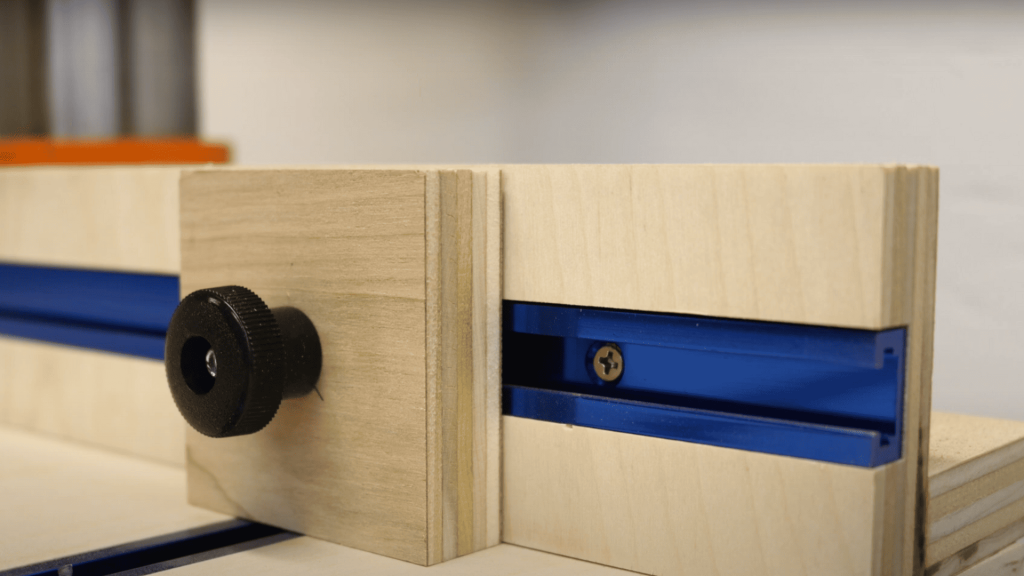
Step 6: Install T-Tracks
Cut grooves in the table surface to hold two parallel T-tracks. These tracks should run from the front edge to the back of the table.
Also, cut a groove along the top of the fence for another T-track. The tracks will let you attach clamps and the fence securely. Once the grooves are cut, screw the T-tracks firmly into place in their grooves.
Step 7: Make Mounting Holes
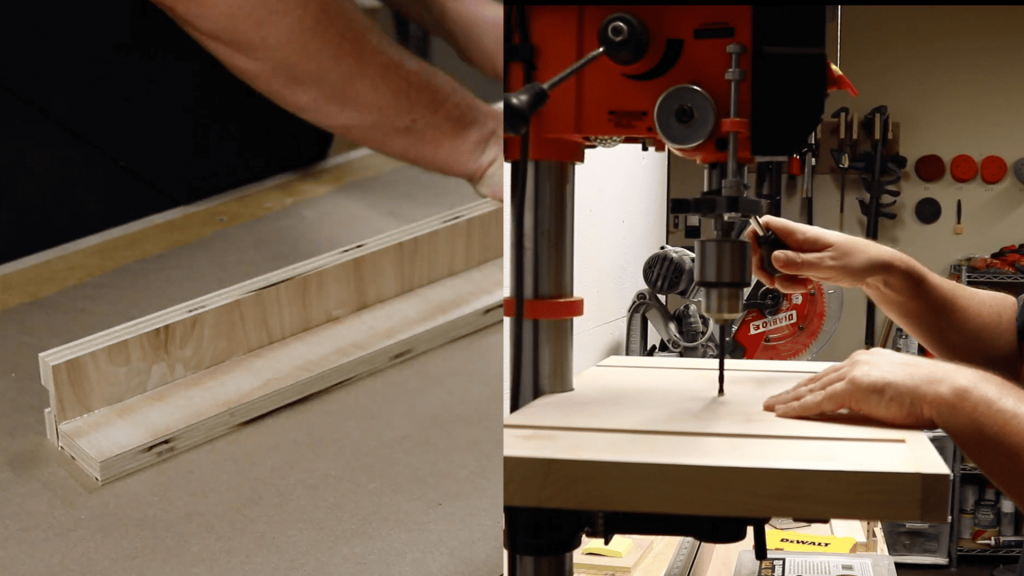
Drill holes in your new table to line up with the slots on your drill press table. Install threaded inserts in the bottom side of these holes.
These inserts will accept bolts to hold your table firmly in place. Use washers and star knobs with the bolts so you can attach and remove the table without tools when needed.
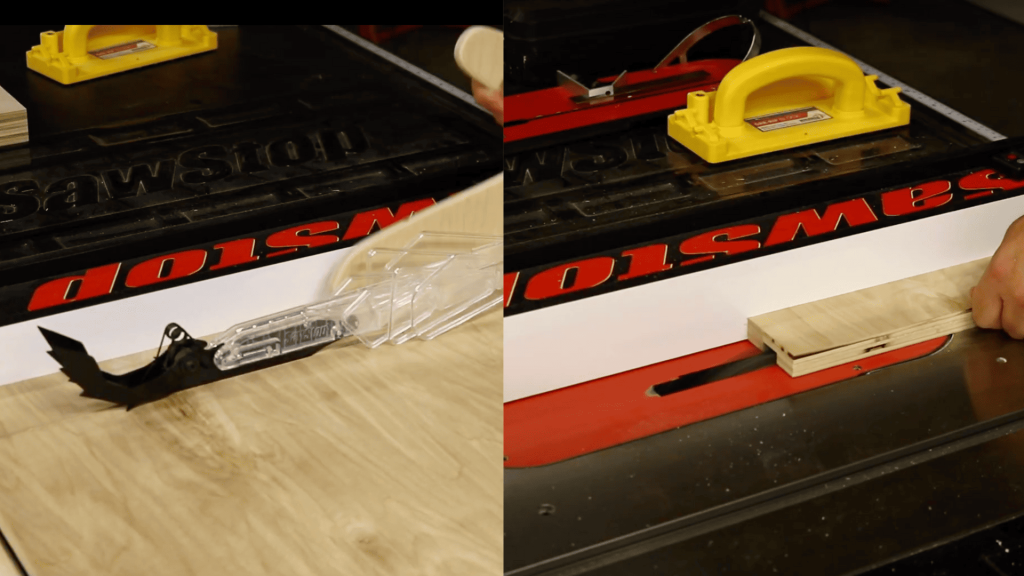
Step 8: Create a Stop Block

Cut a small 2.5×2.5inch block from scrap wood to serve as your stop block. Drill a hole through this block sized for a T-bolt. Add a knob to the T-bolt that lets you tighten and loosen the stop block easily.
This block will slide into the fence T-track and lock in place to ensure consistent hole spacing in your work.
Step 9: Add Final Touches
Sand all surfaces of your new drill press table until they feel smooth to the hand. Round over any sharp edges for safety and comfort. You may apply a finish of your choice to protect the wood, though this step is optional. Before using, test all moving parts to make sure everything works well together and makes solid contact where needed.
I’d like to acknowledge The Average Craftsman for the insightful video, which was a key reference in putting this guide together.
Helpful Tips From My Workshop
Smooth Operation: Apply some paste wax to the table top and fence faces. This makes wood slide smoothly without sticking.
Perfect Fence Placement: Push the fence firmly against the workpiece before tightening the knobs. This gives the most exact results.
Secure Thin Materials: For thin pieces that might get pulled up by the drill bit, keep spring clamps handy. They fit right into the T-tracks and hold things down tight.
Quick Reference Marks: Mark stop block positions with a pencil on the fence. This way, you can return to the same setup later without measuring again.
Support for Large Projects: For larger workpieces, make a simple support arm that attaches to your workbench. It keeps the long boards level with the table surface.
Conclusion
A good drill press table turns a basic tool into a much more useful one. This simple addition helps keep your work steady and gives you better results with less effort.
The fence keeps things straight, while the stop block ensures all holes line up just right. When the insert gets worn out, you can make a new one for fresh support.
This project uses common materials and basic tools that most home shops already have. The skills required are straightforward, and the time spent is minimal compared to the significant benefits you will reap from future drilling tasks.
So what makes this project worth trying? It solves real problems: better work holding, more exact holes, and less damage to your pieces. Your drill press will thank you.
Frequently Asked Questions
Can I Make This without a Router?
You can use a chisel and saw to cut the insert area. For T-tracks, buy surface-mount tracks or make wooden guides that bolt down.
What Type of Wood Is Best for This Project?
Baltic birch plywood resists warping and holds screws well. Maple or oak edges add strength where the table needs it most.
How Do I Make Replacement Inserts?
Trace the recess onto 1/4-inch plywood. Cut slightly oversized, then sand edges until it fits flush with the table surface.
Will This Work with a Benchtop Drill Press?
Yes! Just measure your specific model first. Make the table smaller for compact presses, and check clearance for all handles.