
Have you ever applied a fresh coat of paint only to find small, round craters ruining your perfect finish?
These annoying circles known as fisheyes can turn a simple paint job into a frustrating experience. I know how much time and money go into painting projects, and watching these defects form can be truly disheartening.
I’m here to help you solve this problem once and for all. With the right knowledge and techniques, you can prevent fish-eyes from appearing and fix them when they do.
In this guide, I’ll explain what causes fisheyes, how to prevent them before they occur, and the most effective ways to correct them if they appear.
Let’s turn your paint projects from problematic to perfect!
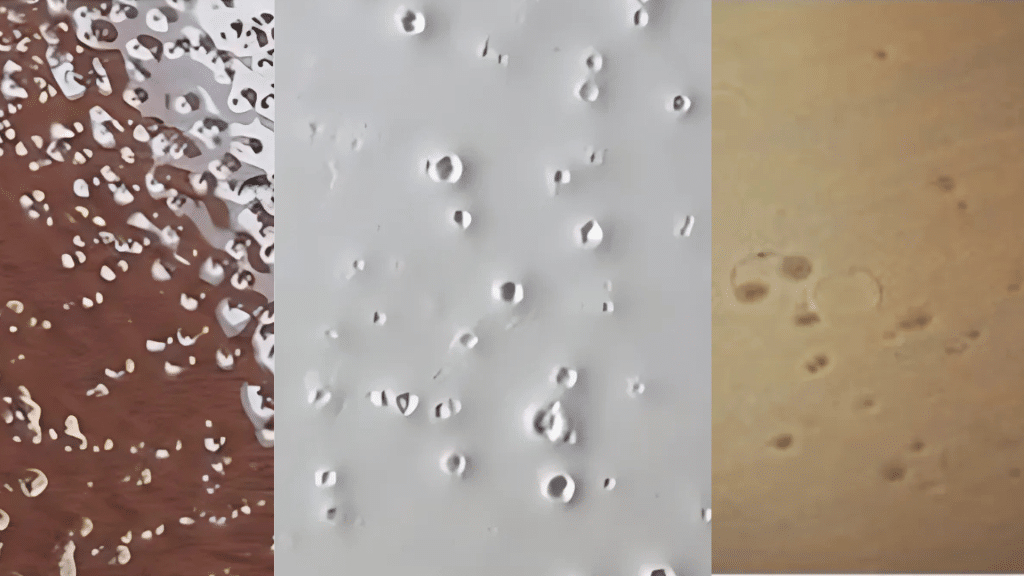
What Are Fisheyes in Paint?
Fisheyes are small, round craters that form in a fresh coat of paint. These flaws show up as circular openings in the finish, often exposing the surface underneath. When paint fails to adhere to certain spots, it pulls away and forms small circles.
Many painters also know these marks by other names. Some call them craters, pits, kissing, or saucering. The name “fisheyes” comes from their round shape with a clear center, which resembles a fish’s eye.
These defects cause more problems than they appear. Fisheyes weaken the paint job’s protection and durability. Fixing them takes extra time and costs more money.
For professionals, these flaws can harm their business when clients aren’t happy with the results.
Causes of Fisheyes in Paint
The primary cause of fish eyes is contamination. When certain substances come into contact with or under your paint, they create spots where the paint won’t adhere. Let’s look at the most common causes of these pesky craters.
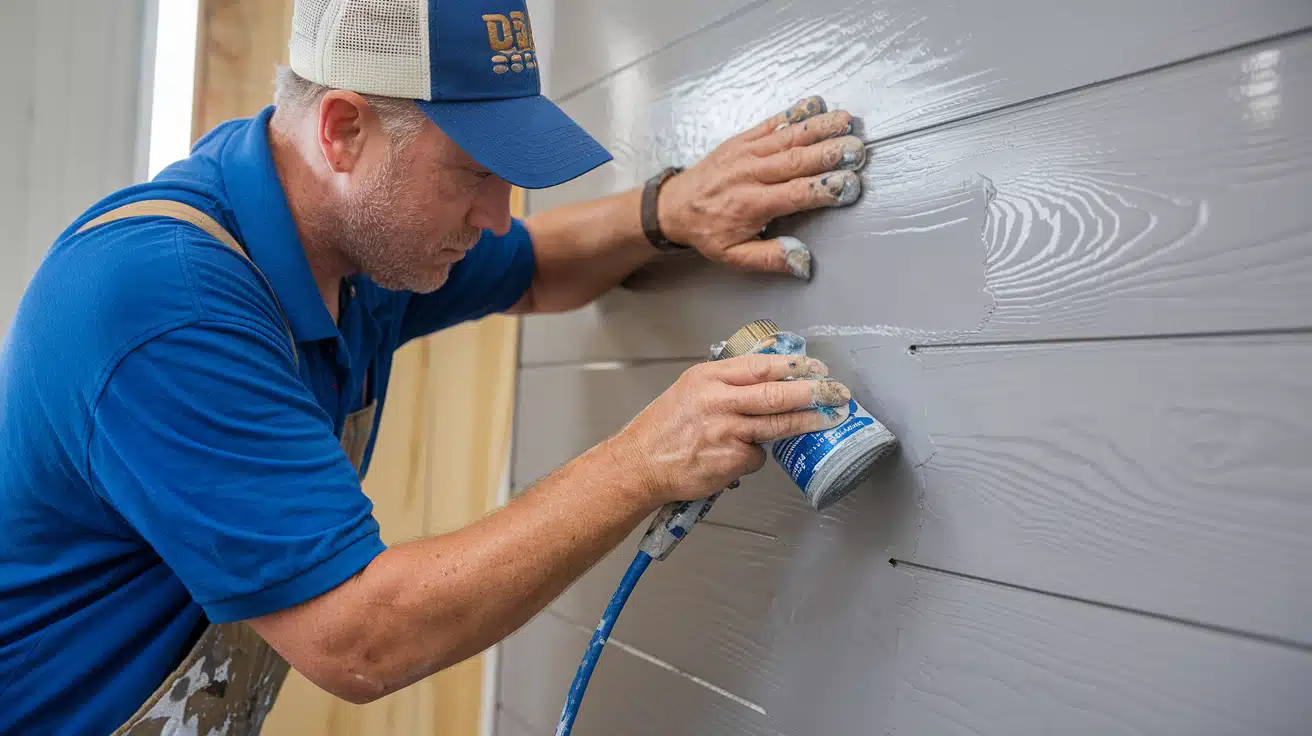
1. Surface Contamination
Oil and grease are the top reasons fish eyes form. Even a tiny fingerprint can cause multiple fisheyes. These oils prevent paint from sticking properly to the surface.
The wax from polishes stays on surfaces even after basic cleaning. The paint will pull away from these waxy spots, forming the classic crater shape.
Silicone is especially troublesome. Products like car polish, hand lotion, and spray lubricants contain silicone, which spreads easily. Just a small amount can ruin an entire paint job.
Soap leftovers create similar issues. If you clean with soap but don’t rinse well, the residue will cause paint problems. Metal cleaning chemicals can leave behind traces that interfere with paint bonding.
2. Environmental Contamination
Your surroundings matter when painting. Working near a repair shop or garage increases the risk. Oil particles float in the air and settle on your painting surface.
Spray equipment can also introduce contaminants. Airlines often collect moisture and oil from compressors, which can pass directly into paint spray without proper filtration.
Dust and dirt in the air can land on wet paint, creating spots where fisheyes form. This phenomenon occurs even in spaces that appear clean to the naked eye.
3. Improper Surface Preparation
Using the wrong cleaning products can lead to trouble. Many painters mistakenly use paint thinner to clean surfaces, which spreads oils rather than removing them.
Quick or incomplete cleaning misses contaminants. Rushing through preparation steps almost guarantees fisheyes will appear later.
Not using the right sequence of cleaners can be an issue. Some contaminants need specific products to be fully removed.
4. Equipment & Material Issues
Spray equipment needs regular maintenance. Old spray guns, dirty airlines, or worn parts can all introduce contaminants.
Previous paintwork can cause new problems. If someone used a fisheye eliminator in past repairs, it might activate when you apply new paint.
Certain automotive products create long-term issues. Polishes, sprays, and cleaners containing silicone leave residue that is extremely difficult to remove completely.
Fixing Fisheyes in Paint
When fisheyes appear despite your best efforts, don’t panic. Depending on when you catch the fish, you have several options to fix the problem.
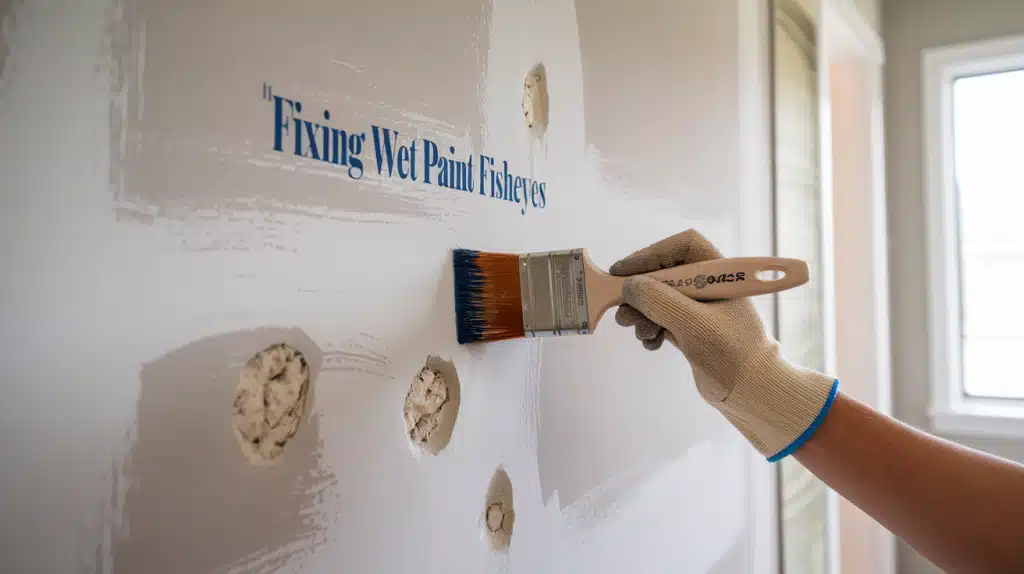
1. Fixing Wet Paint Fisheyes
Quick action helps with fresh paint issues. If you spot fisheyes while the paint is still wet, you can fix them right away.
Remove all the wet paint with the proper solvent. Touching up only the bad spots often makes things worse. It’s better to start over with the entire section.
After removing the paint, clean the surface again. Be more thorough than before, using multiple cleaning steps to ensure all contaminants are gone.
Let the surface dry completely before trying again. Rushing back to painting might trap solvents under the new coat, causing more problems.
When reapplying paint, try a mist coat first. A thin, light coat sometimes helps the paint flow better over problem areas. After the mist coat dries, follow with normal coats.
2. Fixing Dried Paint Fisheyes
Dried paint with fisheyes requires more work. The defects won’t go away on their own, so you’ll need to remove them.
Sand the affected areas smoothly. Start with medium-grit paper to remove the defects, then finish with finer grit for a smooth base. Be careful not to sand through to the substrate.
Clean the sanded area thoroughly. Use the same careful cleaning process you would for a new job, paying special attention to removing sanding dust.
Apply primer to bare spots if needed. If your sanding exposed the original surface, primer helps ensure good adhesion of the new topcoat.
Reapply paint in thin, even coats. Building up the paint slowly helps prevent new fisheyes from forming. Allow proper drying time between coats.
Check your work in good lighting. Look at the surface from different angles to spot any remaining issues before they become permanent.
3. Using Fisheye Eliminators
Fisheye eliminators can help in stubborn cases. These additives change how the paint flows, allowing it to cover over contaminated spots.
Eliminators should only be used in topcoats, not primers or basecoats. Adding them to undercoats can cause adhesion problems later.
Follow the product instructions exactly. Most require just a few drops per quart of paint. Too much can cause new issues like poor gloss or adhesion.
Remember that eliminators aren’t a substitute for proper cleaning. They mask the problem rather than solve it. Always try to find and remove the source of contamination first.
Test in a small area before applying to the entire project. This ensures the eliminator works with your specific paint and doesn’t cause new problems.
Common Mistakes That Lead to Fisheyes
Even skilled painters sometimes make errors that cause fisheyes. Being aware of these common mistakes can help you avoid them in your next paint job.
| Common Mistake | Why It Causes Problems | How to Avoid It |
|---|---|---|
| Skipping the degreasing step | Leaves oils and contaminants on the surface that repel paint | Always degrease with proper solvents before painting, even on surfaces that look clean |
| Using contaminated rags or tools | Spread oils and silicone across the surface | Use fresh, clean cloths for each cleaning step, and keep tools stored away from contaminants. |
| Applying paint in dusty or oily areas | Airborne particles land on wet paint and cause defects | Paint in clean, controlled environments with good ventilation and air filtering |
| Not allowing proper flash time between coats | Traps solvents that can bubble up through the new paint | Follow the manufacturer’s guidelines for drying times between coats |
| Using incorrect cleaning products | Some cleaners leave residues that interfere with the paint | Use automotive-grade surface prep cleaners designed for painting |
| Touching the surface with bare hands | Transfers skin oils to the cleaned surface | Wear clean gloves when handling prepared surfaces |
| Mixing incompatible products | Some additives and paint systems don’t work well together | Stick to products from the same manufacturer’s system |
| Rushing the prep work | Proper surface preparation takes time to do correctly |
Budget enough time for thorough cleaning and preparation |
Conclusion
Fisheyes in paint don’t have to ruin your next project. With proper preparation, clean equipment, and the right techniques, you can prevent these frustrating defects from appearing in the first place.
Remember these key points: thoroughly clean surfaces before painting, maintain your equipment regularly, and control your working environment. If fisheyes do appear, act quickly and address the root cause don’t just cover them up.
What steps will you take for your next paint job? Try implementing the prevention methods we’ve discussed, and you’ll likely see better results.
If you’re still experiencing issues, revisit your cleaning process or consider whether silicone products might be the hidden culprit.
Share your experiences or questions in the comments. I’d love to hear how these tips worked for you!