

Looking for fun scarecrow ideas to brighten up your garden or yard? Scarecrows aren’t just for farms anymore – they’ve become popular decorations for fall festivals, Halloween displays, and creative outdoor projects.
The best part is that building one is surprisingly easy and affordable. You can use old clothes, recycled materials, and basic supplies you already have at home.
From traditional designs to superhero characters, there’s a scarecrow style for everyone.
This collection of scarecrow ideas will show you how to build your own scarecrow, plus offer tips for making it weatherproof and long-lasting. Get ready to create something uniquely yours!
Why Scarecrows are Fun and Easy?
Scarecrows offer a great opportunity to express your creativity using simple materials you probably already own.
Old shirts, worn-out jeans, and leftover fabric scraps can all become part of your masterpiece. There’s no right or wrong way to build one, which makes the process enjoyable for all ages and skill levels.
These projects are naturally eco-friendly since they give new life to clothes and household items that might otherwise end up in the trash.
You can customize every detail, from the face and outfit to the pose and accessories. The ideas ahead range from quirky and whimsical to clever and functional, actually working in your garden.
What You’ll Need to Make a DIY Scarecrow?
Building a scarecrow doesn’t require fancy supplies or expensive materials. Most items can be found around your home or picked up cheaply at a thrift store. Here’s what you’ll need to get started:
| MATERIAL | PURPOSE |
|---|---|
| Old Clothes (Shirt, Jeans, Hat) | Dressing the scarecrow |
| Wooden Stakes or Timber | Frame: vertical post and horizontal crossbar |
| Screws | Securing the frame |
| String, Rope, or Braces | Securing clothes and stuffing |
| Cable Ties | Holding the fabric and stuffing in place |
| Straw or Recycled Plastics | Stuffing the body |
| Hessian Sack | Making the head |
| Sticks or Branches (Optional) | Hands, hair, or additional decorative elements |
Once you gather these basic materials, you’re ready to start building. Feel free to add your own creative touches with extra decorations, ribbons, buttons, a belt, or accessories you have on hand.
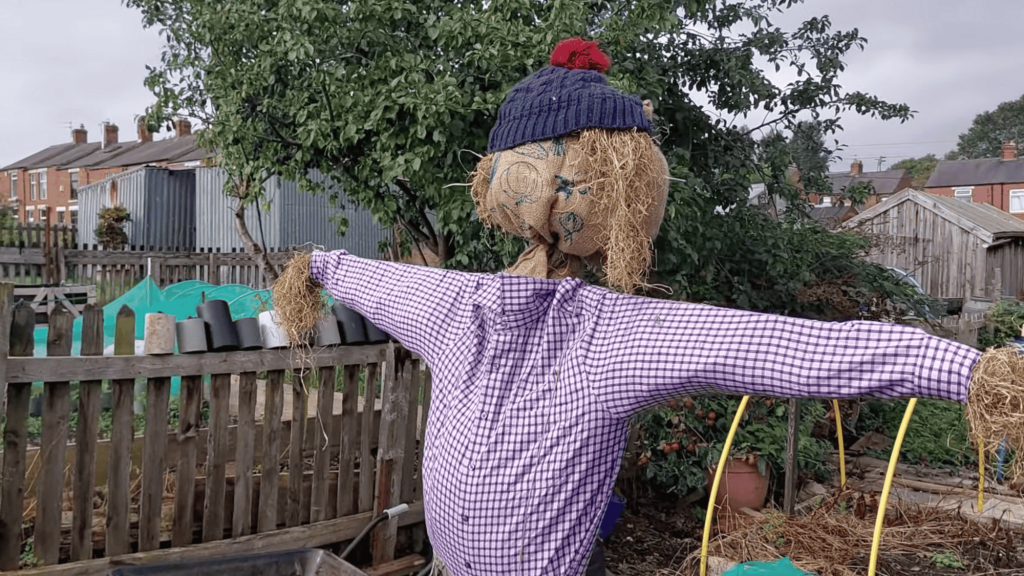
How to Build a Simple DIY Scarecrow: Step-by-Step Instructions
Building a scarecrow is easier than you might think. Follow these straightforward steps to create a sturdy, charming scarecrow that will stand proudly in your garden or yard.
Step 1: Build the Frame
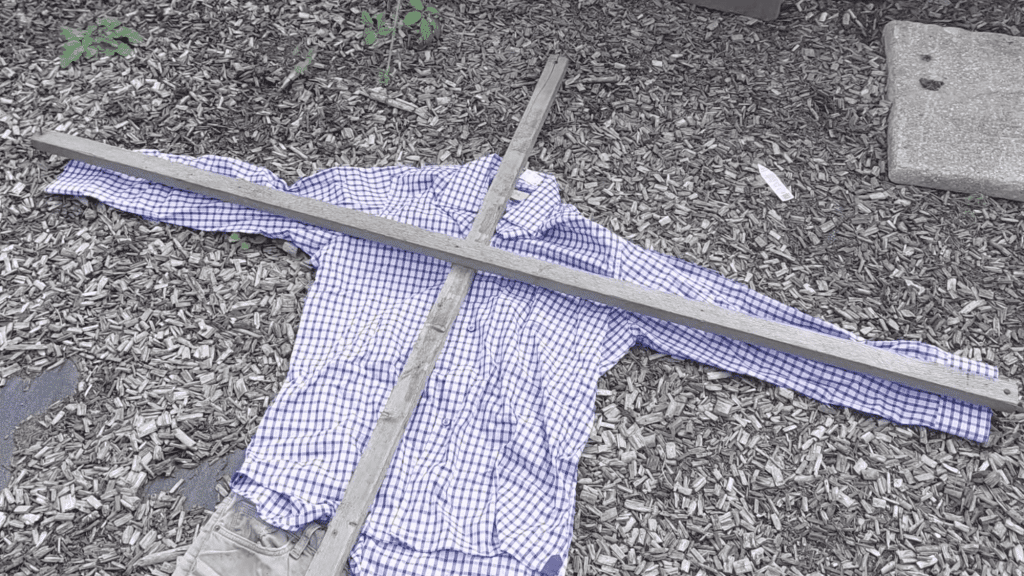
Start by laying out your wooden pieces to form a cross shape. The vertical post represents the body, while the horizontal crossbar creates the arms. Leave roughly 12 inches at the top for the head and a similar length at the bottom to push into the ground.
Find the center point of the crossbar and secure it to the vertical post with screws. Trim 2–3 inches off each end of the crossbar so your clothes fit properly without bunching.
Step 2: Dress the Scarecrow
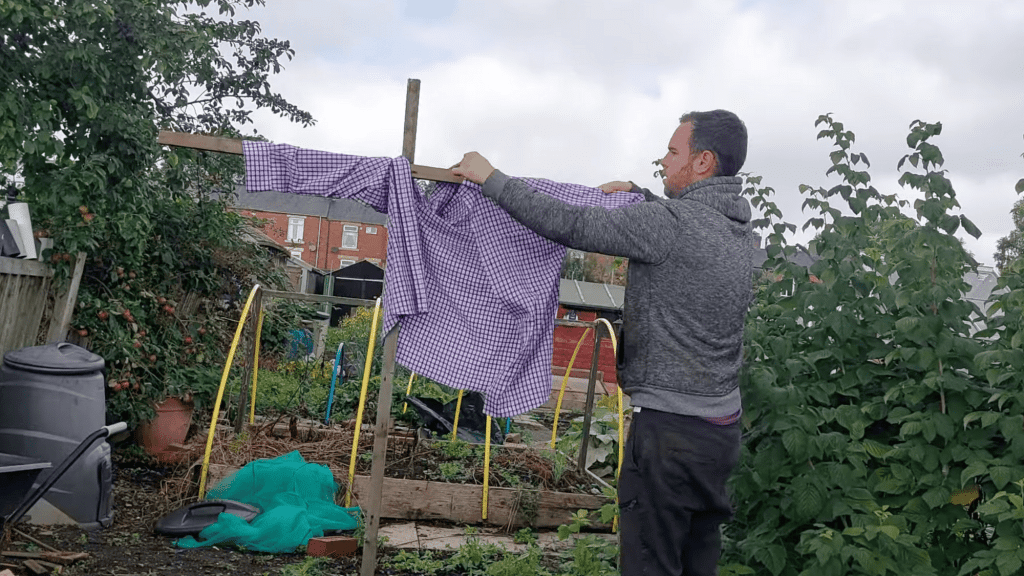
Lay the shirt flat and stretch it over the crossbar arms. Make a hole in the crotch of the jeans and thread the vertical post through it.
Pull the jeans up and secure them over the horizontal bar using string, rope, or braces. Use cable ties at the bottom of the shirt and trousers to keep fabric from sliding down, but leave the sides loose for stuffing.
Step 3: Stuff the Body
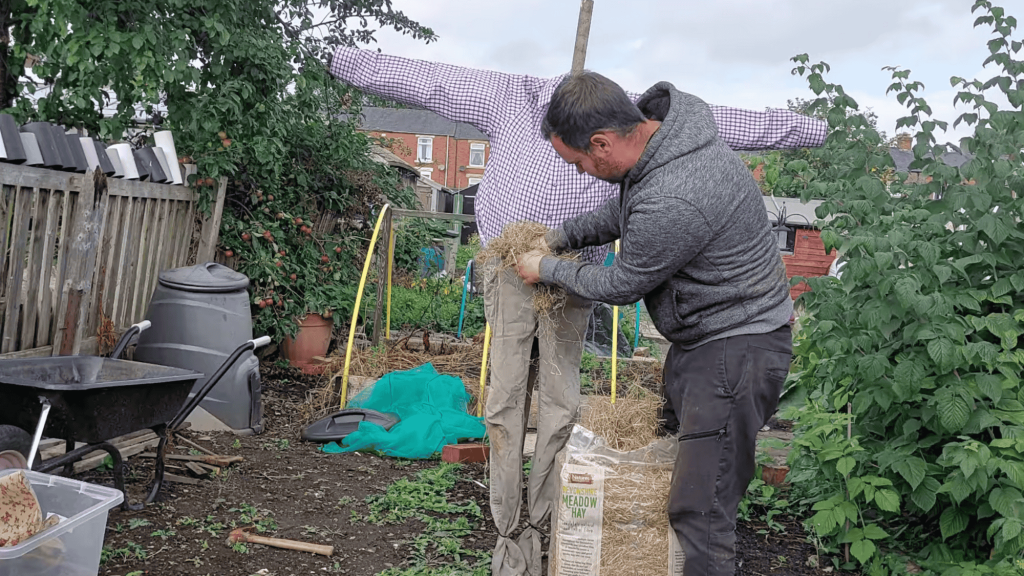
Grab handfuls of straw or recycled plastics and begin filling the shirt and trousers. If using recycled plastics, place them inside a bag first to keep everything contained – this works especially well for the stomach area.
Pack the legs and arms generously to give your scarecrow a full, plump appearance. Once stuffed, tighten the strings or braces around the clothing to secure the filling and help shape the body into a more realistic form.
Step 4: Make and Attach the Head
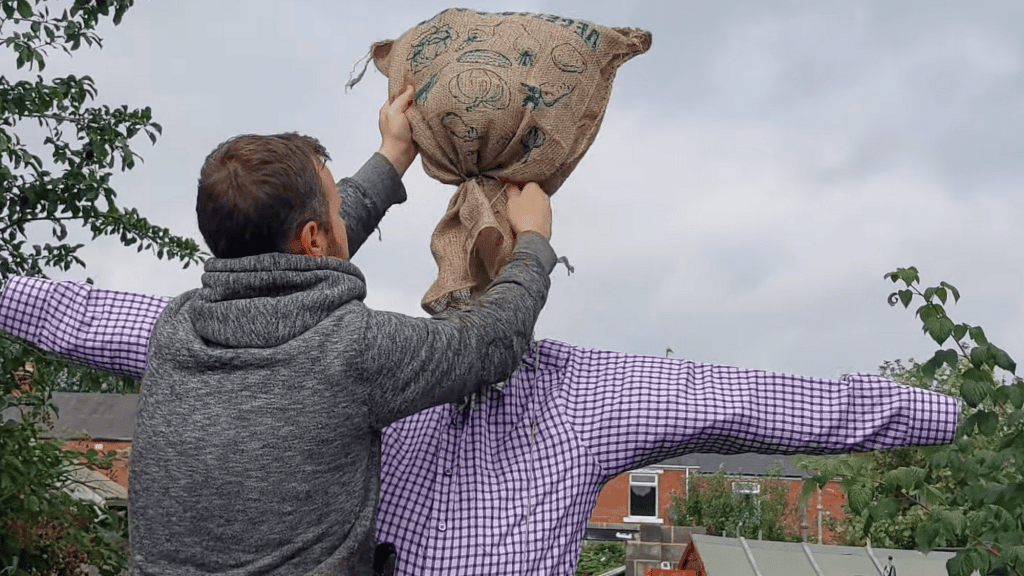
Fill a hessian sack about halfway with straw, leaving room at the top. Tie it loosely with a cable tie, but make sure to leave a small opening large enough to fit two or three fingers through.
Slip this opening over the top of your frame post. Shape the head by gathering and tying the fabric at the back to create a rounded appearance that looks more lifelike and less flat.
Step 5: Add Accessories & Final Touches
Place an old hat on top of the head to give your scarecrow character and personality. Stuff some straw into the sleeves to create hands, or attach sticks and branches for a more defined look. Add a belt around the waist for extra detail.
Slide wellies onto the bottom of the frame, making sure they’re aligned correctly for the right height. Fluff up any stray poking out from the clothes and adjust the outfit until everything looks just right.
Video Tutorial
For more information, check out this video tutorial by The Grey Gardener
More Scarecrow Ideas that are Creative and Fun
These creative ideas will help you build characters with personality and style. Each design uses the same basic frame and stuffing techniques, but with unique clothing and accessories that make them stand out.
1. Superhero Scarecrow
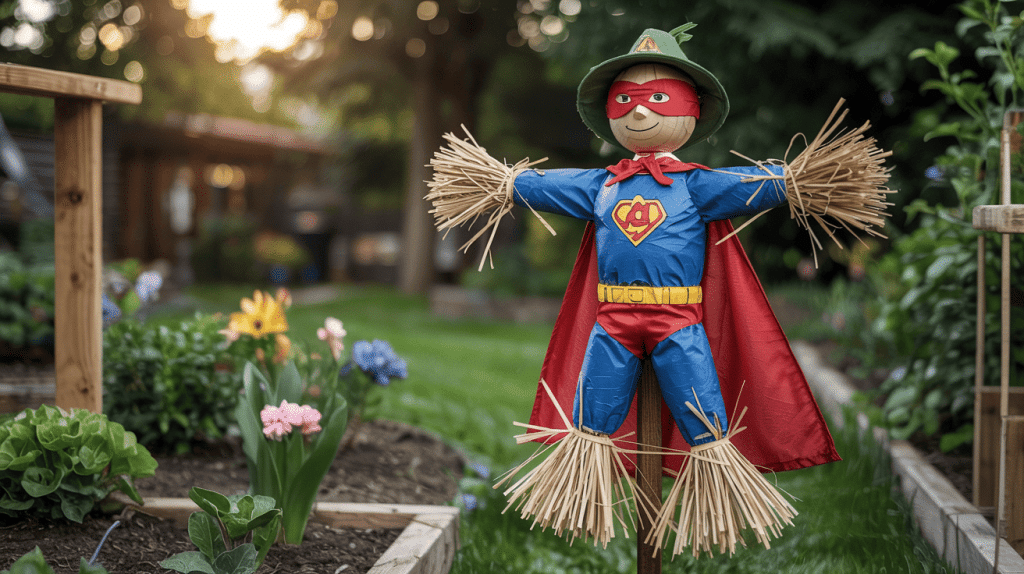
Build a frame and dress it in a cape, mask, and themed clothing. Stuff the body with straw or fabric scraps. Position arms in a “flying” or heroic stance. Secure all clothing and accessories with string or cable ties.
Add small props, such as badges or emblems, to highlight the superhero’s identity.
Materials: Wooden stakes, old clothes, straw, cape, mask, props
Tip: Slightly tilt the head upward for a heroic pose.
2. Upcycled Bottle Scarecrow
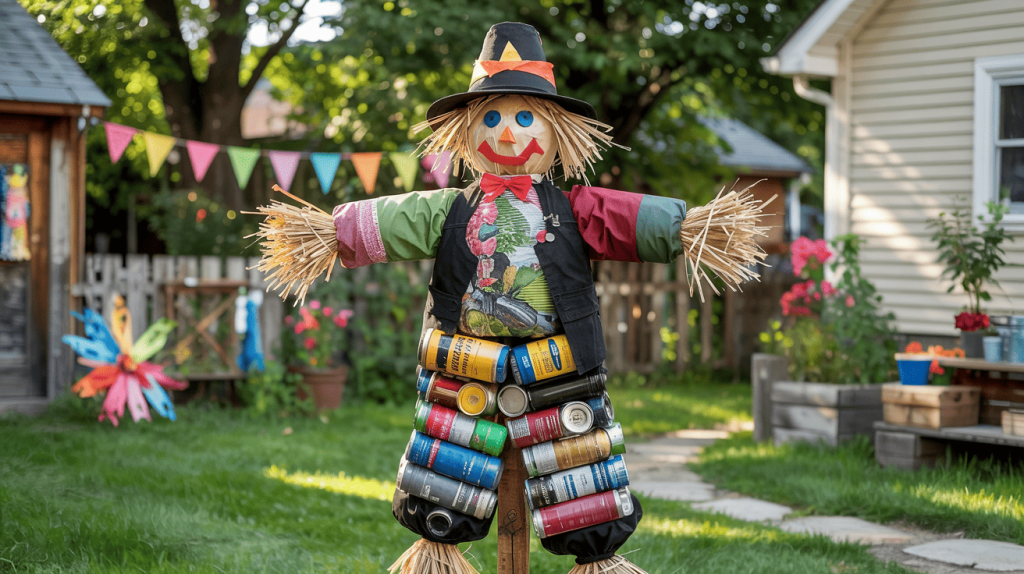
Use empty bottles or cans to create the body and head, stacking them securely on a wooden frame. Dress the scarecrow with scraps of fabric or old clothing. Stuff smaller bottles or socks for arms.
Secure all parts with strong rope or cable ties. Paint or decorate the bottles to give them personality.
Materials: Empty bottles/cans, old clothes, rope/cable ties, wooden stakes
Tip: Use clear adhesive or strong tape to prevent bottles from slipping.
3. Pumpkin Head Scarecrow
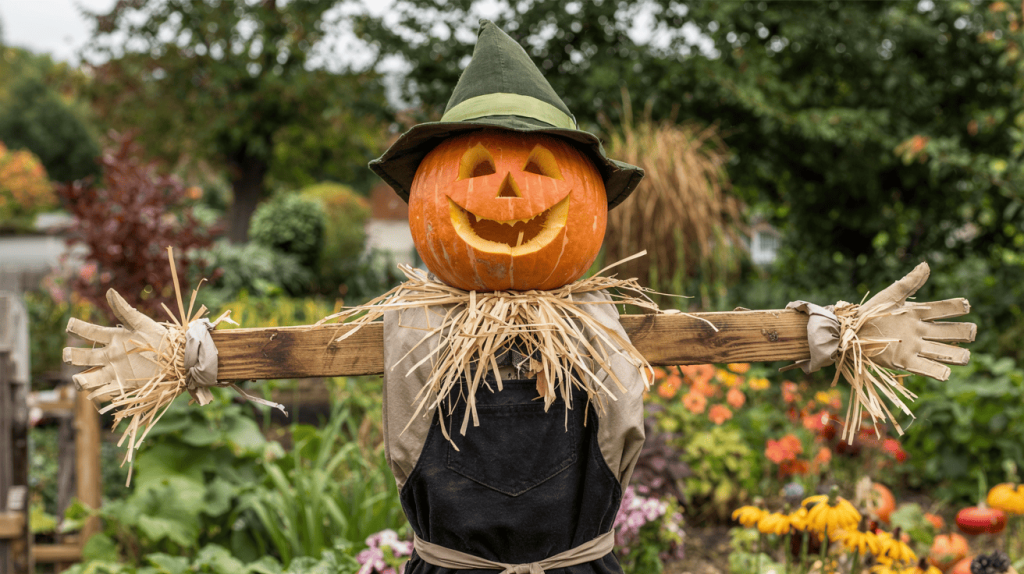
Construct a wooden frame as a base. Place a hollowed-out pumpkin or faux pumpkin on top for the head, securing it with rope or dowels. Dress the body in old clothes and stuff it with straw.
Add gloves or straw hands. Carve a simple face or paint one for a friendly or spooky effect.
Materials: Pumpkin or faux pumpkin, wooden stakes, old clothes, straw, rope/dowels
Tip: Choose a lightweight pumpkin to avoid toppling the frame.
4. Scarecrow Family
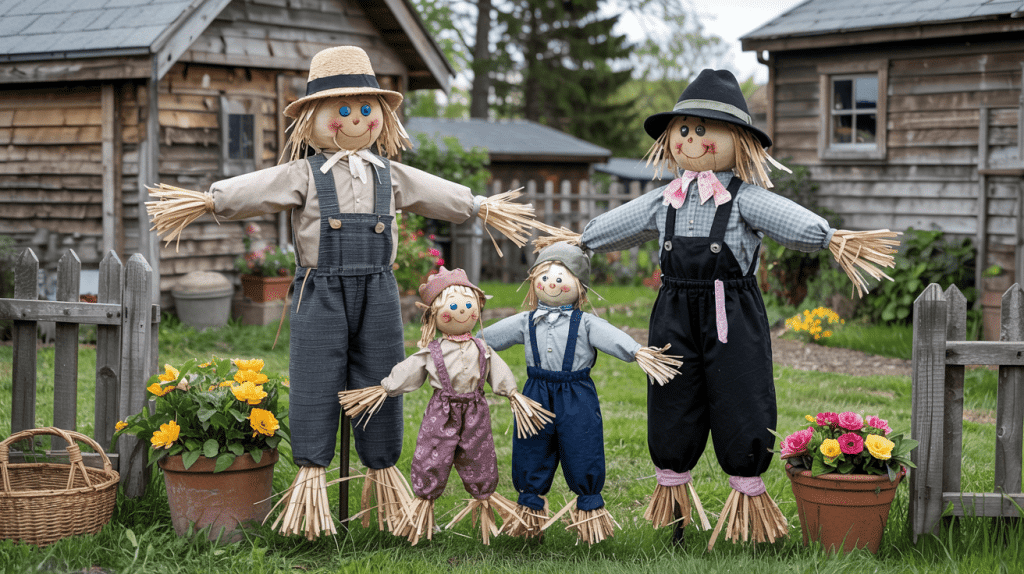
Create multiple smaller frames for a family of scarecrows. Dress each one with miniature clothing representing different “family members.” Stuff with straw or fabric scraps.
Add hats, scarves, or shoes to differentiate each figure. Position them close together to form a playful family scene. Secure each frame individually to the ground.
Materials: Wooden stakes, old clothes, straw, string/rope, hats/accessories.
Tip: Use varying heights for visual interest and a realistic family look.
5. Gothic Halloween Scarecrow
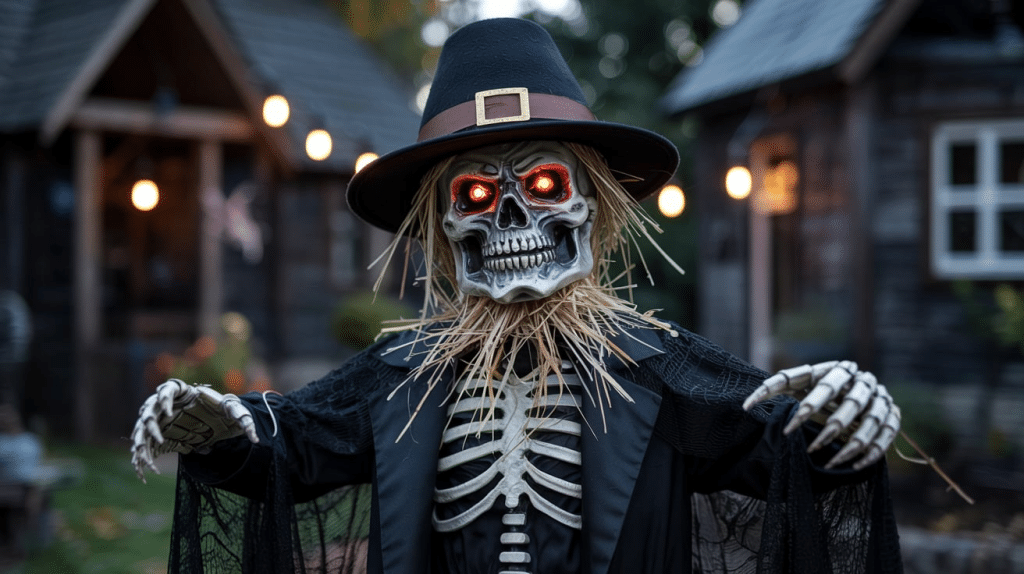
Build a standard wooden frame and dress it in a long black cloak or dark clothes. Add skeletal gloves or painted hands and a dark hat. Stuff with straw or fabric scraps.
Add glowing LED eyes or eerie accessories. Position it at a slight angle for a dramatic, haunted appearance.
Materials: Wooden stakes, black clothes, straw, gloves, LED lights
Tip: Use waterproof materials for outdoor placement to prevent damage from rain.
6. Whimsical Fairy Tale Scarecrow
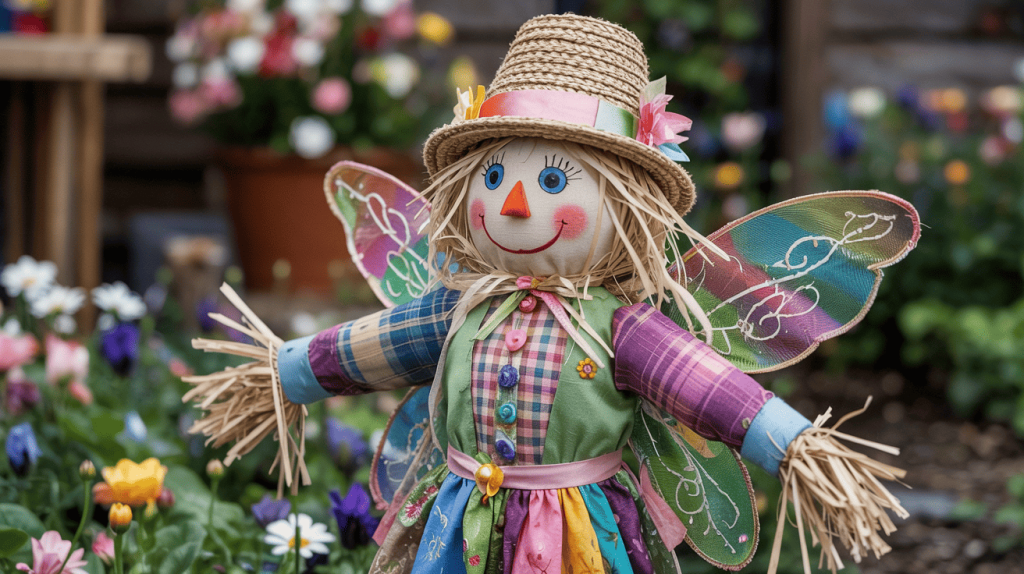
Construct a frame and dress it in bright, mismatched fabrics. Add wings, colorful ribbons, or a sparkly hat.
Stuff the body with straw or recycled materials to achieve plump arms and legs. Attach accessories like wands, crowns, or faux flowers to add to the magical look. Secure each piece firmly for durability.
Materials: Wooden stakes, old/mismatched clothes, straw, ribbons, decorative accessories
Tip: Lightweight props work best to prevent the scarecrow from toppling.
7. Celebrity Look-Alike Scarecrow
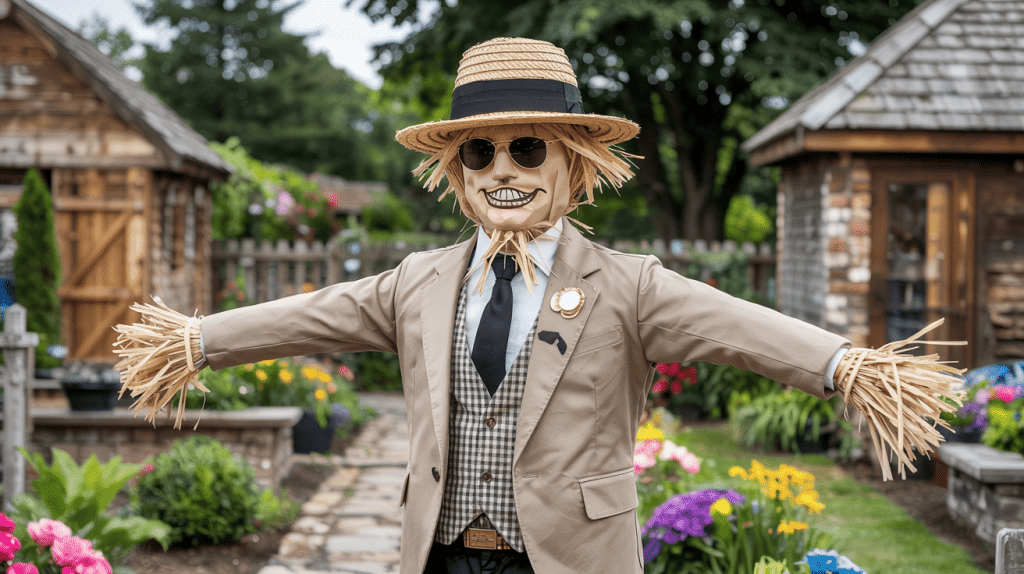
Build a basic frame and dress it to match a celebrity or local character. Style hair or head coverings to resemble their look.
Use accessories such as sunglasses, hats, or props to capture the persona. Stuff the body evenly and secure all clothing with rope or cable ties. Add personality through painted or crafted facial features.
Materials: Wooden stakes, old clothes, straw, accessories, paint/markers
Tip: Focus on distinctive features to make recognition easy.
8. Birdwatcher Scarecrow
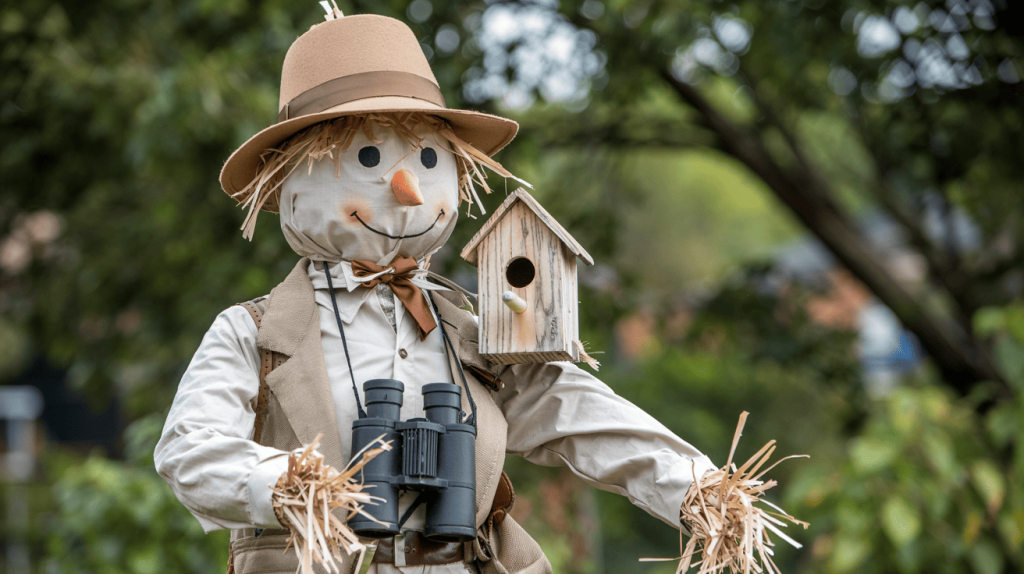
Create a frame and dress it in neutral outdoor clothing. Add a hat, binoculars, and a small birdhouse as props.
Stuff with straw to maintain a natural shape. Position arms as if holding binoculars and slightly bend the posture for a lifelike stance. Secure the base firmly to prevent tipping.
Materials: Wooden stakes, old clothes, straw, accessories, a hat, binoculars
Tip: Angle the head slightly downward for a more realistic birdwatching pose.
9. Sporty Scarecrow
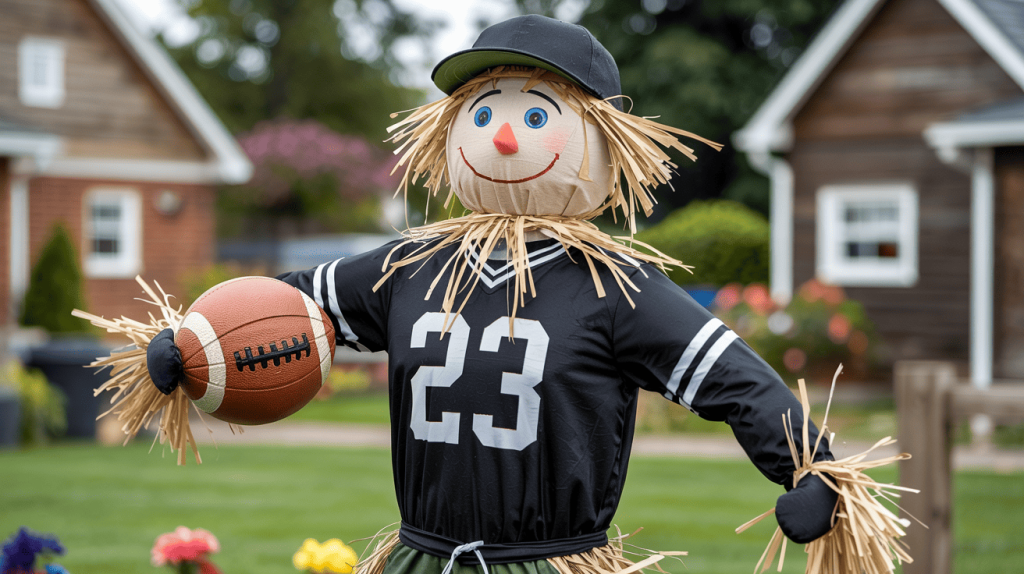
Use a wooden frame and dress it in a favorite sports jersey and cap. Stuff the body with straw for a plump, athletic look. Add small props like a ball, gloves, or shoes to complete the sporty effect.
Position arms as if in motion, like throwing or holding a ball. Secure all accessories with string or cable ties.
Materials: Wooden stakes, old clothes, straw, sports props, rope/cable ties
Tip: Slightly bend the limbs to give an active action pose.
10. Chef Scarecrow
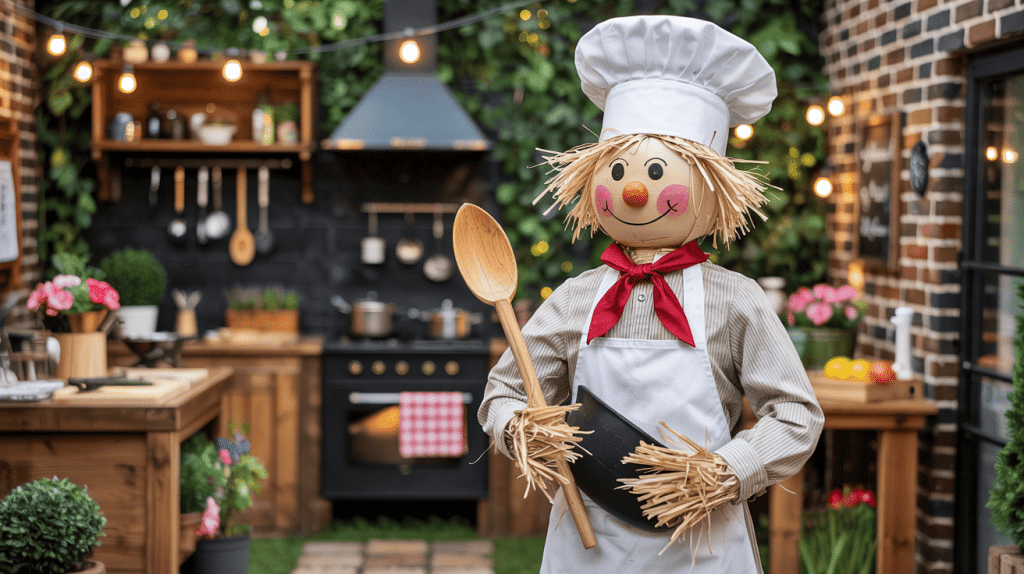
Build a frame and dress the scarecrow in an apron and a chef’s hat. Add props such as a wooden spoon or rolling pin. Stuff the body with straw or recycled materials.
Position arms as if cooking or holding utensils. Secure the base to keep it upright in the garden or yard.
Materials: Wooden stakes, apron, hat, straw, utensils, rope/cable ties
Tip: Small accessories, such as a fabric pocket or a mini cutting board, add to realism.
11. Recycled Plastic Scarecrow
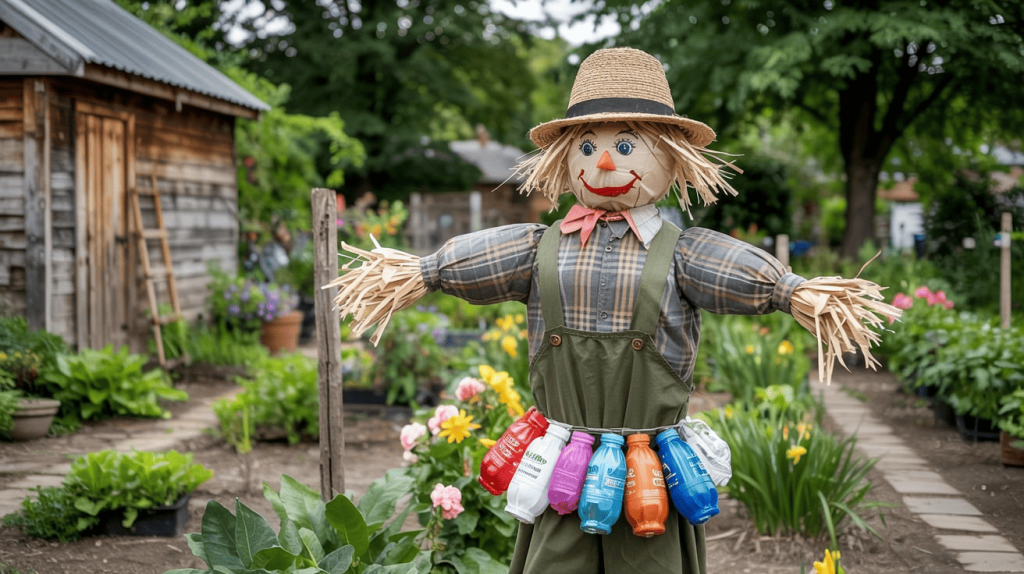
Build the frame and stuff the body with recycled plastic bags, bottles, or packaging. Cover with old clothes or scraps to hold everything together. Shape the limbs evenly for balance.
Add accessories, such as hats or belts, for visual appeal. Secure all loose pieces with string, rope, or cable ties.
Materials: Wooden stakes, old clothes, recycled plastics, rope/cable ties
Tip: Place all loose plastics in a large bag first to keep stuffing manageable.
12. Flower Power Scarecrow
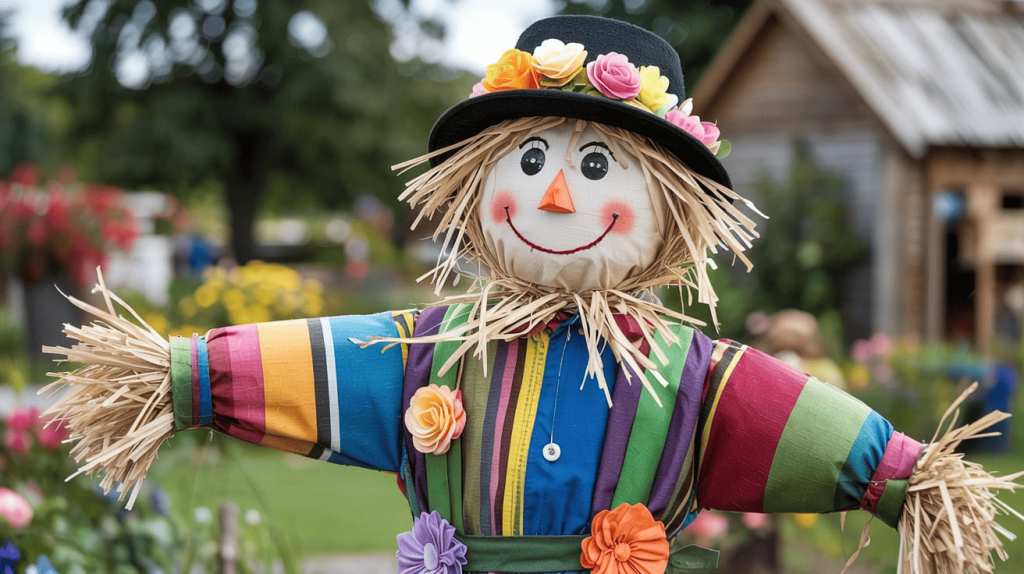
Construct a wooden frame and dress it in bright, cheerful fabrics. Attach artificial flowers, garlands, and ribbons to the clothing and arms. Stuff the body with straw or recycled materials.
Add a hat decorated with flowers and position the scarecrow in a welcoming, upright stance.
Materials: Wooden stakes, old clothes, straw, artificial flowers, ribbons
Tip: Use lightweight flowers to avoid drooping arms.
13. Steampunk Scarecrow
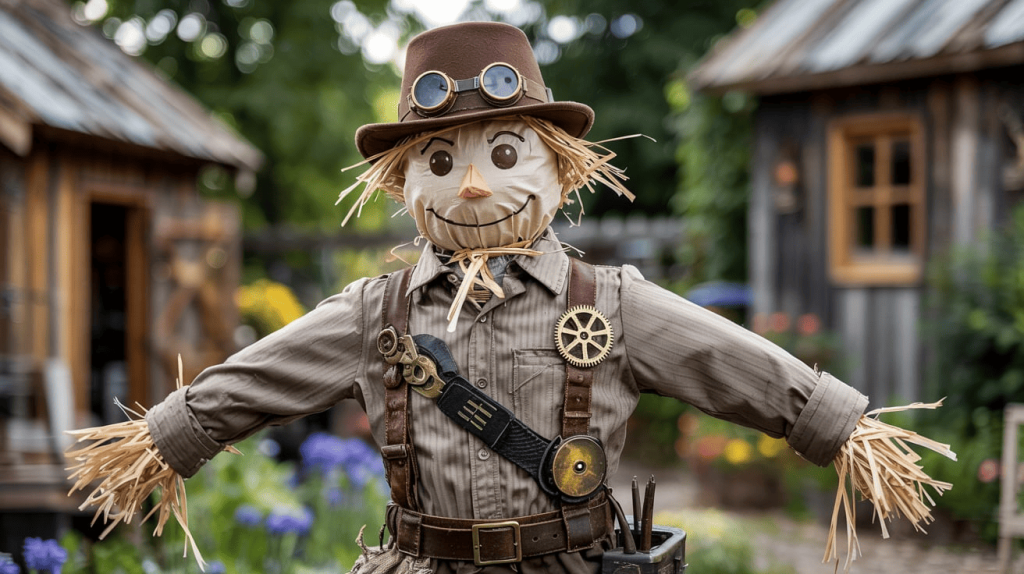
Build a frame and dress the scarecrow with vintage or brown-toned clothing. Add gears, goggles, belts, and other mechanical-looking accessories. Stuff the body evenly with straw or recycled fabrics.
Position arms and props for a lively, mechanical stance. Secure accessories tightly for outdoor use.
Materials: Wooden stakes, old clothes, straw, accessories (gears, goggles, belts)
Tip: Metallic paint or small clock parts improve the steampunk effect.
14. Pirate Scarecrow
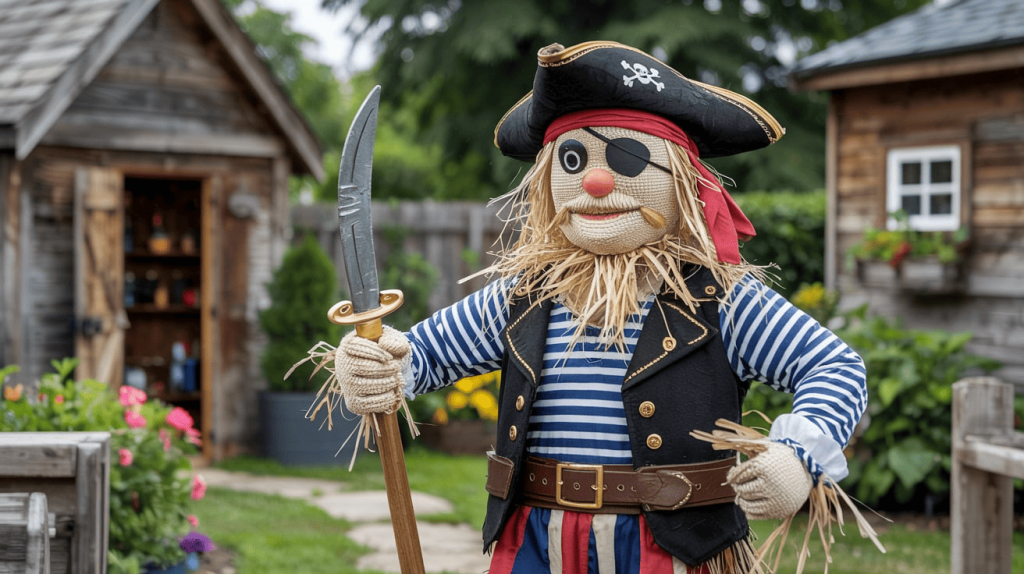
Use a wooden frame and dress the scarecrow in a striped shirt, vest, and bandana. Add a hat and eye patch. Stuff the body with straw and position arms as if holding a toy sword or map.
Add boots or ragged pants to complete the pirate look. Secure all accessories tightly.
Materials: Wooden stakes, old clothes, straw, hat, eye patch, toy sword
Tip: Slightly tilt the hat for a roguish pirate style.
15. Robot Scarecrow
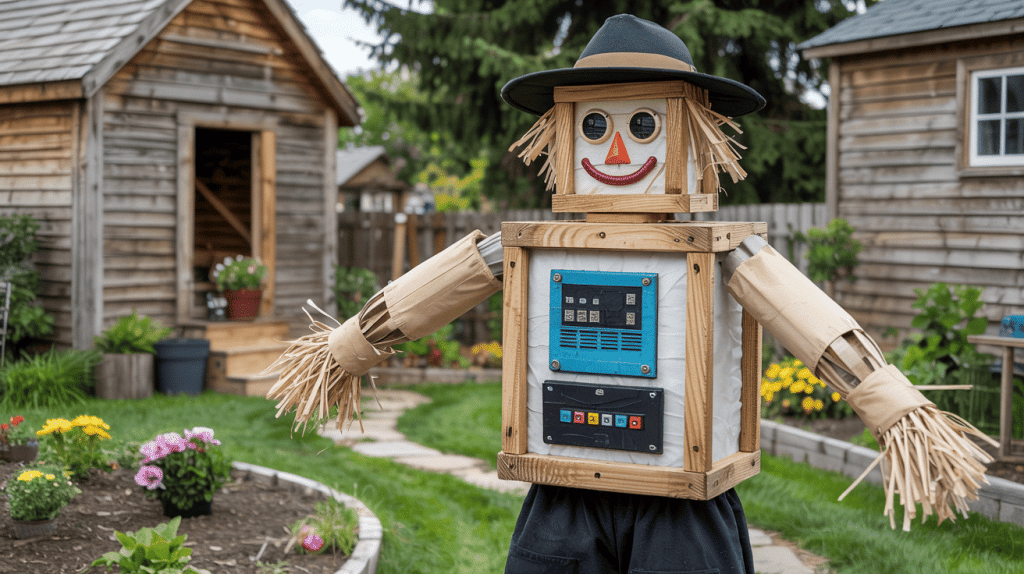
Construct a frame and attach boxes or lightweight containers for the torso and head. Dress in metallic or neutral fabrics and stuff with straw. Add painted or taped-on “buttons” and “panels” for a robotic effect.
Position arms straight or slightly bent, and secure accessories with rope or cable ties.
Materials: Wooden stakes, boxes/containers, straw, metallic fabrics, tape
Tip: Use lightweight materials to prevent imbalance or tipping.
Tips & Tricks for Perfect Scarecrows
A few simple tricks can make your scarecrow look better and last longer. These tips will help you avoid common mistakes and get the most out of your creation.
- Stuffing: Use straw for a classic feel, or recycled plastics for a lighter, more weather-resistant option.
- Stability: Make sure the wooden frame is firmly planted in the ground so your scarecrow doesn’t tip over in the wind.
- Accessories: Add hats, scarves, belts, or gloves to give your scarecrow personality and charm.
- Safety: Keep sharp objects away, especially when working with kids, and tie all parts securely.
- Storage: If you plan to reuse your scarecrow, keep it dry and indoors when not on display to prevent damage.
These small touches will help your scarecrow stand strong through the season and bring smiles to everyone who sees it. With proper care and creativity, your scarecrow can become a beloved part of your outdoor space.
Final Thoughts
Now you have plenty of scarecrow ideas to bring your outdoor space to life this season.
From building the basic frame to adding creative accessories, you’ve learned everything needed to make a scarecrow that’s both functional and fun.
Each scarecrow reflects your personal style and imagination, so don’t be afraid to experiment with different themes and designs.
Use materials you already own and involve the whole family in the process. What kind of scarecrow will you build first? Share your favorite scarecrow ideas or photos in the comments below – I’d love to see what you create!