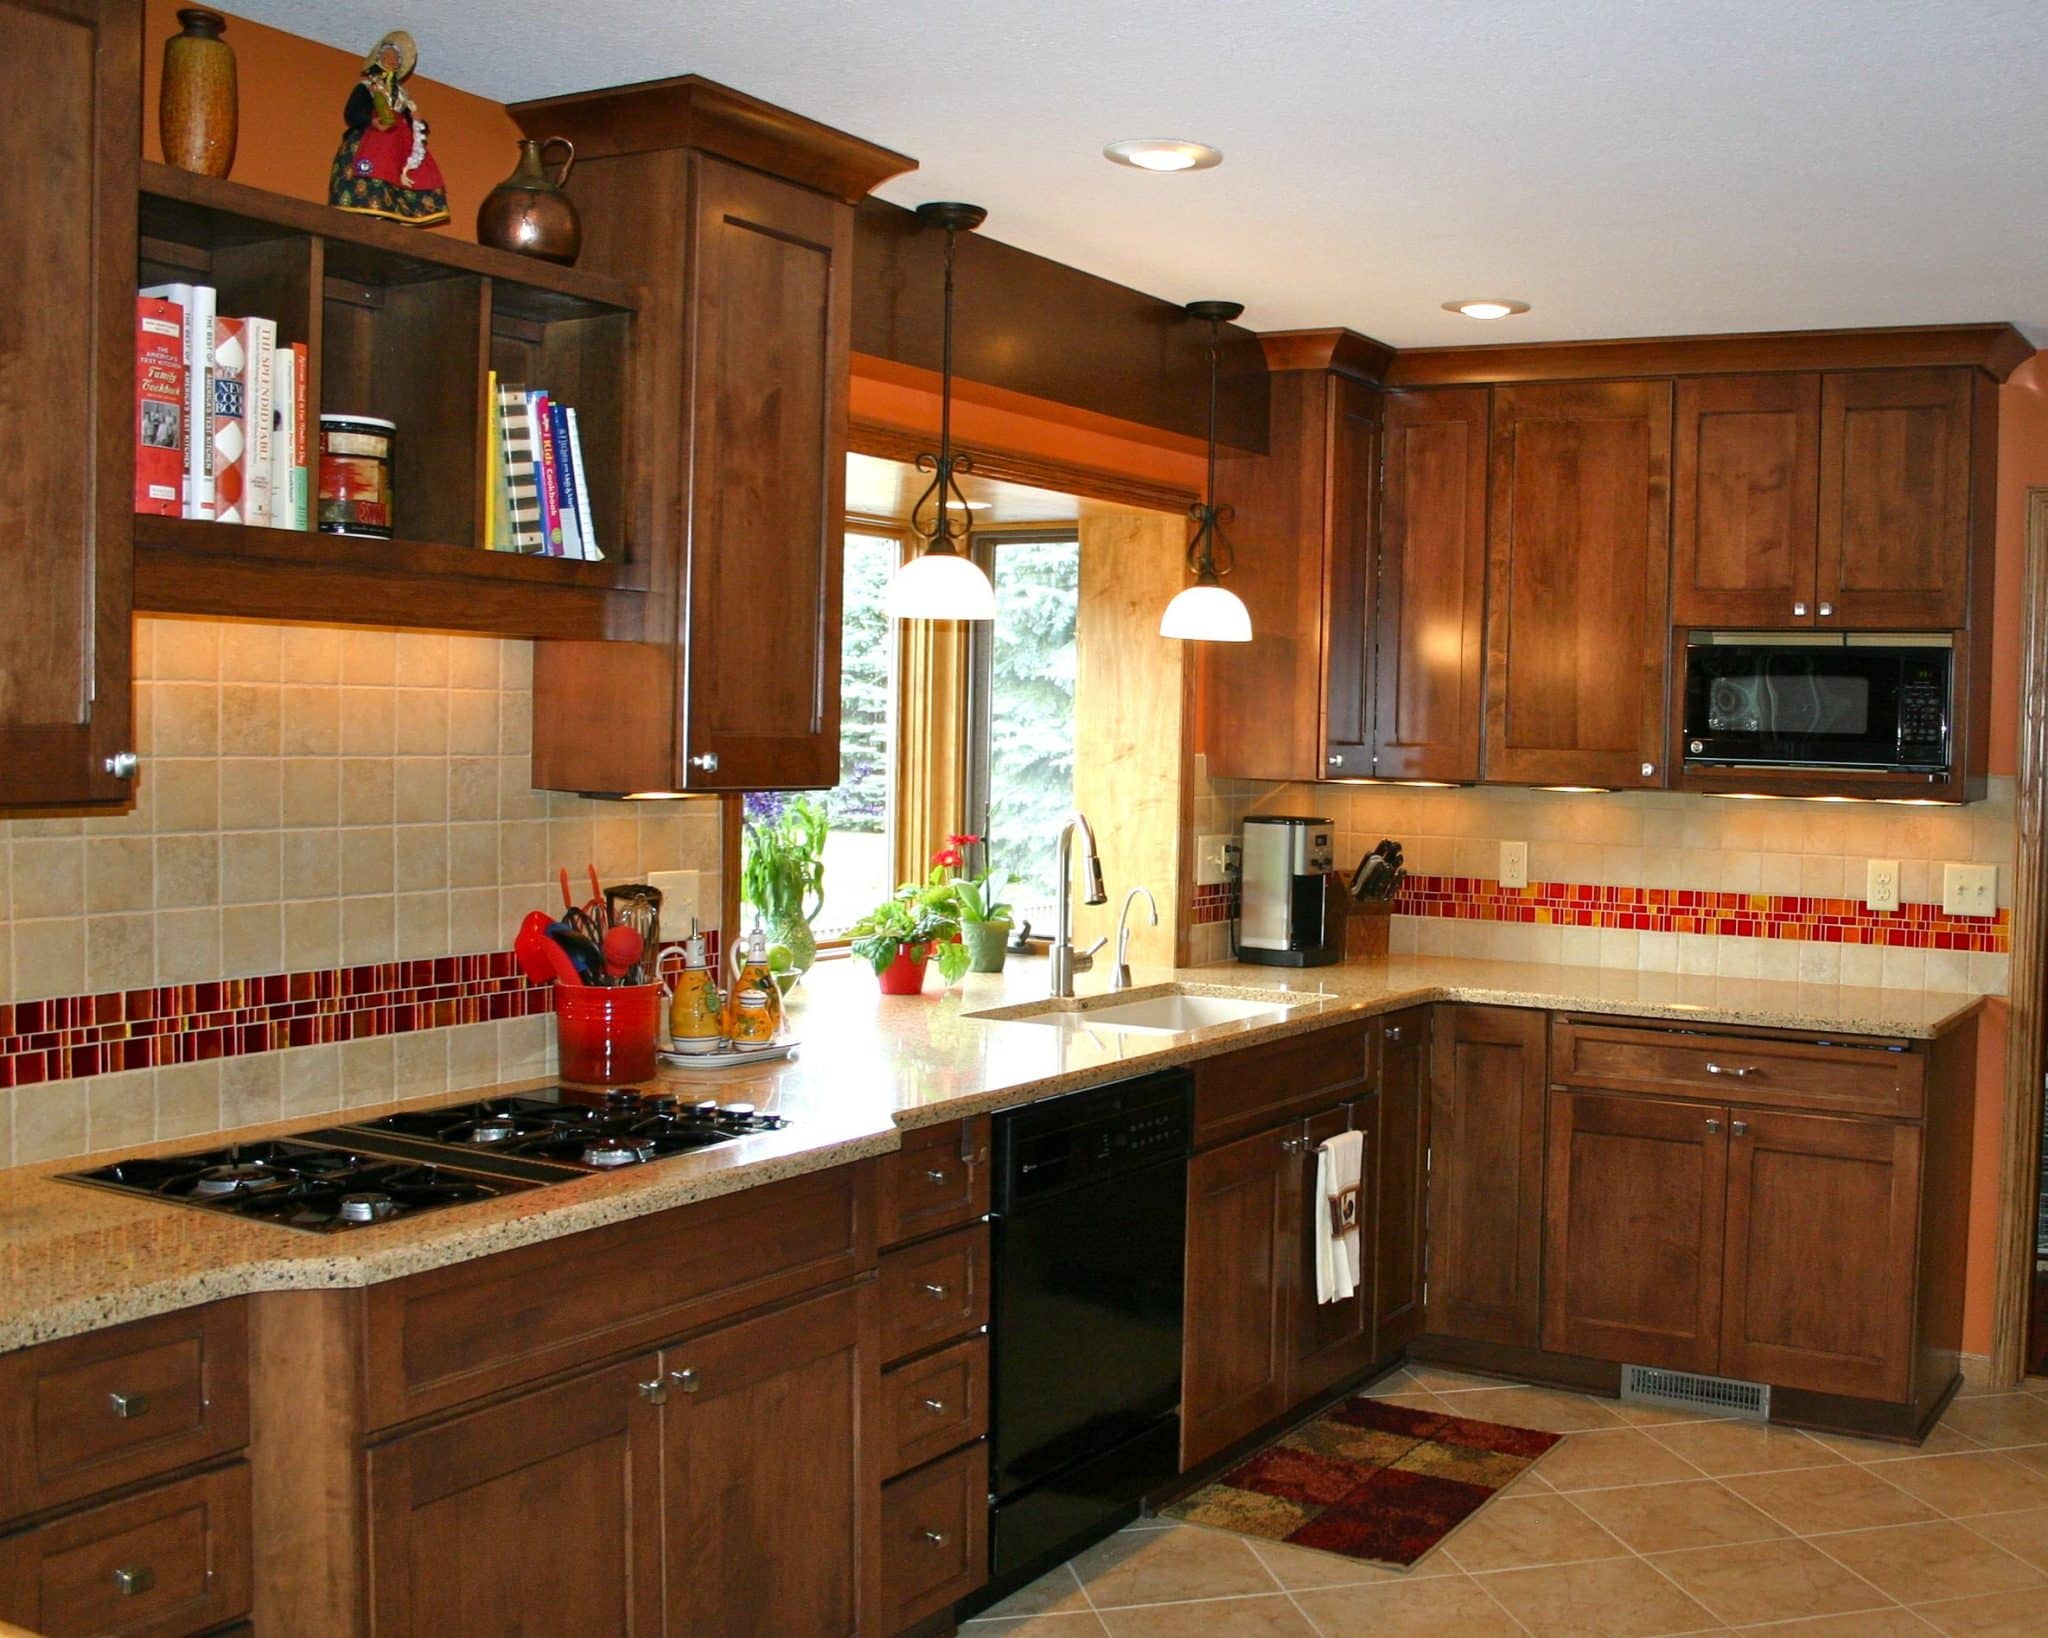

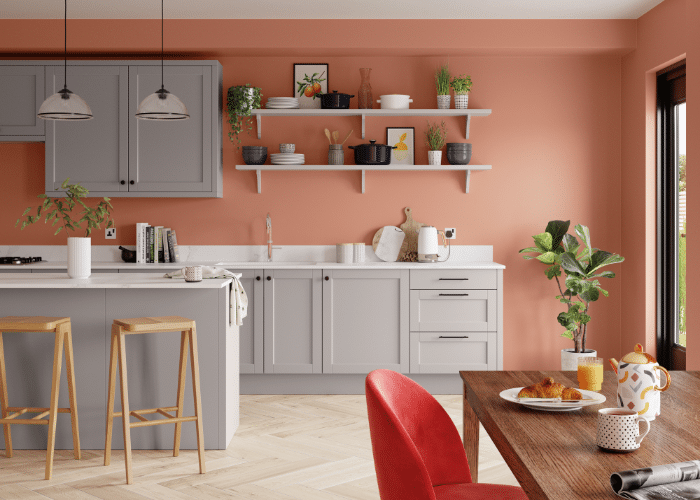
Painting tile backsplash can be a great start to renovating your kitchen in the most affordable way! Even if you are not looking forward to revamping it, simply painting backsplash tiles in the kitchen is a great way to liven things up, especially when you’ve had the same design for years or the backsplash does not match the theme of the kitchen decor.
Psst, also, painting tile backsplash isn’t as tedious or as time-consuming as you thought it was! Don’t believe us? Check this out to find out how to paint a tile backsplash in your kitchen absolutely easy-peasy.
This guide will not only teach you step-by-step the process of painting tile backsplash in the kitchen but also serve as a handbook for the materials you need for it.
Materials Required for Painting Tile Backsplash
Before we proceed with “how to paint tile backsplash in the kitchen,” here is a list of materials you need to arrange beforehand for a smooth process of painting tile backsplash in the kitchen.
- Degreaser or Grease Cleanser
- Trisodium phosphate
- Caulk Gun
- Putty Knife
- Sandpaper (220-grit)
- Sander Machine
- Epoxy Primer
- Epoxy Paint
- Epoxy Finisher
- Bucket
- Sponge
- Nitrile Gloves
Steps Involved in Painting Tile Backsplash in the Kitchen
Painting tile backsplash in the kitchen mainly consists of 3 steps – preparing the kitchen tile, painting the kitchen tile, and top coating (or sealing) the painted kitchen tile.
In the following section of the article, we will guide you in detail through the detailed process of painting the tile backsplash in the kitchen.
1. Preparing the Backsplash Kitchen Tile
This is the most vital step, as it will ultimately decide the outcome of the entire process. Hence, even though your main focus is on “how to paint tile backsplash in the kitchen,” you could call this the stepping stone to your ultimate goal, which is, redecorating your kitchen tile backsplash. Going wrong with or ignoring this first step could cause you to lose out on all of your remaining efforts in painting the tile backsplash in your kitchen.
Prepare the Kitchen
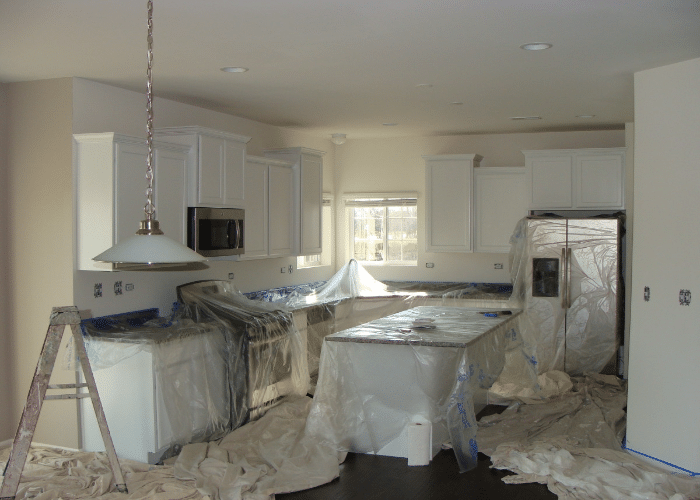
Before you start with the actual process of painting tile backsplash in your kitchen, you need to start with preparing the kitchen. Cover your kitchen countertop with newspapers or cloth to prevent paint or other synthetic cleaning substance from ruining it. If done right, painting tile backsplash in your kitchen need not be a messy affair. However, it’s always better to be safe than sorry. So, keep a few rugs or cloth pieces or newspapers handy before you start the work.
Clean

First things first, you need to squeaky CLEAN your kitchen tile. At the same time, you may think that yours is already clean, and you can omit this step; sorry to burst your bubble. It isn’t. The kitchen tile backsplash is there in the first place to protect your walls from damage by grease, smoke, soot, and water during cooking. Naturally, it is the area of the kitchen that is most exposed to trapping them. Although it may look spick-and-span from the naked eye’s view, look closely, and you will find oil stains and a sticky film of coating. Thus, the first step to preparing your tile canvas is to use a heavy-duty degreaser for the kitchen.
The first choice for most when it comes to degreasing kitchen tiles is TSP or trisodium phosphate. While you can absolutely NOT miss out on this, we recommend you first start with a spray cleanser for the initial cleaning phase. Once you have sprayed and wiped the tile with a clean cloth, scrub it with TSP. Do it with all your might because you need a thoroughly clean surface for the paint to adhere to the tile and give it a high-quality finish.
Repair the Tiles
It is natural for some tiles to break out and wear and tear over the years. Even if they are brand new and you are painting tile backsplash in your kitchen because the original look does not complement your kitchen theme, there may always be a few hairline cracks. Check them out thoroughly before you proceed to the next step.
If you find any, caulk up the gaps using a caulk gun or apply it with the help of a putty knife. This is important because, trust us, painting tile backsplash will highlight any cracks or crevices if present than if you would not have painted it at all.
Roughen the Surface
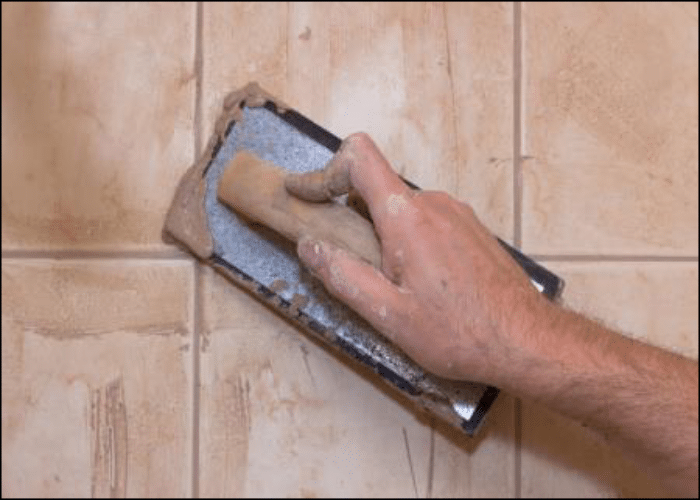
Use sandpaper to roughen the surface of your kitchen tiles. This will wear off the usual glossy surface of tiles so you can paint over them. If not done, the oily surface will splatter the paint for an uneven and incomplete look. Our take is using 220-grit fine sandpaper for the purpose. Either roughen the surface manually using a sandpaper sheet or use a sander to complete the task.
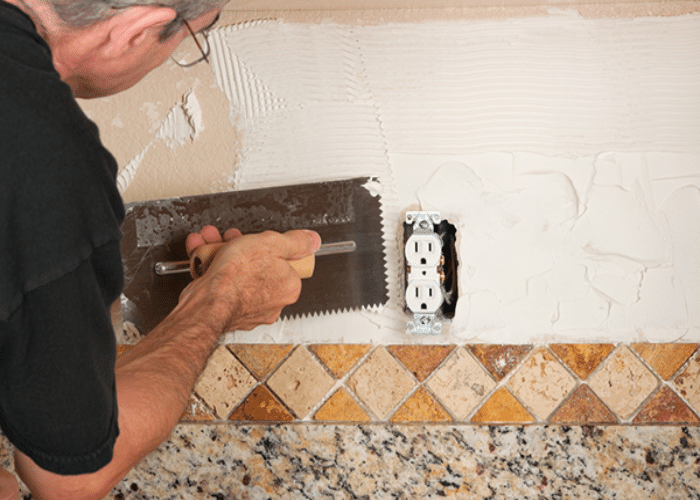
Put up a Coat of Primer
Last but not least, an important prepping up step for painting tile backsplash is priming it up. Use an epoxy primer to achieve the perfect bond of coating that allows the paint to adhere to the surface and stick to it. Any primer provides the right consistency on a surface for the application of paint, but we are specifically talking about epoxy primers for a reason. It is non-porous, hence, making the backsplash (and the paint) waterproof.
Epoxy primers also prevent the growth of fungus and mildew on tiles which are invariably exposed to dampness over a period of time. Thus, while you work on beautifying your kitchen tile backsplash, this coating will help you protect it. We recommend you apply at least two coats of the primer. But make sure to wait for the first coat to dry off completely before you apply the second one.
2. Painting the Kitchen Tile Backsplash
Once you have prepared your kitchen tiles the above-mentioned way for being painted up, what’s there to wait for? Well, the only thing to wait for is for you to paint. But of course, before you do that, you have to select the right paint and your choice of color for painting tile backsplash in your kitchen. Again, using epoxy paint is your best bet in renovating your kitchen tile backsplash decor for the same reason as using an epoxy primer.
The chemical bond imparted by epoxy paint is the best for painting tile backsplash. But before you hold up your foam roller or paintbrush and start painting right away, here’s what else you have to do.
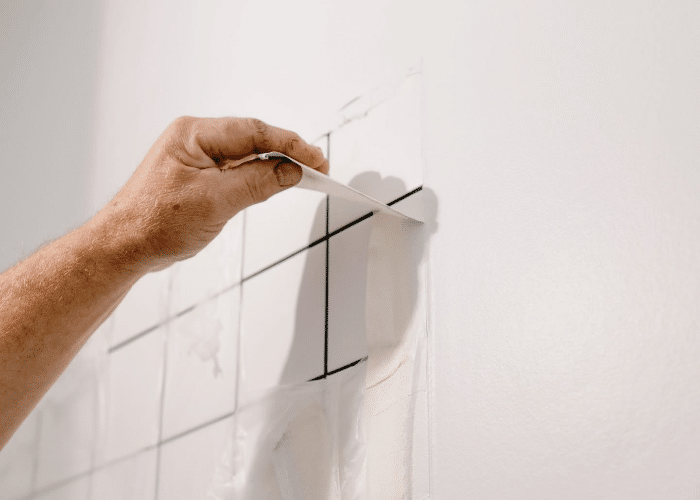
Create a Well-Defined Border
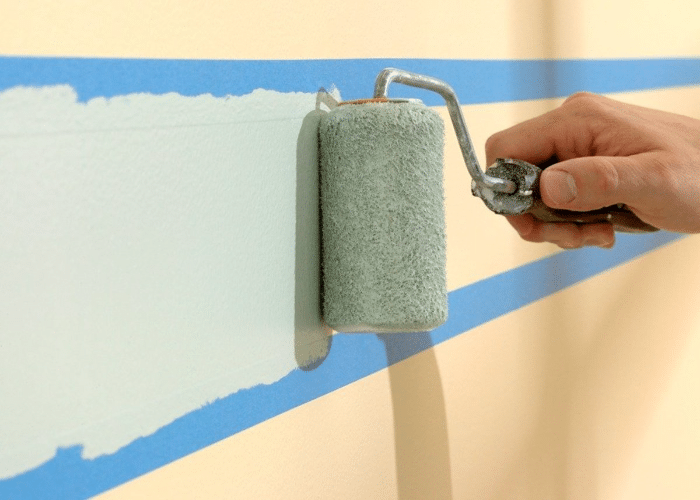
You don’t want tile paint to stain your kitchen cabinets or countertops. That is why you need to demarcate a well-defined boundary to ensure that doesn’t happen. Use painter’s tape to establish a secure border that prevents the paint from scattering to areas outside of your backsplash.
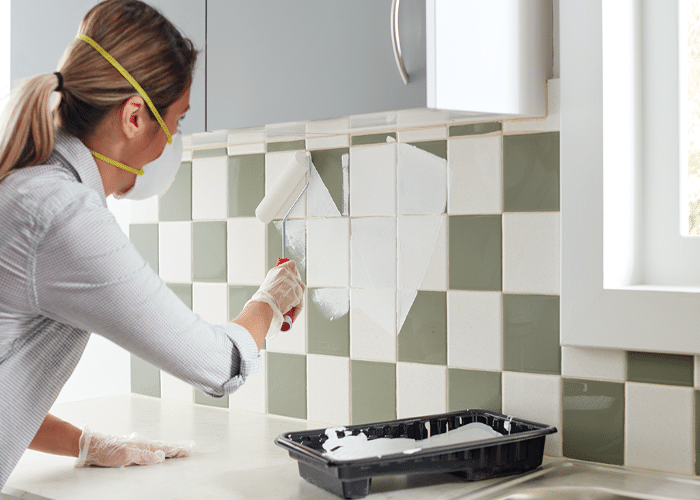
Paint
Yes, now, you can go ahead with actually painting tile backsplash in your kitchen to give it the exact new look that you’ve always wanted. Use a foam roller or a good-quality paintbrush to paint your heart out. Use the backsplash as your canvas to frame your dream kitchen set-up.
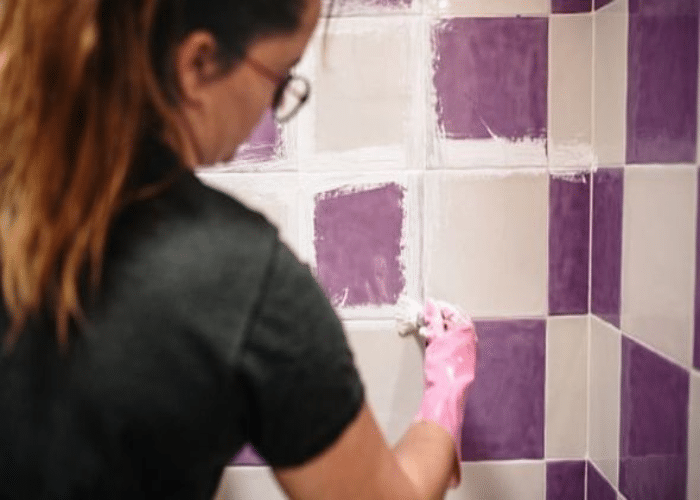
Take a thinner paintbrush for reaching out to and painting the grout. They deserve the attention because one single area left can mar the entire look of your kitchen backsplash tile. Moreover, you can use the grout as a focal point by using a different color to highlight those areas. Use a contrasting color for painting grout, or try a lighter or darker shade of the backsplash color for a hint of sophistication mixed with simplicity.
You will probably need two to a maximum of three coats of paint for an attractive finish. Let each coat of paint dry fully before re-applying the next coat. It may take up to 8 hours or even a day for one coat of paint to dry completely, depending upon the type of paint you are using and the total surface area you are painting.
Design the Kitchen Tile Backsplash
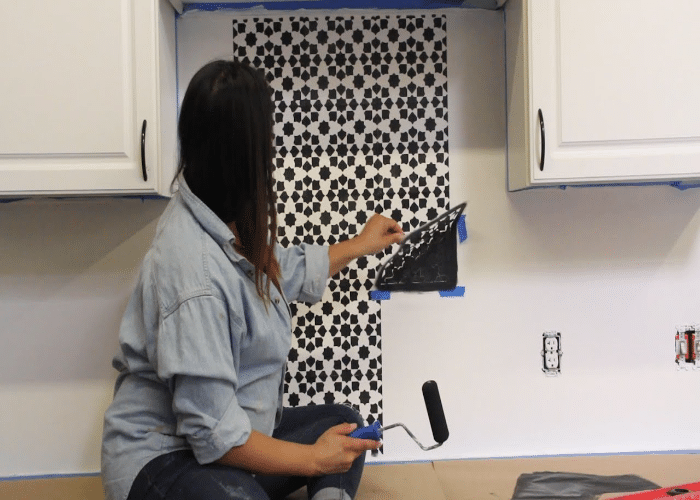
This is an optional step when painting tile backsplash but will give it an eye-catching appearance. Use stencil carvings for carving out designs on the tiles. This is a tad bit time-consuming since you need to be exactly precise. But we assure you, the extra effort is 100% worth it, and the picture above should tell you why.
3. Top-Coating the Painted Kitchen Tile
Once you are done with freshly painted tile backsplash in your kitchen, use a topcoat of polyurethane for protecting and preserving your hard work. Yes, one to two coatings of polyurethane sealer using a bristle brush will waterproof and damp-proof your kitchen tiles and make them stain-resistant so your artwork remains unscathed for a long. It also adds to the finish of your kitchen tile backsplash. Depending on the type of look that you want, you can choose to add extra sheen by using a glossy re-finisher or a high glossy re-finisher.
Conclusion
DIY painting tile backsplash is one of the best ways to upgrade the look of your kitchen without a major renovation and excess splurging. In fact, painting your own kitchen backsplash tile allows you to flaunt your creative genes and hence, your personality in the kitchen space. You can get as creative as you want with the colors and the patterns.
But of course, when it comes to backsplash tile in the kitchen, you don’t want to go overboard with it such that it overwhelms the rest of your kitchen ornamentation. With minimal material on a minimal budget, you can elevate your kitchen look. It doesn’t have to be a mess just because you’re doing it all by yourself in the kitchen.
In fact, painting tile backsplash in the kitchen is a relatively simple process that allows you to experience the pleasure of hands-on kitchen decor.
So, what are you waiting for? Grab your painting supplies here and head to work! Once done, let us know in the comments section below how much you enjoyed the process, which materials you used, and what design did you proceed with. We’d be waiting to hear from you. Happy painting!
Frequently Asked Questions
Is Painting a Backsplash a Good Idea?
Yes. Painting tile backsplash in your kitchen is a good idea. Whether you want to renovate your kitchen or just your backsplash, painting the tiles is often the first and the most effective method to start the process. Not only is this DIY activity super fun and easy to execute, but it is also easy on the pocket.
Does Painting Tile Backsplash Really Work?
Yes. Painting tile backsplash really works. It elevates the look of your entire kitchen and enhances the backsplash’s utility. The best part is that you get to choose the design, color, and pattern of your backsplash tile, which you probably didn’t know was possible.
Does Painted Tile Scratch Easily?
No, painted tile does not scratch easily, and you can easily pass off this general idea as a misconception. If you follow the above steps in the correct order and follow them word-by-word, there is no chance of easy tile damage. Rather, painting tile backsplash preserves it and makes it resilient to damage from scratches and stains.
What Paint Sticks to Backsplash?
Any DIY enthusiast (including us) will swear by epoxy paint for paint that sticks to the backsplash, followed by acrylic paint. Painting tile backsplash can give no such ornamental value if you don’t use the right paint, primer, or finish. The one common factor that binds all of these is their water and stain resistance.